
 Register
 Log In
 Home
Home
15 Feb ’12
 Offline


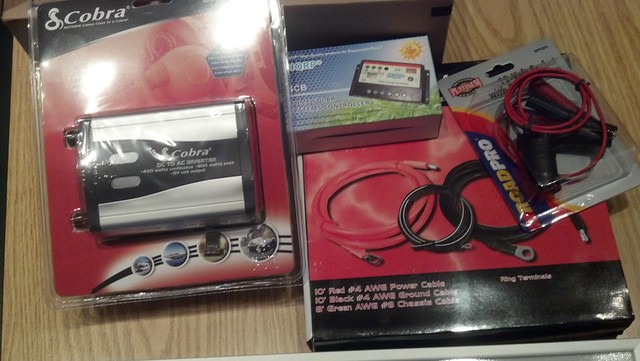
I was stoked to see some of my parts come in yesterday
I still have those solar panels from solar blvd kicking around

I am going to try combining these two designs together so we have a radio/power station for the gazebo, will report back!

http://www.instructa.....-Boom-Box/
feature=player_embedded
15 Feb ’12
Offline
went and picked up the rest of my supplies today, will report back later

15 Feb ’12
Offline
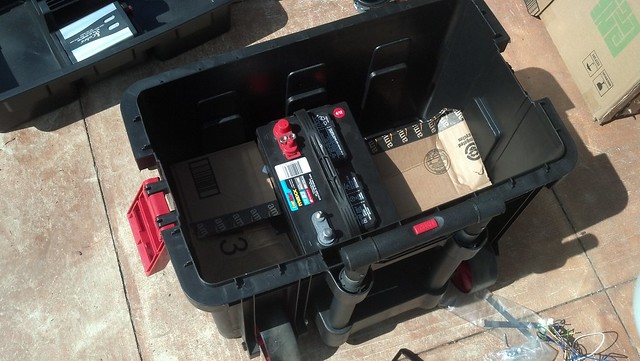
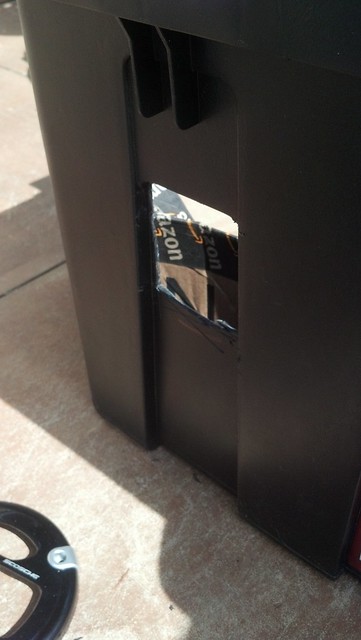
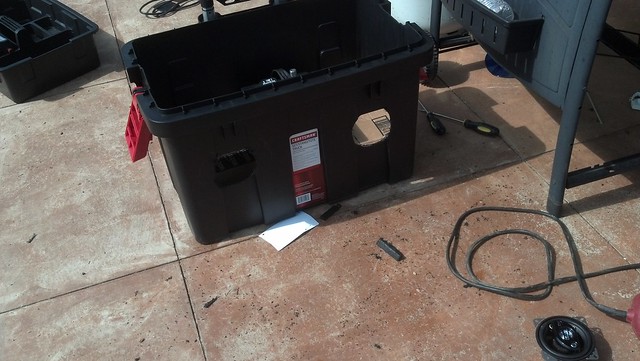
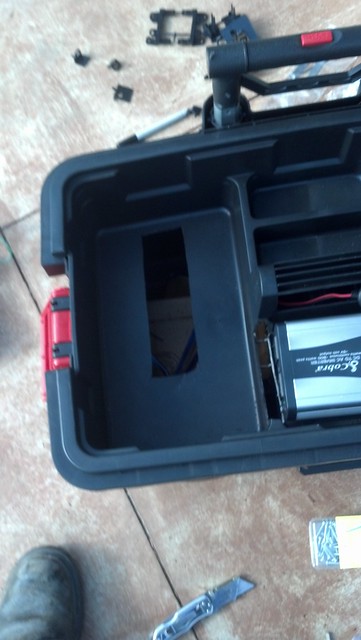
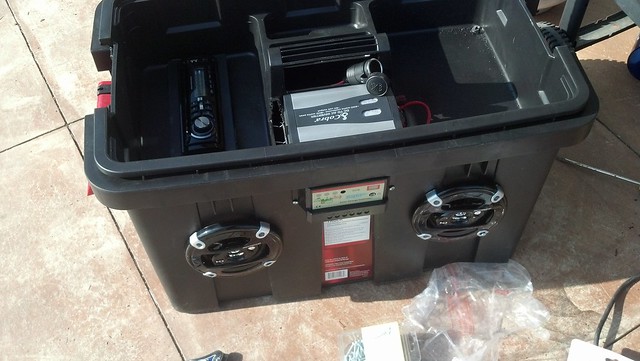
so after I had assembled all the parts, I set the battery in the bottom of the toolbox
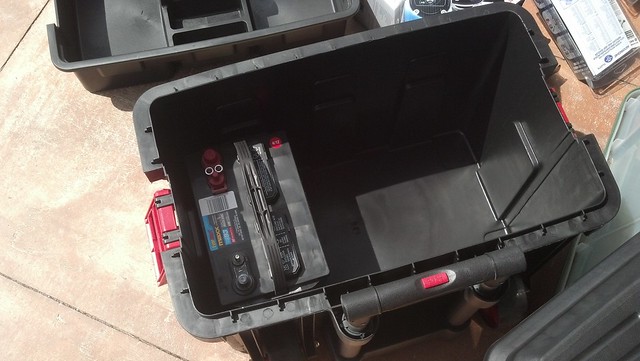
I used some cardboard to help keep the battery from moving around
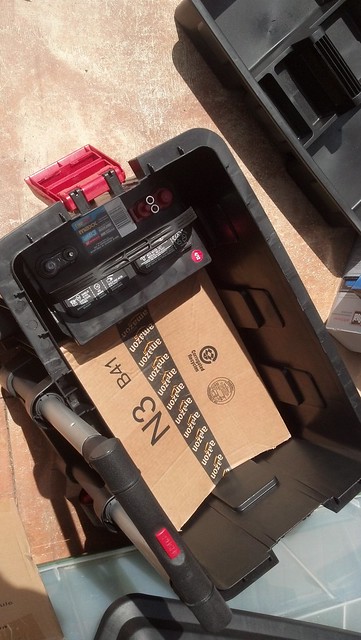
after looking at it and thinking how to lay everything out, I decided to center the battery in the box which also made it more stable
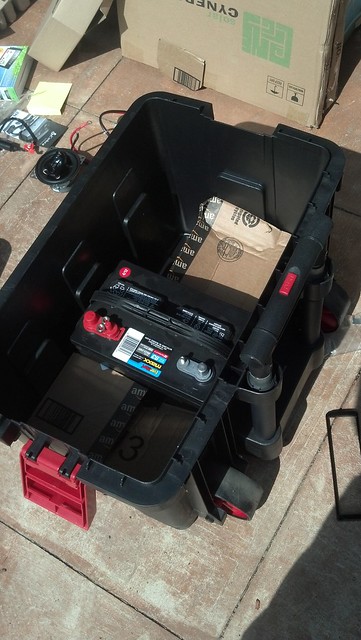
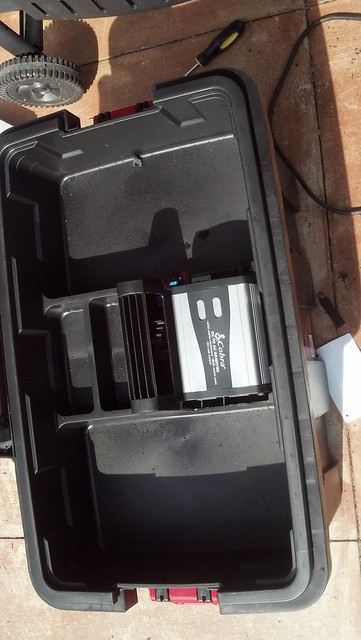
Once the battery was set, I put the tray in and messed around with placing the inverter, it fit into the tray well, but the sides blocked the outlets and the posts
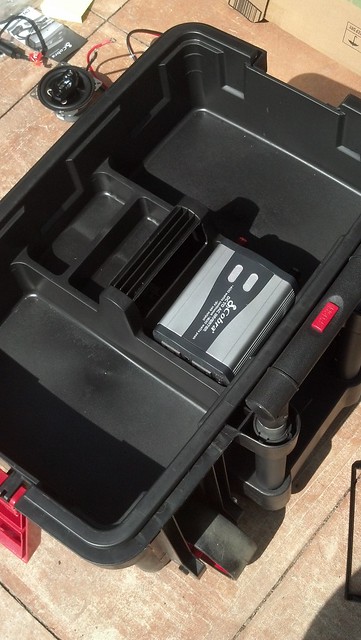
so I took my blade and jig saw and cut out the sides
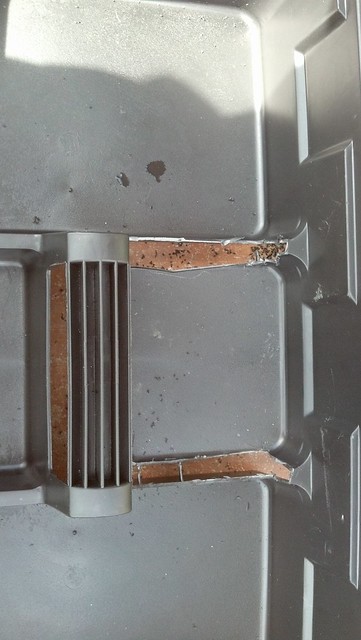
and set the inverter, the resulting gap was good for running the wires
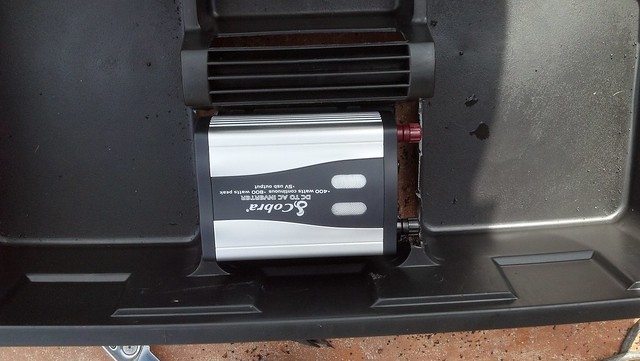

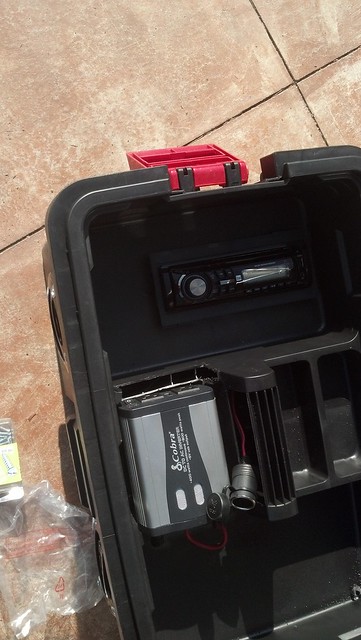
I screwed down the terminals to the posts
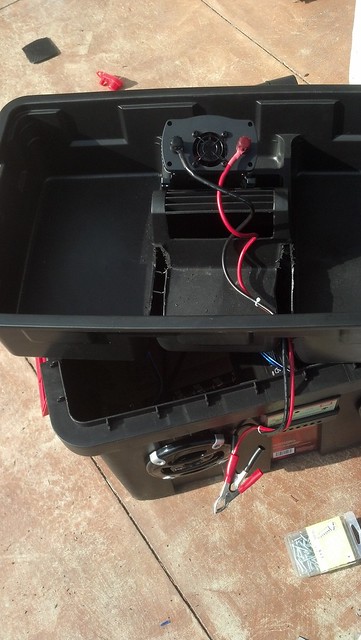
and mounted the inverter
and ran a 12 volt connector from the batteries
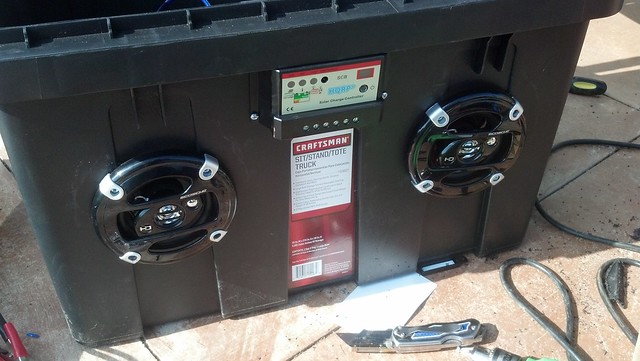
I traced out the speakers and used my razor to cut out the holes
15 Feb ’12
Offline
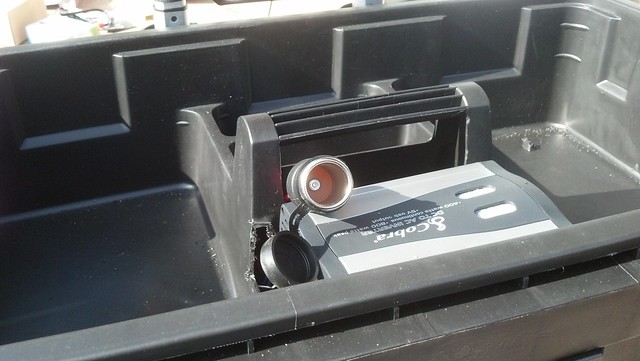
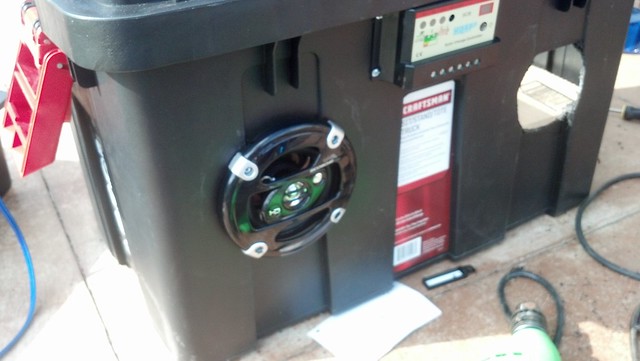
I mounted the charge controller between the speakers, this location works well also because it sits under the lip of the lid which will protect it from the rain

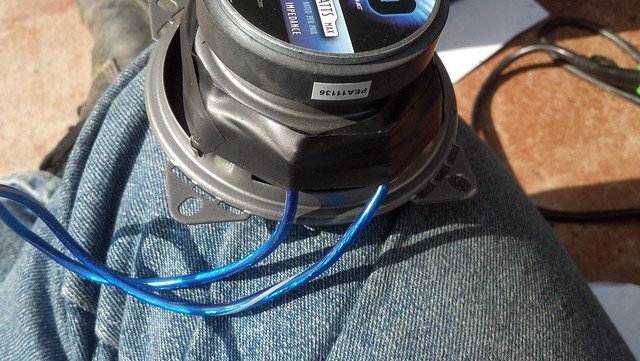
and wired up the speakers
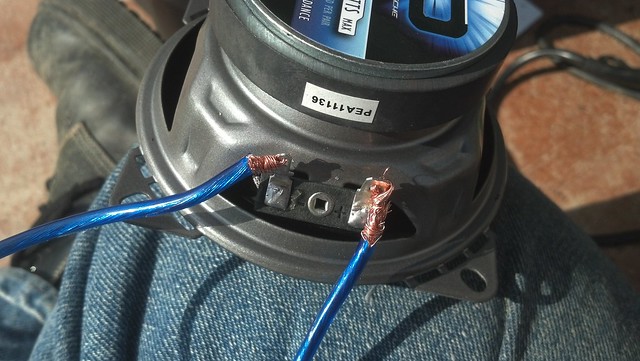
and wrapped some electrical tape around the speaker to secure the wires
I used some sheet metal screws to mount the speakers so that they would self tap into the hard case
15 Feb ’12
Offline
I picked up a cheap mounting kit and broke all the tabs off the bracket and traced out the opening
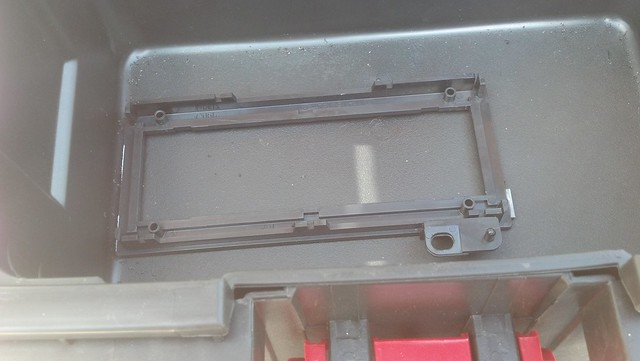
I used my utility knife and cut out the opening
and set the radio down into the bracket and set it the hole, I popped on the face plate for the radio and it locked the radio in place snugly
the only thing not waterproof is the speakers, but I can run a silicone bead around them to fix that
I wired up the power and the ground

and the speaker wire, making sure that the positive and negatives were correct

all wired up
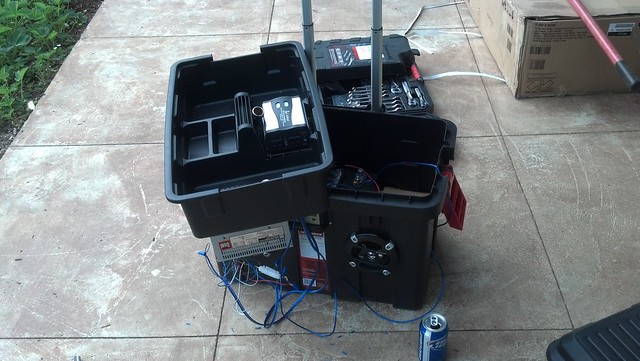
and ready to fire up
15 Feb ’12
Offline
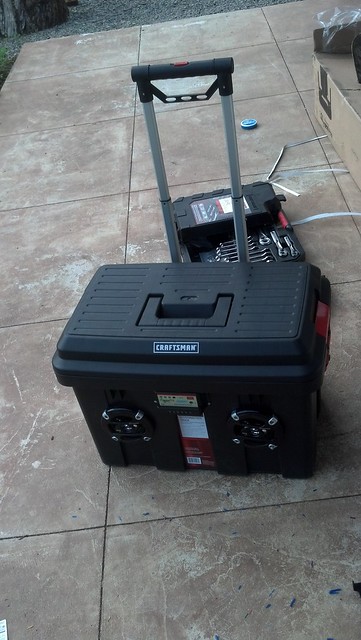
today I just need to mount the solar panels and wire them up, will report back later
15 Feb ’12
Offline
oh yeah, here is the price break down
12v clip on adapter 5.02
400 w inverter 26.84
charge controller 34.95
tool box 60
radio 49.97
speakers 29.95
wire 8
dash kit 18
panels 75.38
battery 80
for a total of 388.11
compare that to the prices of the ones online that are 2000 dollars. My specs and theirs are very close except they have a single 45 watt panel I have 2 20 watt panels. They also have a 1500 watt inverter while mine is a 400, but it only costs another 80 dollars to upgrade to a 1500 watt inverter. If you take away the stereo and upgraded the inverter you would still be about the same price point though.


Most Users Ever Online: 698
Currently Online:
21 Guest(s)
Currently Browsing this Page:
1 Guest(s)
Top Posters:
easytapper: 2149
DangerDuke: 2030
groinkick: 1667
PorkChopsMmm: 1515
Gravel Road: 1455
Newest Members:
Charlestetet
anndresdner17
ronniemcconnel
annmarie1349
grover02y5
Forum Stats:
Groups: 1
Forums: 12
Topics: 11478
Posts: 58673
Member Stats:
Guest Posters: 2
Members: 3526
Moderators: 0
Admins: 1
Administrators: K

