
 Register
 Log In
 Home
Home
15 Feb ’12
 Offline


In 1995 my wife had surgery on her shoulder, while she was in surgery I went down to the bookstore to pick up a book to read. There was a book on building log houses and my wife and I always loved log homes so I picked it up. I read the whole thing while she was in surgery and recovery. The last chapter of the book was a chapter on alternative log styles, and there was a couple of paragraphs on something called cordwood.
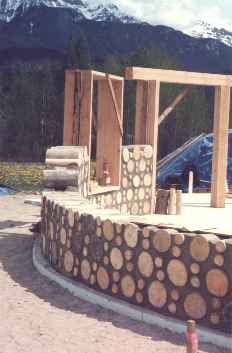
I loved it. The book mentioned a man by the name of Rob Roy, who was a big proponent of the style. I called information and got his phone number and called him. I asked him if he had any sources of information on cordwood building and he said he did, in fact he had a book on the subject and he could send it to me if I wanted. I said I would be very interested in it. Before we ended our conversation he said he also had a book on underground home building and wondered if I would be interested in that as well. I told him yes I would and ordered both of them
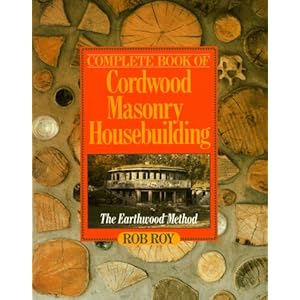
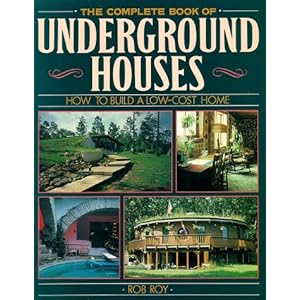
Those two books are currently out of print and Rob Roy has updated them to a newer version
![]()
Cordwood Building: The State of the Art (Natural Building Series)
![]()
Earth-Sheltered Houses: How to Build an Affordable... (Mother Earth News Wiser Living Series)
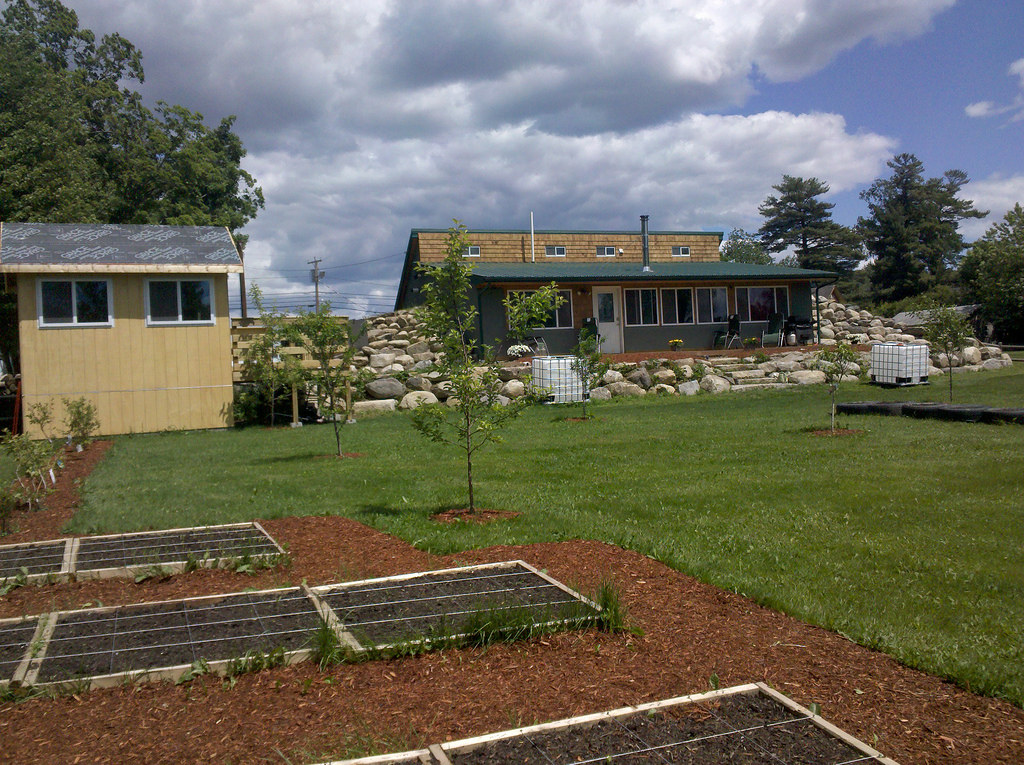
With the birth of our daughter and life in general, the dream was put on the shelf, but it was always there in my mind, always there looking at me. Finally in 2007 seeing what was going on in the world, fiscally and politically, we decided it was time to bring our dream to reality. We proceeded to search for land. Our requirements were simple, minimum of 5 acres of land, with a majority of it wooded for firewood harvest, a water source, solar exposure, some fruit trees, and room for a garden. It seems like we looked at well over 100 properties, but couldn't find what we wanted, it was either so expensive there was no way we could pay for it and build our house out of pocket, or it was on the side of steep hill that gardening would have been difficult. If any of the properties had water it was totally out of our realm of possibility. So we closed out 2007 without finding what we thought was our ideal spot.
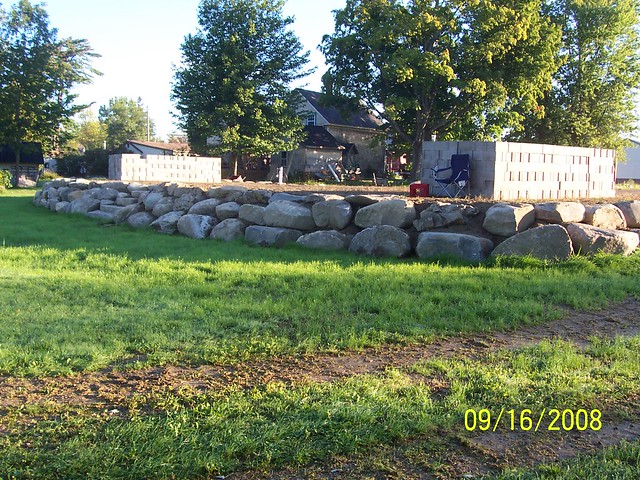
In 2008 we purchased a 9 acre lot adjoining our business to expand it and was left over witth a 7 acre field. We decided we would make the flat piece of property into what we wanted it to be. We had a ledge pad made with a boulder retaining wall, had the water and sewer hooked up, planted a orchard and it installed a pond.
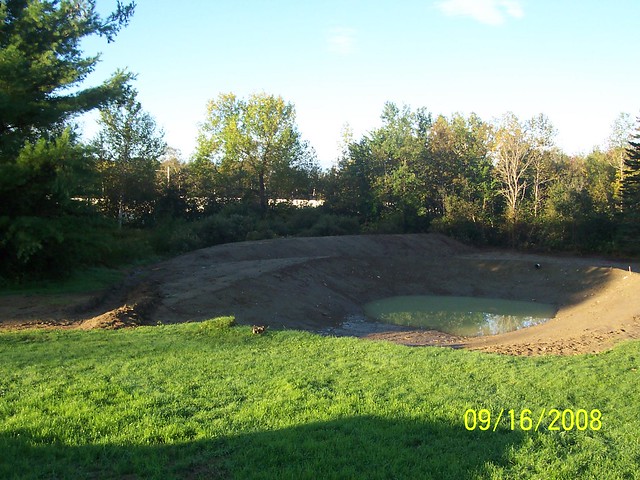
We also ordered a tractor trailer load of 12 inch cement block to start building in the spring of 2009, I spent most of the summer in that chair just staring and planning
So we started planning ground breaking, our goals were to take a year and complete the house, unfortunately that little thing called life raised its head. My father went in for a check-up for a mass on his stomach, 2 hours later he was in ICU for a aortic aneurysm. 48 hours later he had surgery and ended up having the same surgery 2 hours later due to clotting of his graft. That night his bp was 52 over 40. He pulled through, but he had complications all week and we thought we lost him several times, but in the end he pulled through and came and lived with us for 4 weeks while he was recovering. You always hear life is short, my fathers illness really drove the point home for me, and I realized I had been putting off my dream for 15 years, and now was the time to shit or get off the pot. My father was discharged 6/12, 6/13 we started.
15 Feb ’12
Offline
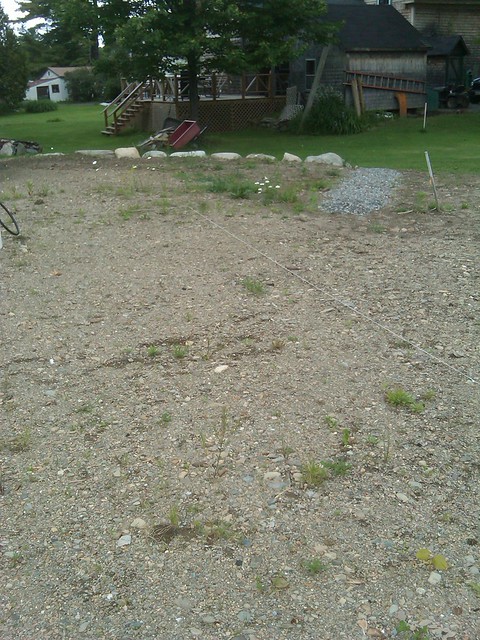
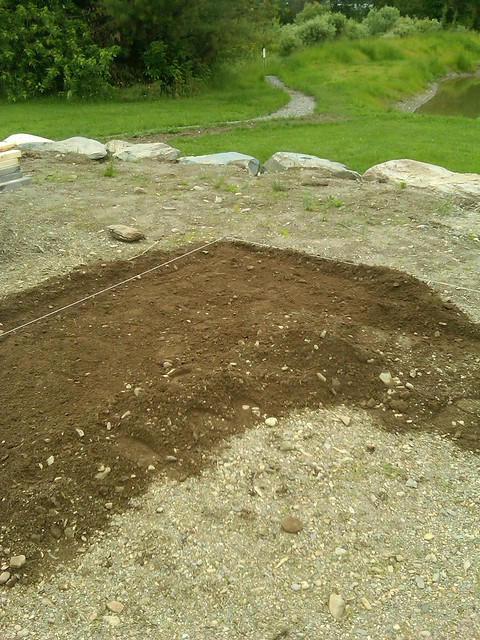
We Started out by roughly laying out the dimensions of the house on the pad with stakes and string. When we had it laid out, we used the 3,4,5 formula to make sure the corners were square.
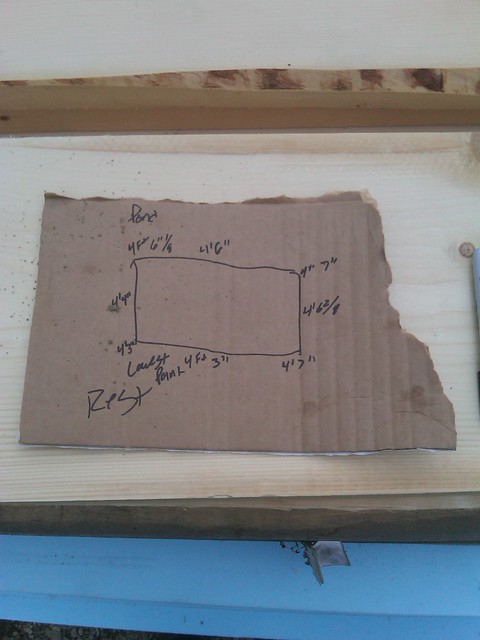
We proceeded to do a rough sketch of the buildings 24x40 dimensions and using a laser level measured the heights of the corners and the mid-points of each wall to find the high point, this was the only sketch I made of the house during the whole process
We then proceeded to start digging around the perimeter to get a somewhat level footing track
We proceeded to work around the footing track staying withing the strings we had laid out
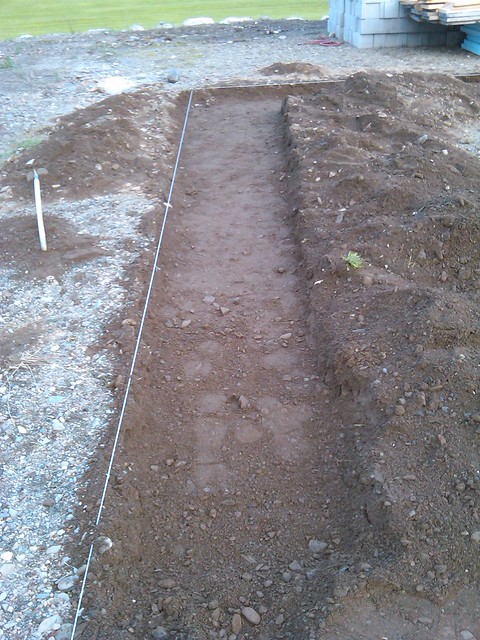
I went and rented a compactor and proceeded to compact the footing track for a whole afternoon.
15 Feb ’12
Offline
After compacting, we started setting up the footing forms. We had them touching the strings on the outside footer and measured in 2 feet for the inside form. Where the 2x12's butted up we used scraps to plate them together, and used stakes we cut from 2x4's as support outside the forms and placed them roughly every 4 feet
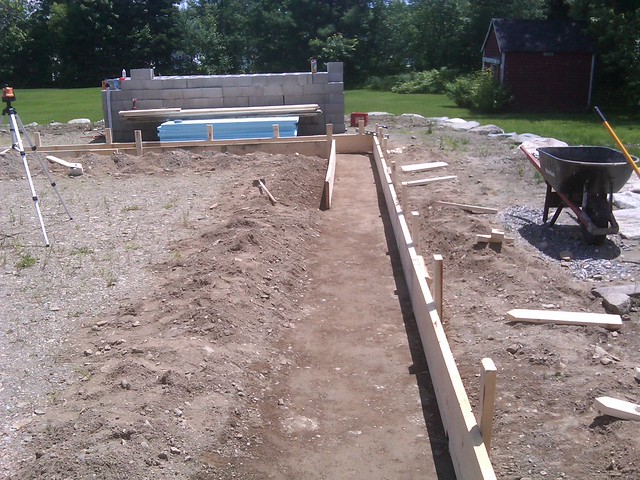
We proceeded working around the interior using the laser level to check and make sure the width and the run were level. We also used my 4 foot level to check across the forms
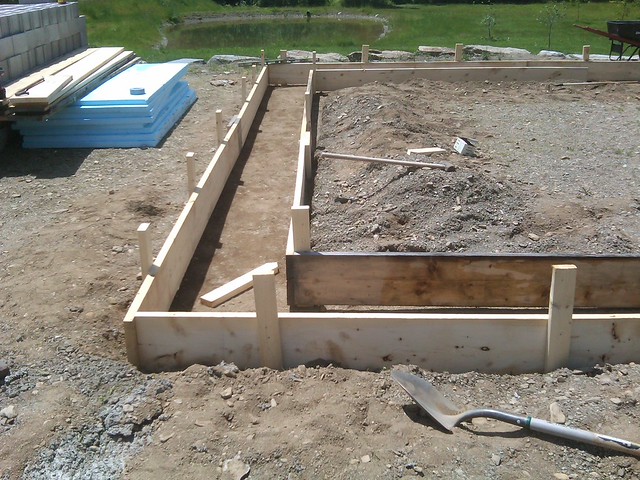
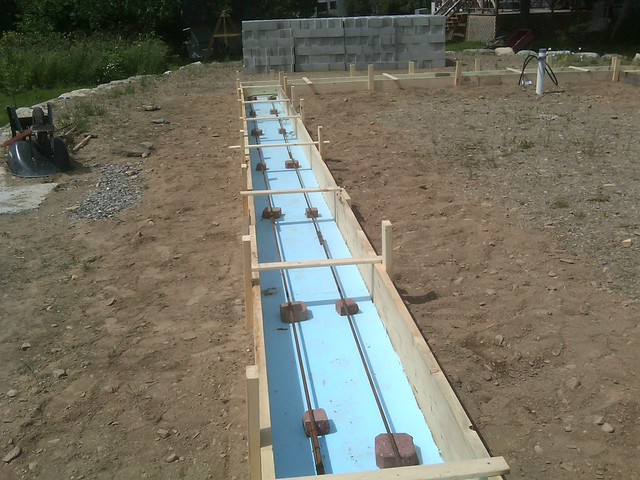
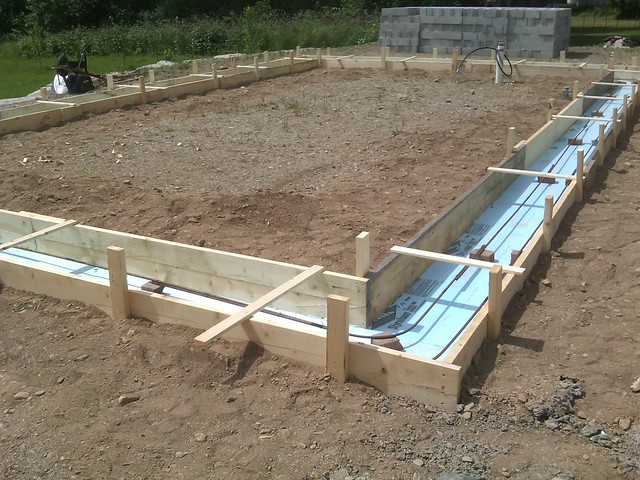
Once that was done we installed 2 inches of dow blue board in the bottom of the footing track, making sure it was snug. We had some left over bricks from a project at our house so we broke them up and used them to keep the rebar up off the bottom of the track. We then cut up some firing strips and screwed them on the top to prevent the forms from tipping out. When it was all said and finished we packed dirt around the outsides of the forms for extra strength. We are ready to pour some cement. I went around and took 20 measurements to get a average depth and came out with 7.8 yards of cement needed. I didn't want to run out so I ordered 8.5 yards to be on the safe side

I was to busy to take any pictures of the pour, only pain in this part was pulling all around the forms because the cement truck boom couldn't reach all the way around
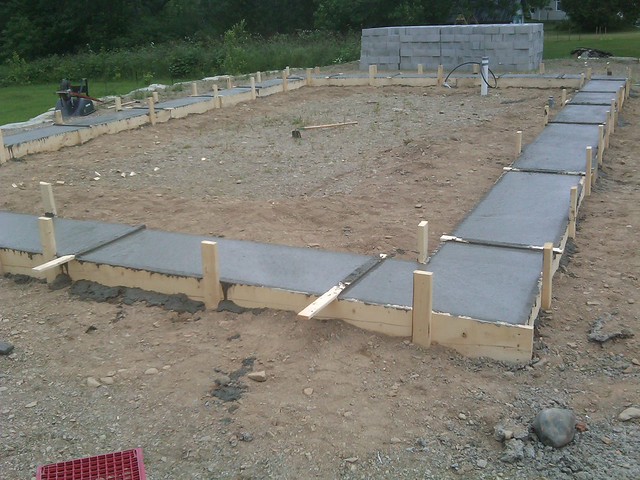
After letting the cement set up for 48 hours. I stripped the forms.
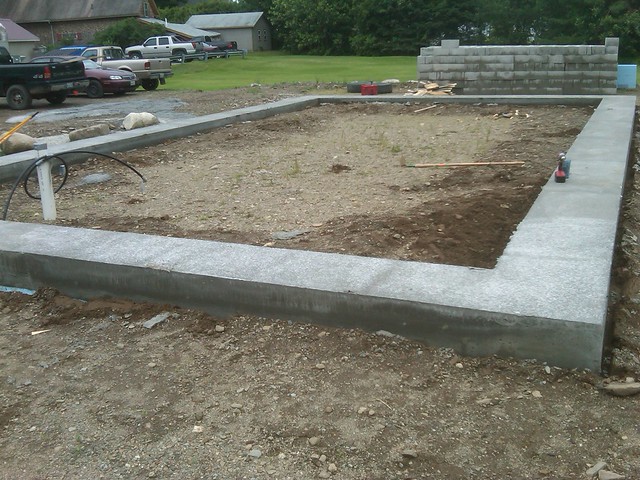
We then started wrapping the footers with insulation so we didn't have any thermal bridging. We dug down to the bottom of the footings on the outside and cut pieces to fit and back filled with dirt.
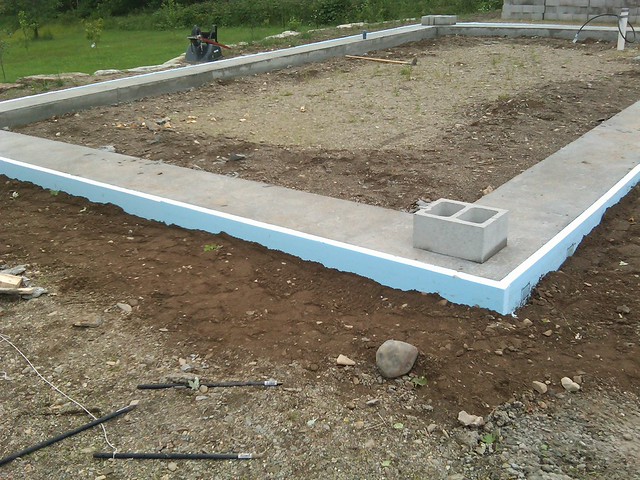
We then dug out on the inside of the footing track to install the insulation
After it was all installed we back filled it and hand tamped dirt against the insulation to hold it in place.
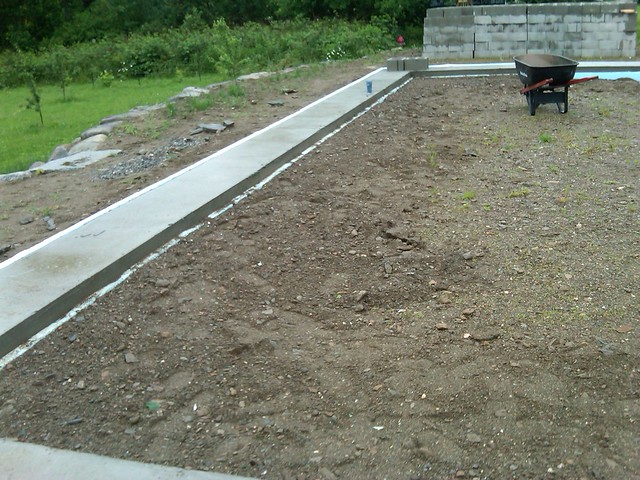
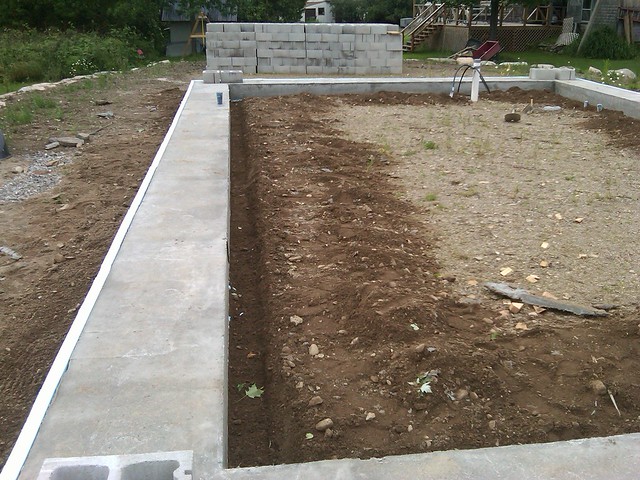
We needed to fill in the middle to get a some what level surface, so we started hauling in wheel barrows of gravel and raked it out.
15 Feb ’12
Offline
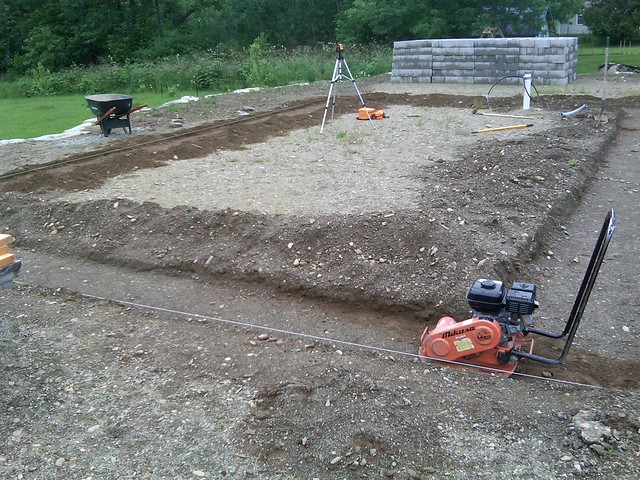
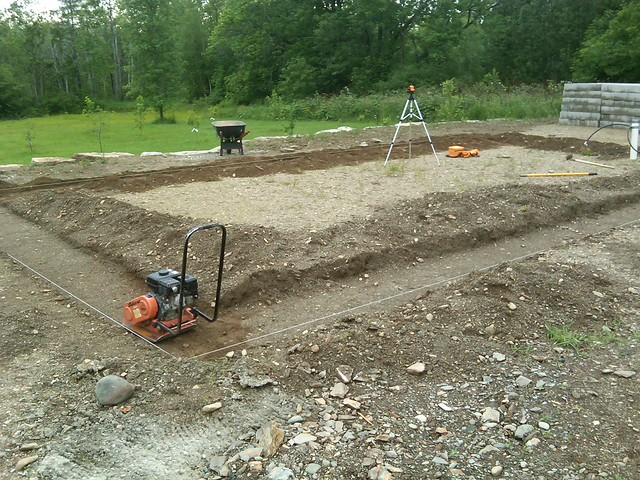
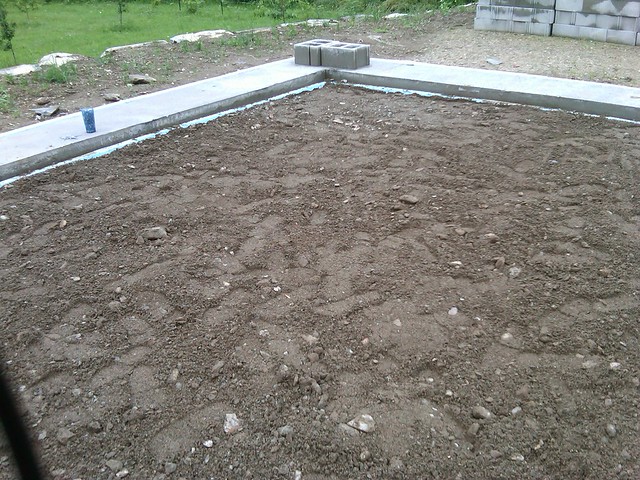
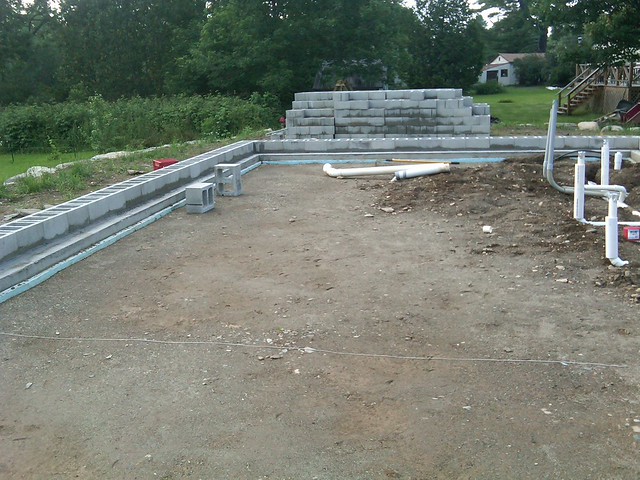
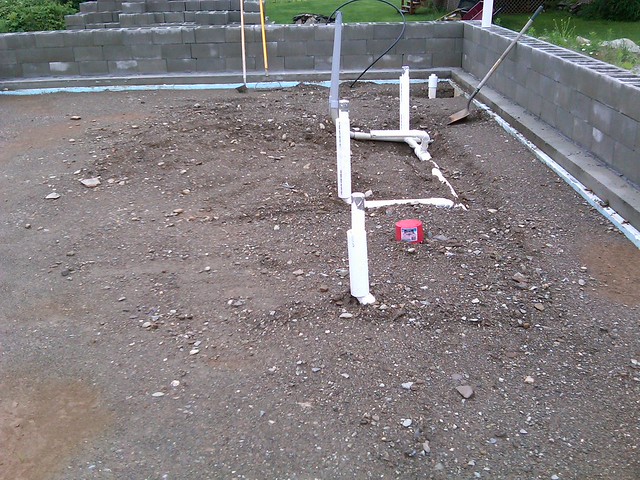
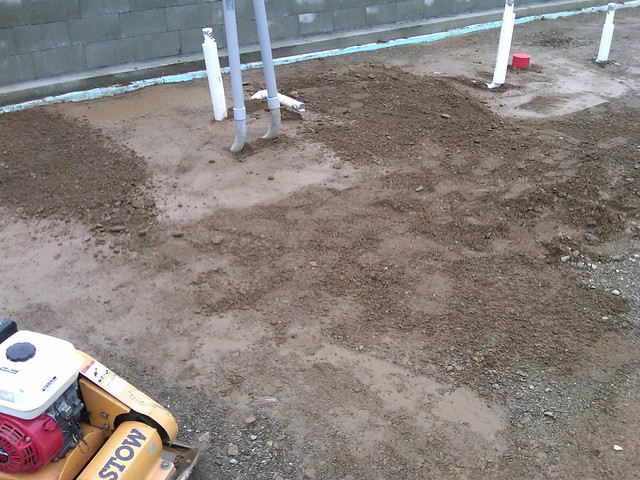
Back to compacting, I spent about 2 days raking out and compacting to prepare to pour the slab, we would wheel barrow in some gravel, rake it out, compact and repeat.

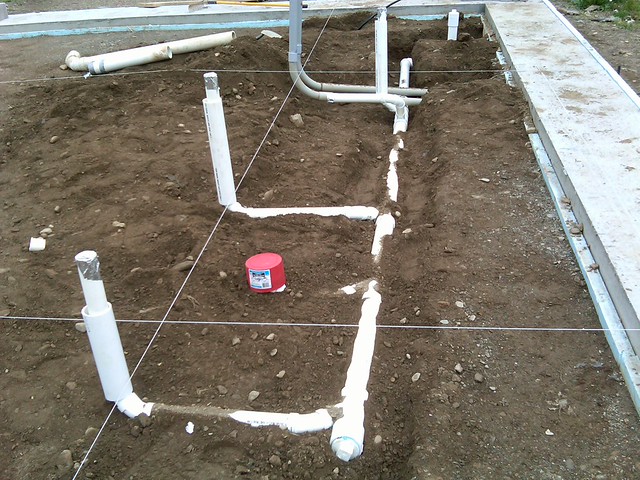
The plumber came and started digging out the main sewer line we installed last year. I asked him if we could put a shut off on it in case of power outage but he said it was against code

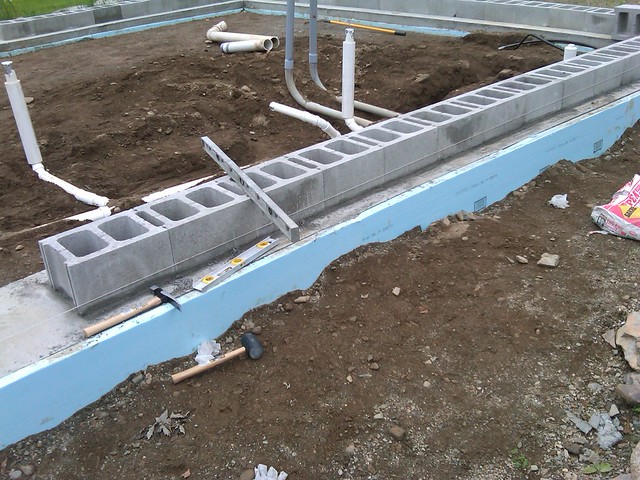
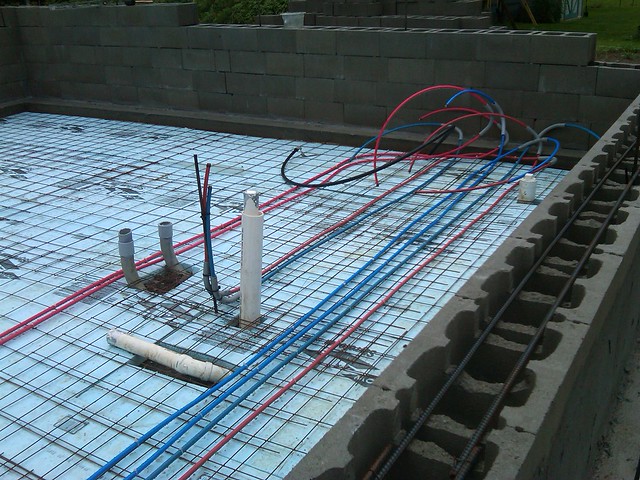
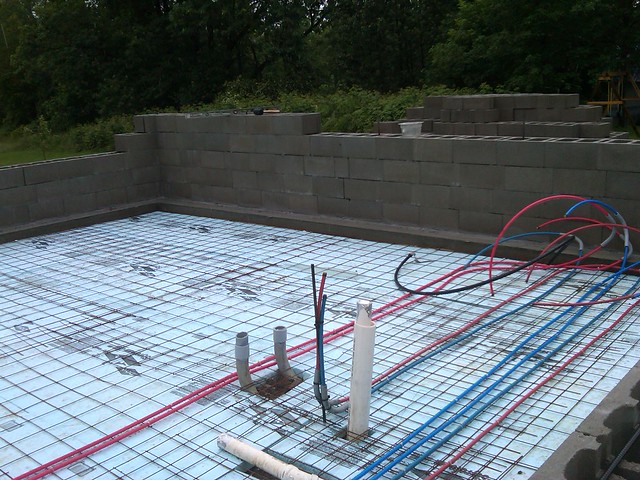
We laid out strings to where the walls were going to be, and started stubbing out everything. The 2 grey pipes here are the propane and electric supply stub outs.
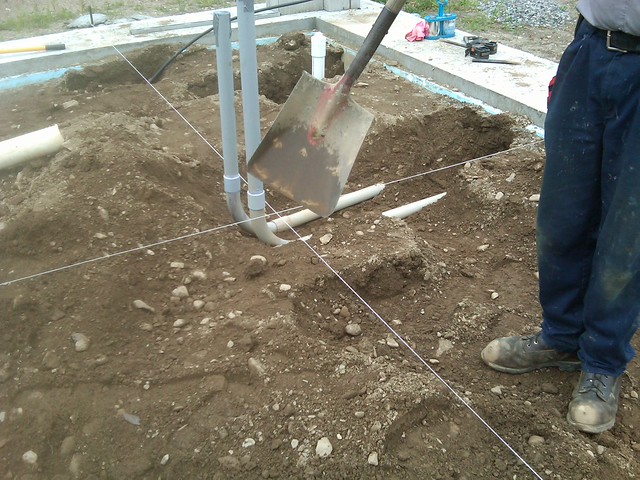
Here's a new code that makes sense. The sleeve of pipe over the stub outs, I asked the plumber what that was for. He said if there was any shifting in the slab the outer pipe would crack instead of the vent or drain pipe.
15 Feb ’12
Offline
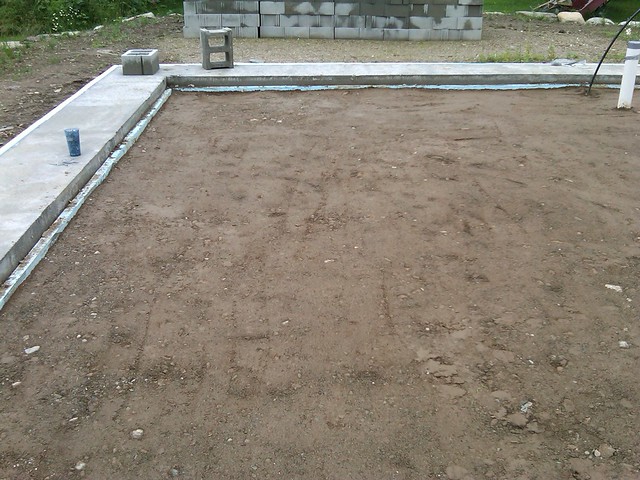
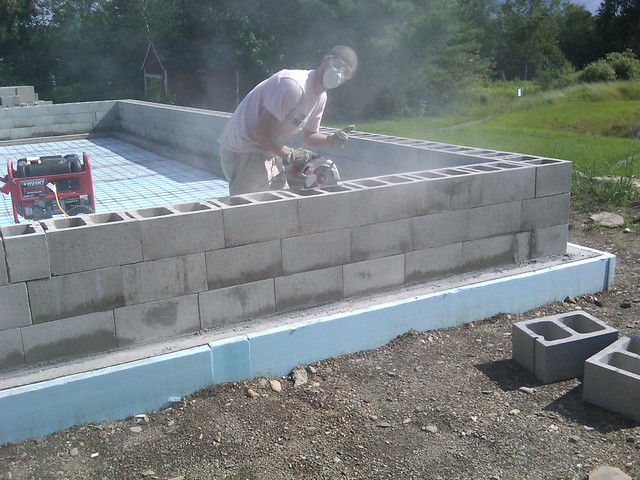
I started to dry stack the first course just to see what I needed for cuts. With the dry stack method you only mortar the first course to establish a level base, after that you just dry stack them. I set up my high corner and set some string lines
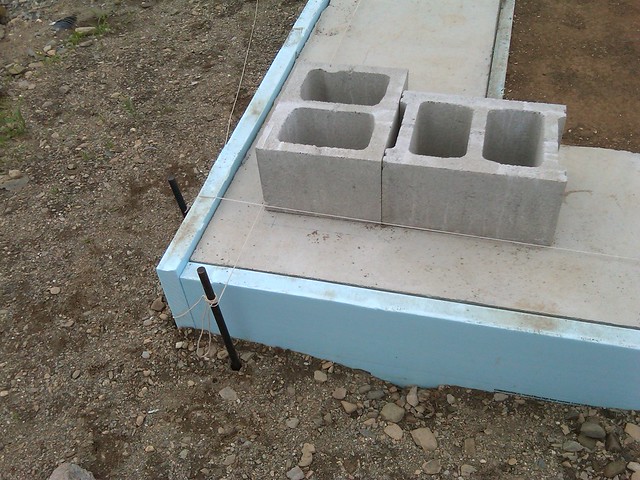
And started just dry fitting blocks to check for fit and lay out
I left a space for the front doorway
It's very important to have the right tools, I tried using a cold chisel, but on 12 inch block, it doesn't work so well, I went with a diamond tipped blade for my skil-saw which worked great, but I did burn through 2 saws for the project.
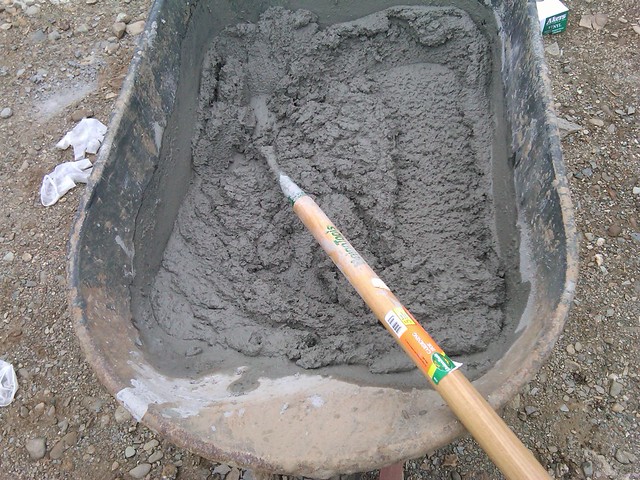
I proceeded to mix up some mortar to start my first course.
Using string lines I had set up at each corner and a 4 foot and 2 foot level I proceeded to start laying block
and continued working our way around mortaring the first course, we noticed we had a 1 inch difference in height from corner to corner, I was a little concerned about that but was told by a friend contractor not to worry about it, he has seen worse in professionally poured walls.
15 Feb ’12
Offline
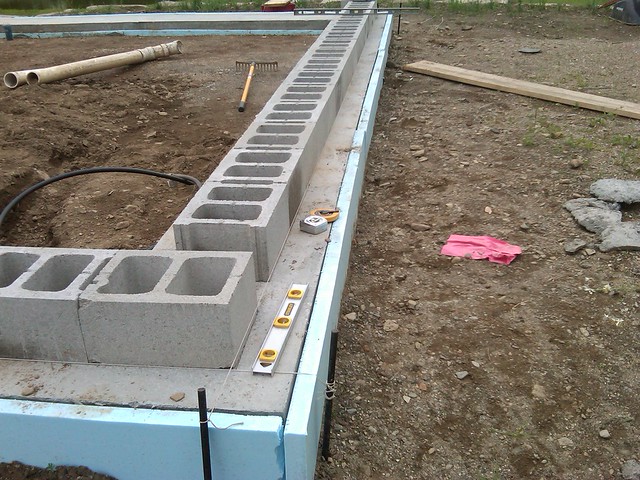
I continued around the far side
and once I had let the base course sit 36 hours I started stacking away
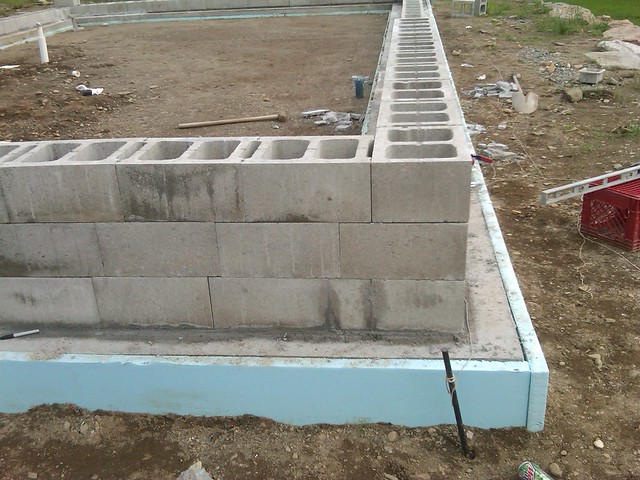
While keeping the lines up to make sure I was straight. Since the blocks were not uniform, I used some aluminum flashing and cut small shims to level the blocks as I was going.
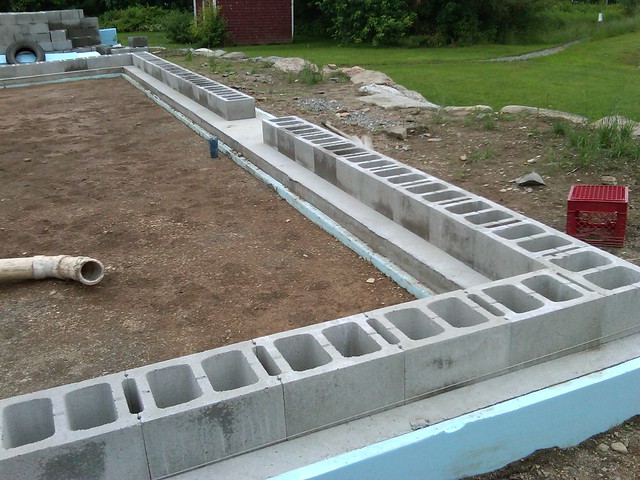
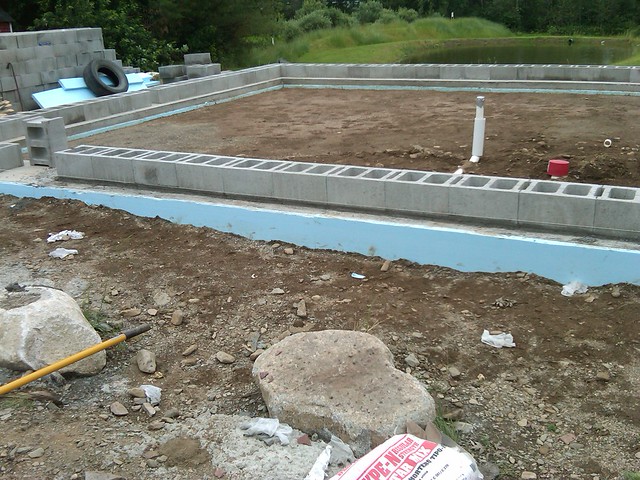
After I was 3 courses high, I went and picked up the compactor again to fill in where we had dug up for the plumbing and propane lines and compacted again.
almost done, this was starting to get old
15 Feb ’12
Offline
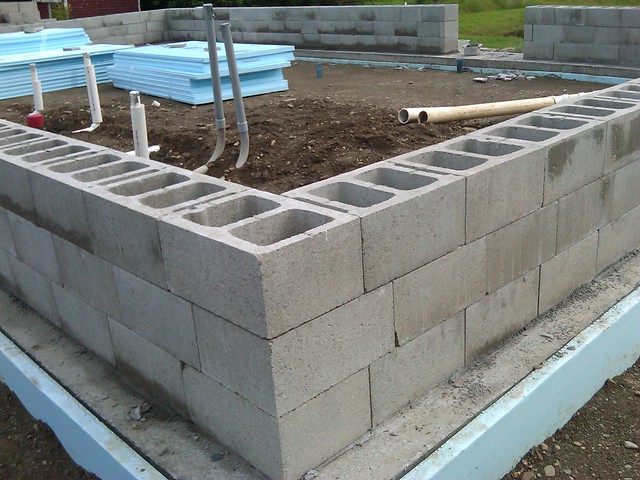
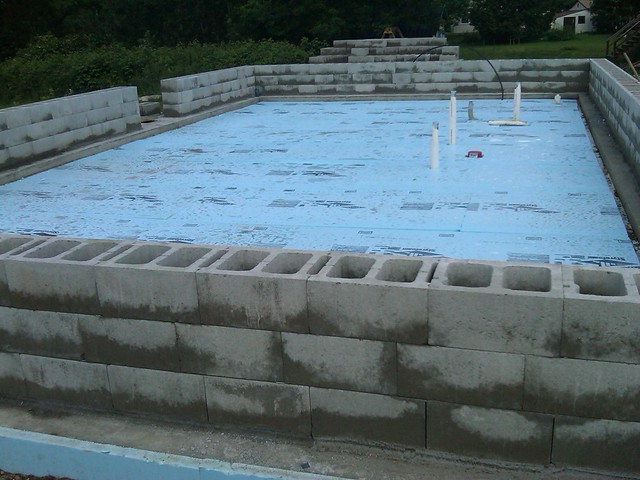
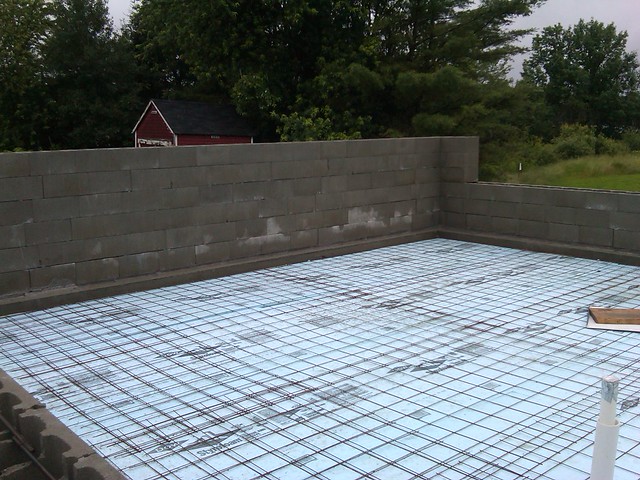
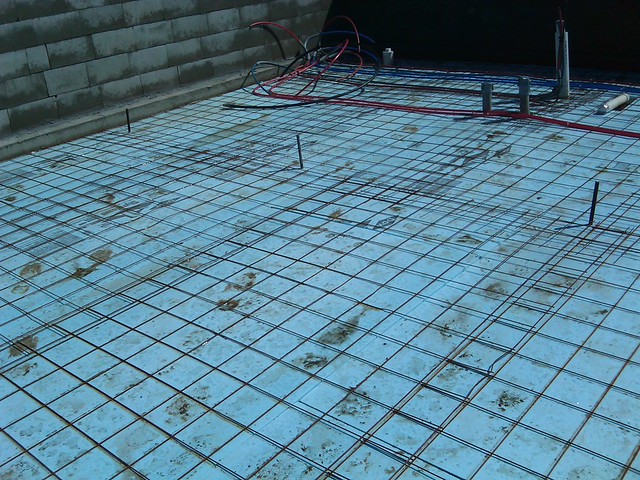
I then had the insulation delivered to insulate under the slab.
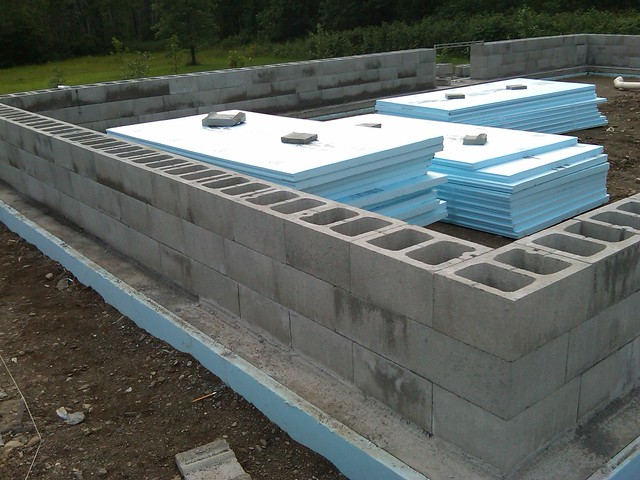
I started laying out the insulation, butting it up the insulation around the footing.
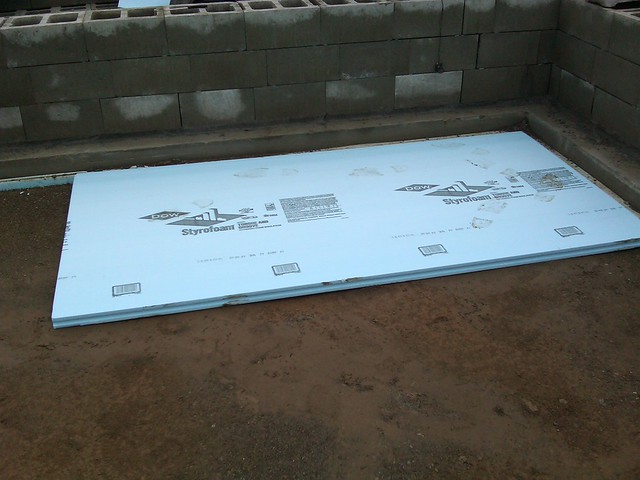
Staggering my joints and fitting it like a puzzle.
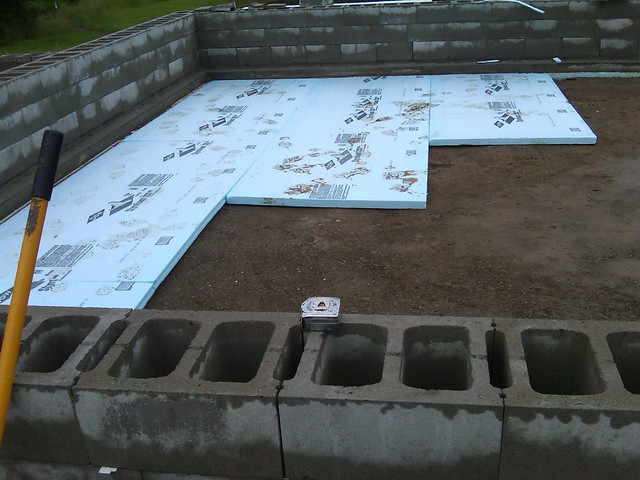
all Finished up, I found the best way to cut it was with a hand saw. A table saw was great for a straight cut.
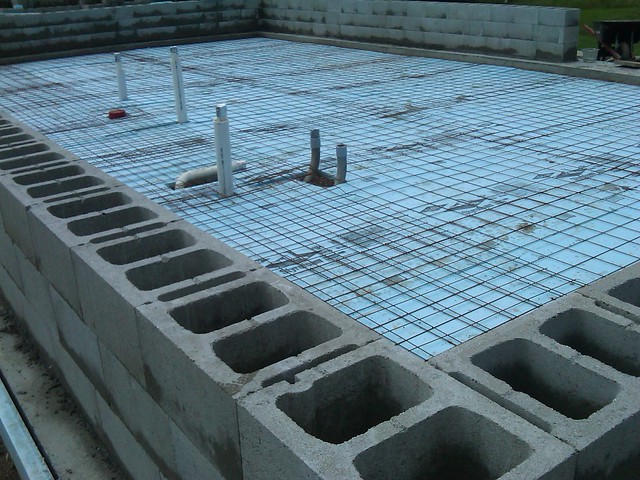
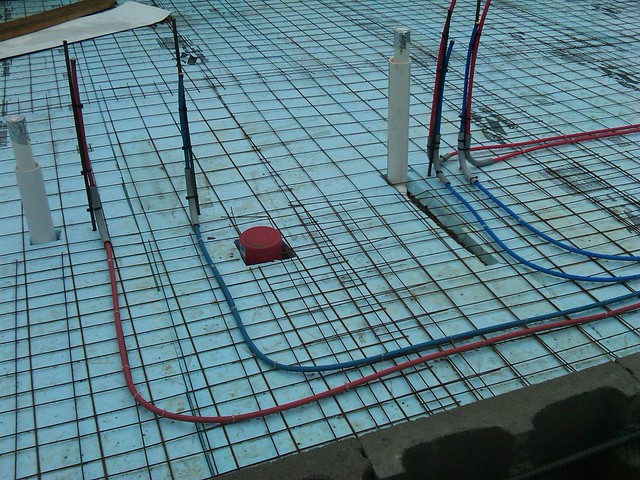
After returning the compactor, I picked up the wire mesh. I prefer the flat sheets instead of the rolls, because the rolls hold the memory and keeping them flat are a pain.

Laid them all out making sure the sheets were overlapping.
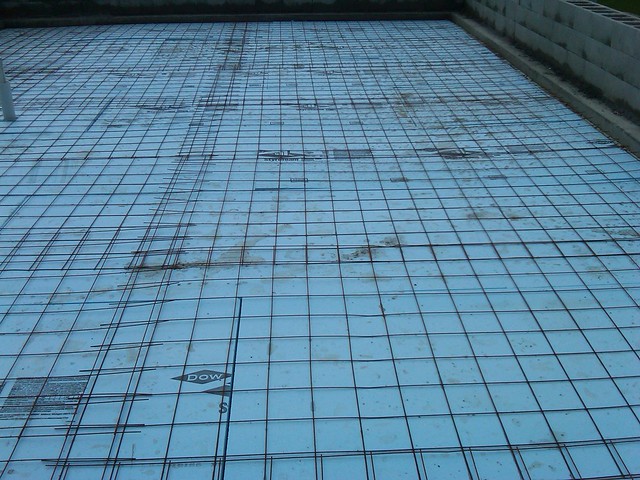
Bolt cutters worked the best for cutting the wire mesh around the plumbing.
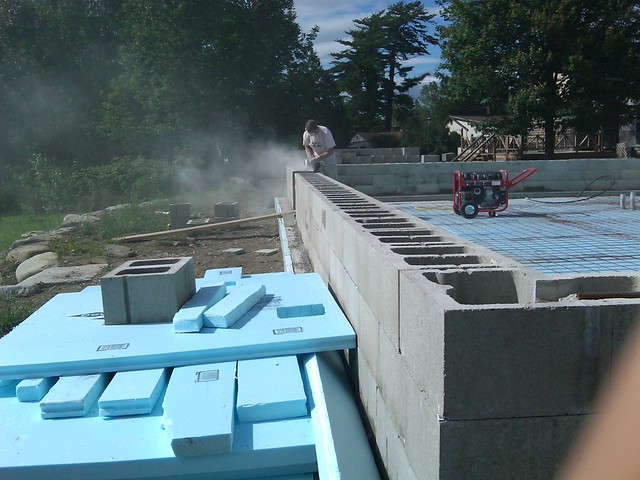
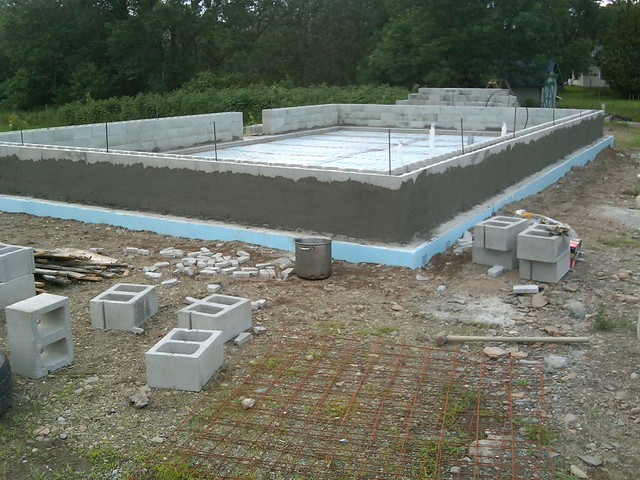
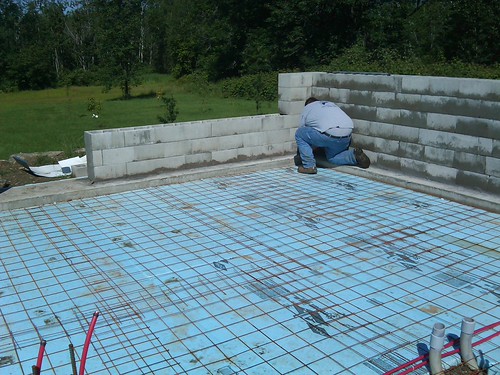
I then went and picked up bags of surface bonding cement to coat the outside of the courses I had built. I didn't want them to shift, and I wanted to wait to do the inside, so I could have as smooth a coat as possible
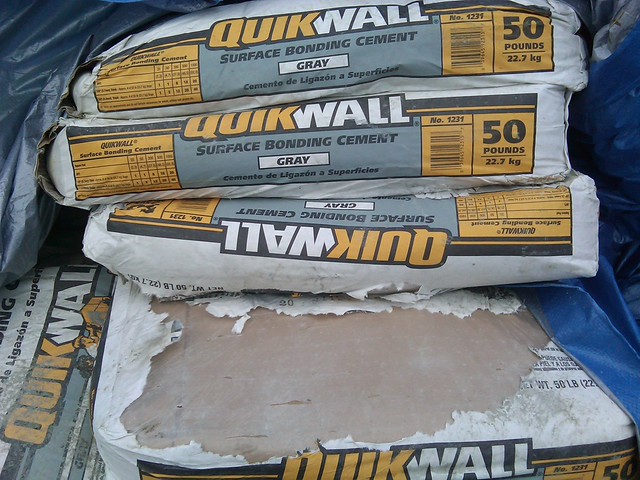
I then proceeded to put the first coat on, I wanted to make sure the bottom courses didn't shift.
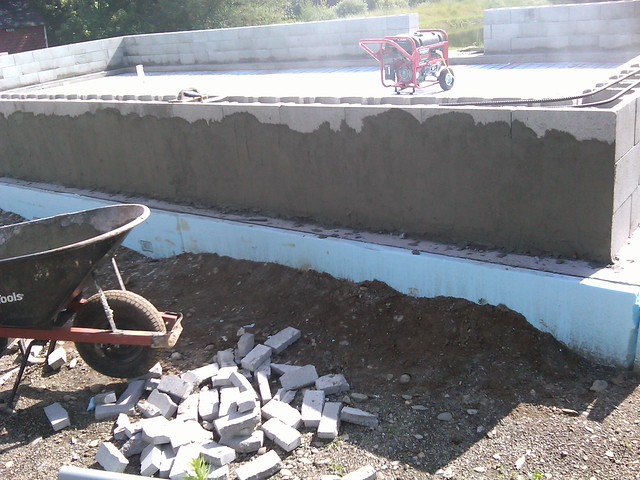
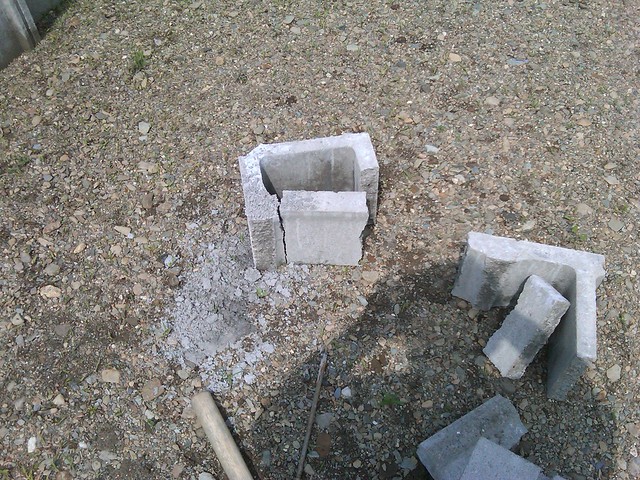
When I ordered the block, I told them I also wanted some bond beam blocks, but no one had a clue what we were talking about. So I decided to make them myself. We used a diamond tipped blade and made a shallow cut on each side of the block and with a slight tap made a bond beam.
15 Feb ’12
Offline
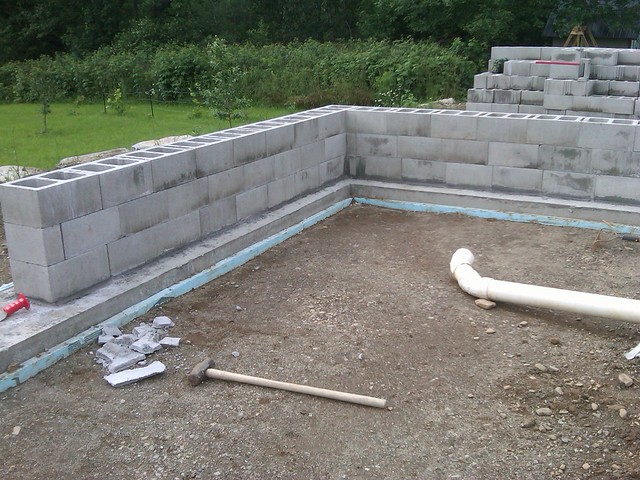
When we were done, we went around and laid 1/2 inch rebar in our bond beam we had cut
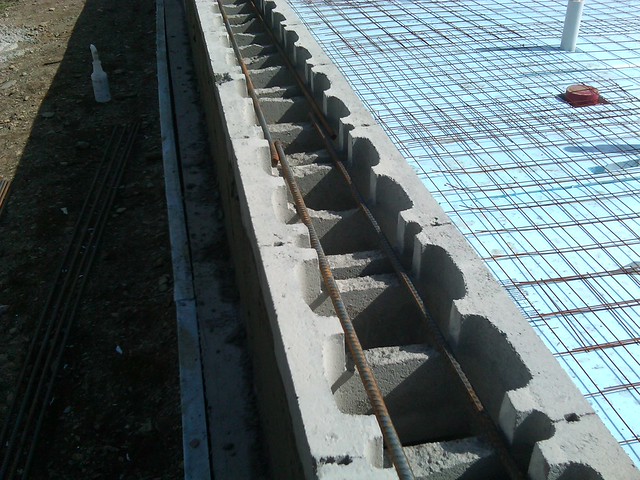
And dropped a piece every 4 feet vertically. At this point I stopped stacking block, because I was waiting on the plumber to run his water lines so we could pour the slab. If we stacked anymore, I would have had to rent a pump truck because the walls would have been to tall to chute over.
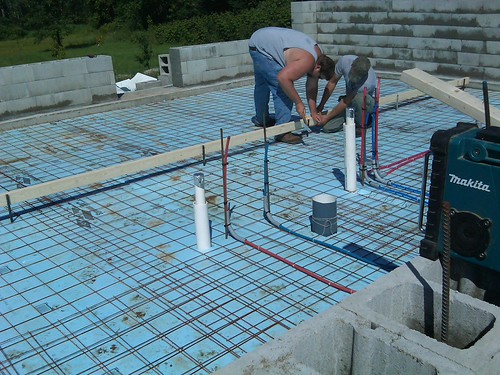
The plumber showed up 2 days later and ran the water
Seeing as how I only needed a gap on the back for the cement truck, I proceeded to stack some more on the ends.
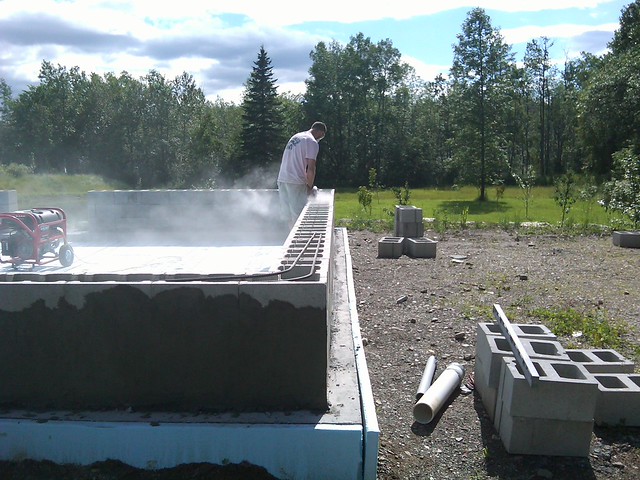
We finally had a couple days of good weather ahead of us, so we decided to pour the slab.
My friend brought over his transit and he shot grade to find out the high spot of the footing.
We then around and checked each corner. We were going to pour the slab over the footing 2 inches minimum up the wall. So we wanted to make sure we didn't set level at the low spot and then end up not having any slab against the high spot.
With the high point established, we went around and marked each corner so that we had a level grade at each corner and We then used chalk line to snap a line between each corner to get grade mark along the walls to pour the slab up to. We then set grade stakes down the center to attach 2x4's to screed off of to break up the slab pour. We leveled the top of the stakes with the line on the wall and attached the boards.
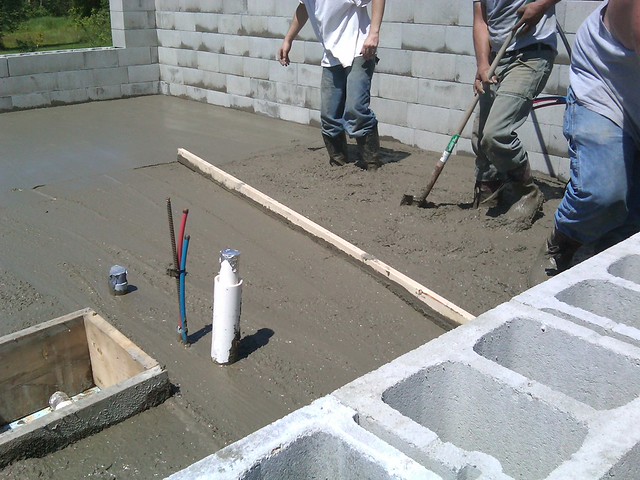
Just as we finished up we turned around and there sat 2 cement trucks ready to pour. We started by pouring the front half,
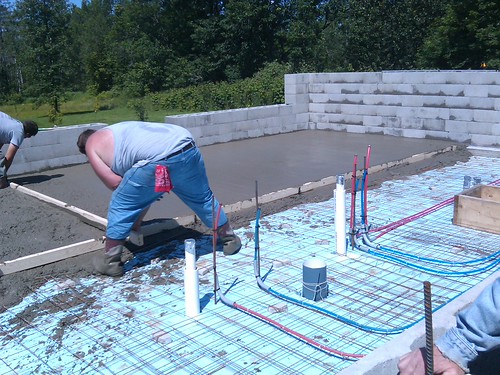
but it was quite hot out and was starting to set to fast, So I called 2 more friends for help. We poured the front half and made our way back on the back half and were working our way into a corner. You can see where the slab is almost poured up to half a block on this side.


Most Users Ever Online: 698
Currently Online:
30 Guest(s)
Currently Browsing this Page:
1 Guest(s)
Top Posters:
easytapper: 2149
DangerDuke: 2030
groinkick: 1667
PorkChopsMmm: 1515
Gravel Road: 1455
Newest Members:
irmaserna712963
margaritodfp
meghanskuthorp
traceyfarber195
samiratylor6447
Forum Stats:
Groups: 1
Forums: 12
Topics: 11478
Posts: 58673
Member Stats:
Guest Posters: 2
Members: 3486
Moderators: 0
Admins: 1
Administrators: K

