
 Register
 Log In
 Home
Home
15 Feb ’12
 Offline


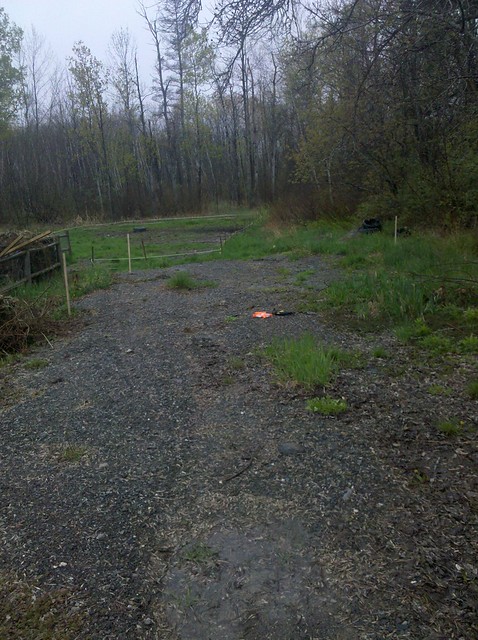
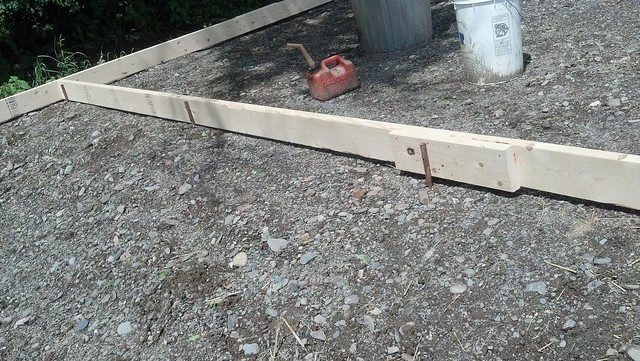
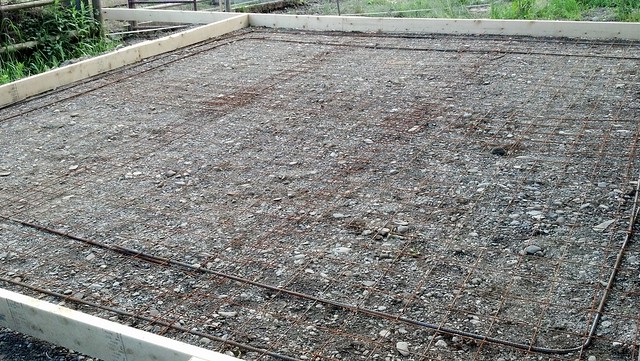
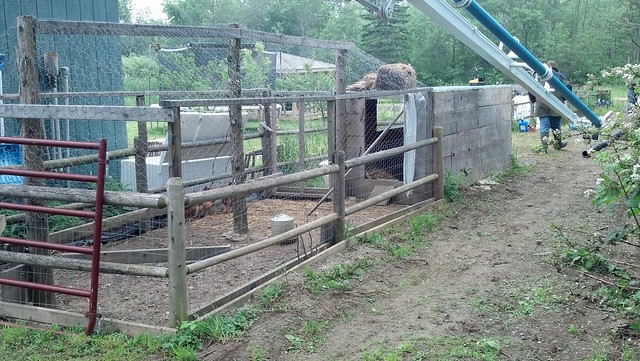
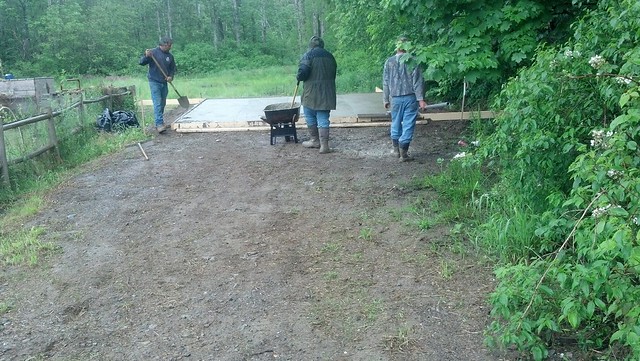
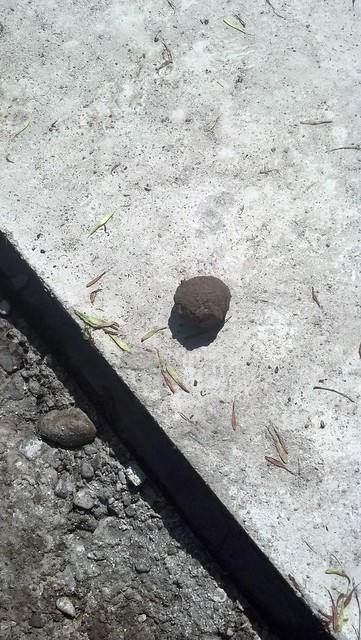
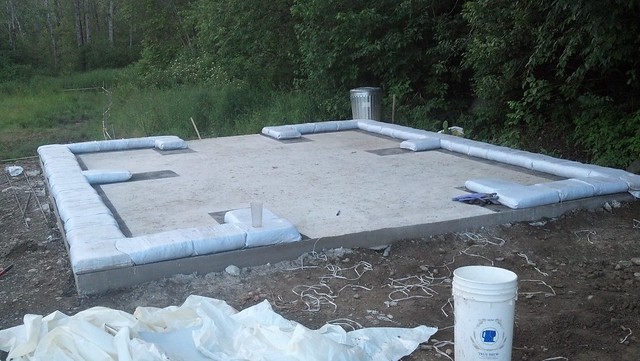
so yesterday morning the guys showed to build the pad for the mini barn, we started by marking out the corners
some final directions for the operator

and went around and marked the finished grade on the stakes

and the skidder operator started hauling in gravel

the yard was holding up okay
lol, not a half hour later
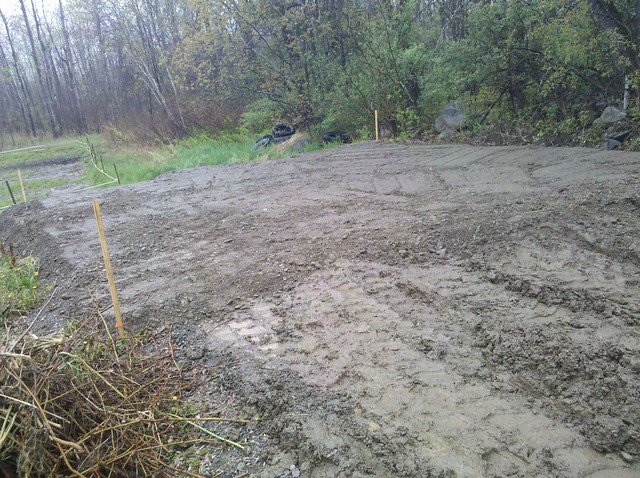
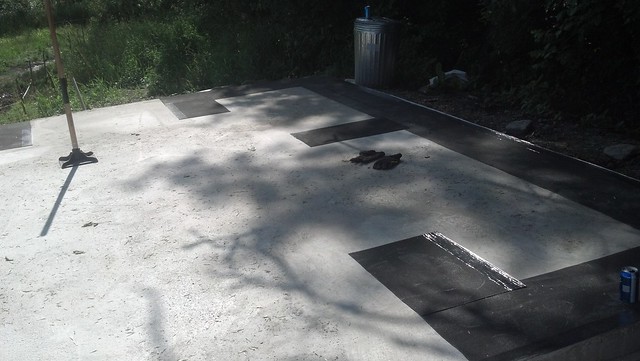
it didn't take long to build the pad though
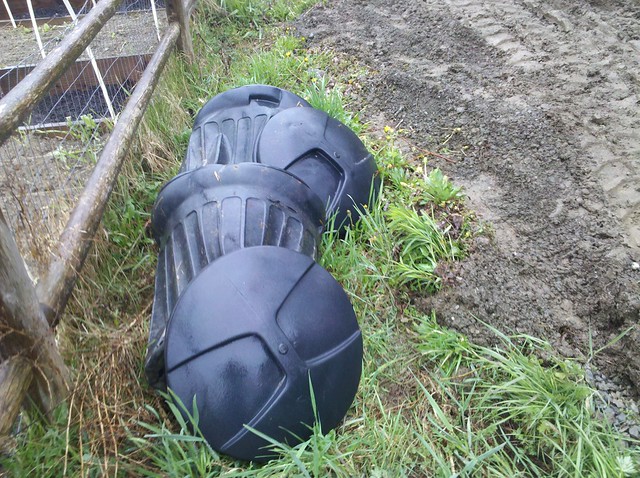
my mini wells didn't make it through the process though
then it was just a matter of working their way out and smoothing out the ground
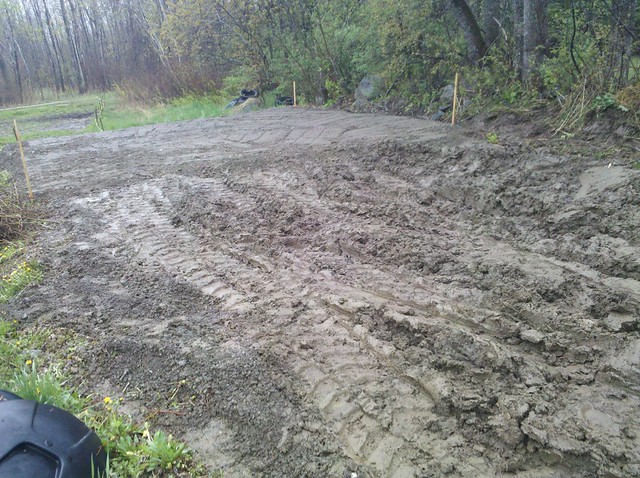

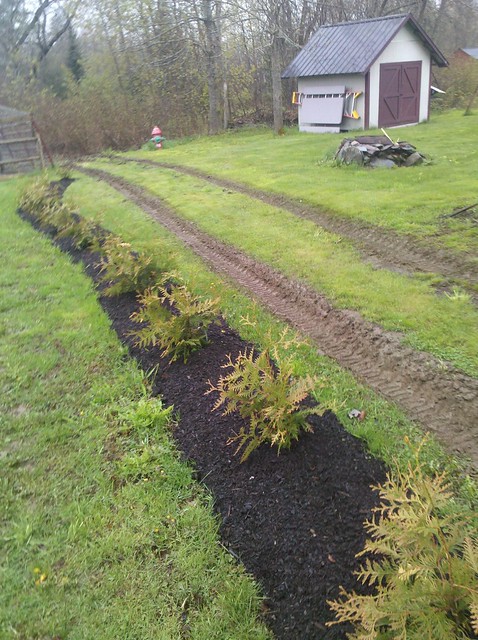
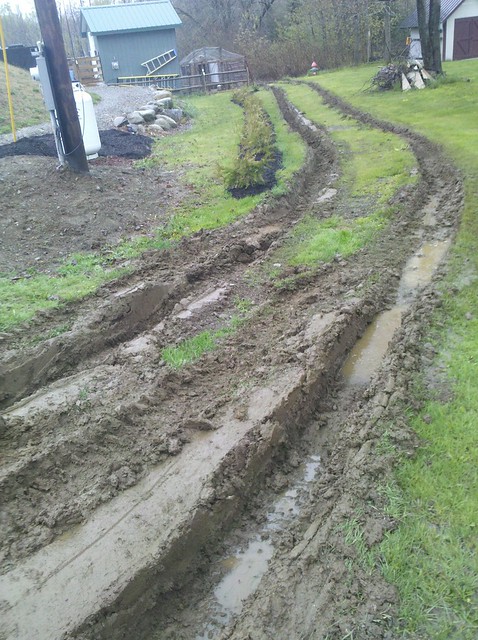
by the time they got to the yard it was just to wet and it was a exercise in futility, they did the best they could and we are going to let it dry out some before we attempt to fix it right

I think I'm going to need to take out that overhanging limb due to the proximity over the building site, it would suck to get it built and have a limb take out the roof
to be continued

16 Feb ’12
Offline
Awesome dude!
15 Feb ’12
Offline
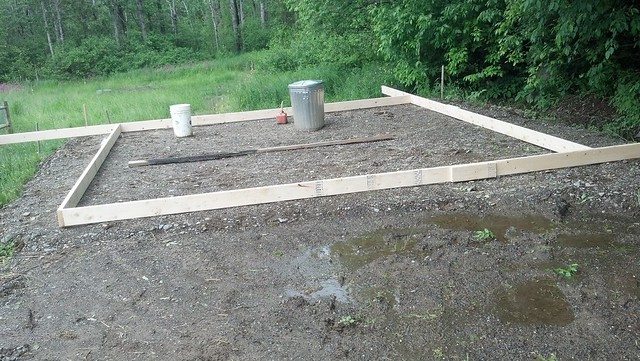
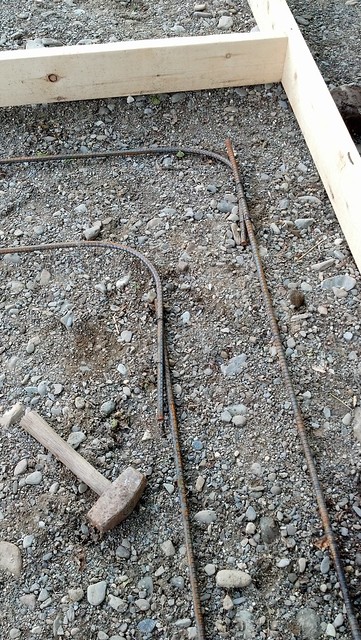
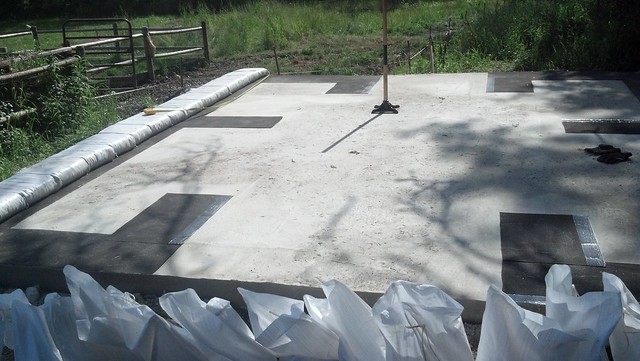
I was able to get the slab framed out over the weekend
I pinned it and leveled it all up
So last week I went and picked up some rebar and 5x5 wire panels, holy sticker shock, man Iron has gone up in price
I laid out the rebar to figure out my overlaps
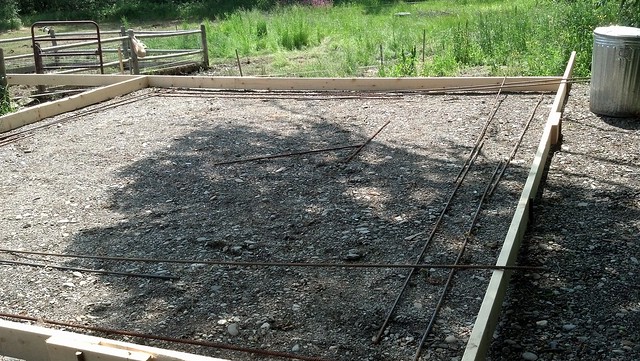
I decided to curve around the corners

I grabbed some rebar ties
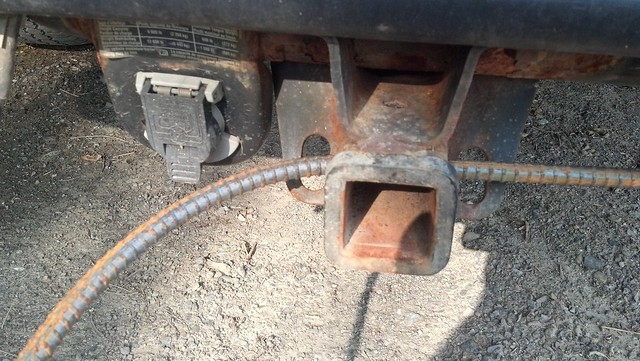
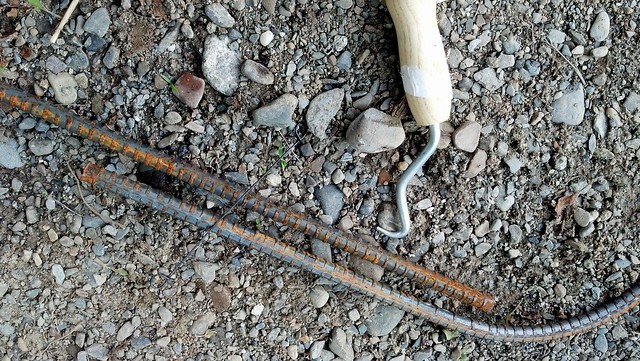
And pulled the pin out of my ball hitch
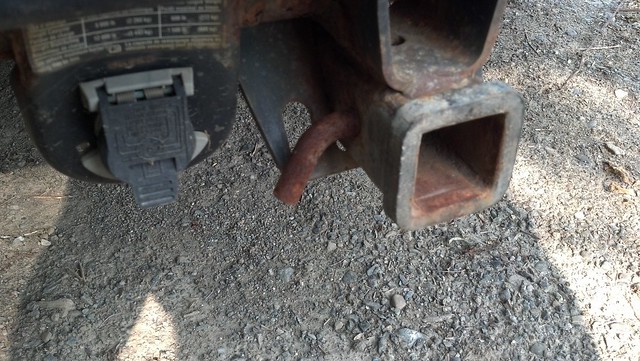
and stuck the rebar through the hole
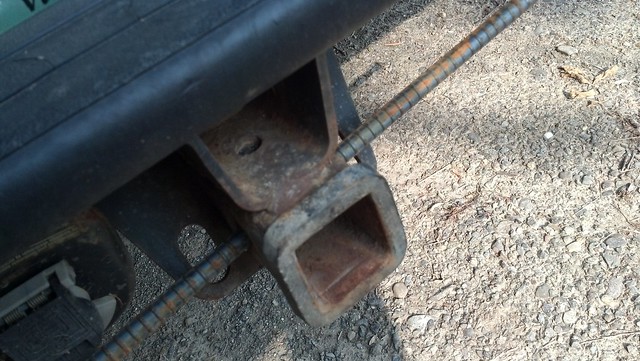
and bent the rebar at 90 degrees
And went around tying the rebar together
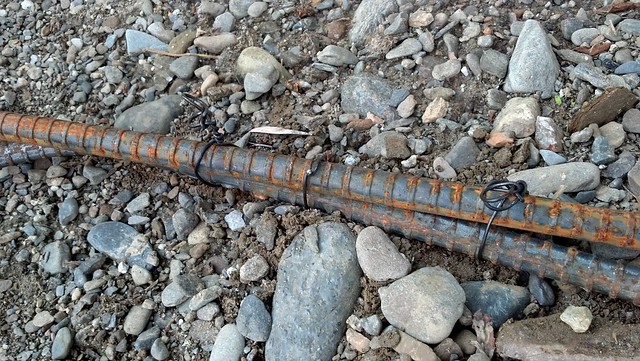
and ran two courses about 10 inches apart

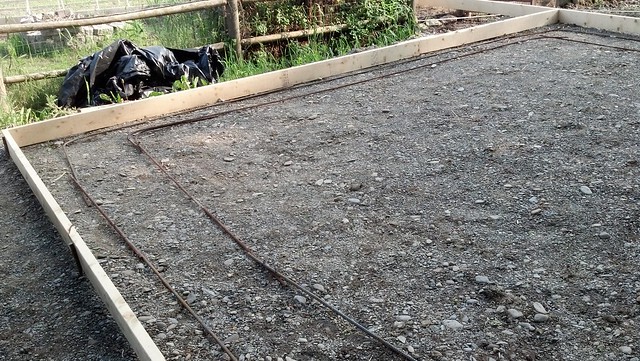
I laid out the wire
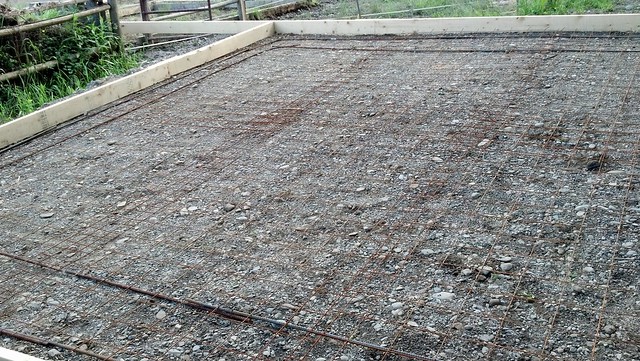
and went around tying the panels together and to the rebar

we were ready to pour
The Next morning the pump truck showed up. I told them to bring the trailer we had used to pour the patio, instead they brought the big boom we used for the house.
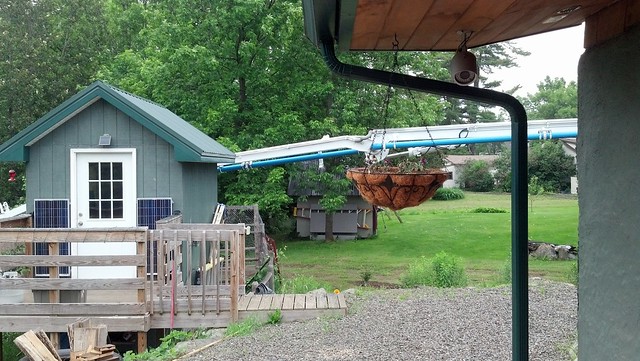
He had to swing the boom up over the house, this was a little nerve racking
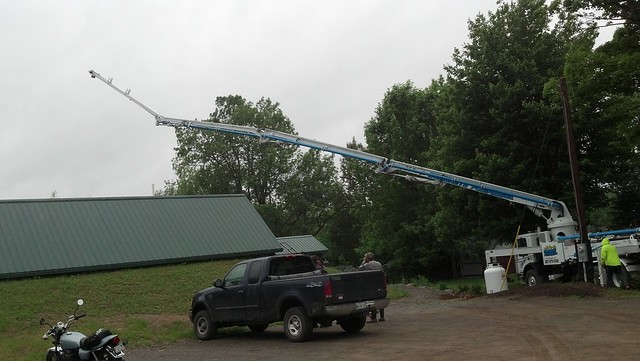

I was expecting him to wipe out my dads cabin
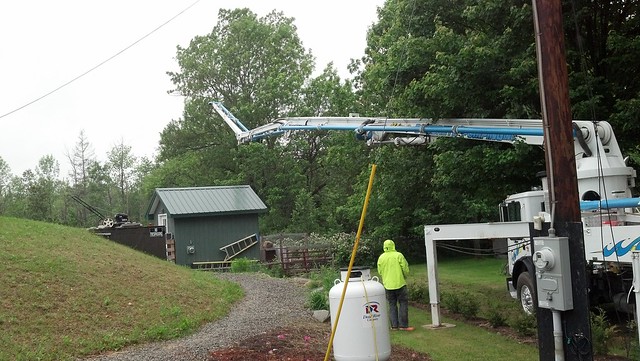
but he got it back there
the chickens were a little freaked out
We ran out the hose
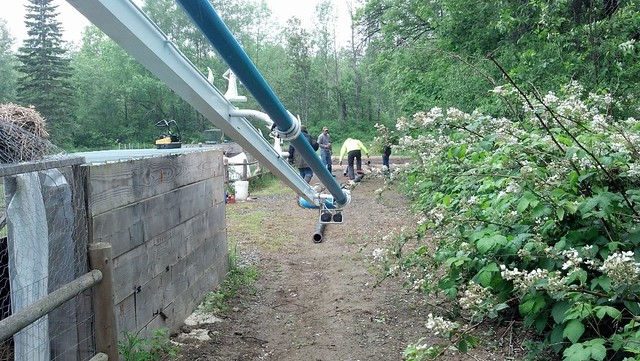

and hooked it up to the boom
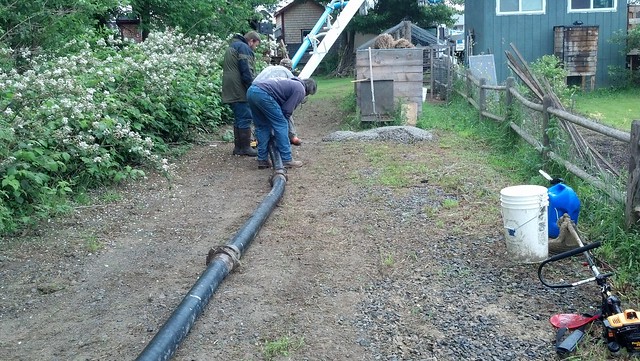
the cement truck backed up to the hopper

and we started pumping

I had ordered 6 yards and it was just a little short

so we hand vibrated the cement to get it to level out and screeded it
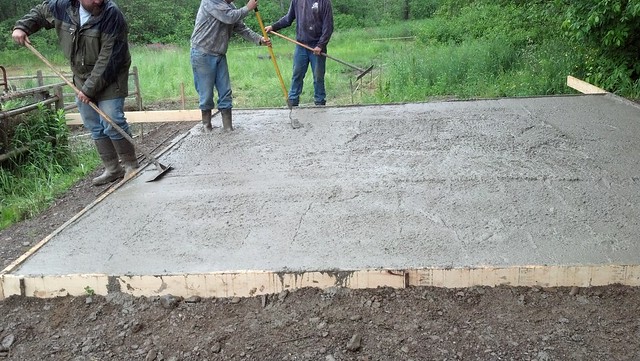
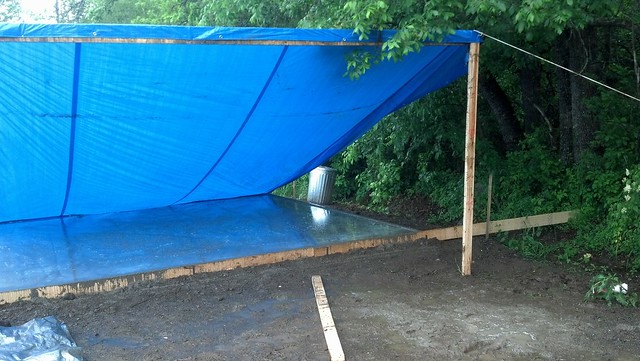
of course we poured on the only day it rained last week so we set up a tarp to keep the rain from dimpling the slab

I have been kicking around different Ideas on how I want to build, I wanted to do the slip form but finding a supply has been difficult, I have been wanting to do a earth bag for awhile, so I'm leaning towards that
J had asked me the other day how I get away with no footers with my slabs. Basically for outbuilding like this I make a large pad of good draining material (gravel). I grade around them to take water away so there is no Issue with frost heaving. I basically build the slabs on one large shallow trench foundation and float the slab on top of it. Also when I pour I use fiber reinforced cement for extra strength and I pour the slabs thick, we average around 6 inches for our slabs. If I was building a heated building like a house I would use a footing such as we did with our house. We poured the slab for my fathers cabin with this method, but instead of building up a gravel bed we poured on top of insulation which protects the slab from frost. It has worked for us so far.
15 Feb ’12
Offline

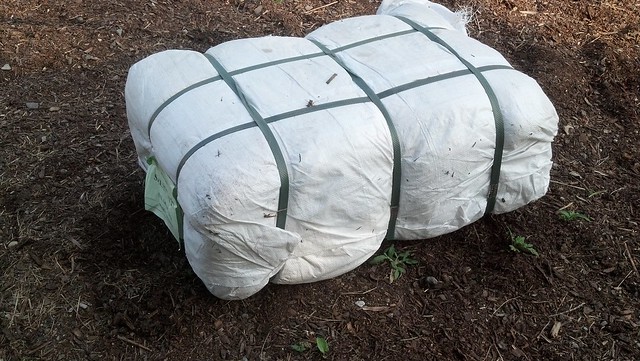
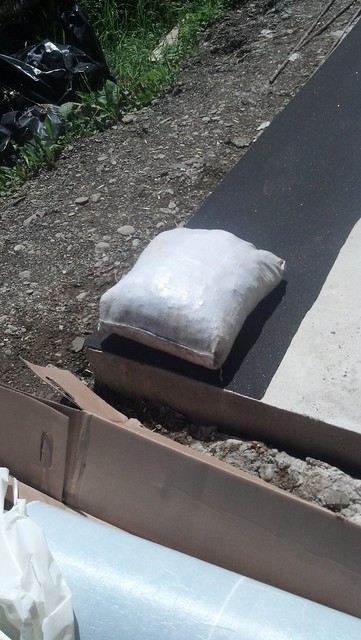
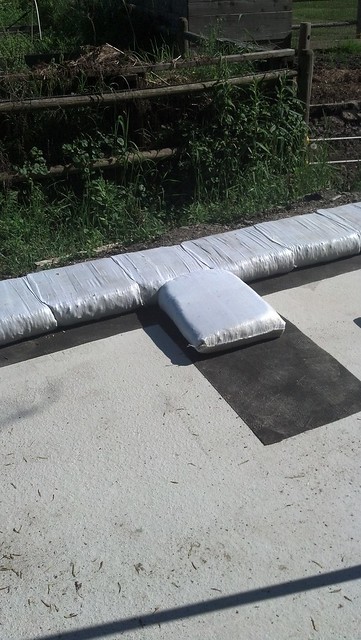
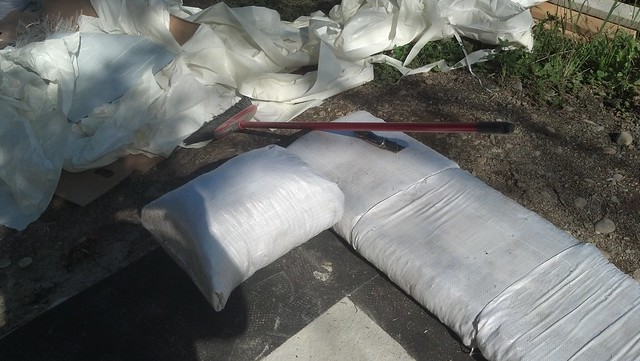
So the other day my barn was delivered, 1000 sandbags, those suckers are heavy
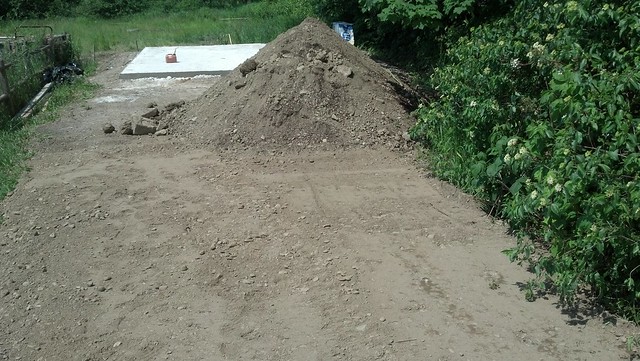
I also had some gravel delivered
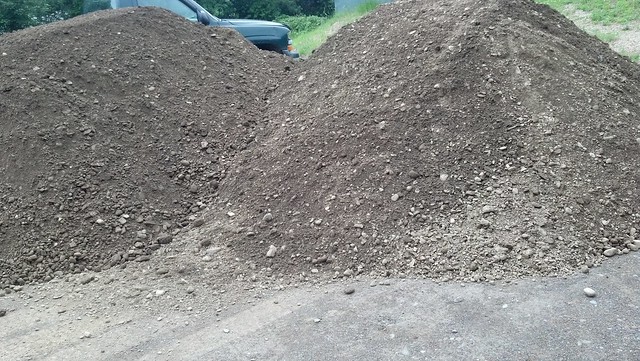
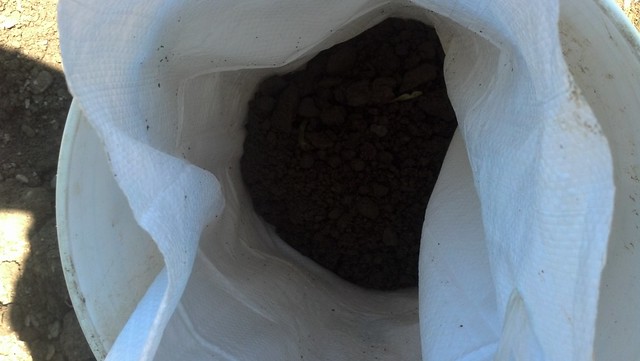
I asked them also if they had a source for some soil with a high clay content, just so happens they did
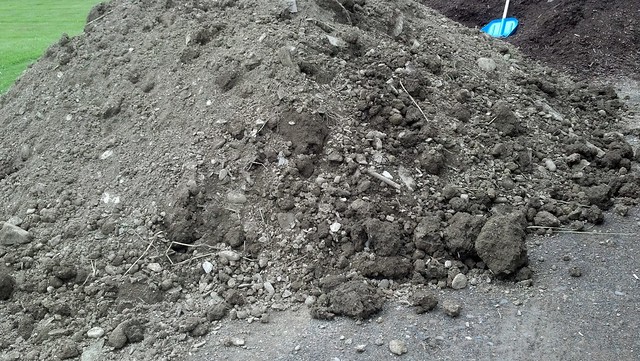
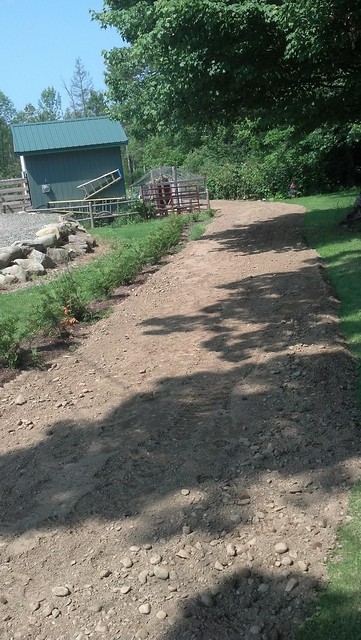
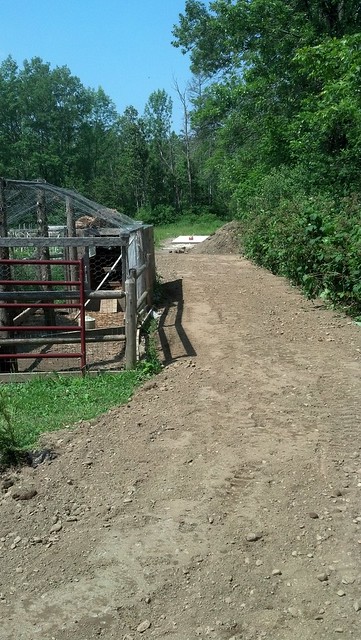
since we have actually had a week without rain we were able to get the driveway built going back to the barn where the side yard had been dug up when they built the gravel pad for the slab
I had them haul back the soil when they were done, that way I didn't have to wheel barrow it back
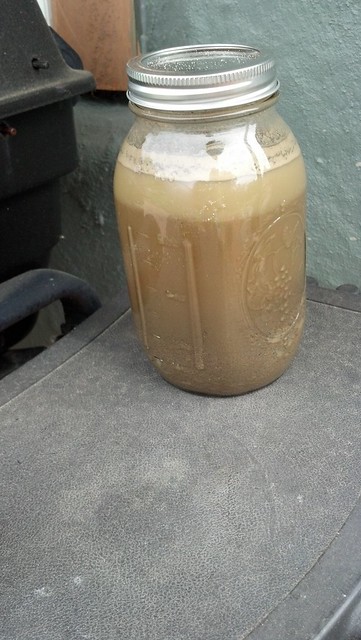
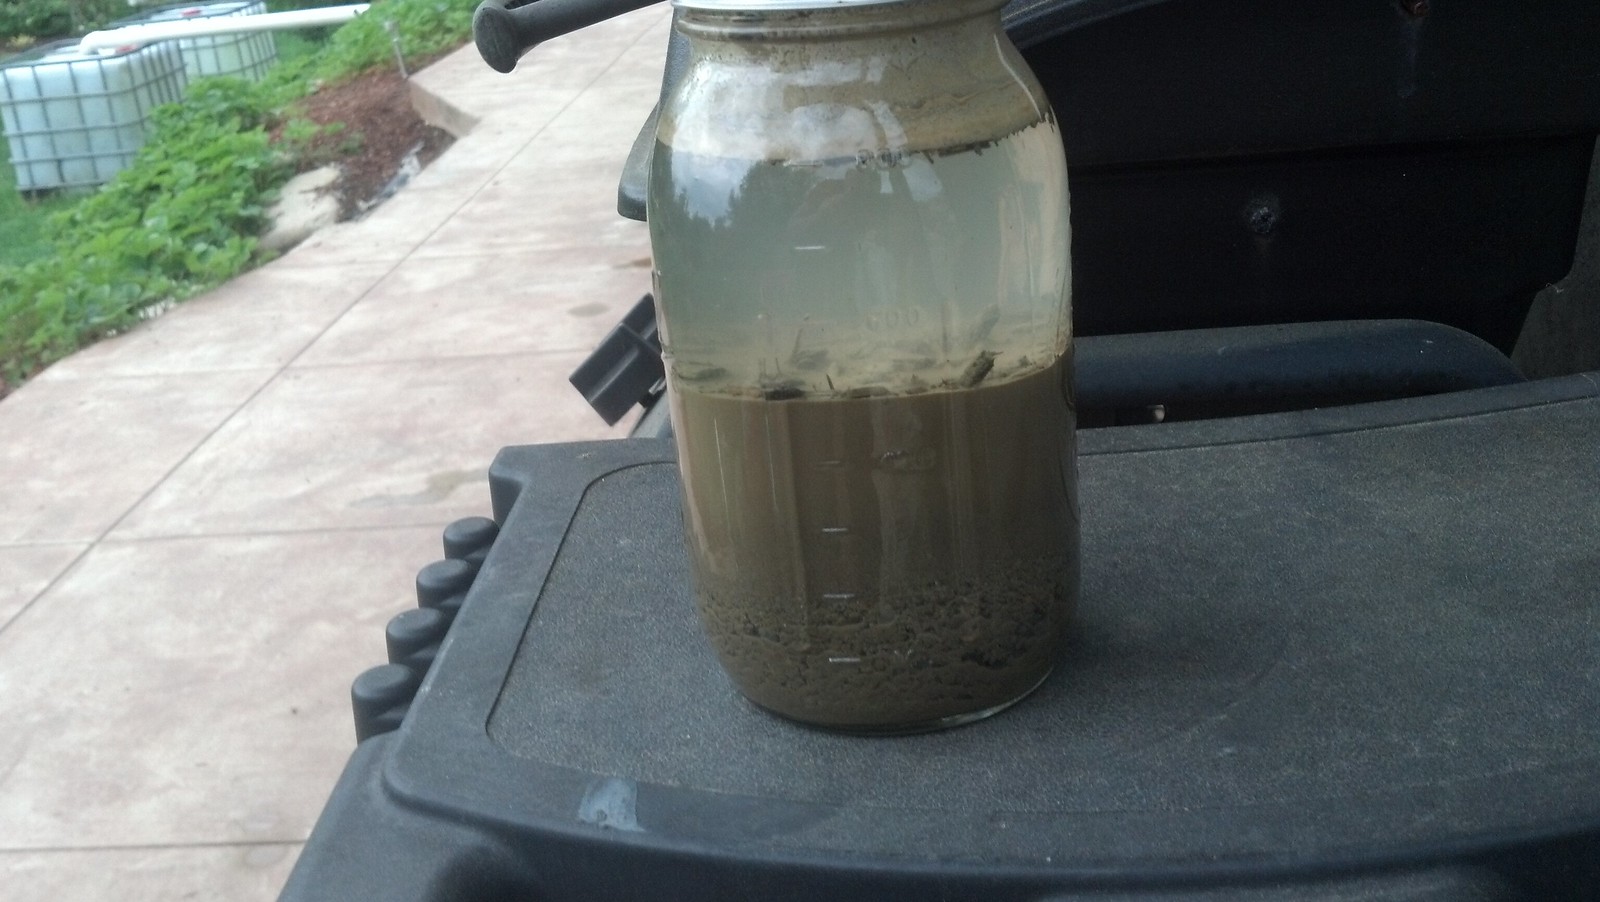
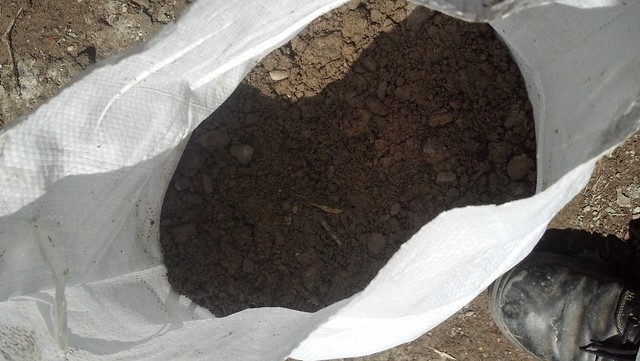
I have to do a soil test to see how much clay content it has to know if I have to stabilize the soil or not. So I took a mason jar and filled it half full with soil
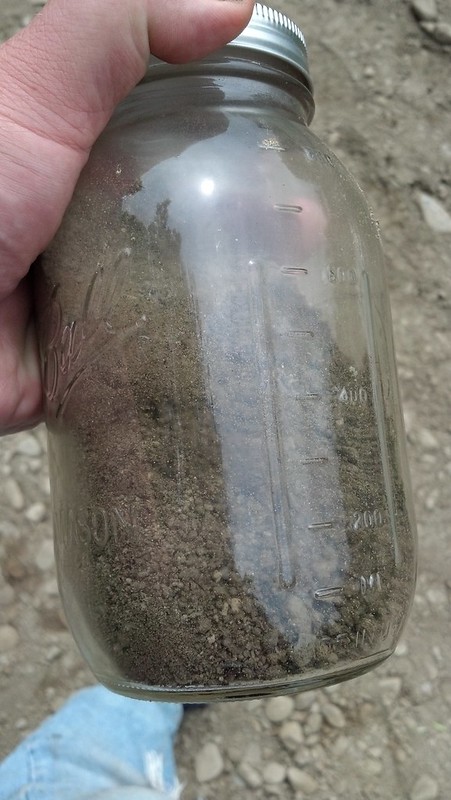
I topped it off with water and shook it well and set it on my grill so it wouldn't be disturbed
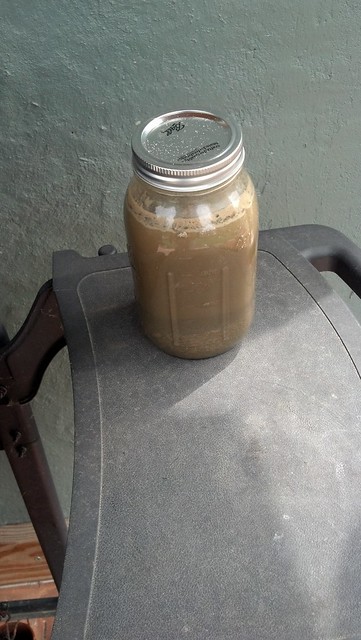
you can see just after a couple minutes the sand and aggregate settles out to the bottom and the clay settles to the top, I need to let it sit over night to see how much the percentages are
this is the book I am using to build this with, I am a little nervous and excited because I have never used this method, we shall see how it turns out
![]()
to be continued
15 Feb ’12
Offline
So I checked my test jar yesterday, based off that I figure our clay content is between 30-40 percent which is on the high side, but there is alot of small stones in it as well which will work well for aggregate, so I went with it
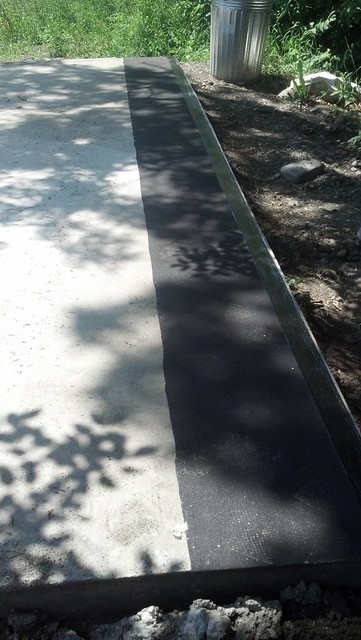
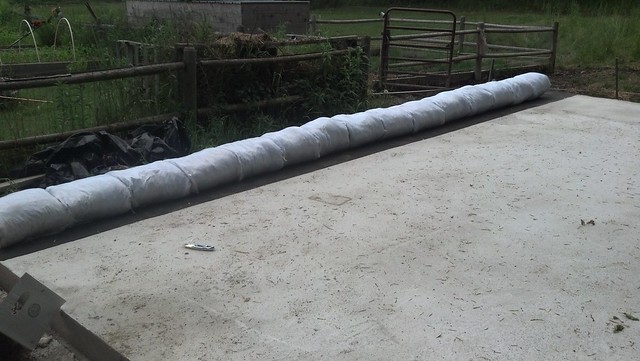
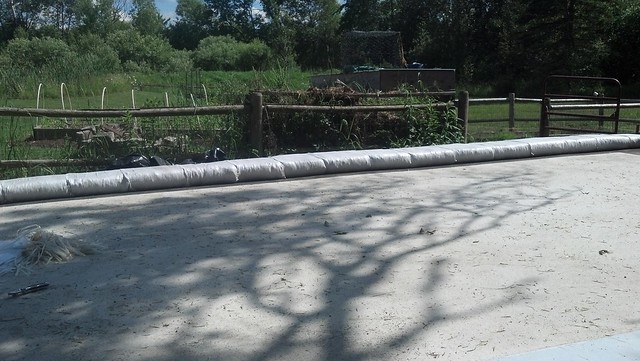
with placing the bags on cement on I wanted a water barrier to keep capillary action in the cement getting the bottoms of the bags wet, I don't think it is going to be a issue, but better to be safe than sorry, so I went and picked up a roll of ic and water shield and a roll of barb wire
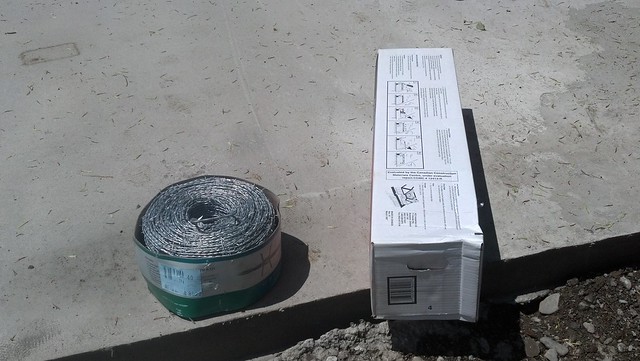
I rolled it out and trimmed the correct length
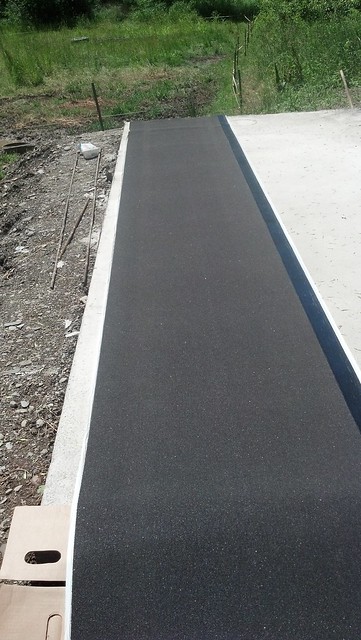
flipped it over and cut it along the seam on the back
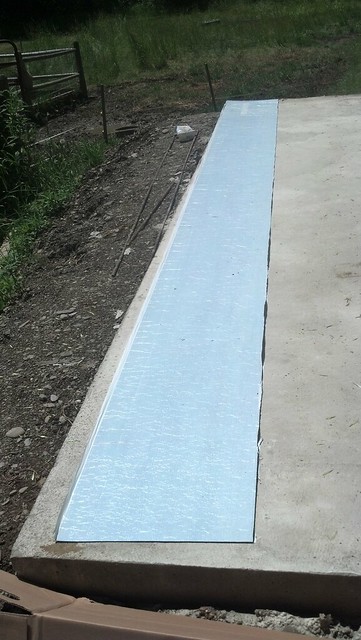
pulled the backing off and flipped it over

I applied the other half on the other side of the slab
they say to check and make sure your water content is correct, you should be able to squeeze it in a ball and it should hold it's shape
to begin a bag, you put 4 to 6 inches in the bottom
and then you have to tuck the corners in on the bottom to get as smooth as a wall as possible, you tuck the corners up into the bag
I reached in and pull the tabs that are now inside out in the bag and pull them up tight and then you lightly punch down the soil in the bag to compact it to lock the corners in place
you then put in a shovel at a time punching it down till the dirt is about 6 inches from the top, leaving enough room to fold the top of the bag over like a envelope and tuck it
placing the first bag with the bottom to the outside, you want to leave about 2 inches around the bag fro the edge, because it will compact out to it
the next bag lay the folded end against the folded end of the first bag

make sure to tuck in the flaps
15 Feb ’12
Offline
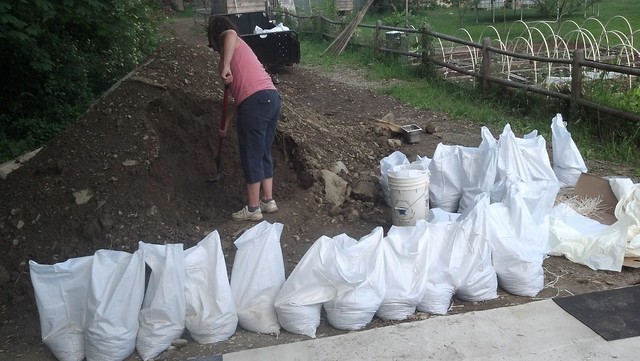
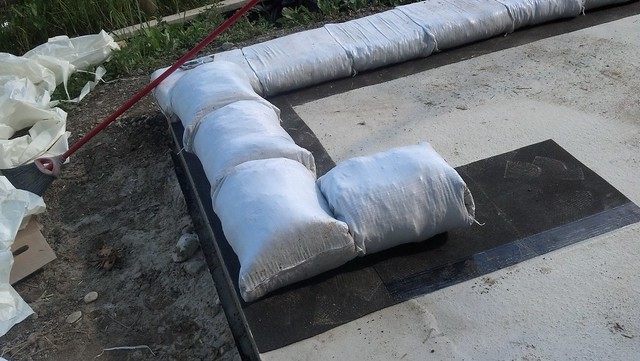
then it's just a matter of filling the bags and stacking them
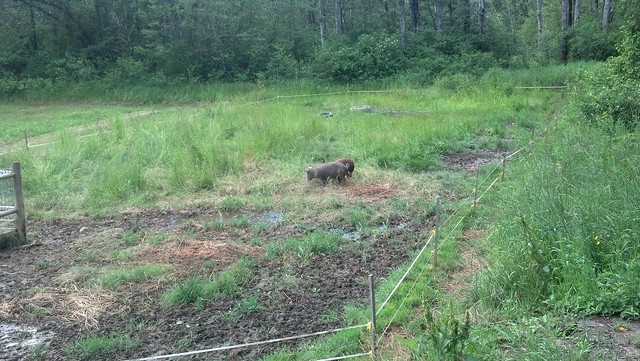
the pigs were not impressed
I set the last bag in the row

I jumped the gun and compacted, I should have waited for the the corners and the rest of the course to be finished, but it worked out ok
you start out by just compacting down the middle of the whole course
while I was compacting my wife kept getting bags ready to be filled
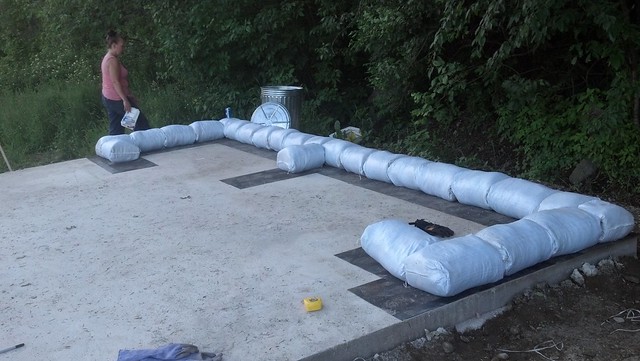
I finished compacting the first row and then went a installed the rest of the water barrier,
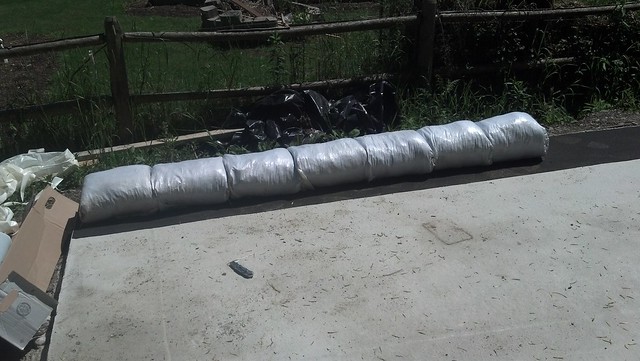
I added pillasters have way along the row for lateral support, they say you can do a 18 foot wall without support, but since we were at 18 feet, I decided to add some, you can see how flat the bags compacted
We started laying out the rest of the course, here is a good visual of a before and after shot
and stacked the other end
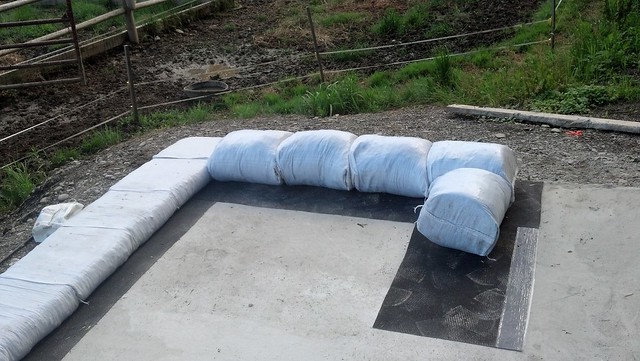
and proceeded to beat the hell out of it
for the other side we laid out the whole course first
and compacted it
and called it a day, we put a small dent into the dirt pile

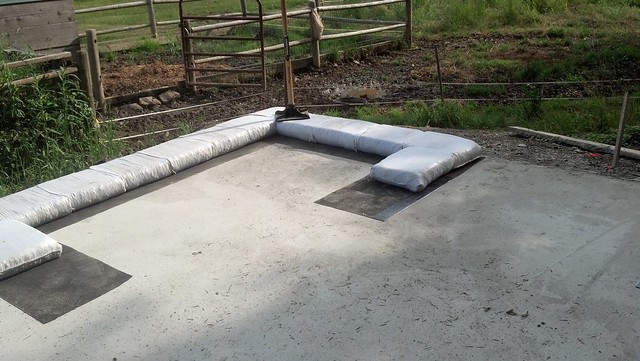
a couple of thoughts,
this is harder than hell
we used 52 bags for the course at probably a average of 80 pounds each, so my wife shoveled two tons of dirt yesterday and I carried and placed the same, her question was how are you going to to this when it gets above 3 feet, I'll deal with that when I get to it
The lifting isn't the hardest part, the compacting is harder than hell on the body, I don't know if it's because of our high clay content or what, but this process left me sore and exhausted
the bags compact down to just over 5 inches, so if we went with 6 foot tall walls, we would need at least 14 courses.
It took us about 7 hours to do the first course, but this was with a lot of stopping and discussing layout, having to run and get some thing, etc.
I think I could knock out 2 courses a day, but physically I think one course a day would be about max. So if we do go 14 course it will take us 14 days, since I have 3 days a week free, this will probably take a month to get these walls stacked
I expect it will get easier as we go along and get in a groove
will report back later, peace
15 Feb ’12
Offline
I have a feeling I'm gonna like this thread.
what up al! hope you are well

19 Feb ’12
Offline
%Couldn't you use a small plate compactor (vibratory, not a hammer style) to compact the fill? That would be a thousand times easy and faster than using a hand compactor. It would get you a higher percentage of compaction too. A vibratory compactor can get up to 95% compaction in most situations.


Most Users Ever Online: 698
Currently Online:
22 Guest(s)
Currently Browsing this Page:
1 Guest(s)
Top Posters:
easytapper: 2149
DangerDuke: 2030
groinkick: 1667
PorkChopsMmm: 1515
Gravel Road: 1455
Newest Members:
roimelva83527
leilaniswenson6
gordoncarone9
arthureugene
judsontrevascus
Forum Stats:
Groups: 1
Forums: 12
Topics: 11478
Posts: 58673
Member Stats:
Guest Posters: 2
Members: 3469
Moderators: 0
Admins: 1
Administrators: K

