
 Register
 Log In
 Home
Home
15 Feb ’12
 Offline


It's a pretty straight forward process Danger, those were really the only two issues I ran into. I am currently framing up the bond beam which would be the exact same as if the walls were full height, so you will be able to see the rest of the process as I understand it. I am going to send a e-mail to the company I had bought the bags from and see if they have any ideas what the issues were with the bags. Is this the earth sheltered home you were talking about? They might want to think about using a cement gravel mixture in the bags below grade.

21 Feb ’12
Offline
yep this is the house. I have some pics. I'll post a thread tonight and any suggestions would be greatly appreciated.
15 Feb ’12
Offline
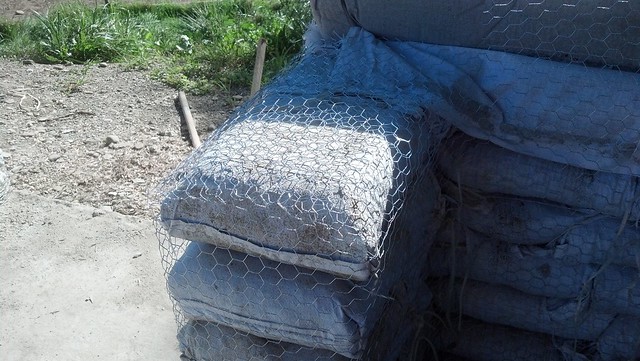
So the store I had bought the compactor from replaced the broken one for free, I hadn't noticed the handle had lifetime warranty on the side of it, I made the comment if they are giving lifetime warranties how arre they in business, anywho so I compacted the bags
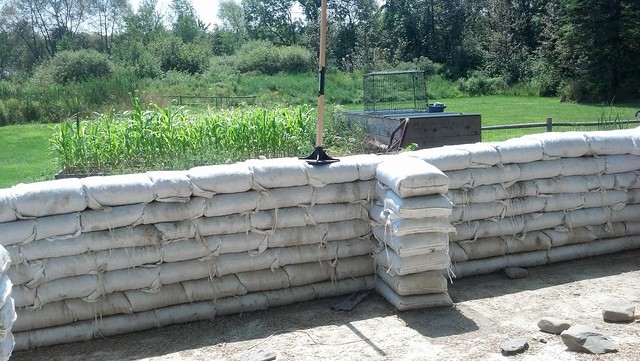
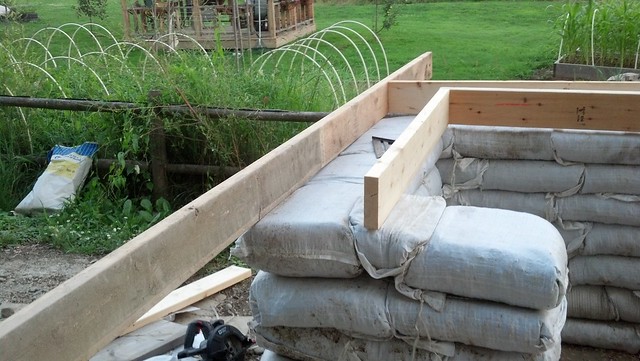
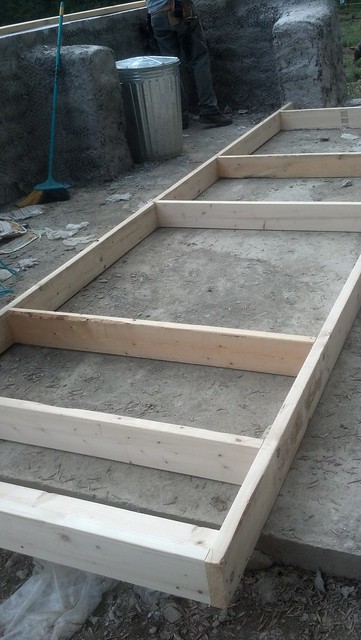
and grabbed the boards that we had used for framing up the slab to start framing up the bond beam
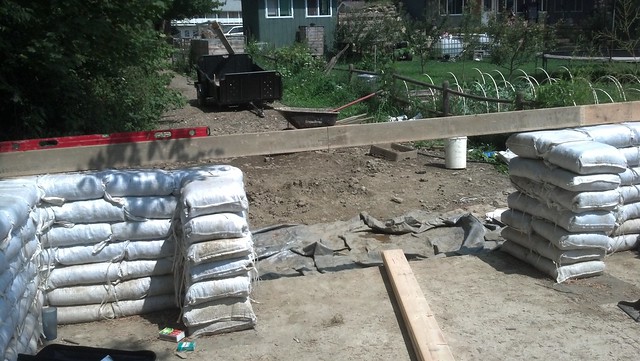
I decided to try and frame up the whole thing in one piece so I could try and level the whole thing
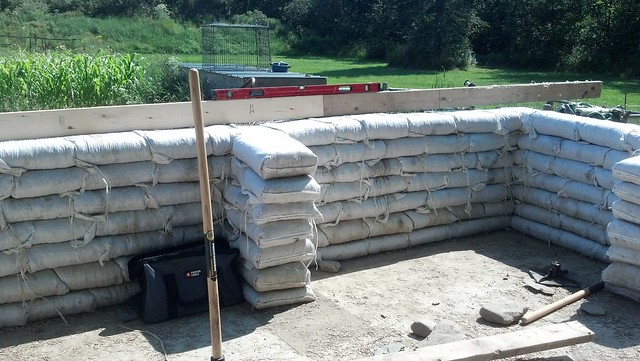
with the different heights there were some gaps under some of the forms, so I was trying to brainstorm a way to fix that
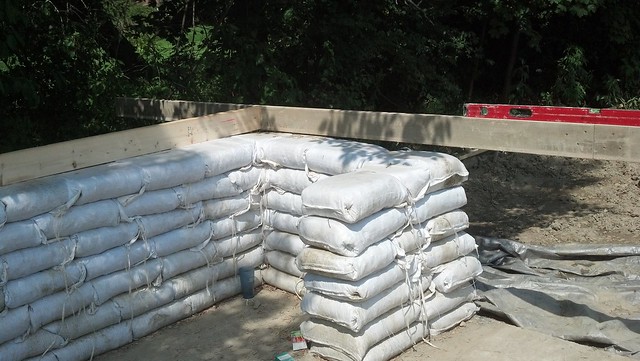
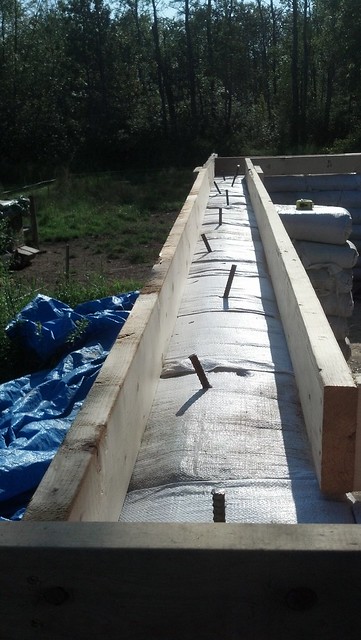
So I started framing out the inside form
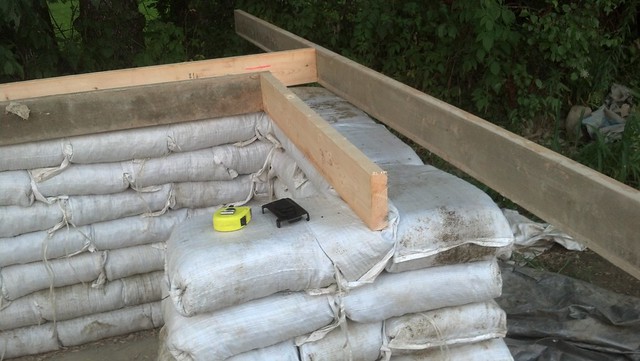
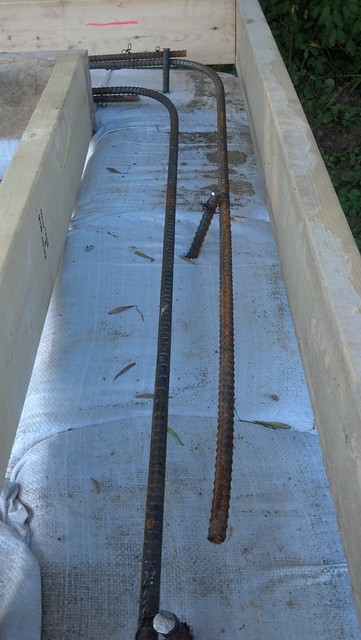
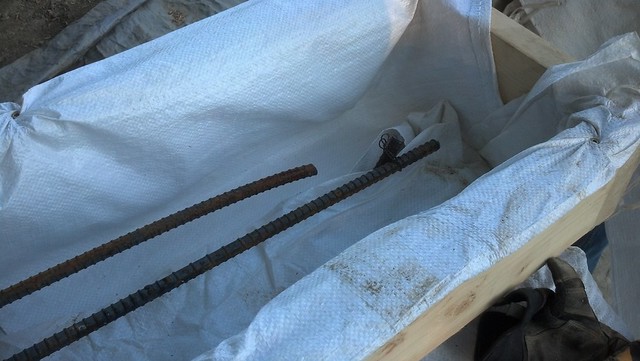
I cut some short pieces and framed in the ends. I ran and picked up some rebar
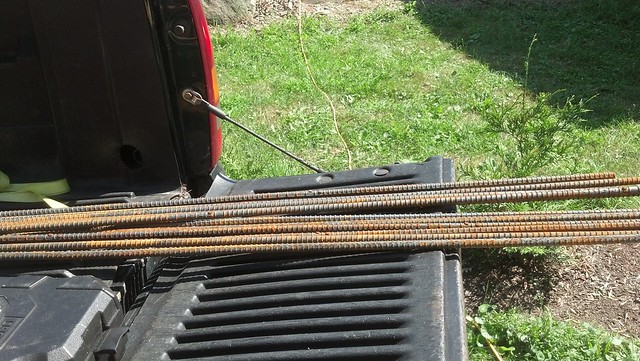
and started cutting 18 inch sections
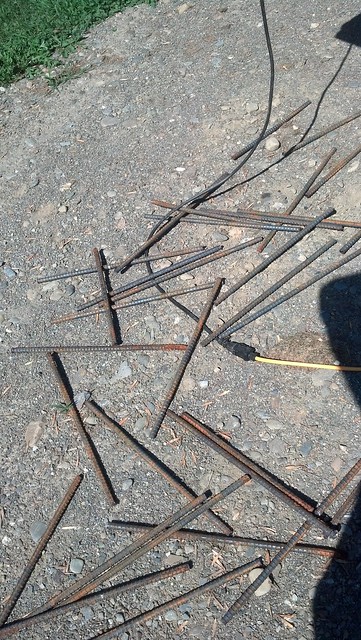
I went around and spiked the rebar sections down into the bags leaving about 4 inches sticking up out of the bags
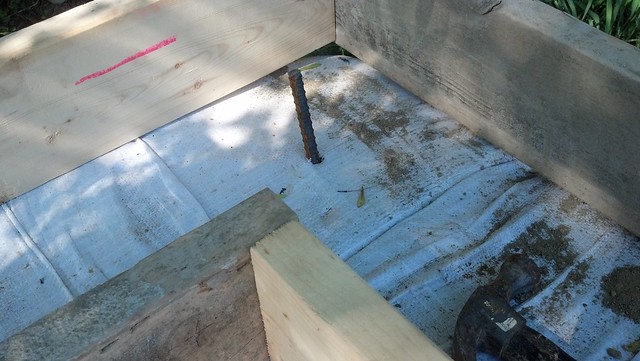
I hammered one down every two feet around the perimeter and hammered them at opposing angles every two feet so the cement would adhere to the bags well
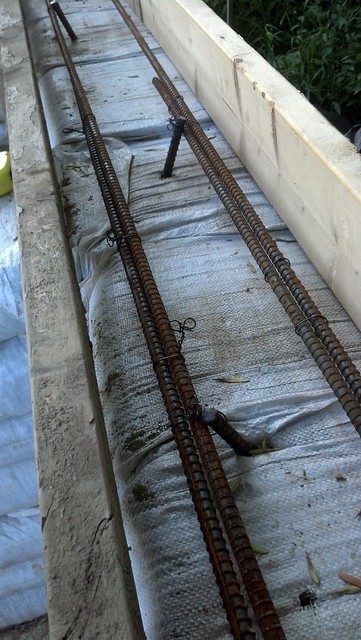
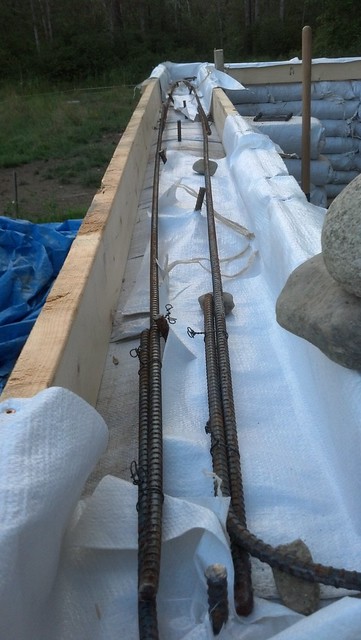
I started laying out two sections of rebar
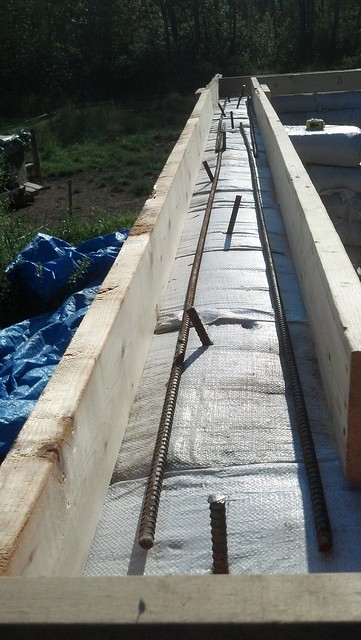
and wire tied them to each other and the rebar stubs sticking out of the bags
I bent some sections for around the corners making sure I had a couple of feet overlap
sections where the horizontal pieces didn't overlap a vertical I set a small rock under the rebar to raise it up
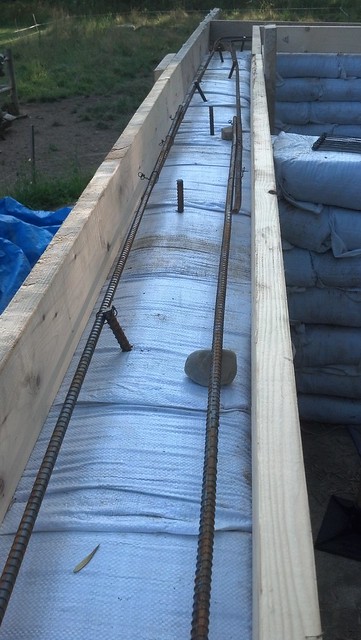
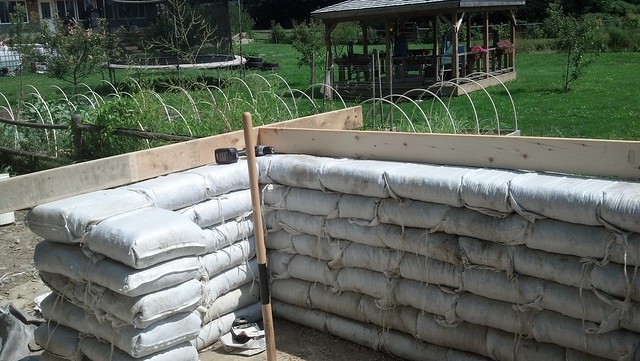
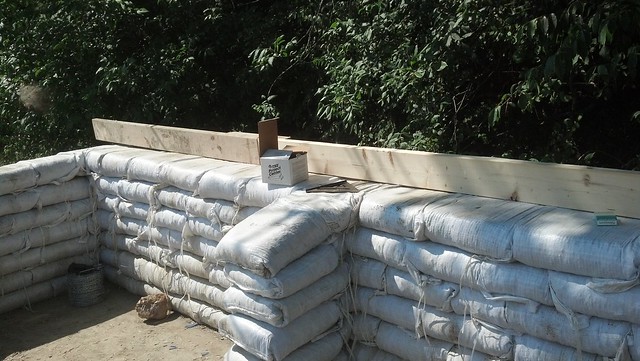
we went around and started leveling up the forms and cut sections of 2x6 and screwed them to the forms to support them
I was still trying to figure out how to fill the gaps under the forms to keep the cement from falling out when it struck me. I had made a thread the other day on the fastfoot system
http://thehomesteadi.....thread1275
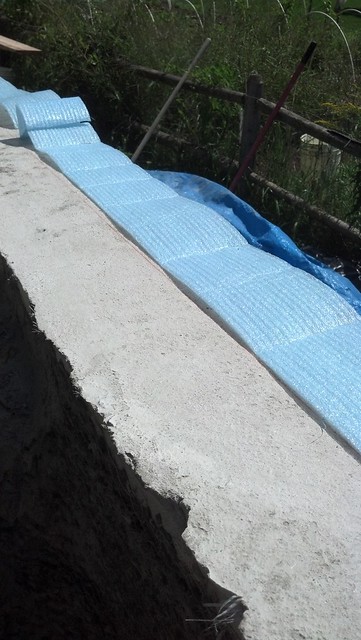
the material for the fast foot is very similar to the sandbags, so I figured I would form a little fastfoot in the forms, so I went around screwing the sand bags on the form where I had a gap under them
and proceeded to mix up 33 bags of cement

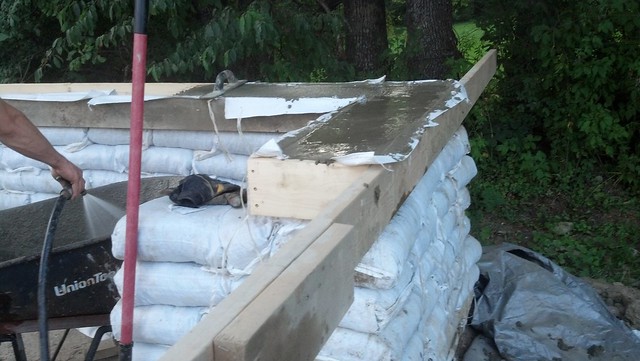
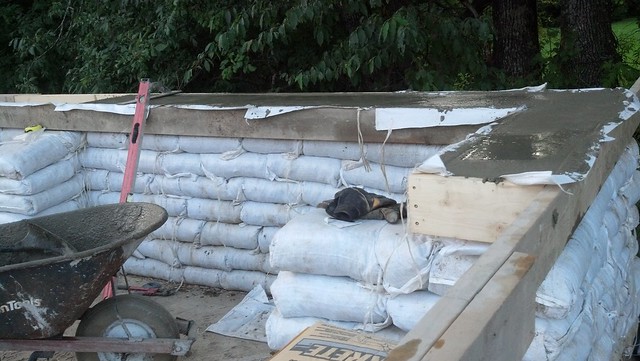

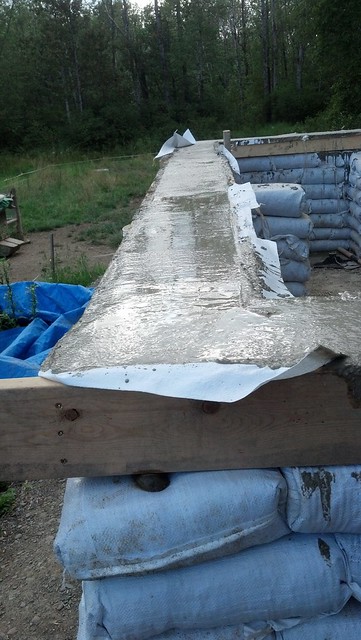
I will let them set till tomorrow and then probably strip the forms and applying the chicken wire to get ready for stucco, peace
21 Feb ’12
Offline
Man it looks really good! How do you keep the bag walls plum?
15 Feb ’12
Offline
to be honest I just eyeballed them
15 Feb ’12
Offline
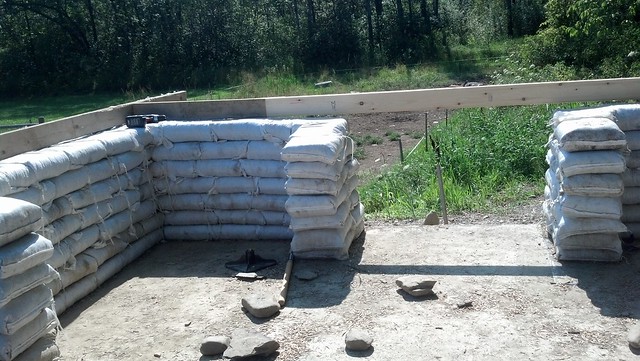
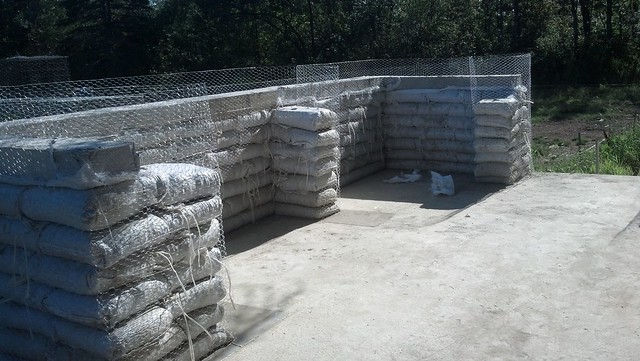
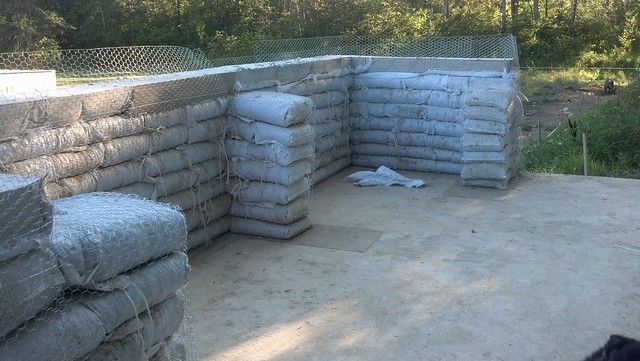
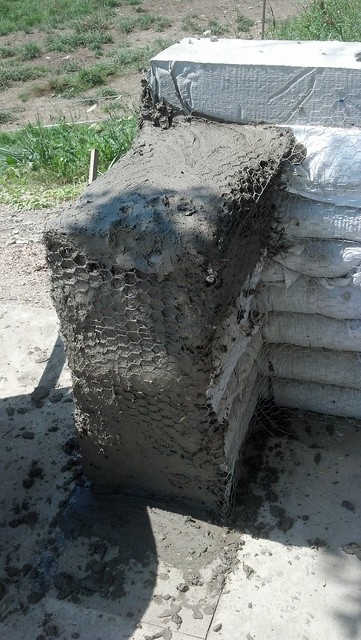
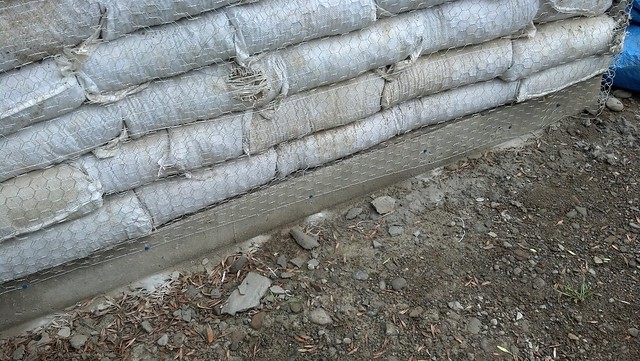
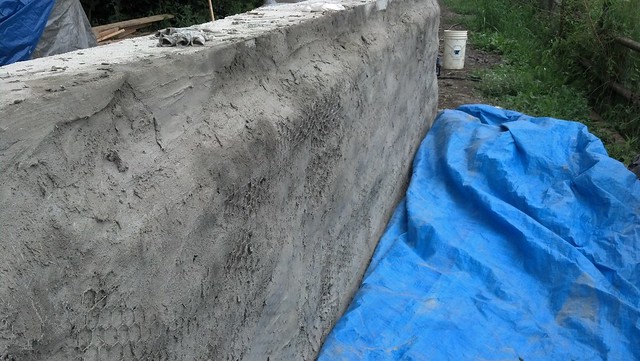
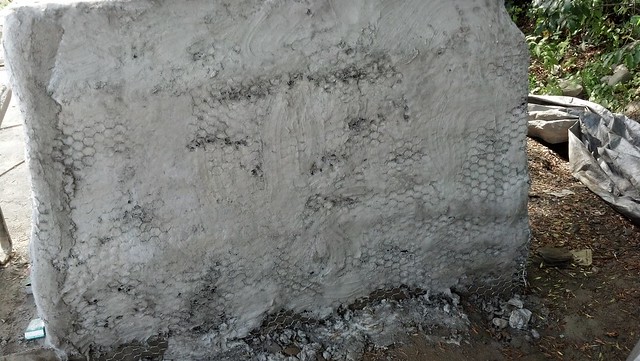
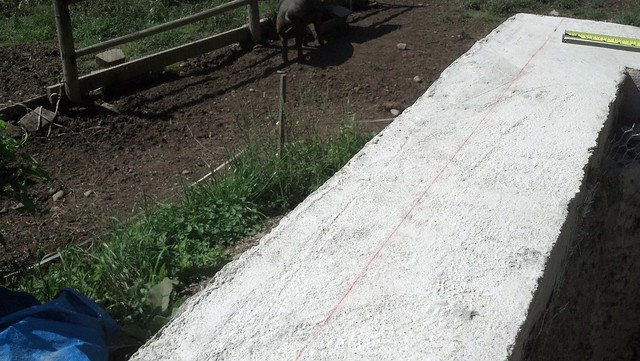
So we let the forms set for a couple days and decided to get them stripped yesterday


so we stripped them off
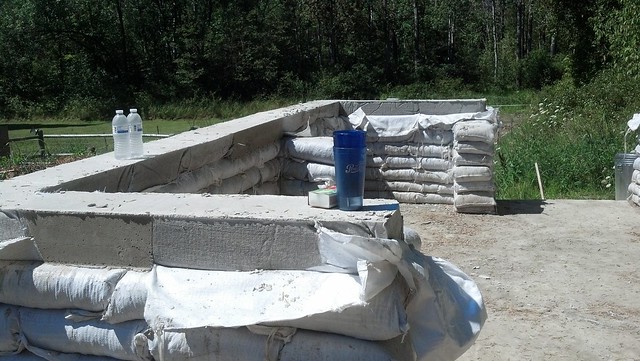
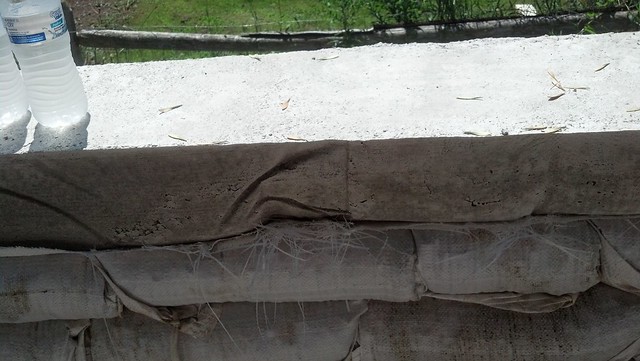
the bags left some interesting designs in the cement
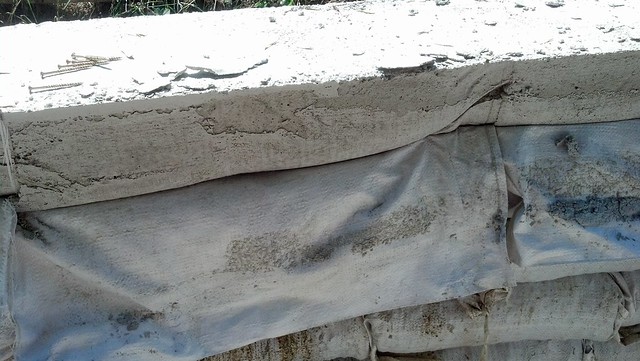
we trimmed off the excess baggage
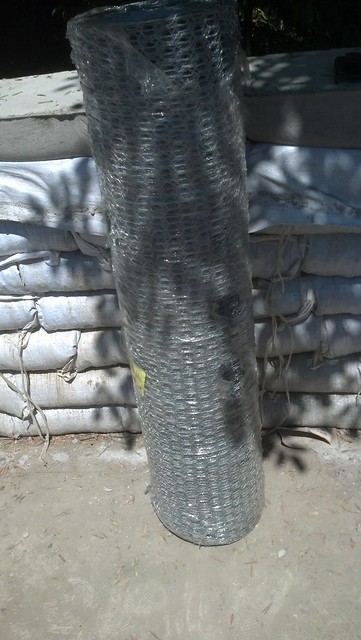
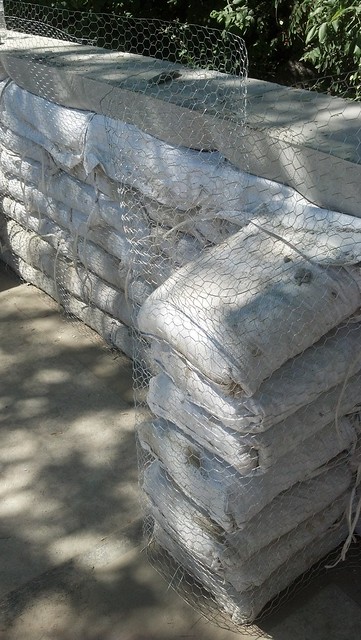
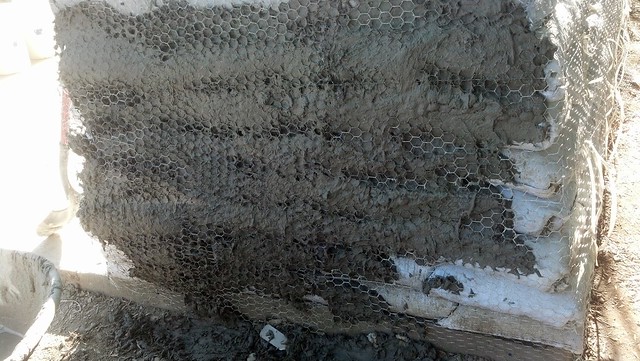
and grabbed a roll of chicken wire
we started on the outside corner and rolled it out
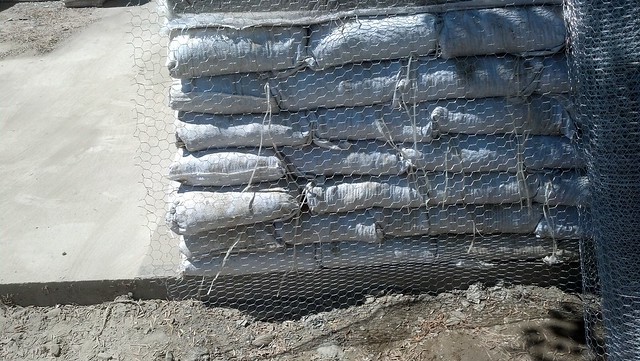
the bag ties worked well for attaching the wire
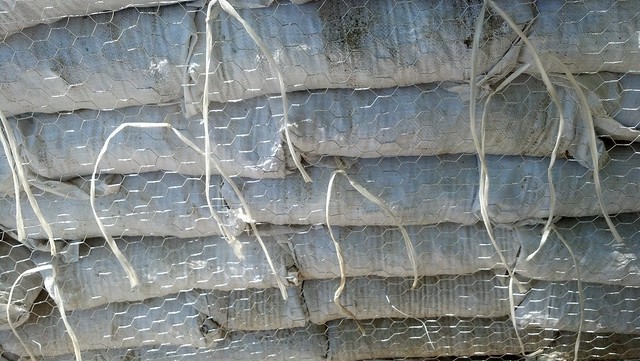
we overlapped the corners and kept unrolling the wire around the whole wall
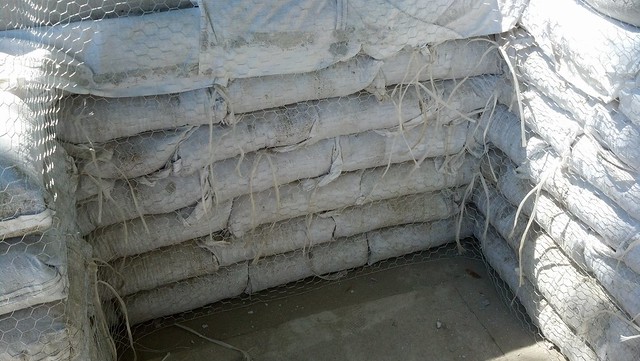
and wrapped the other side as well
we trimmed the butress corners
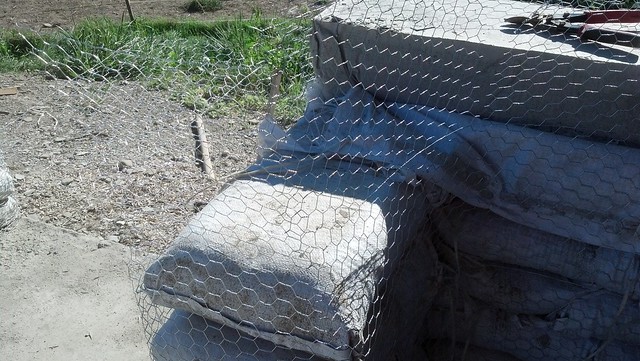
and folded the end and sides down
and wired them up
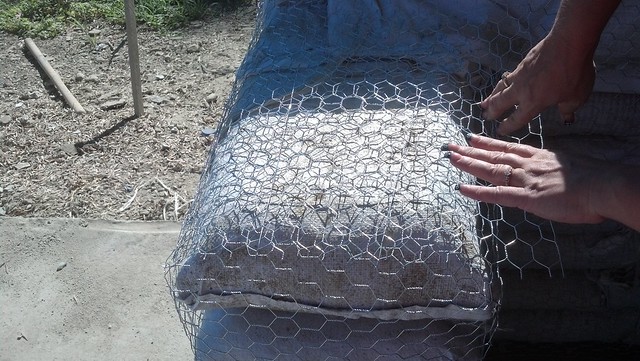
those were all finished and we started trimming the tops of the walls
we got that all cut and then I took a masonry bit and screws and screwed the top of the wire to the cement beam

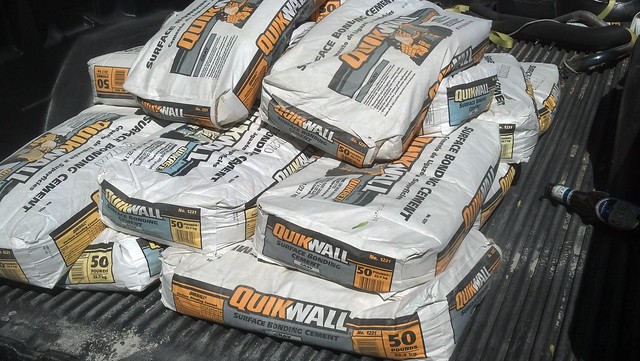
off to pick up some surface bonding cement and lime
15 Feb ’12
Offline
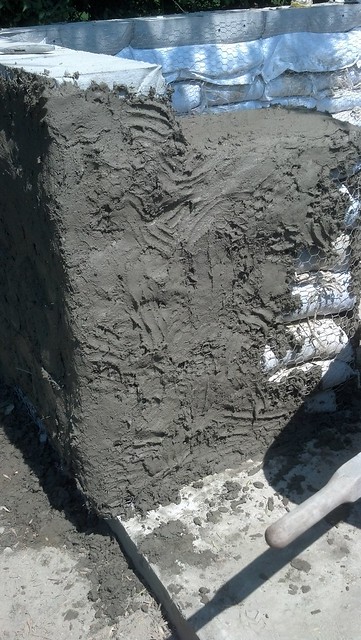
So I went and picked up some surface bonding cement, I skipped the lime, there's enough in there I figure
and started mixing it up, the first batch I made a little to soupy
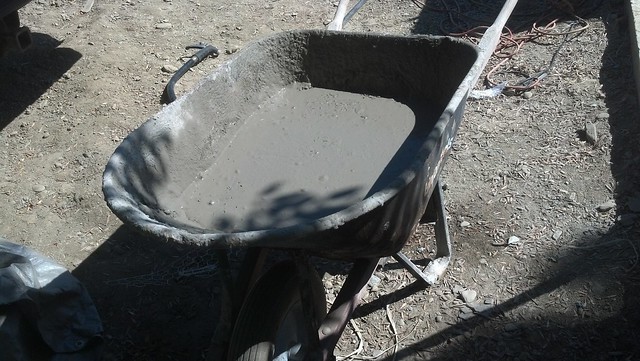
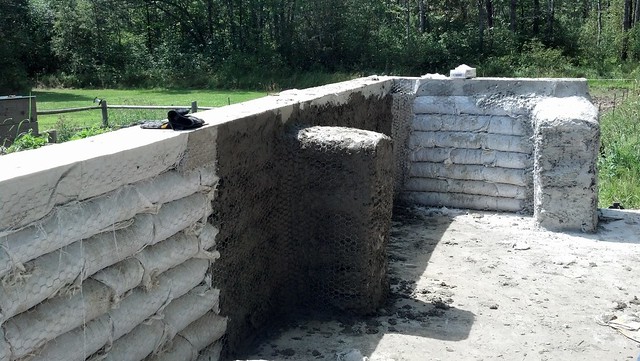
so I let it set for a little while and started packing the spaces in between the bags
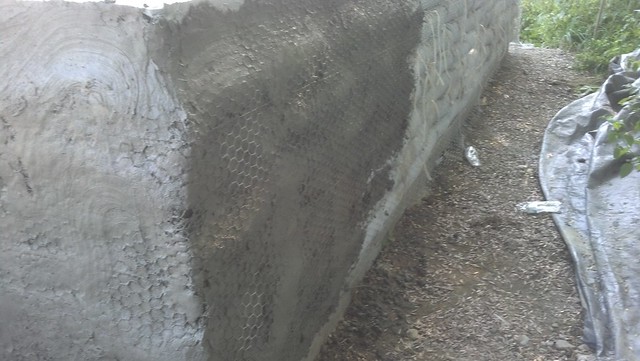
handpacking it was the only way to go, using a trowel was a exercise in futility
finished the outside and started on the inside of the wall
the buttress and inside corners were taking a lot
but I got the one side finished
and started on the other before it got dark

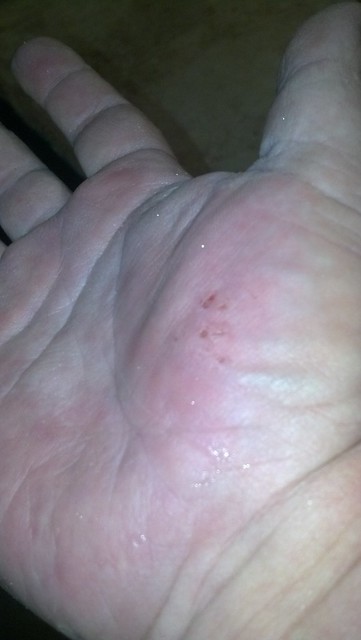
here's one thing I had never mentioned before, keep a gallon of vinegar around and wash your hands with them to combat the base of the lime, that stuff destroys the hands
I was hoping to finish the inside on the last wall today, but of course it's raining, time to wait
15 Feb ’12
Offline
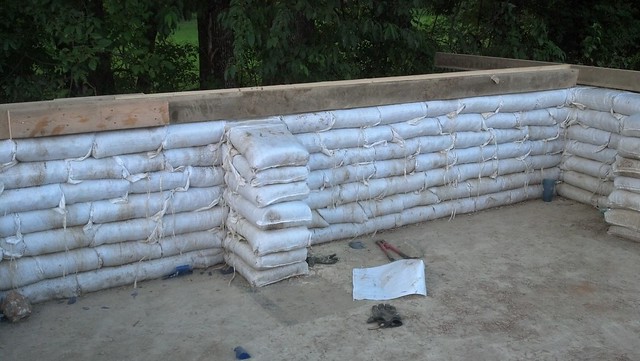
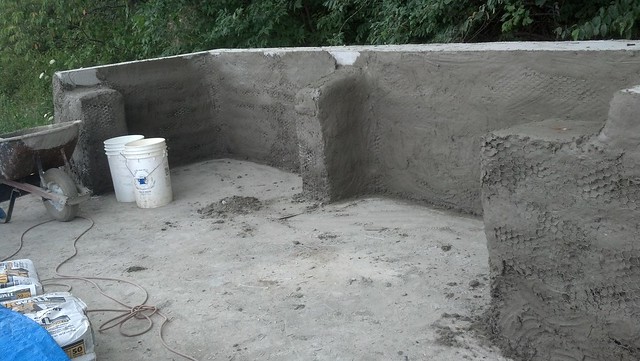
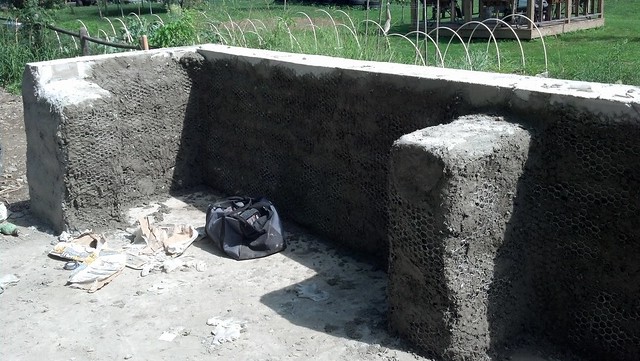
So after a week the rain stopped, so I proceeded to screw down the rest of the wire on the bottom of the far end
the wall had set up well
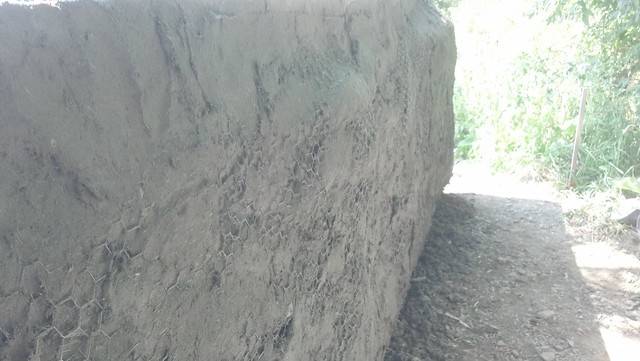
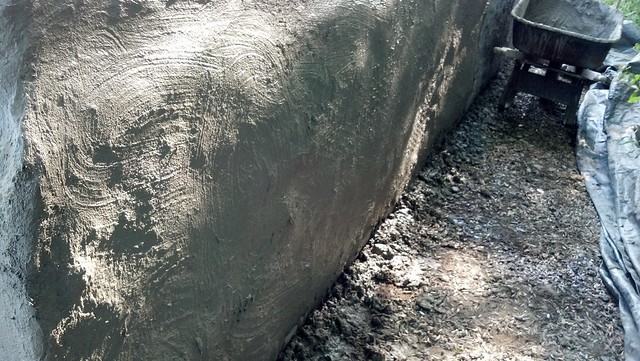
so I started finishing off the scratch coat on the inside
all finished
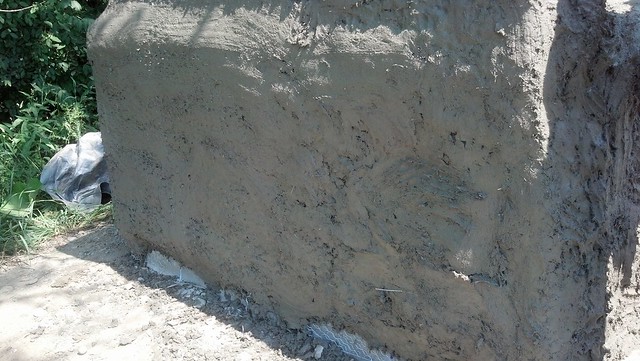
I started the finish coat on the far side, I started by misting the wall with water to form a good bond between the scratch coat and the finish coat
After applying it I took a wet sponge and buffed out any high spots

and worked my way around the corner
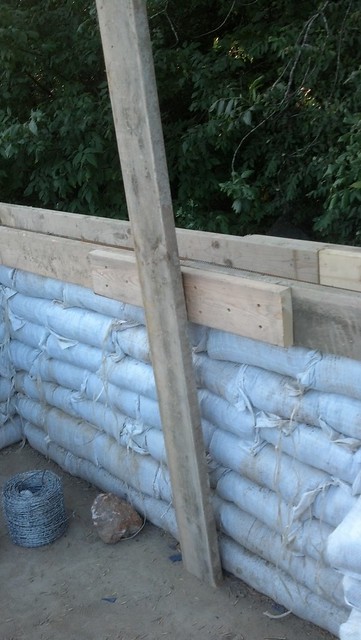
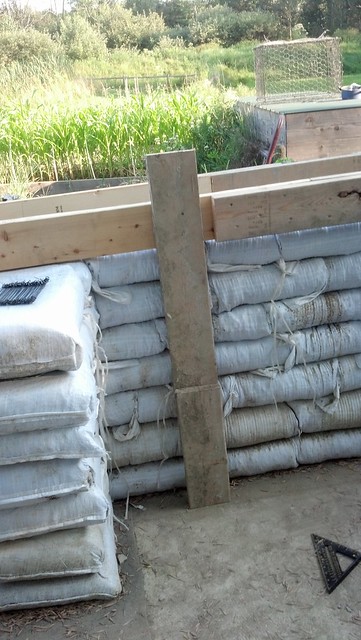
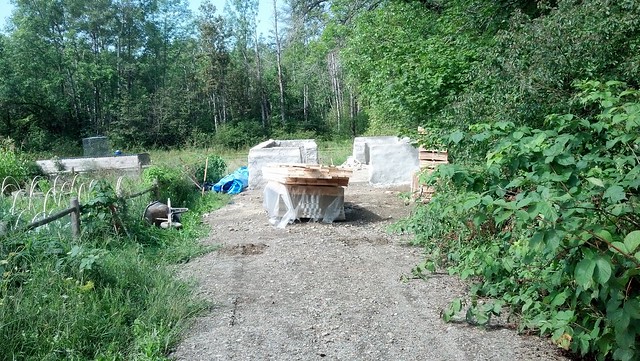
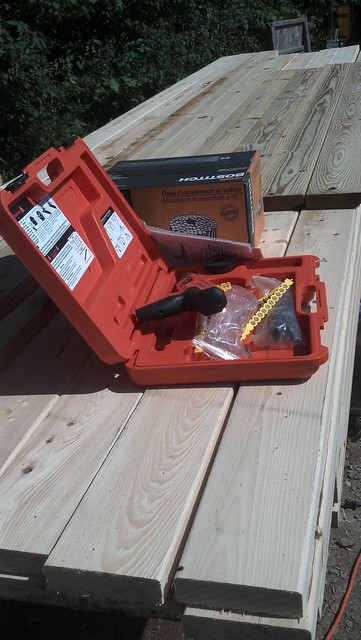
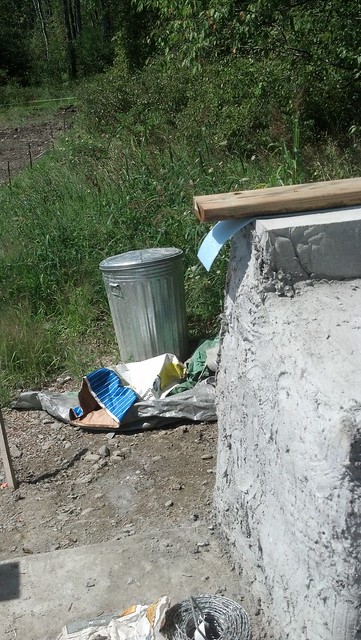
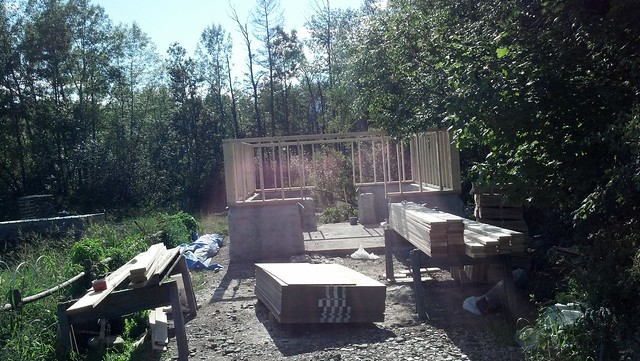
after our 4 day mini vacation the lumber showed up yesterday
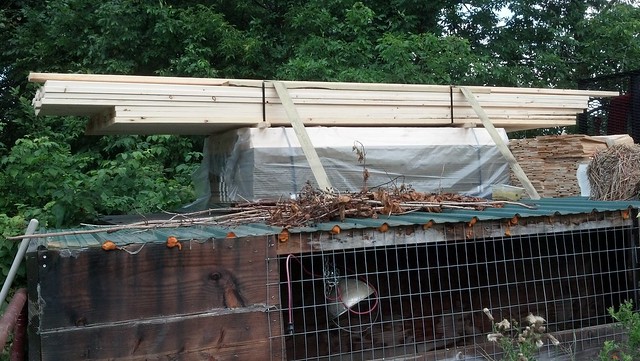
and he dropped it in front of the building
we snapped a chalk line on the bond beam
and laid down some sill seal
we used a ram set
and attached a 2x6 PT for a sill plate
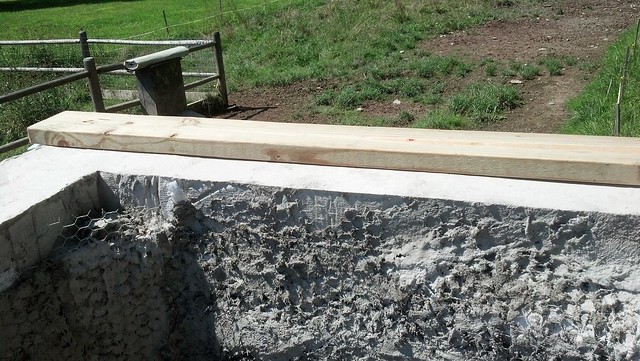
we left some overhang to frame out the doors with
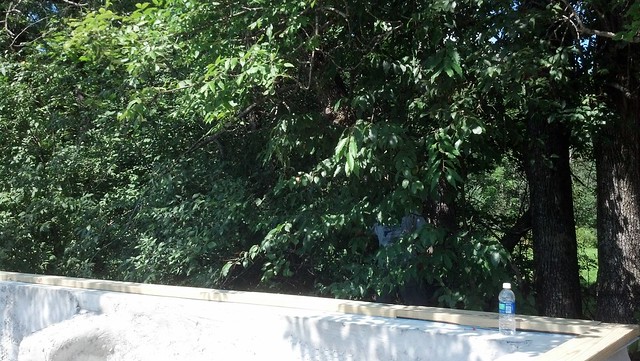
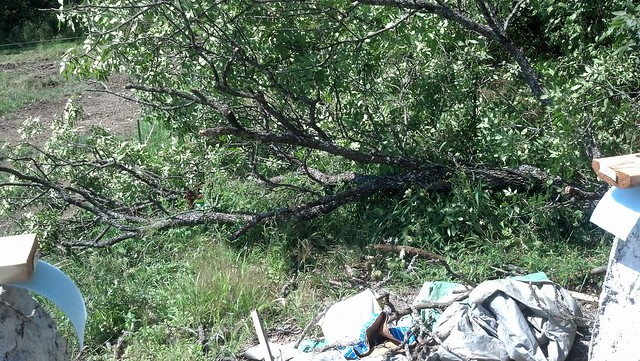
we realized we still had to take down half the tree that was overhanging the pad
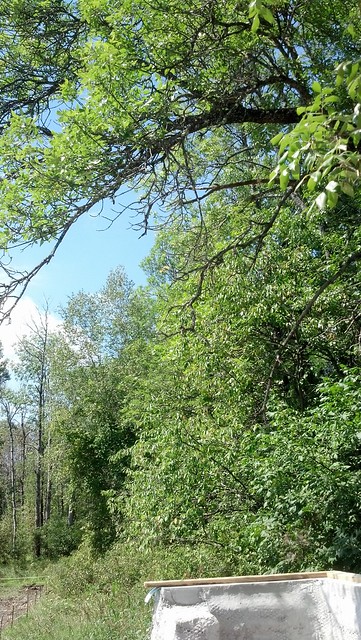
so we fired up the chainsaw
and missed the building but took out the electric fence for the pigs, had to fix that quick
we laid out the stub walls on the pad
and framed in a couple of window openings
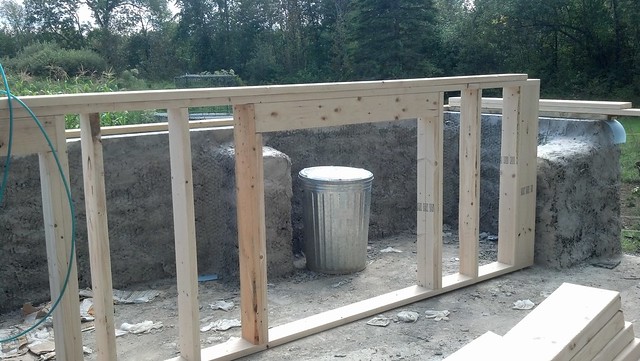
and stood it up on the sill plate and nailed it down
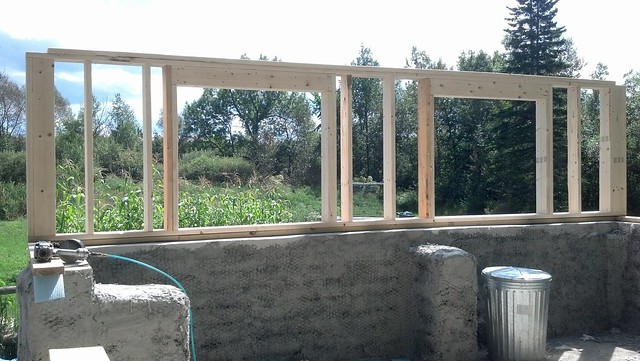
and knocked out the back wall
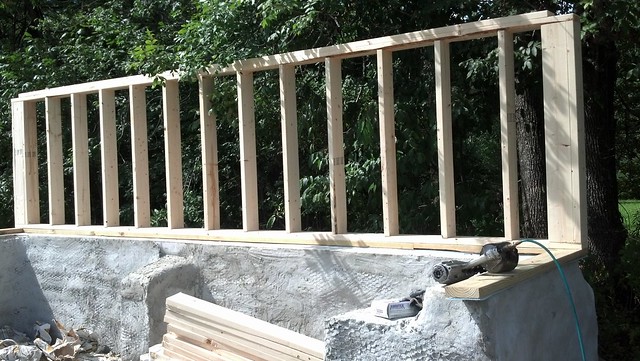
and framed out the ends before calling it a day, hope to get it sheathed and roof framed today, peace


Most Users Ever Online: 698
Currently Online:
42 Guest(s)
Currently Browsing this Page:
1 Guest(s)
Top Posters:
easytapper: 2149
DangerDuke: 2030
groinkick: 1667
PorkChopsMmm: 1515
Gravel Road: 1455
Newest Members:
ezral056396
Charlestetet
anndresdner17
ronniemcconnel
annmarie1349
Forum Stats:
Groups: 1
Forums: 12
Topics: 11478
Posts: 58673
Member Stats:
Guest Posters: 2
Members: 3527
Moderators: 0
Admins: 1
Administrators: K

