
 Register
 Log In
 Home
Home
15 Feb ’12
 Offline


Finally finished the pour with a rough screed
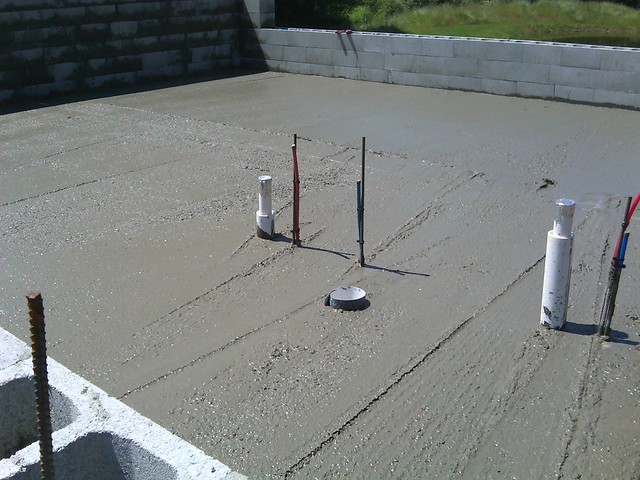
Proceeded to bull float filling in the low spots as we worked along
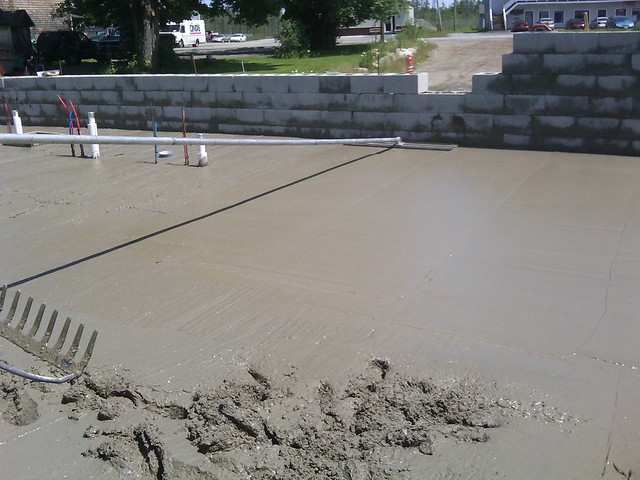
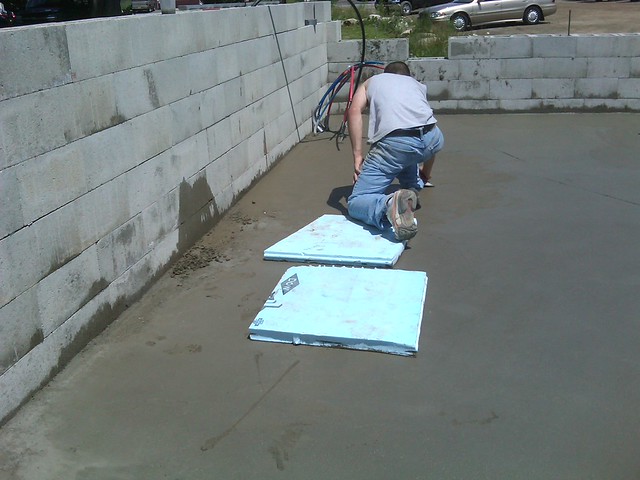
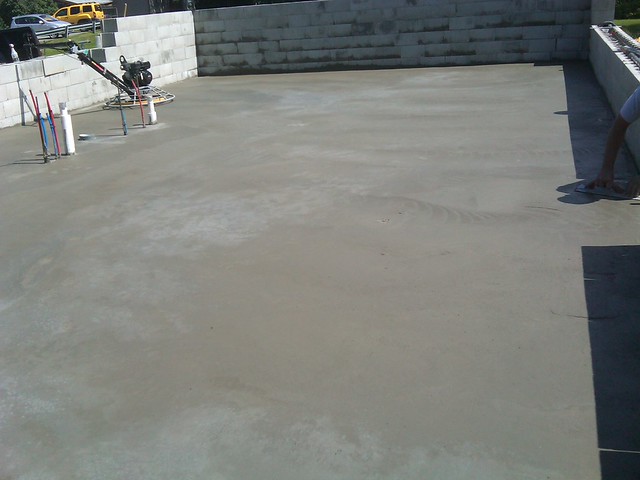
A few finishing touches before we start power troweling. Using a piece of foam insulation is a good way to disperse your weight on the cement before it sets up to do some hand troweling.
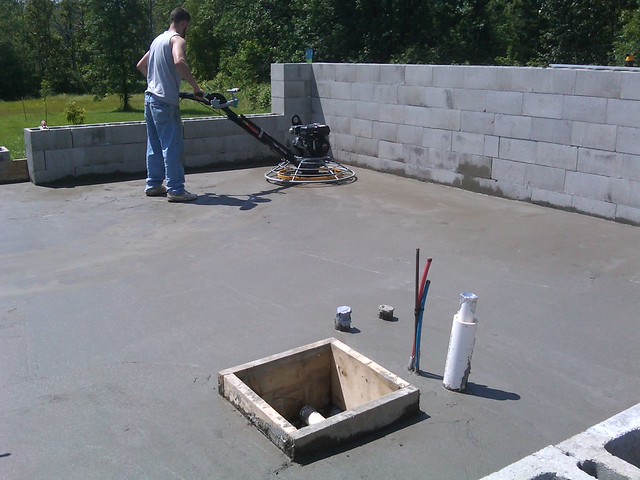
The Sun was really beating on us, so we had to hop on the power trowel, before we got behind. You can see where we boxed out for the drain for the shower
The finished product. We spent the rest of the day watering the slab, but we still had some cracking. Someone once told me there are two kinds of cement, cracked, and hasn't cracked yet. We also added fiber reinforcement to all the cement as well as the wire mesh and rebar.
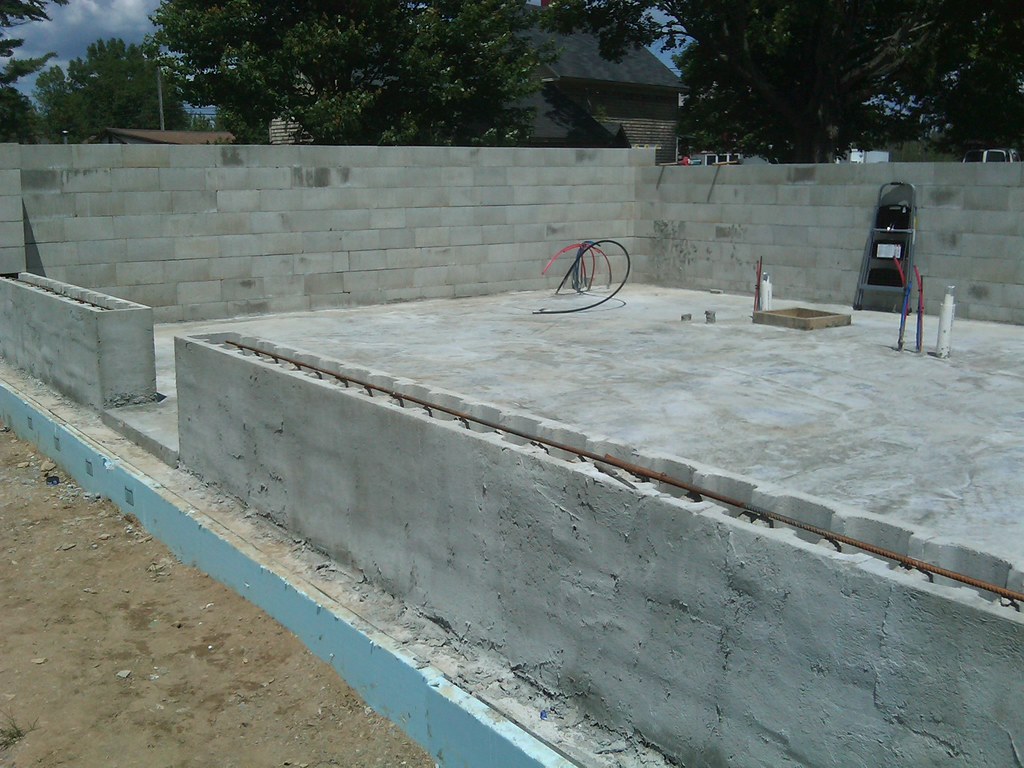
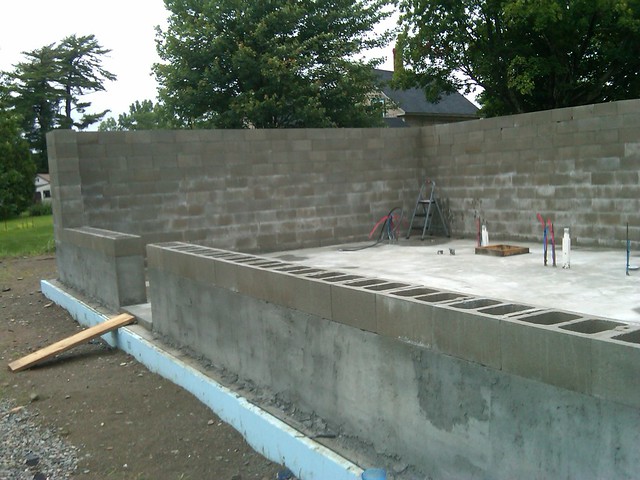
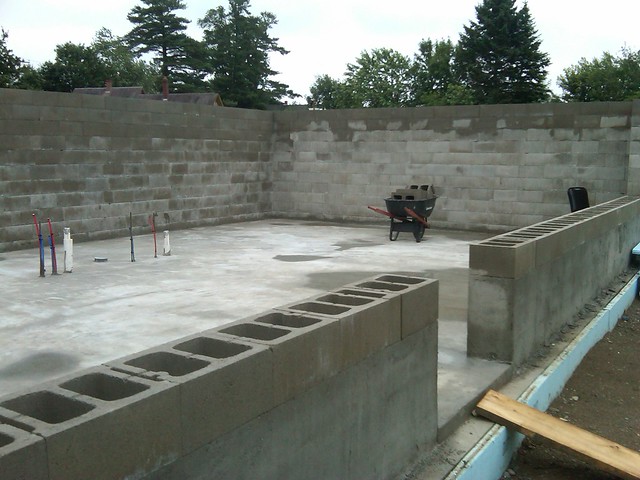
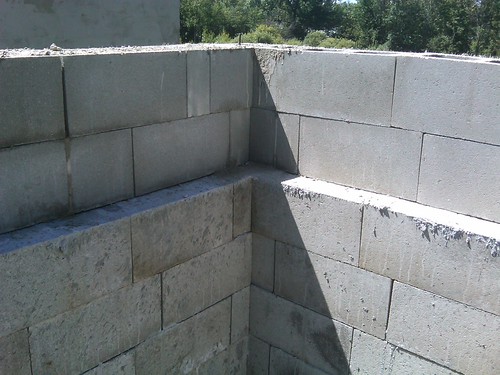
We had poured the slab on friday morning and after letting it set up overnight, you can see out bond beam we had cut into the third course here
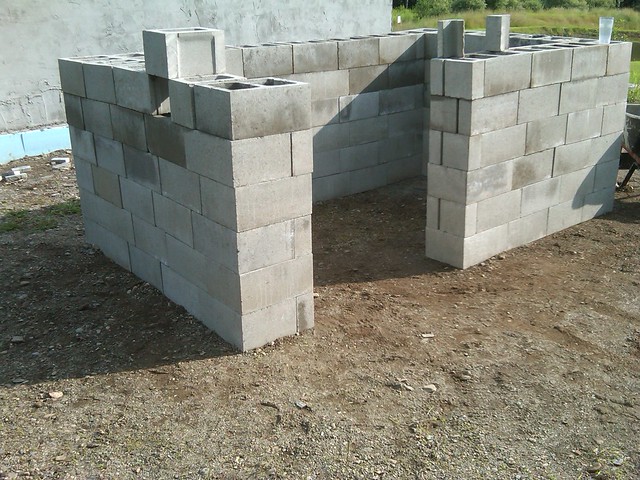
I spent the next 15 hours stacking block and finished the shell
With the slab in we decided to raise the front one more course
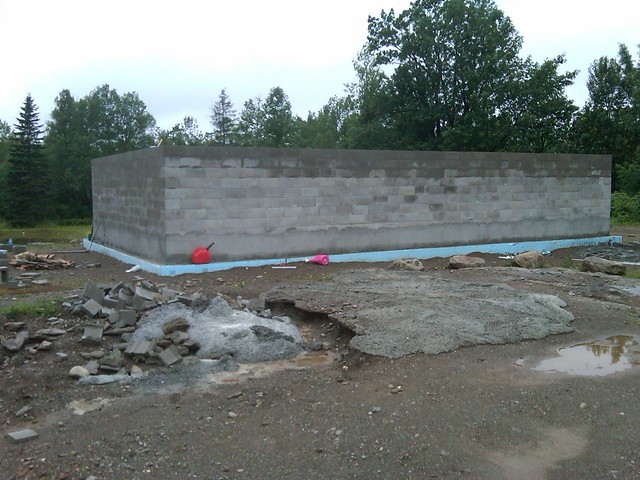
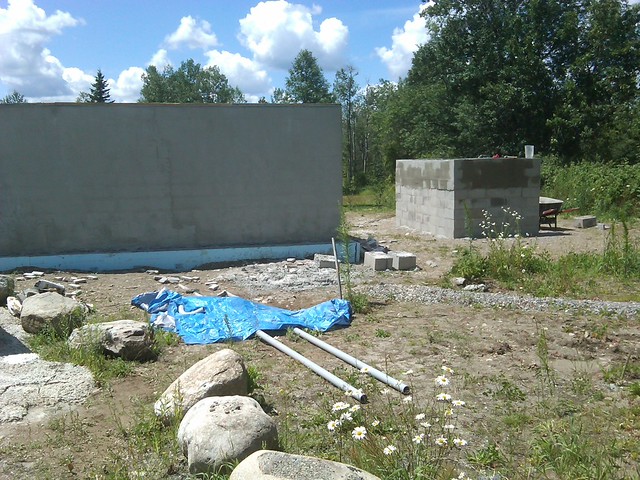
My father stopped by and called it the fortress of solitude and says it looks like it can take a direct hit.
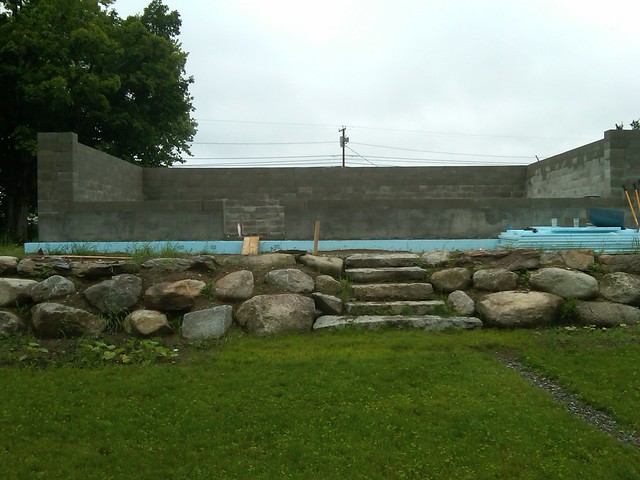
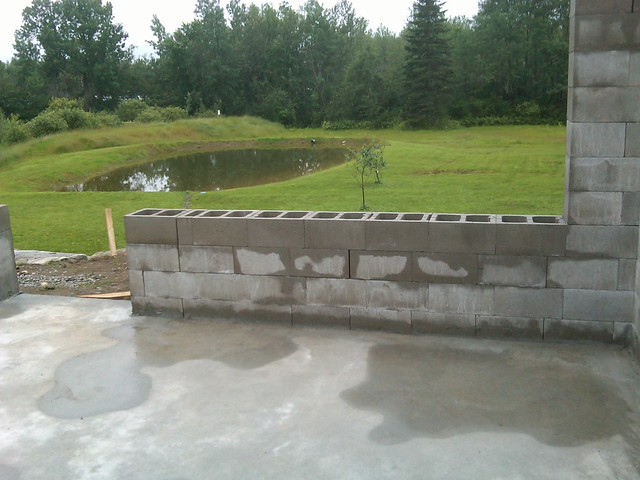
The pond is staying full nicely and the back field is taking the grass
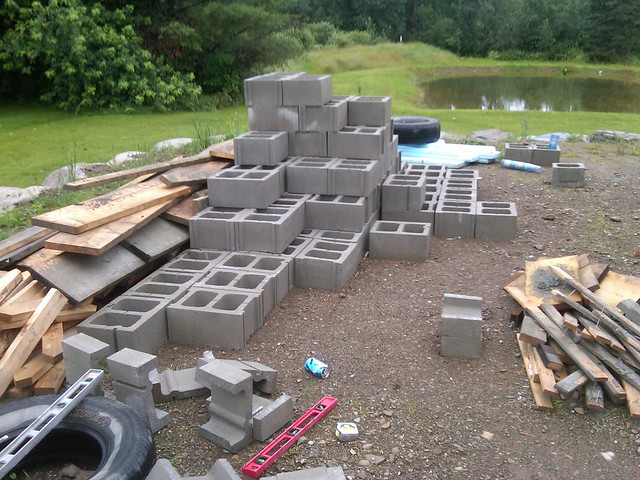
This is what we had left over for block. Hoping to use it for a root cellar.
15 Feb ’12
Offline
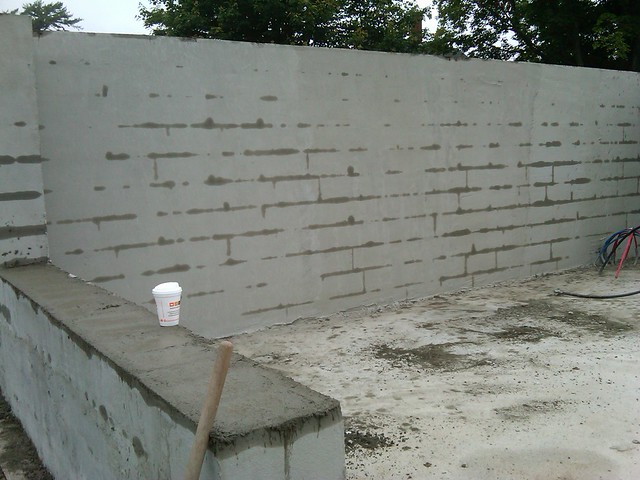
When we finally finished stacking all the blocks it was time to start surface bonding the rest. Tools were a wheel barrow, hand sprayer, and a trowel.

We started by spraying the walls with water to keep the blocks from sucking the moisture out of the surface bonding. We proceeded to put on a skim coat, and then going back and insuring we had at least a 1/8th inch thickness.
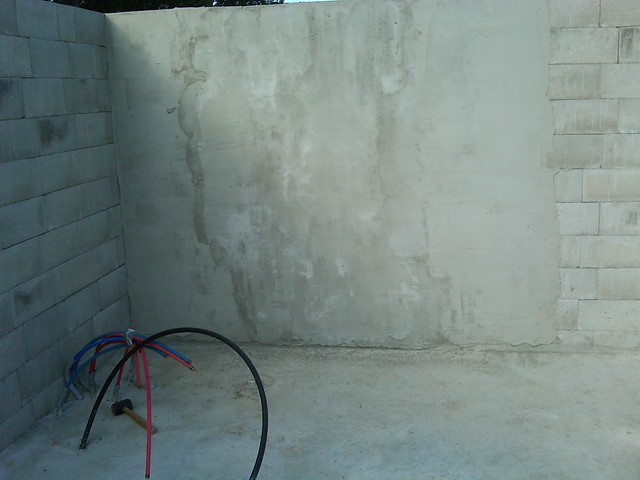
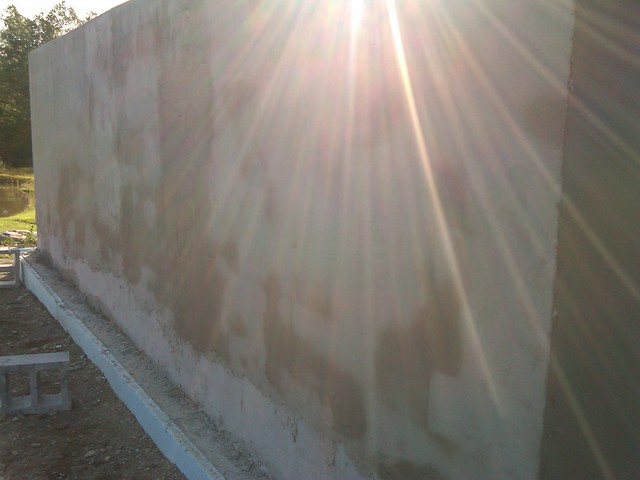
It is important to not work in direct sunlight else the sbc will dry to fast. We would leave a unfinished edge on the side of about 6 inches to feather in the next bag.
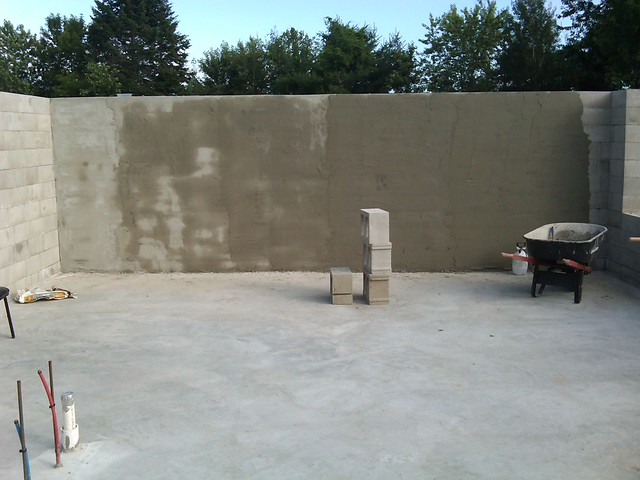
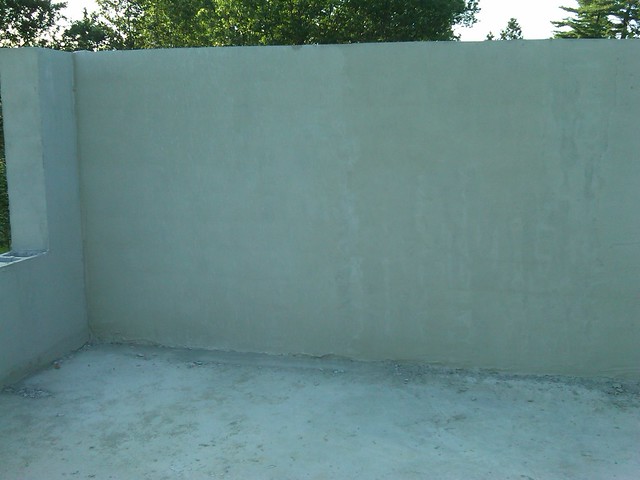
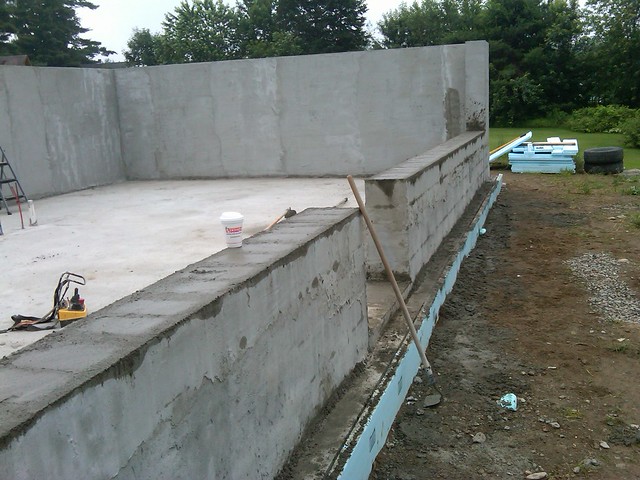
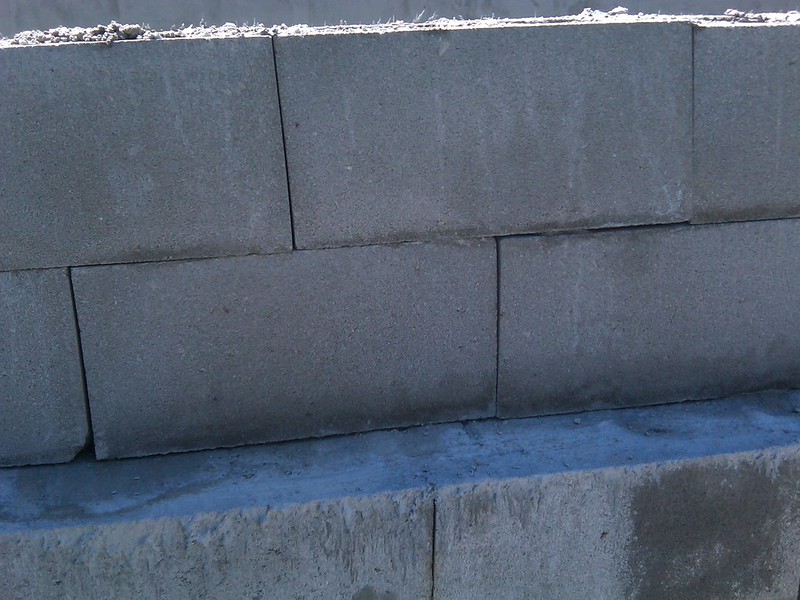
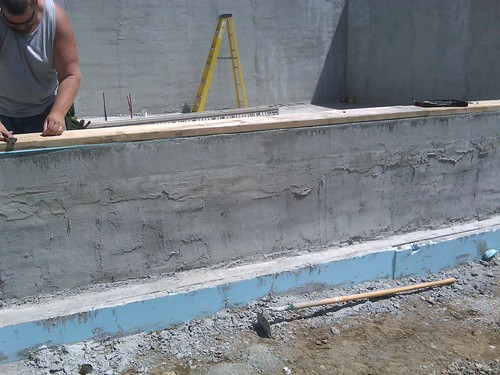
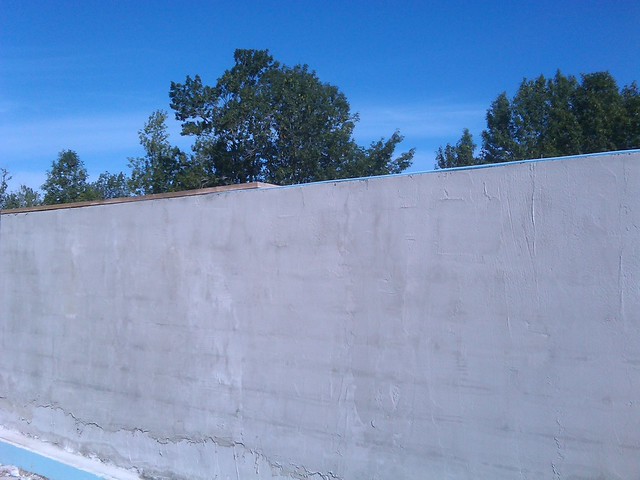
The bottom of this wall was my first coat of sbc, and the top was where I went back after the walls were all stacked

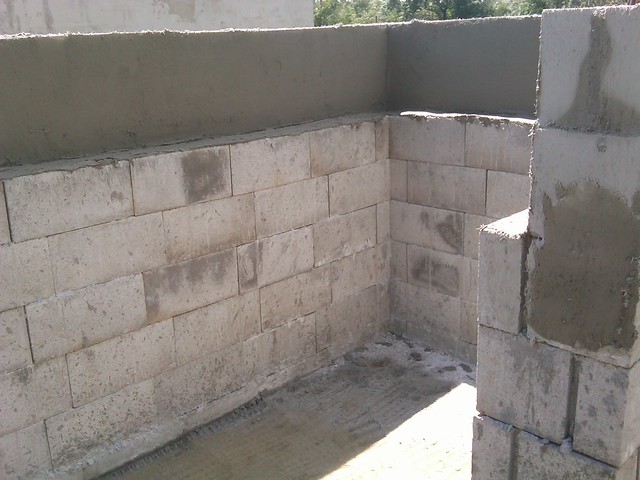
Interior all finished being coated.
At this point I was getting better with the application, I almost wish I would have done the outside first, so my rough work would have been buried
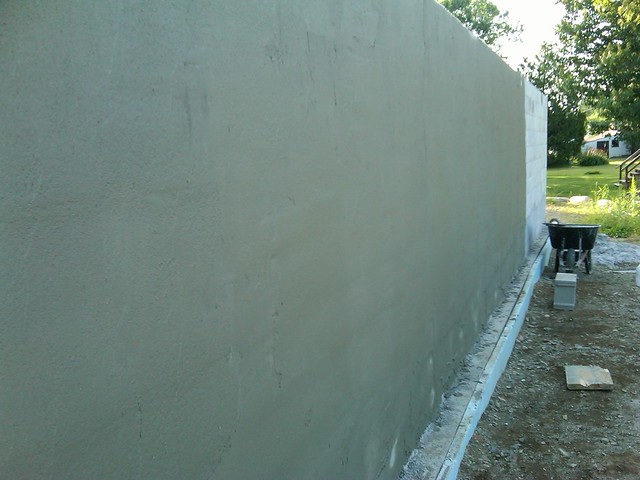
Started knocking out the exterior
Last wall
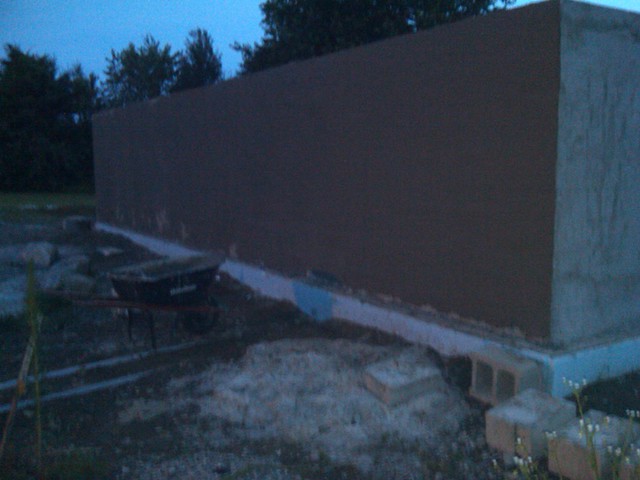
Finally finished as it was getting dark, this would become the norm over the next 3 months
With the left over blocks we threw up a quick shell for a rootcellar
15 Feb ’12
Offline
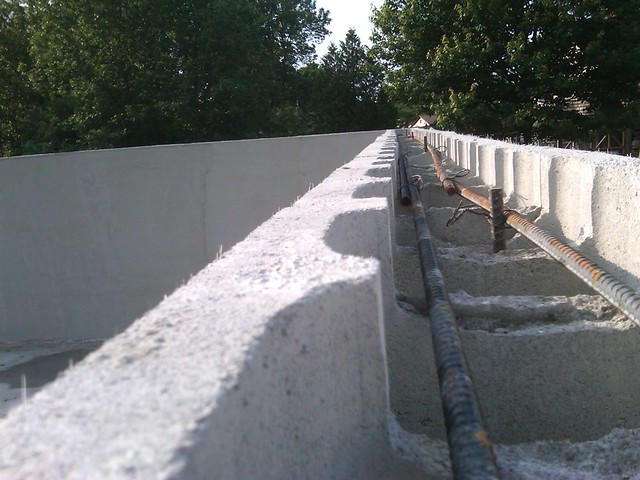
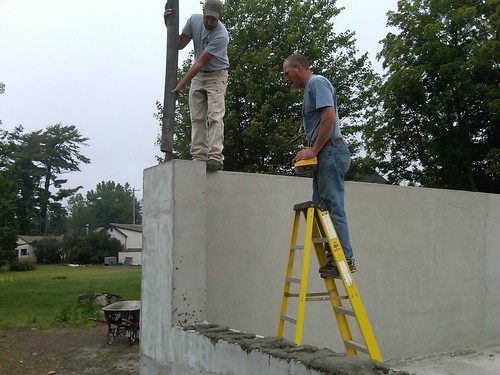
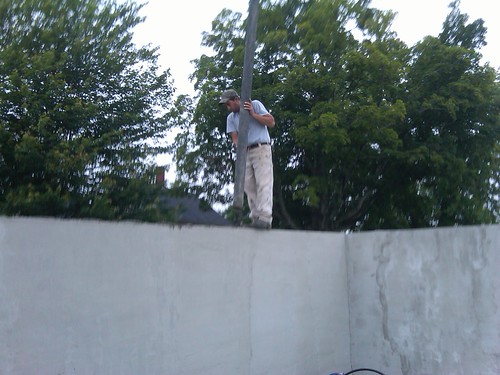
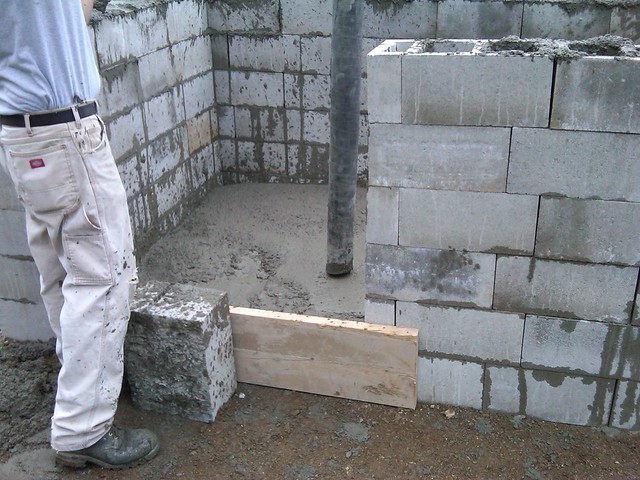
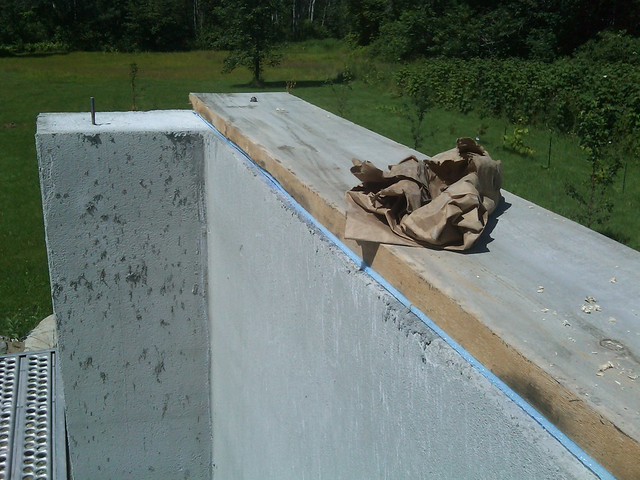
We then proceeded to cut and bend some rebar for our top bond beam.
We then broke out our diamond tipped skill saw and started cutting out the block. A face mask is important for this.
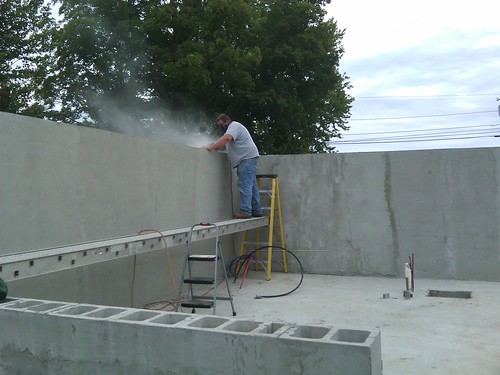
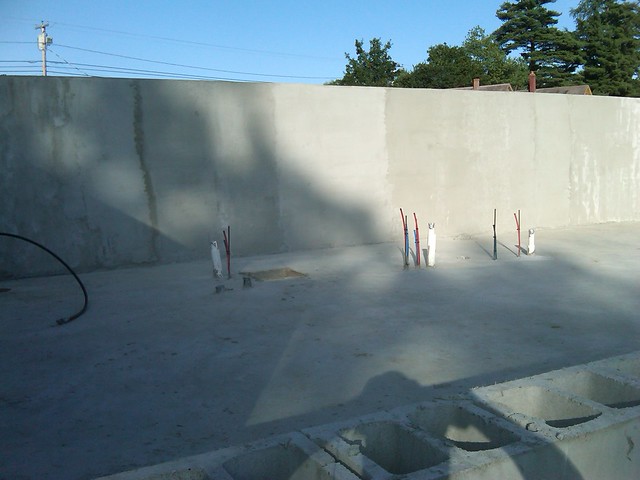
And proceeded to drop rebar vertically and ran it horizontally.
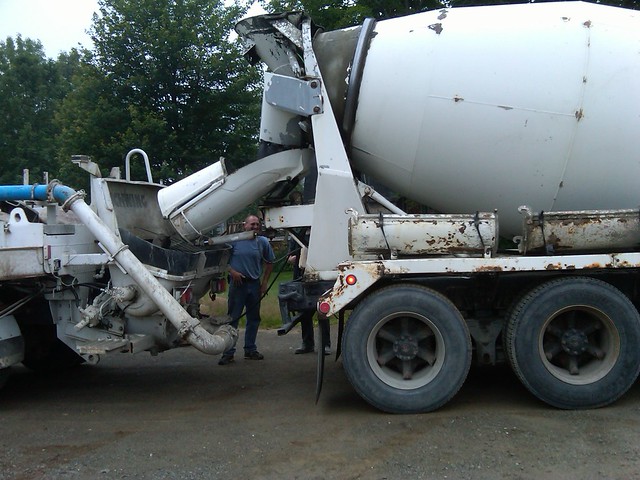
7:00 a.m. the next morning the pump truck showed up.
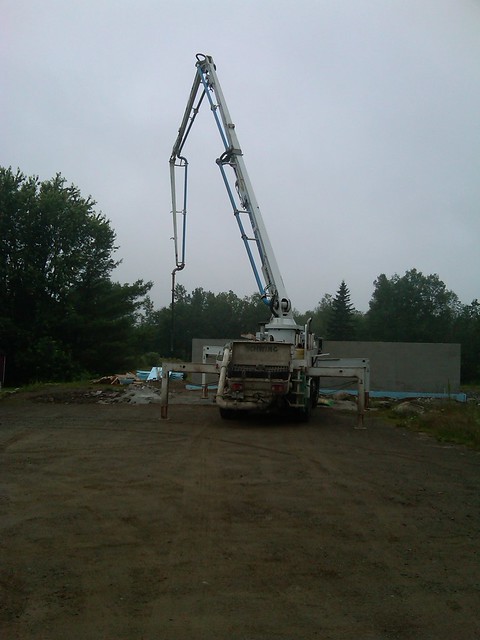
Shortly there after the cement truck showed up. We ordered the same mix as ICF, a pea gravel mix with fibers mixed in. I was concerned with the walls being totally filled all the way down, but my calculations were 13 yards with a yard for clean out, so that is what I ordered.
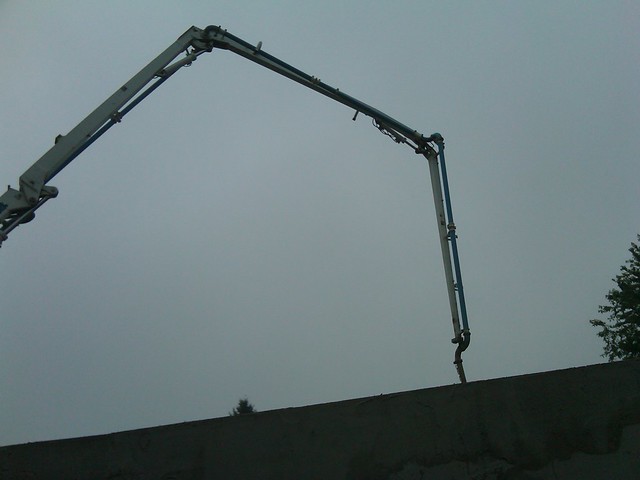
We are ready to start pouring.
All finished pouring.
Leakage in the block showed we had filled the bottom cores.
and we used the yard from clean out to pour our little building we formed up.

16 Feb ’12
Offline
Everytime I see this I am even more in awe. Amazing work.
15 Feb ’12
Offline
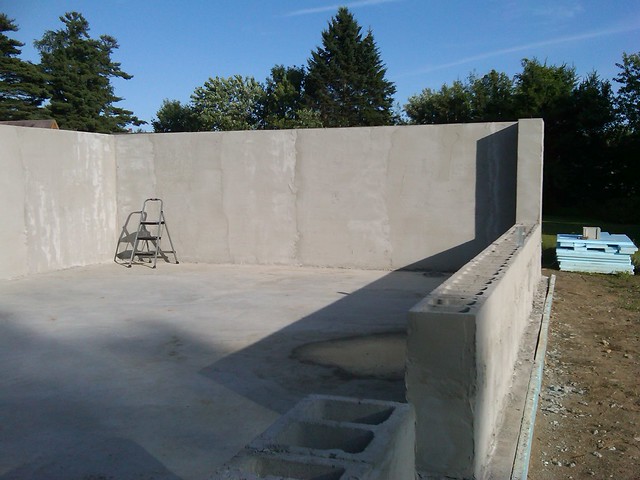
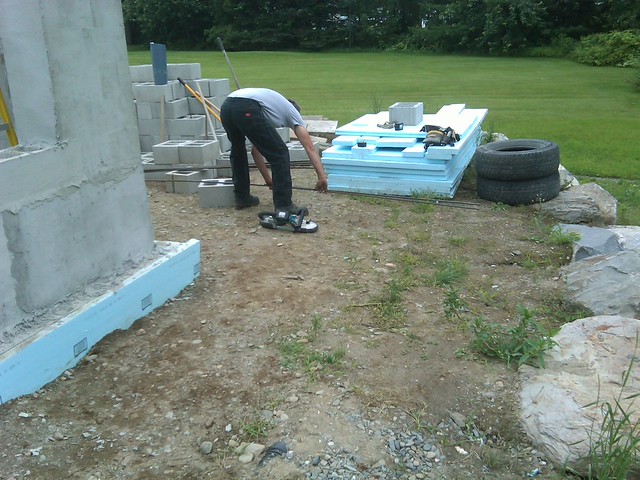
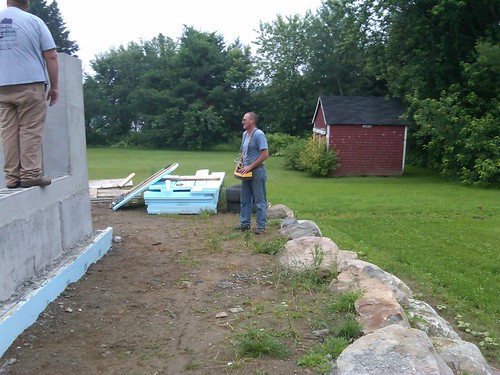
Over the weekend, I bought some 8 inch block and used that to raise the walls on the shed.
and filled the cores on the 8 inch block and dropped some anchor bolts in the corners
I put on a layer of surface bonding cement to tie it all together.

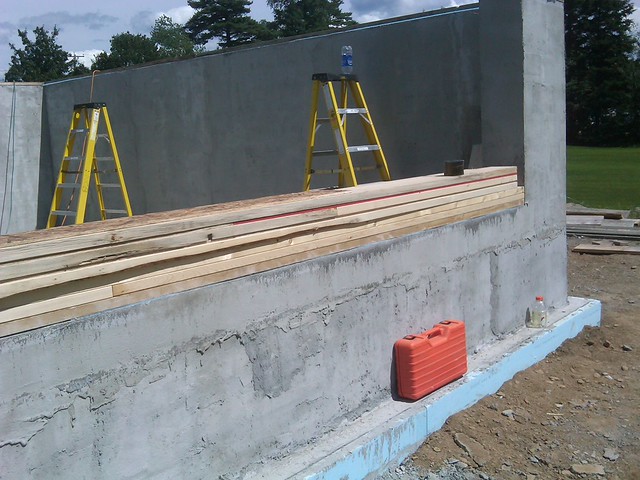
Monday morning bright and early the lumber showed up.
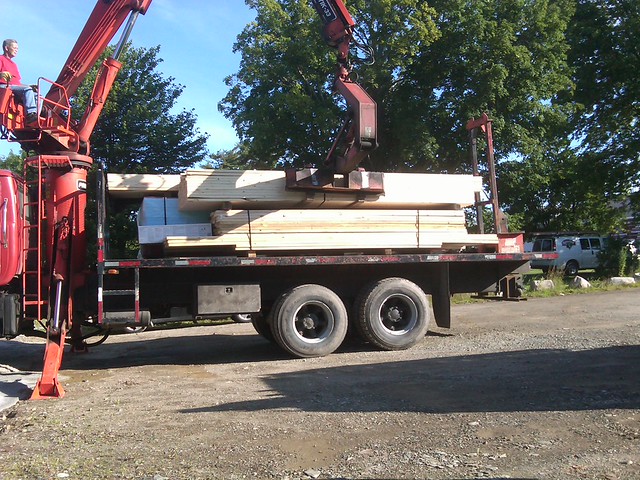
Monday morning
15 Feb ’12
Offline
We started out by laying down sill seal and bolting down the 2x12's we had used for the footing forms to use as sill plates

15 Feb ’12
Offline
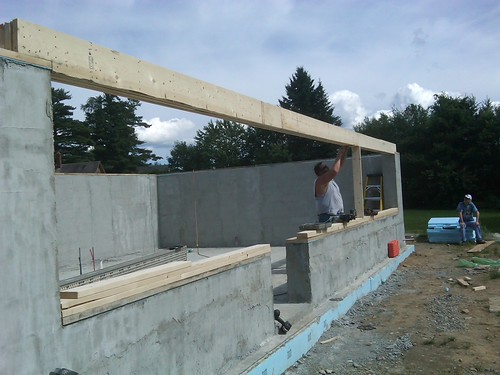
We then started framing the header for the front of the house and to frame out the door and windows
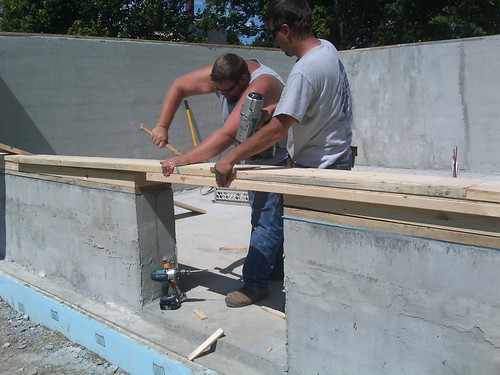
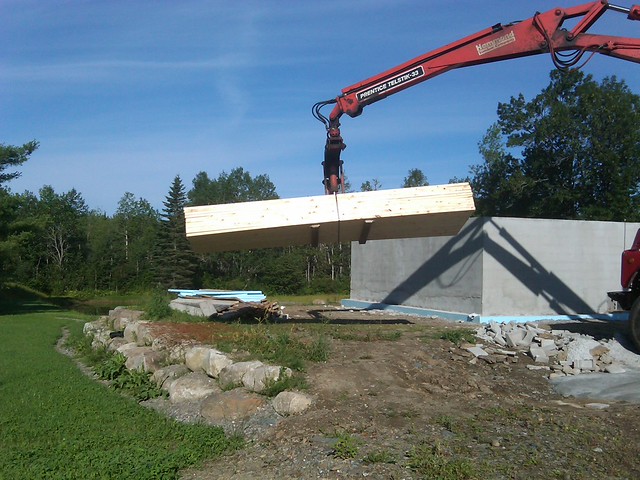
40 feet long, this is going to be fun
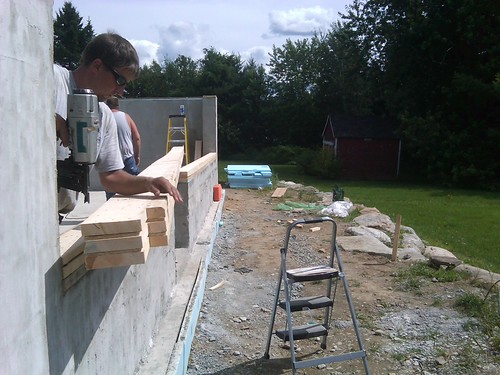
we lifted one side up and nailed some blocks to keep from falling off and lifted the other and then started nailing down the window studs


Most Users Ever Online: 698
Currently Online:
23 Guest(s)
Currently Browsing this Page:
1 Guest(s)
Top Posters:
easytapper: 2149
DangerDuke: 2030
groinkick: 1667
PorkChopsMmm: 1515
Gravel Road: 1455
Newest Members:
alexandrahic
phillippcarolan
lucybrunker162
ricoavila62
joe4257694859449
Forum Stats:
Groups: 1
Forums: 12
Topics: 11478
Posts: 58673
Member Stats:
Guest Posters: 2
Members: 3495
Moderators: 0
Admins: 1
Administrators: K

