
 Register
 Log In
 Home
Home
15 Feb ’12
 Offline


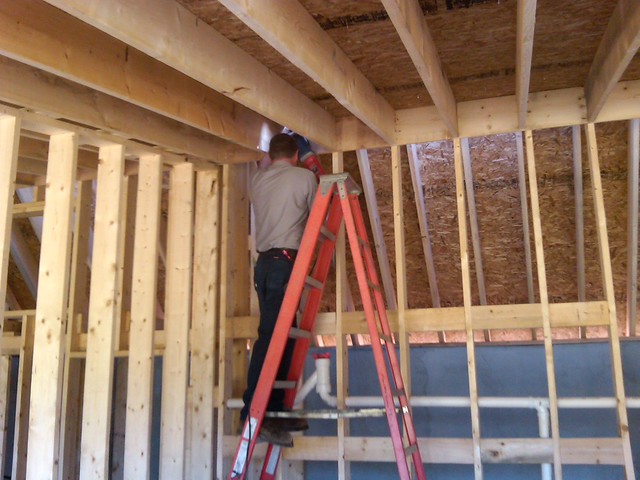
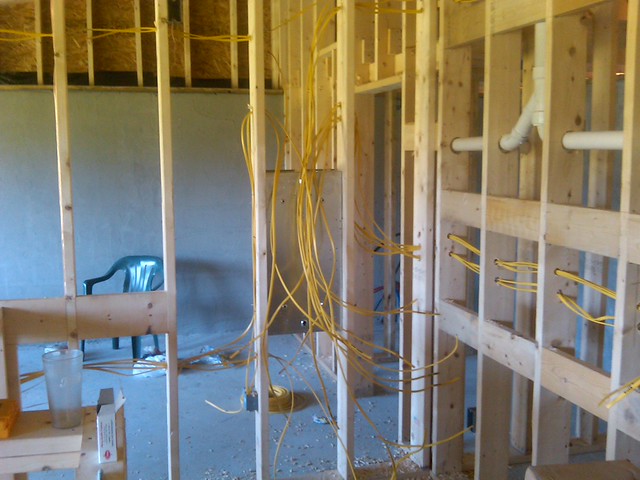
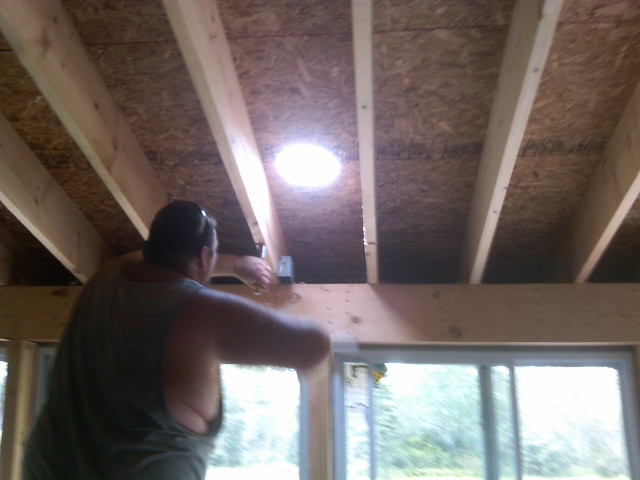
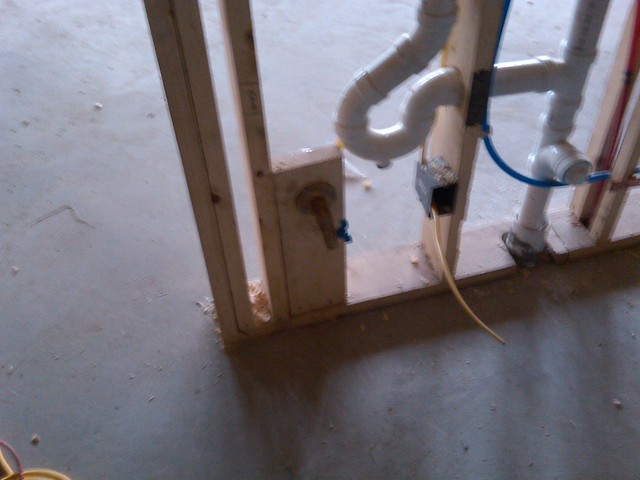
I picked up the electrical and plumbing supplies
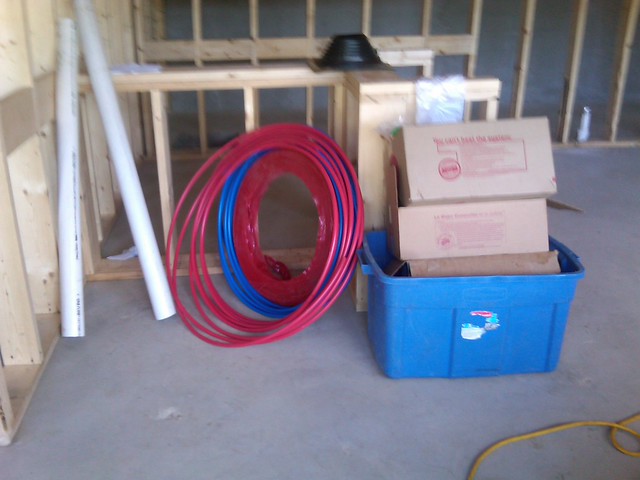
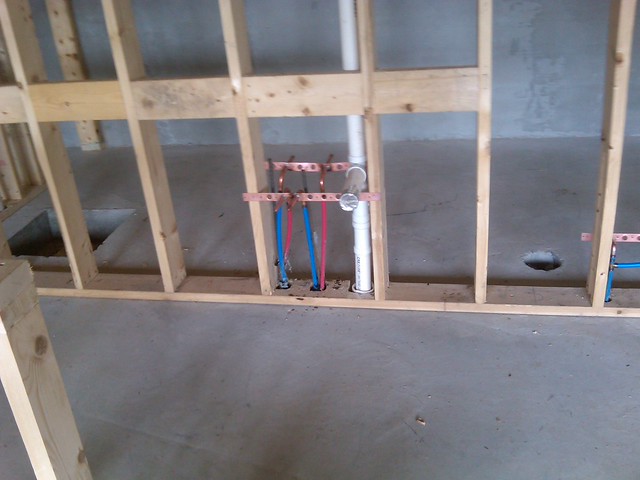
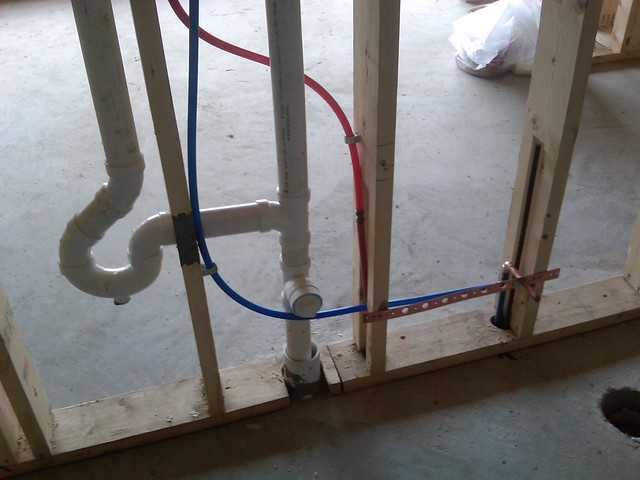
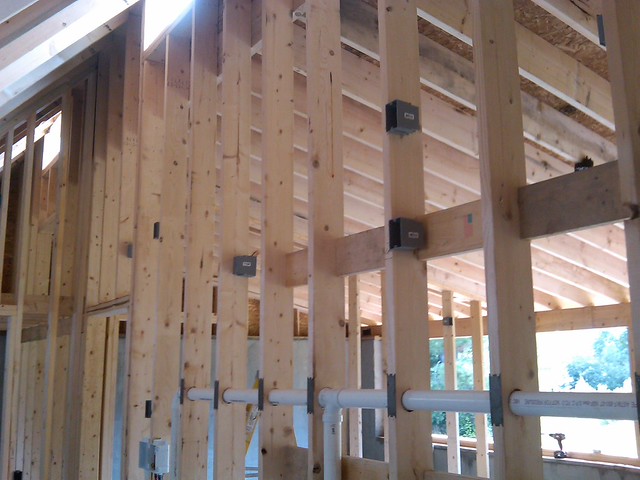
and the plumber came back and started doing the rough ins
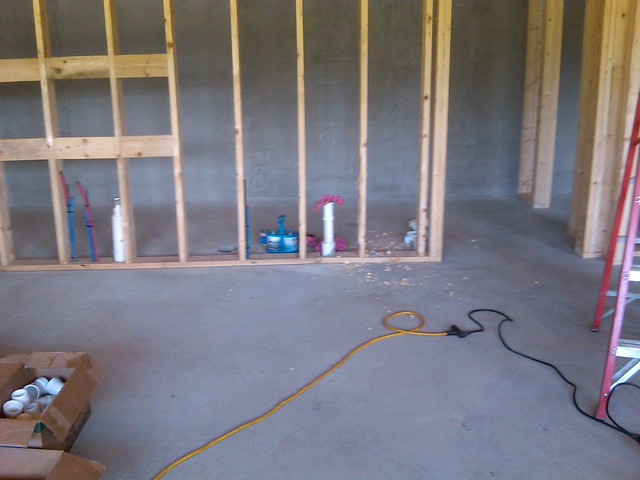
we installed the washing machine hook up
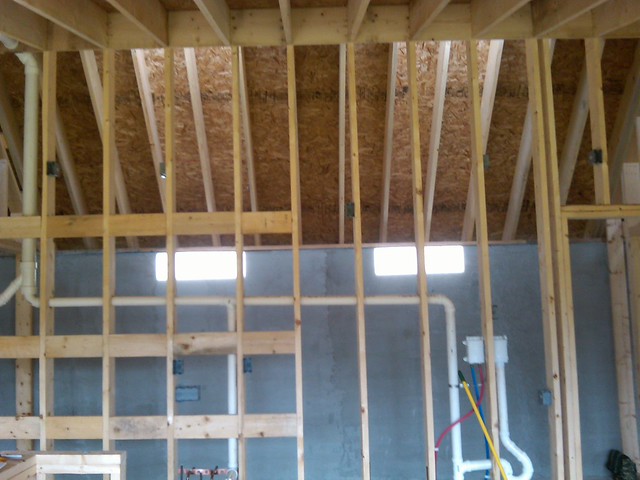
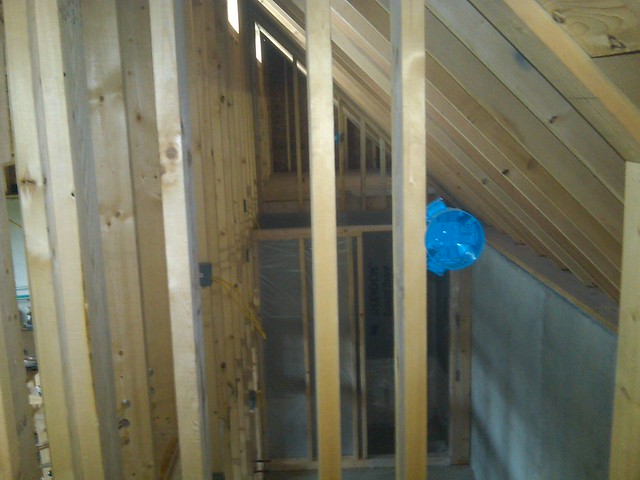
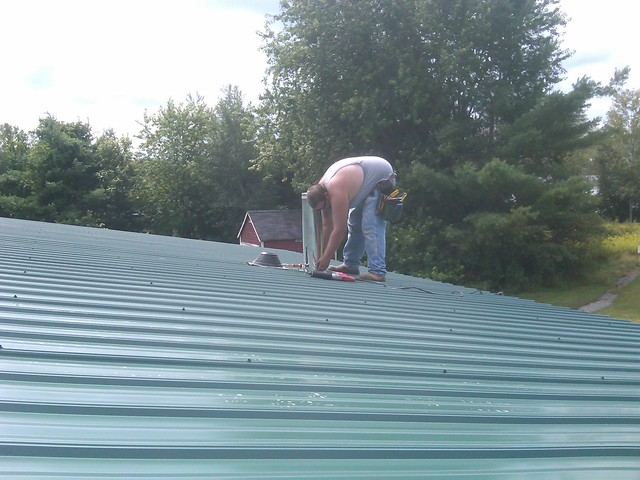
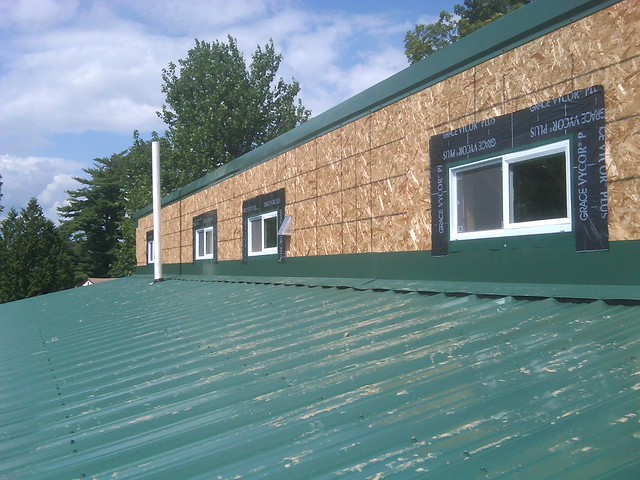
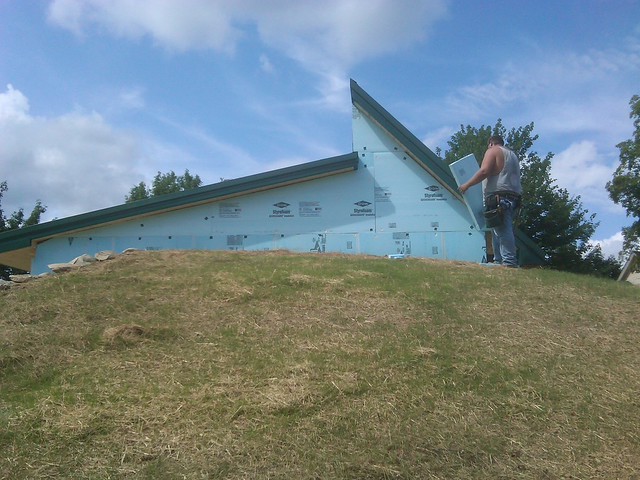
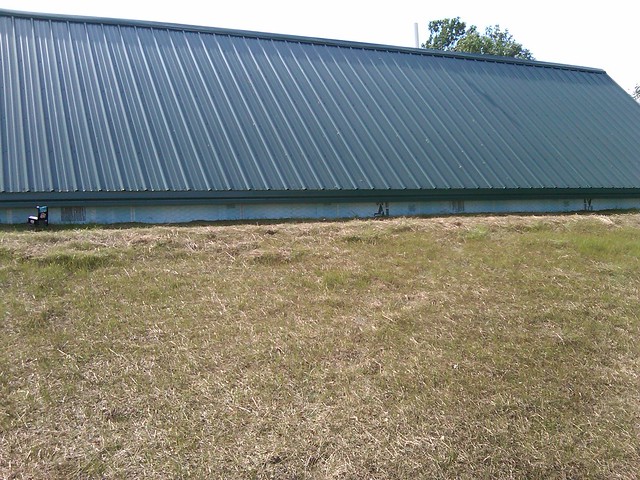
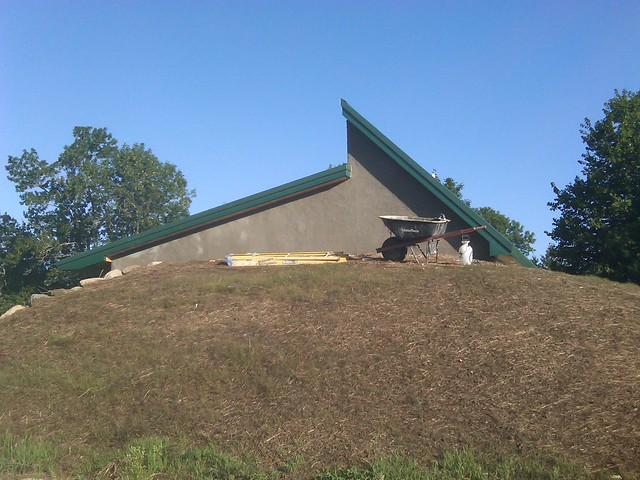
and proceeded to cut into the roof for the vent pipe
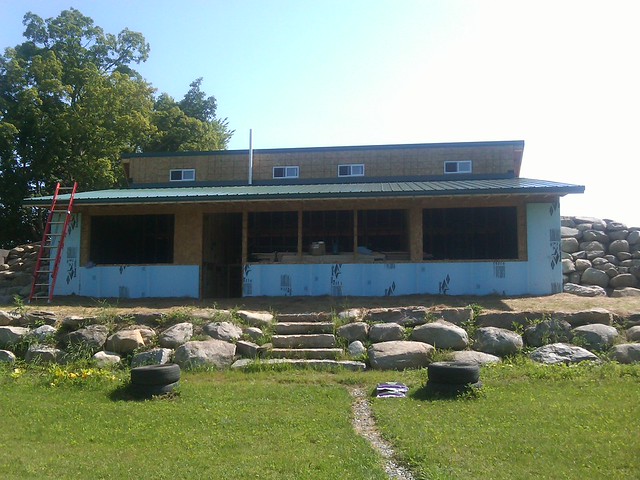
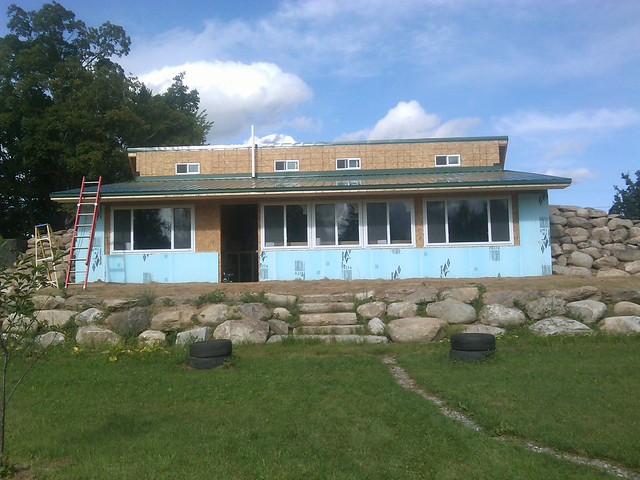
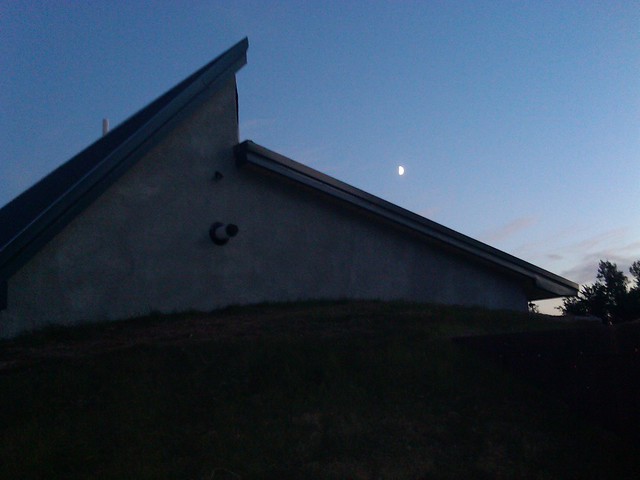
and ran the pipe out the roof, making sure it was above the roof line
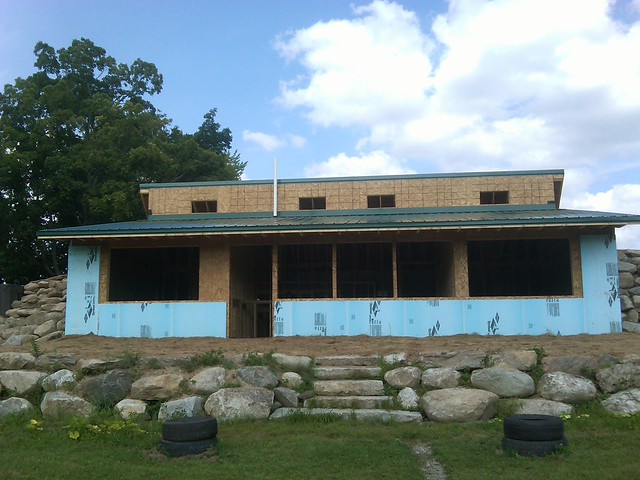
you can see my first experiment with tire potatos above
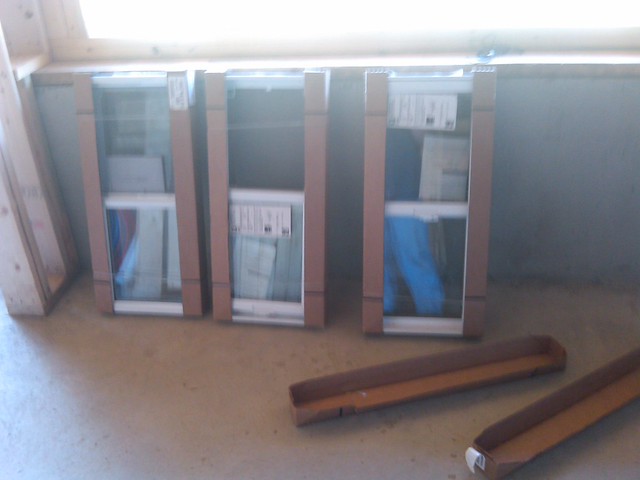
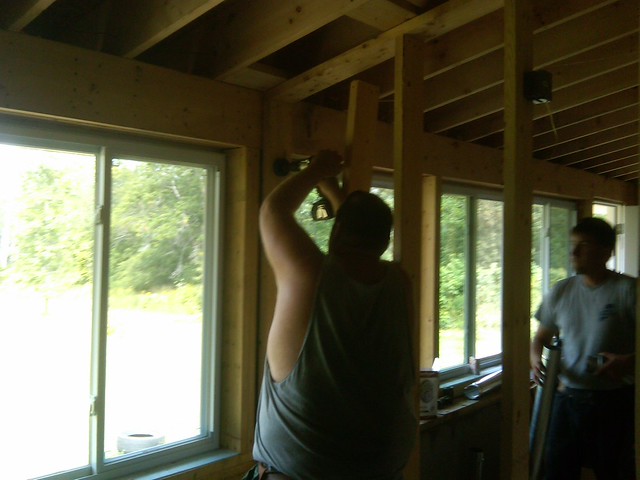
I had also picked up the windows for up top
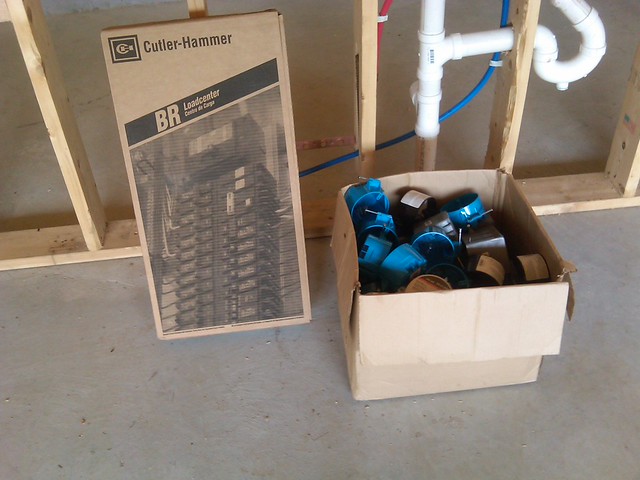
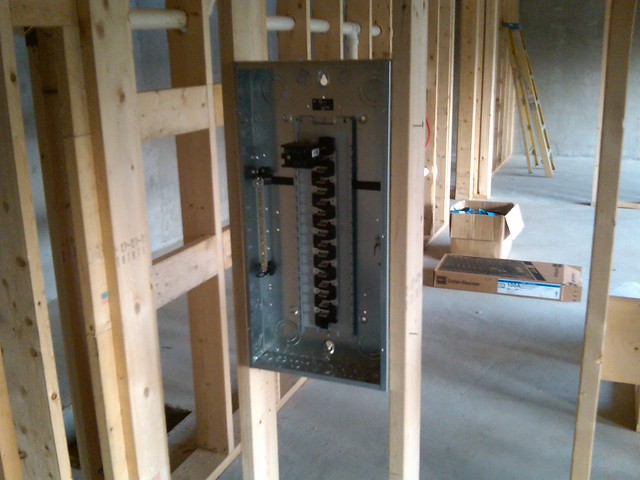
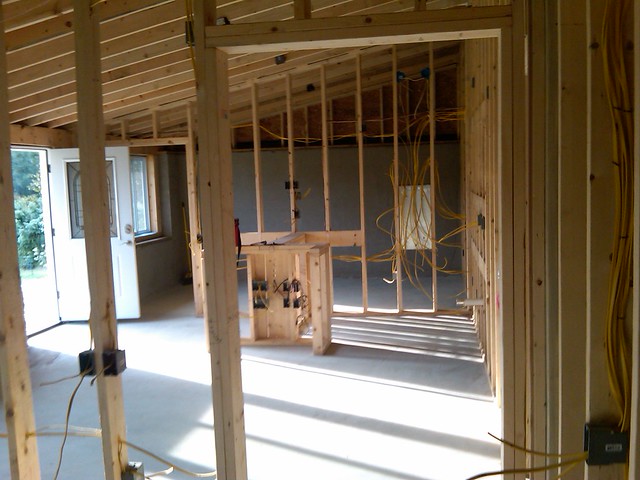
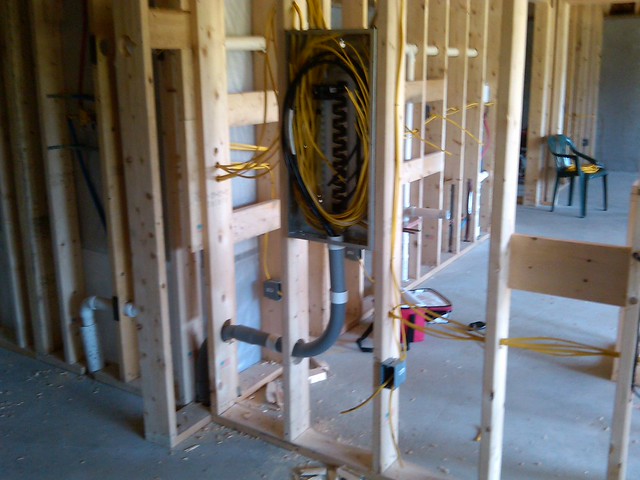
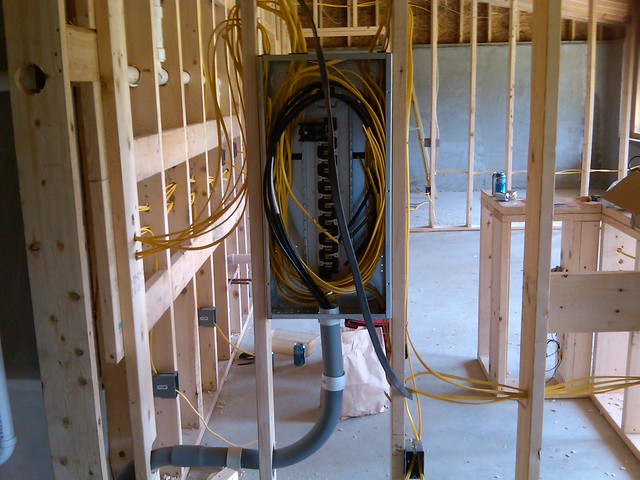
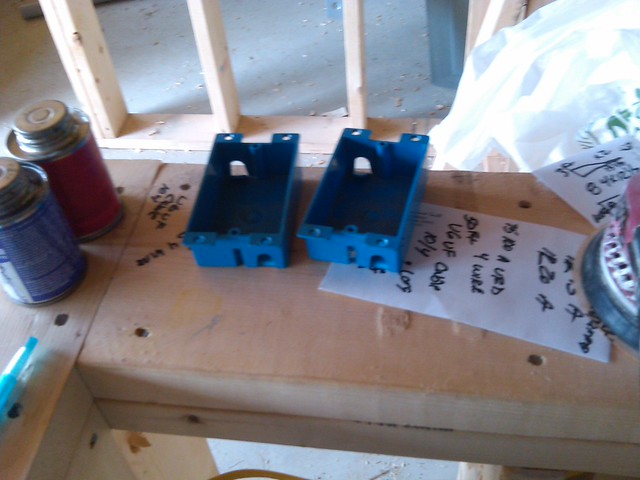
I picked up the panel and electrical boxes
and mounted the panel
and mounted the boxes for the entertainment center at the end of our island
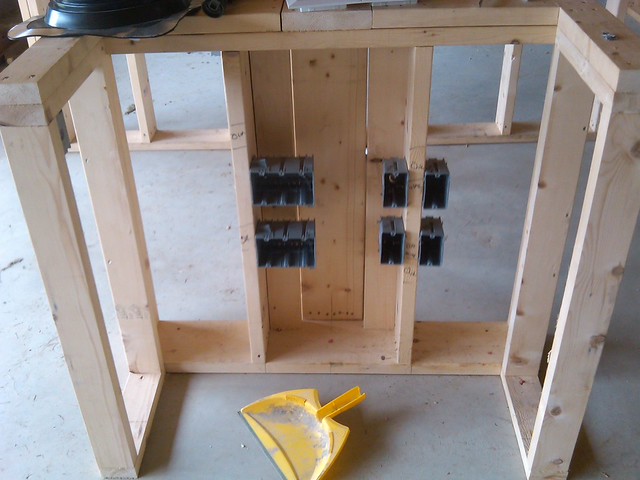
and the boxes for tv above the Island
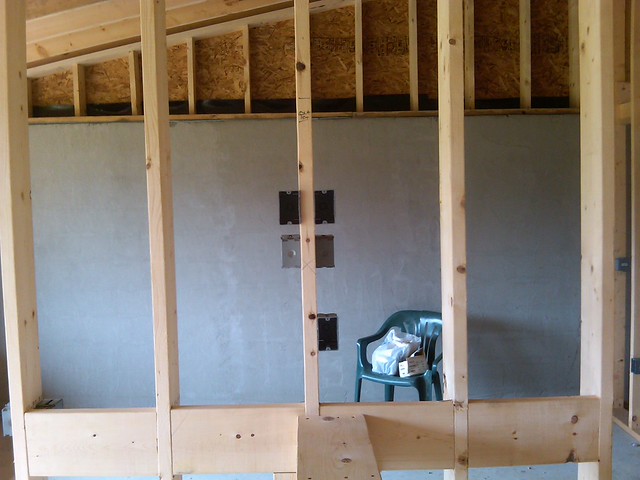
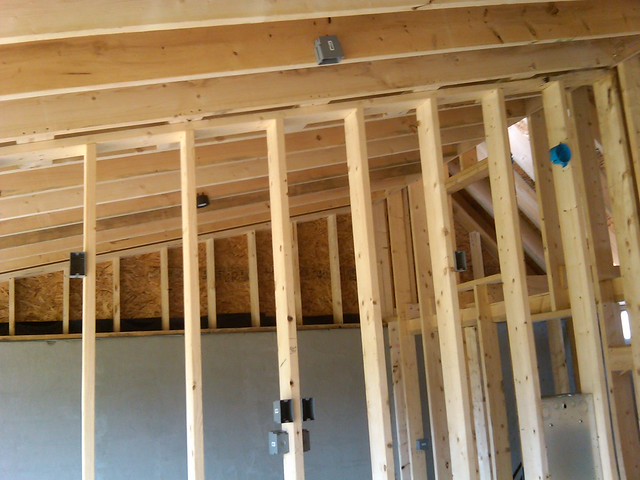
track lighting in the bathroom
and set up the boxes for the smoke detectors

4 Mar ’12
Offline
love this thread
15 Feb ’12
Offline
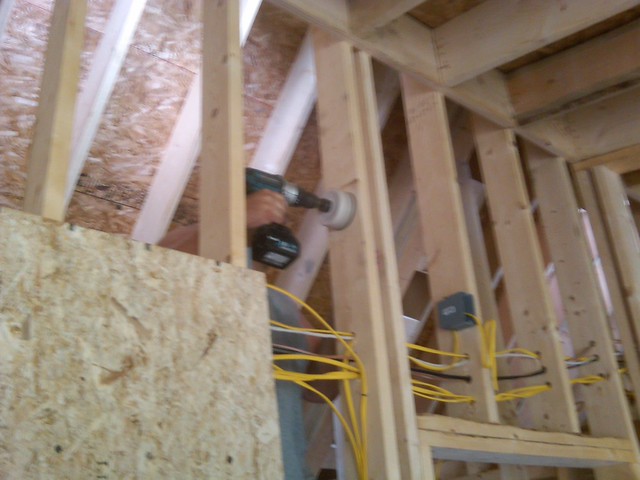
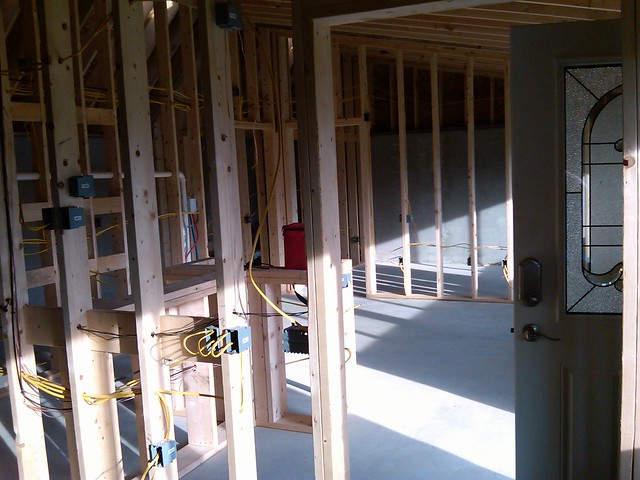
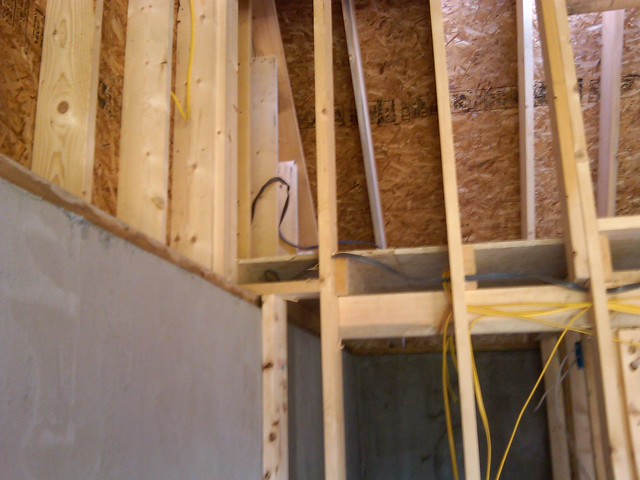
I started pulling wire
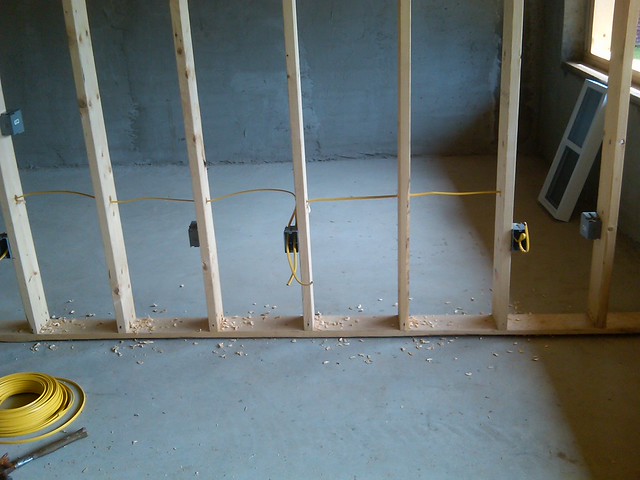
and labeled all the wires so i knew where the hell they were going, this is going to be fun
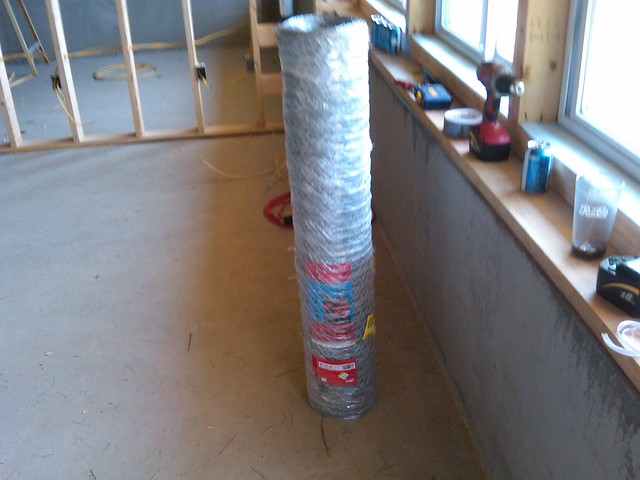
had some supplies delivered
coil stock for the outside metal trim and stove pipe
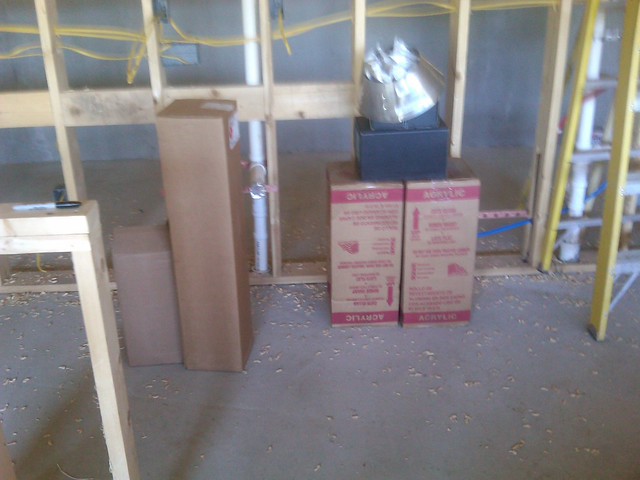
pine for the soffitt
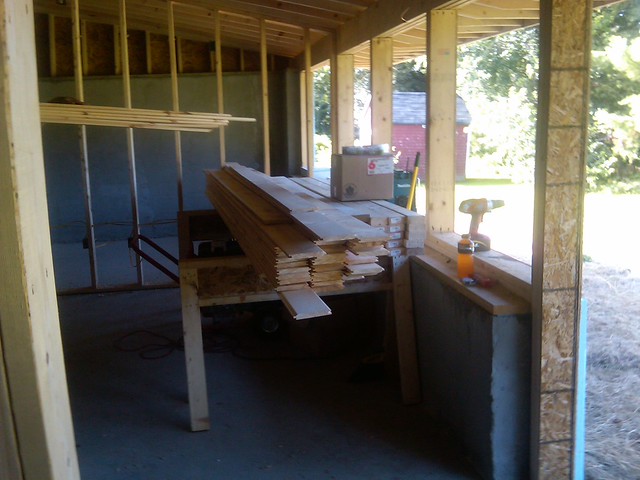
Dryer Vent
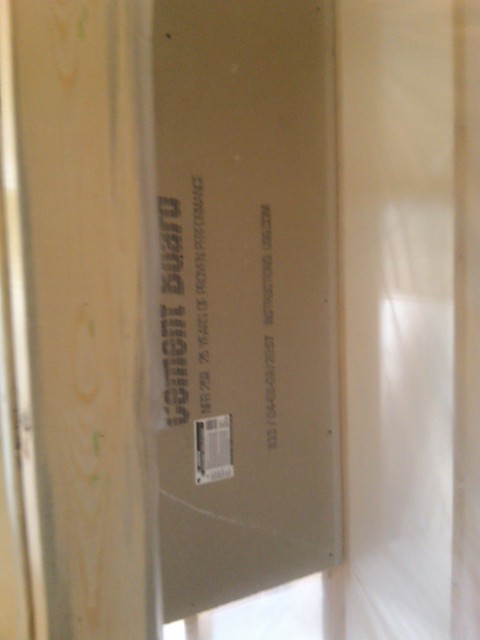
and cement board for the shower
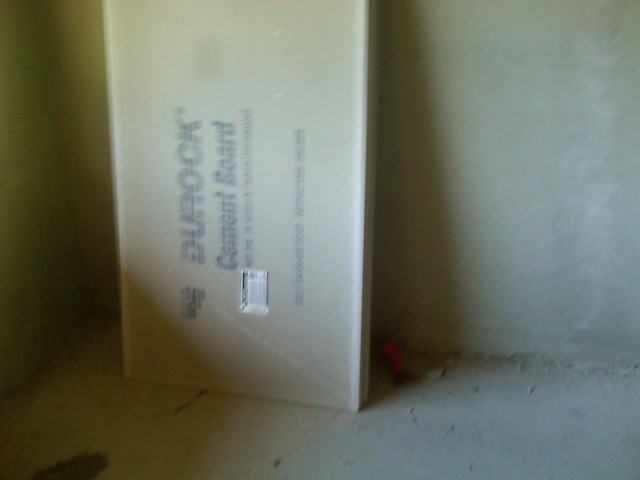
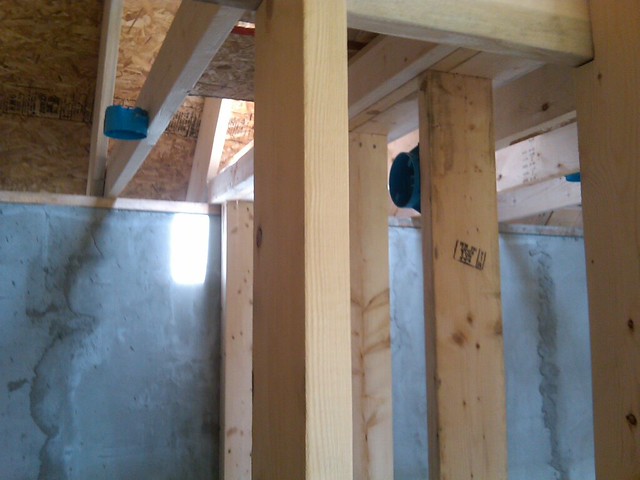
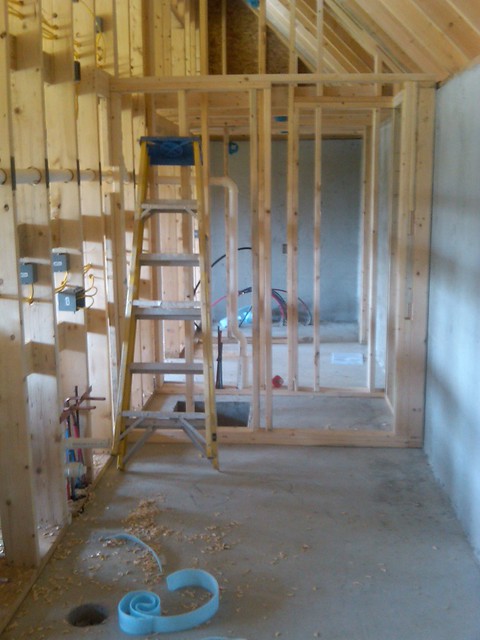
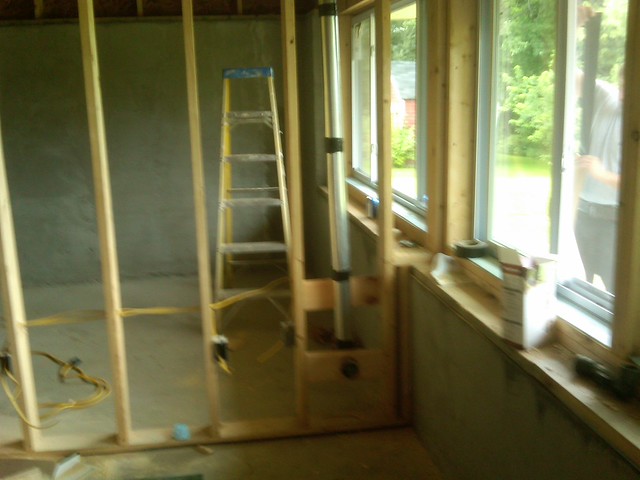
we closed off the entry into our closet and started framing in the shower
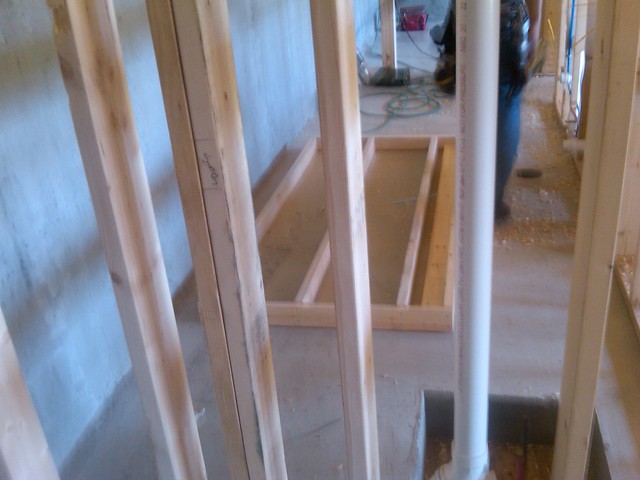
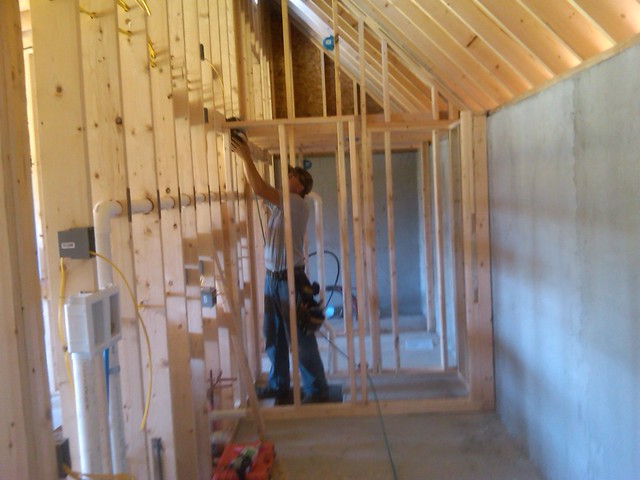
all framed
I stapled on 4 layers of 6 mil poly for a start to our waterproofing
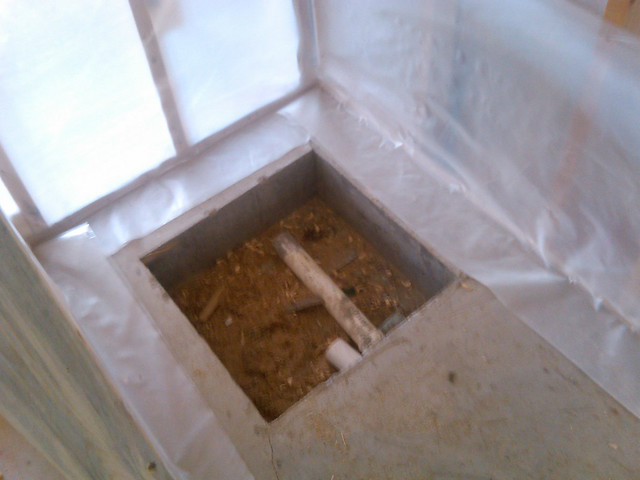
and started hanging the cement board
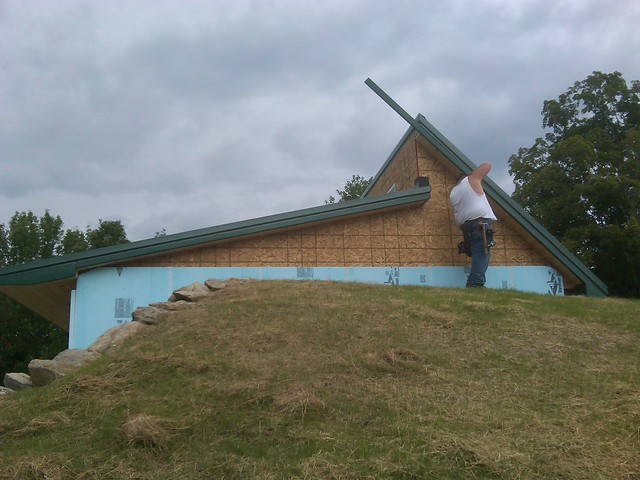
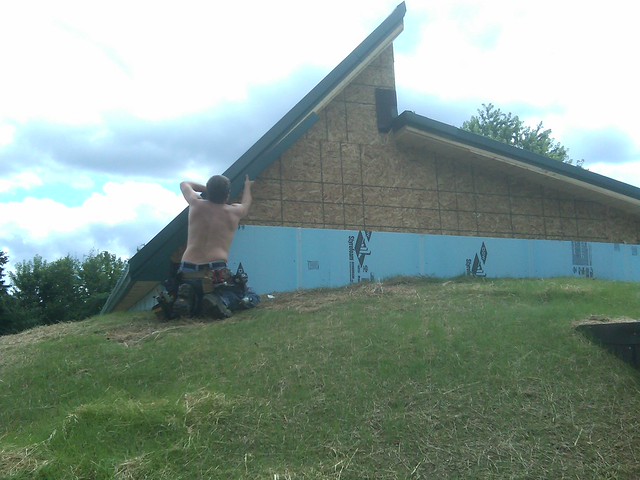
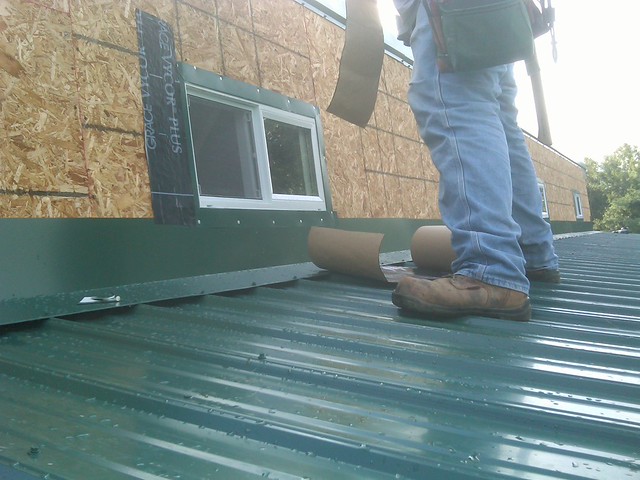
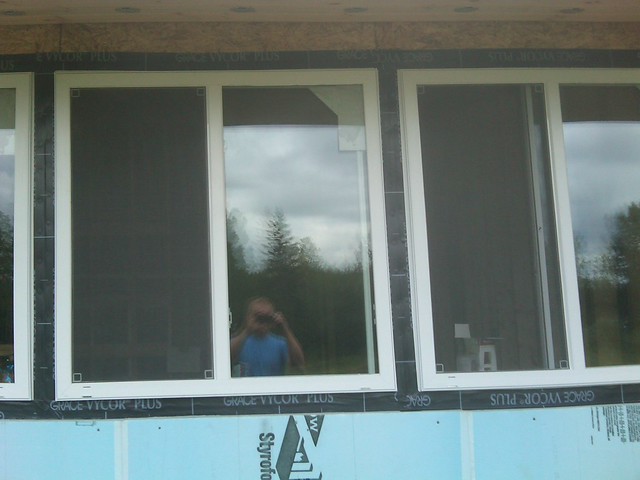
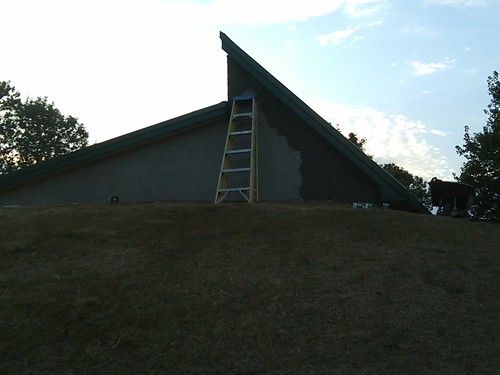
the next day we decided to hop on installing the upper windows
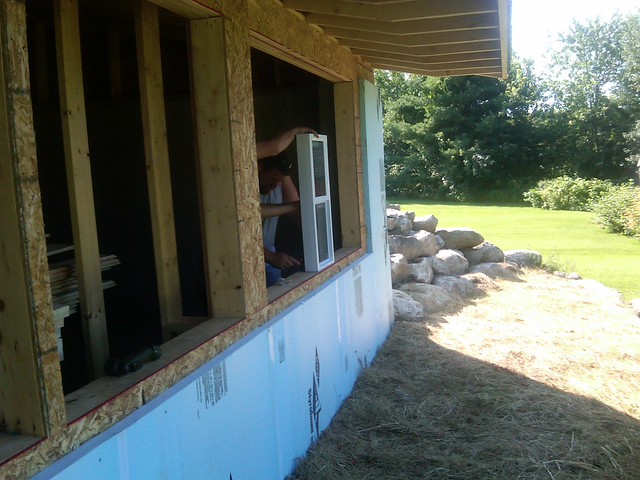
so we took the windows up on the roof
and screwed them in
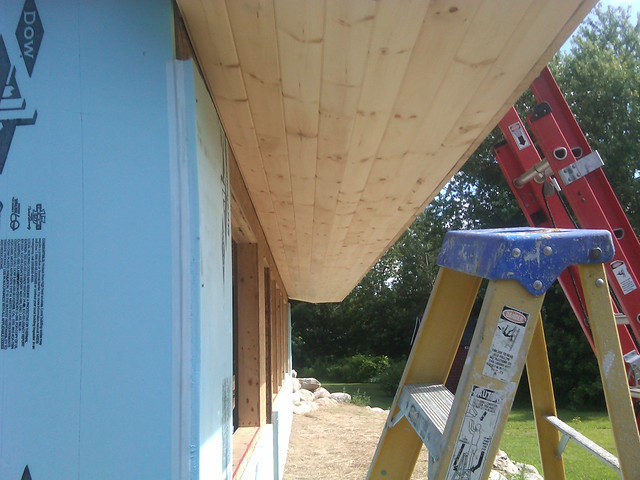
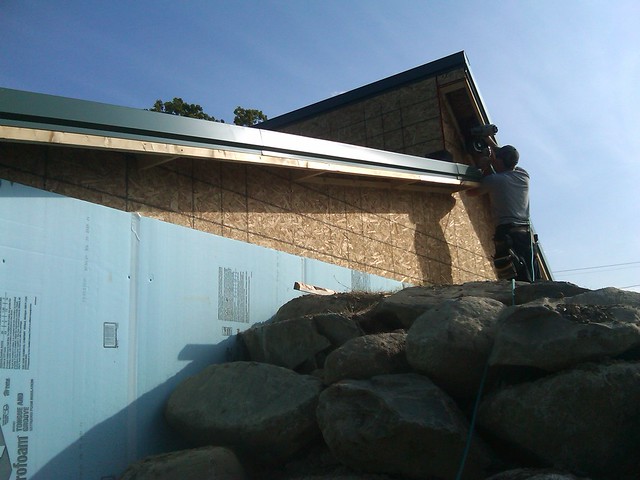
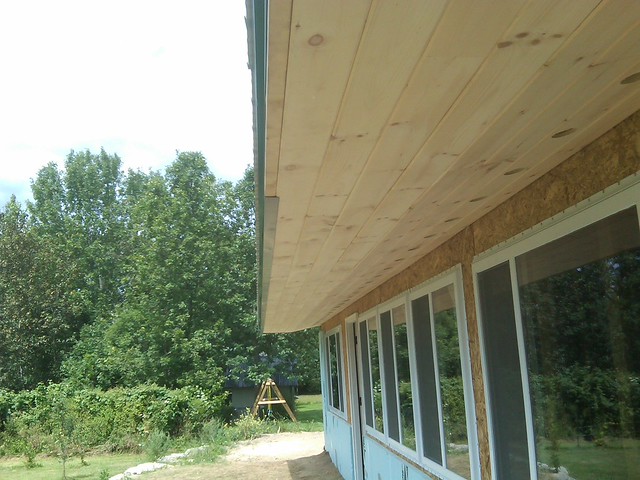
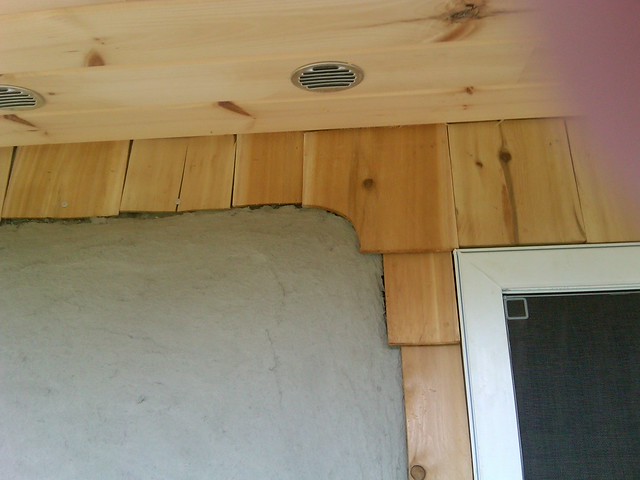
we built up the soffits on the rakes
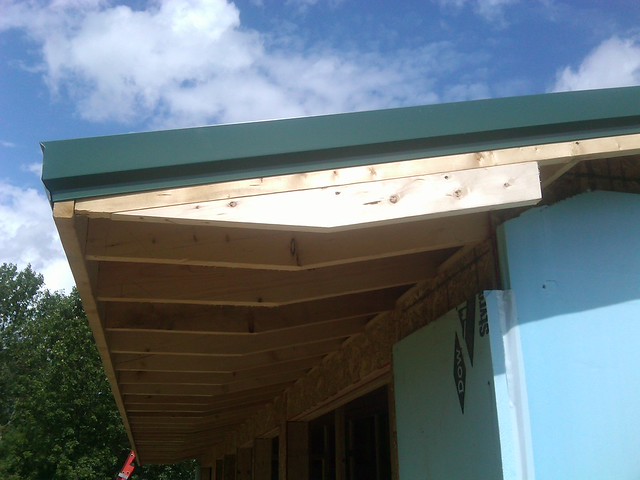
and started installing the pine
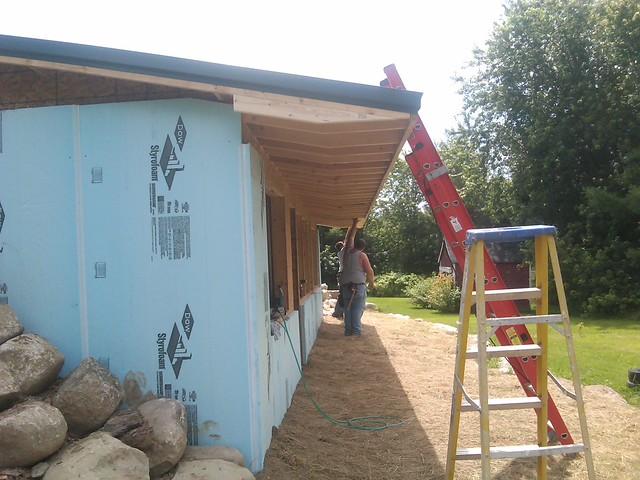
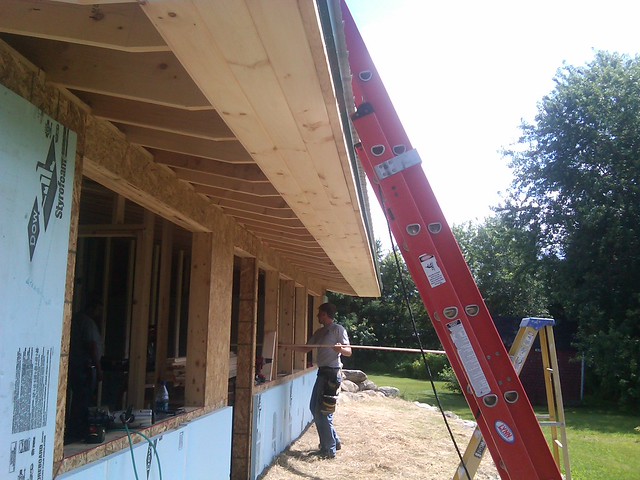
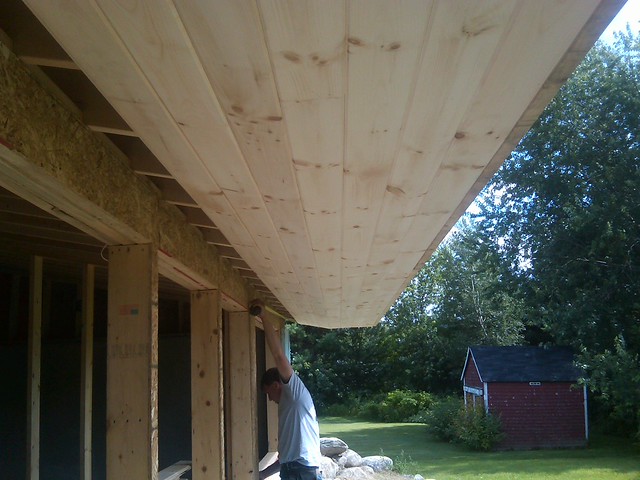
all finished
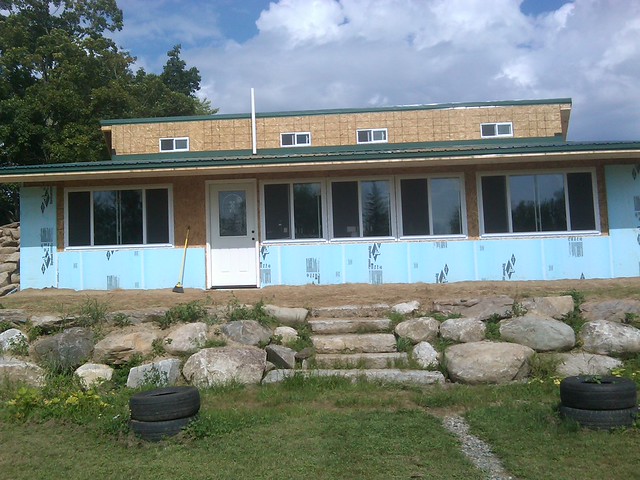
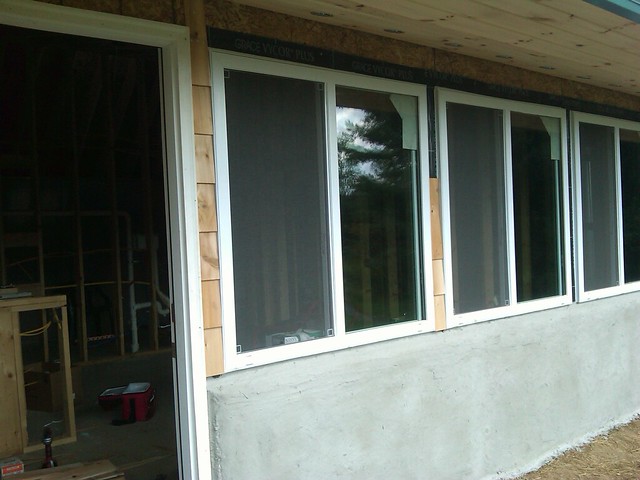
we then started installing the sliders in the front
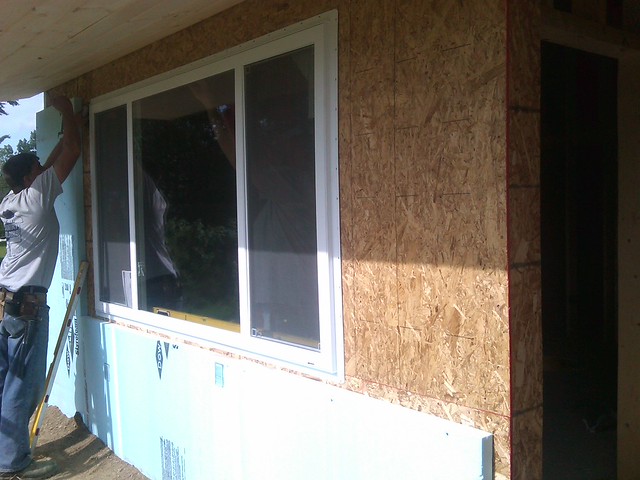
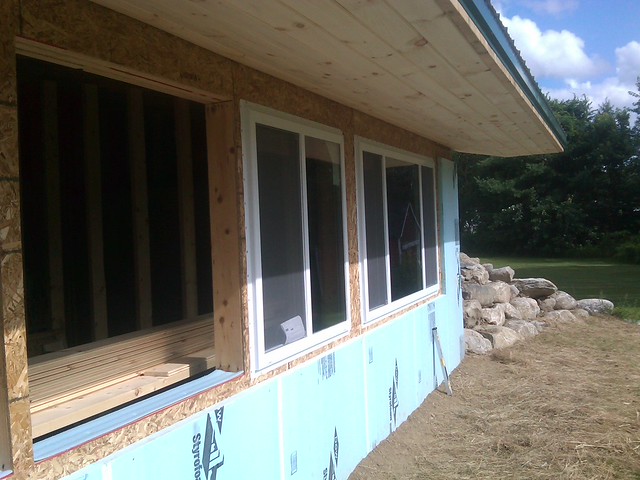
almost weather tight
15 Feb ’12
Offline
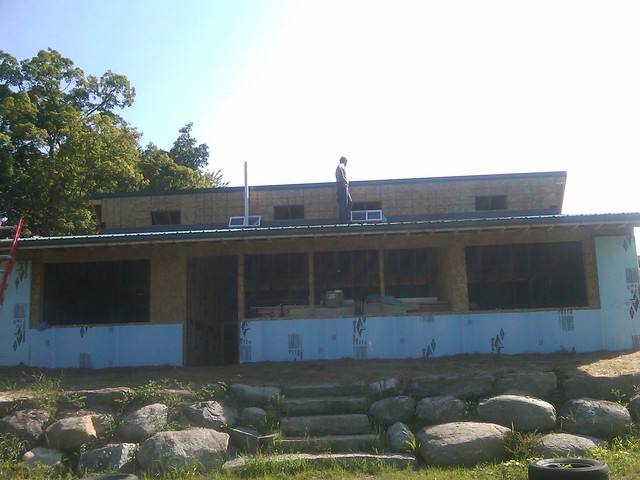
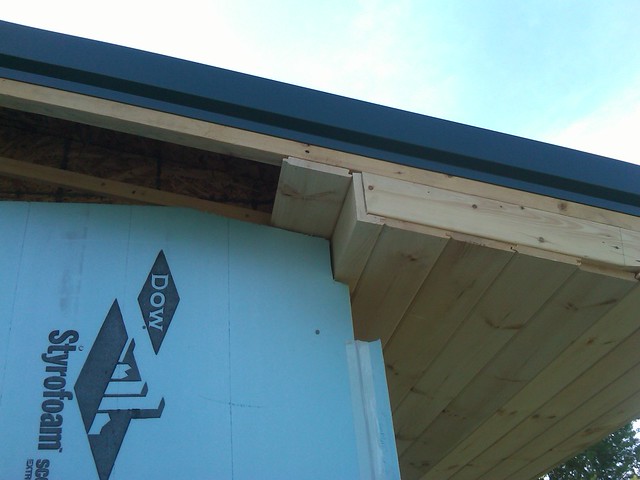
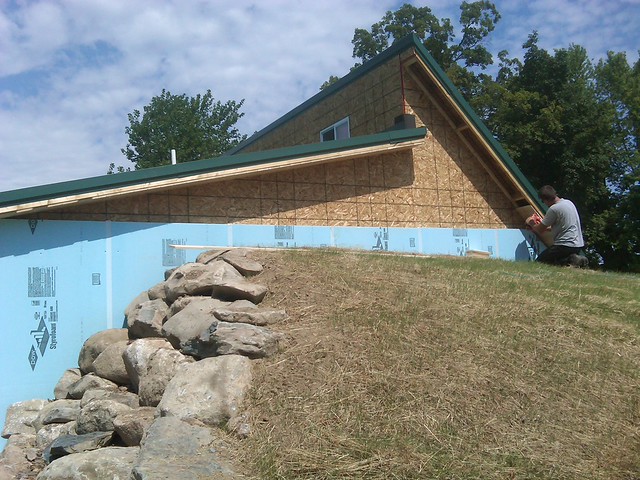
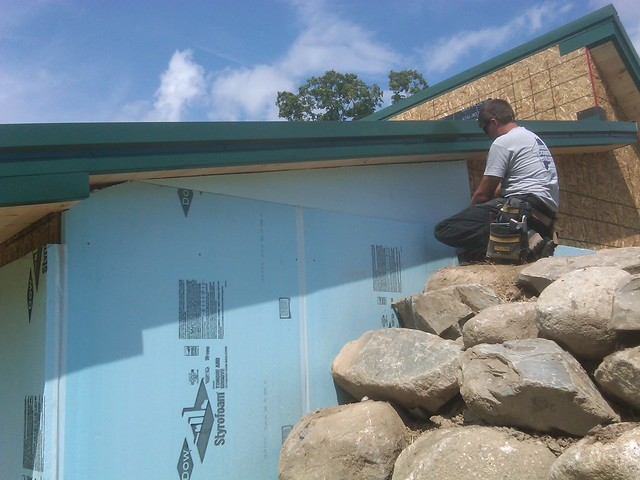
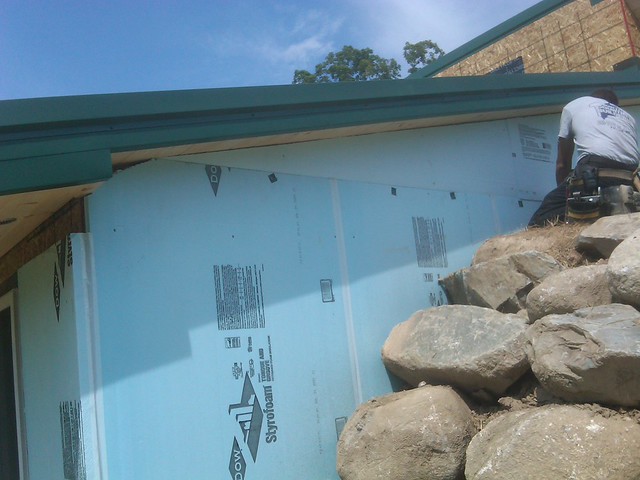
the next morning we started building the gables out
and started trimming out with pine
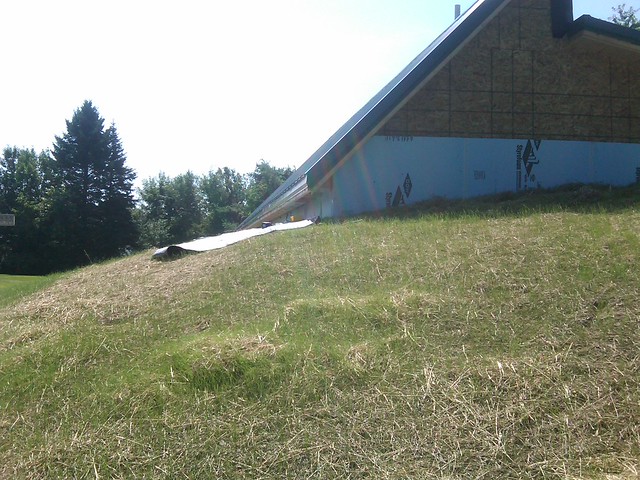
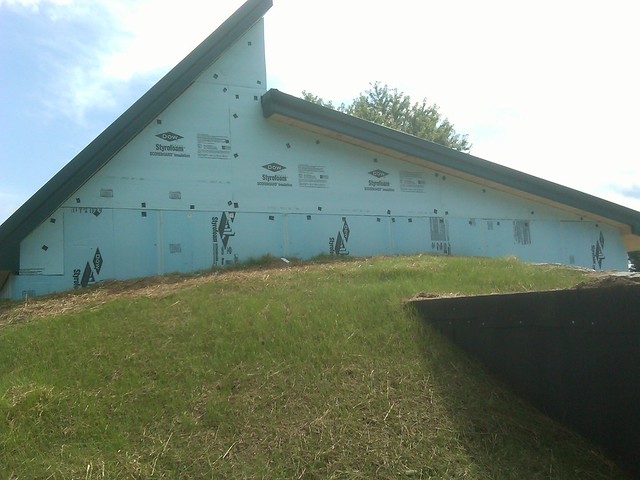
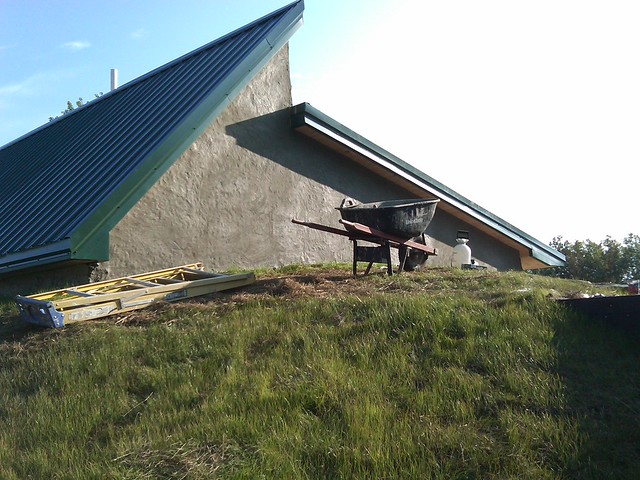
the grass was starting to growing, at this point we were 2 months into the project
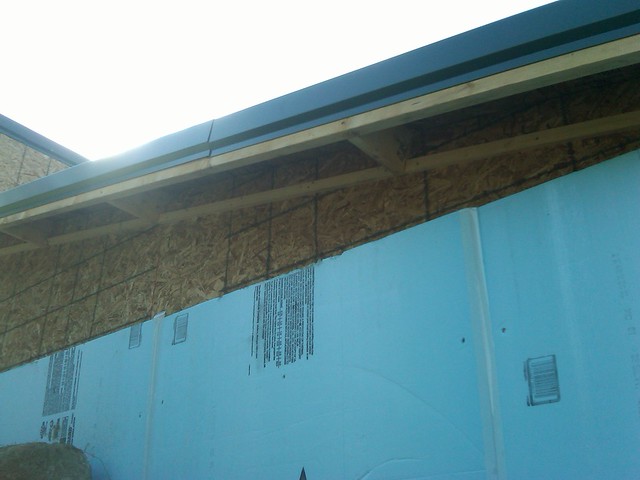
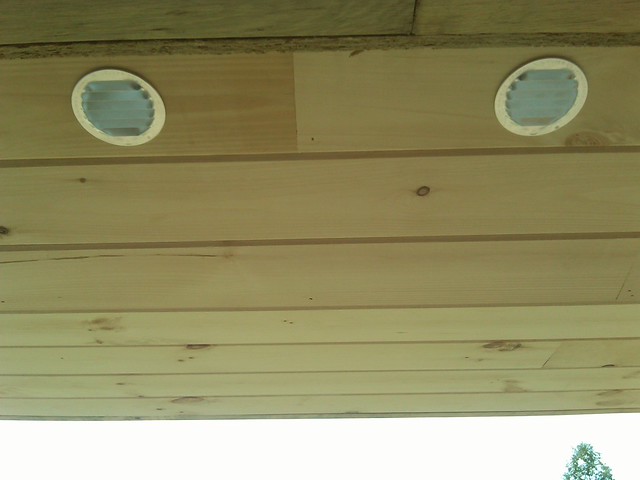
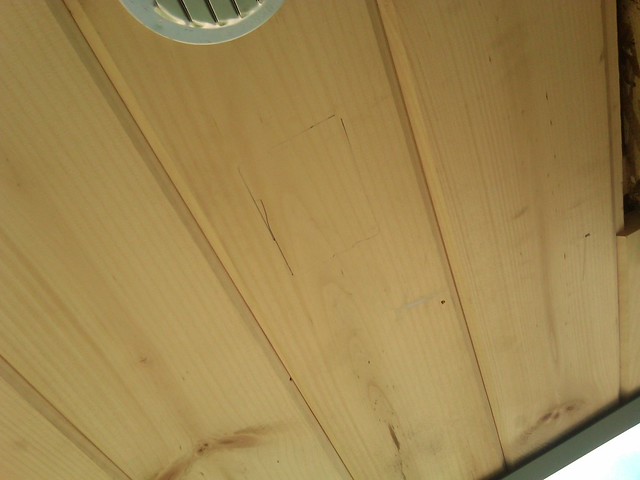
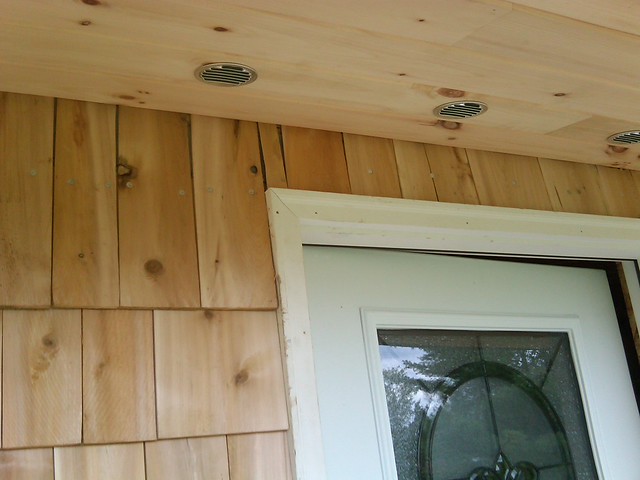
We drilled out the holes in the soffit for venting

and popped in the vent covers
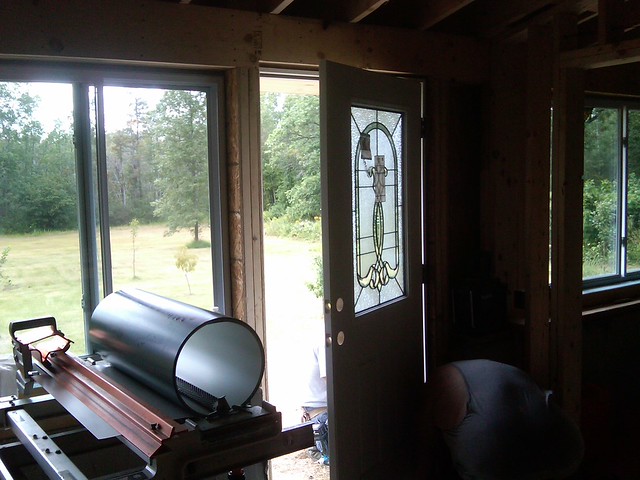
we installed the front door
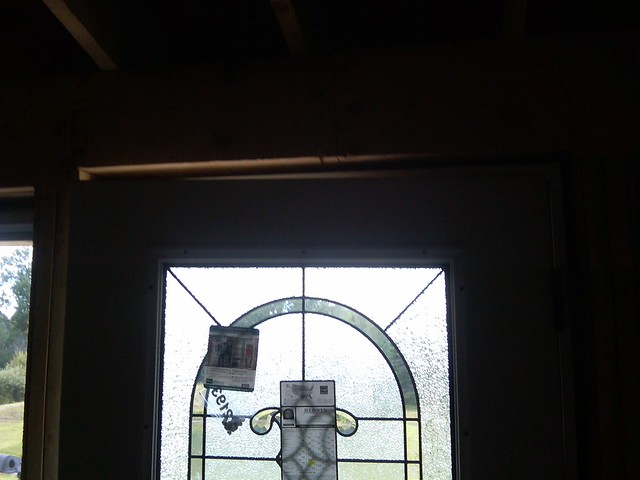
we were weather tight finally
and set up to bend some metal
so we started wrapping the trim with metal
and finished right before it got dark
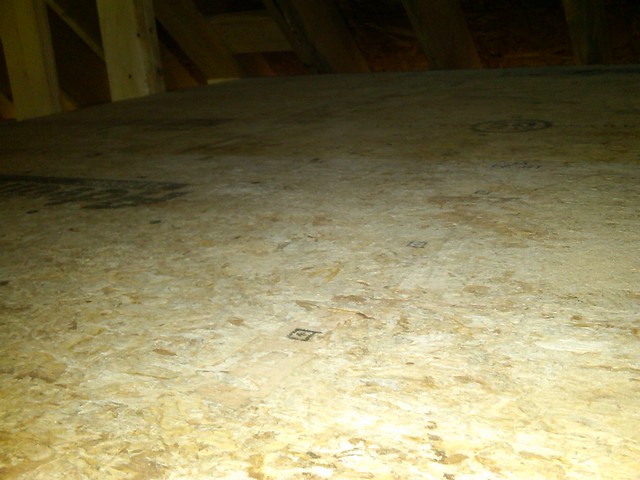
before I called it a night I laid the subfloor in our storage areas
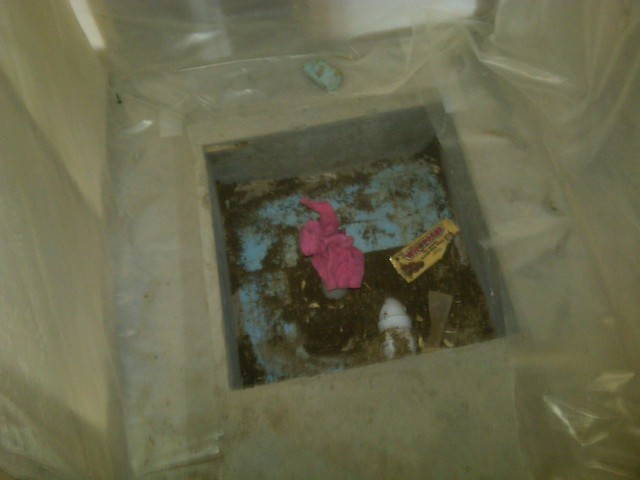
looking down into the bathroom
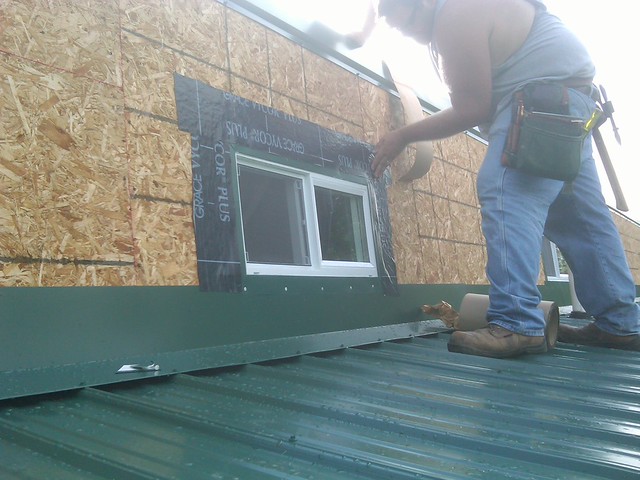
the next morning we applied ice and water shield around the windows

the plumber stopped by and installed the drain for the shower
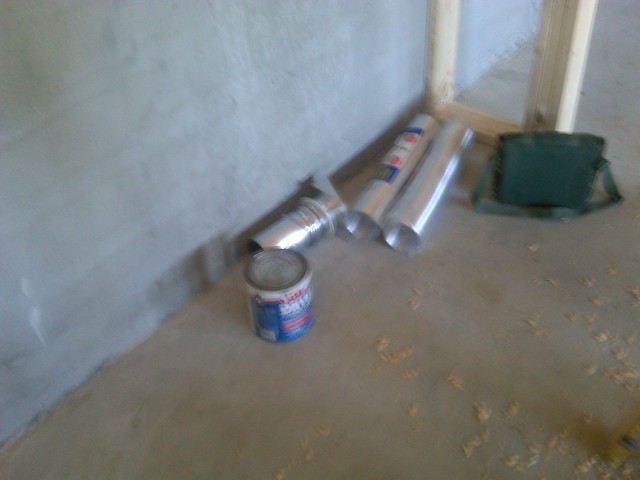
we installed a cold air return for the wood stove

and just piped it out the wall, that way when the stove is fired up it will draw cold air from the outside
we ice and watered around the sliders
and then cut out for the stove pipe
we installed the mounting bracket for the stove pipe
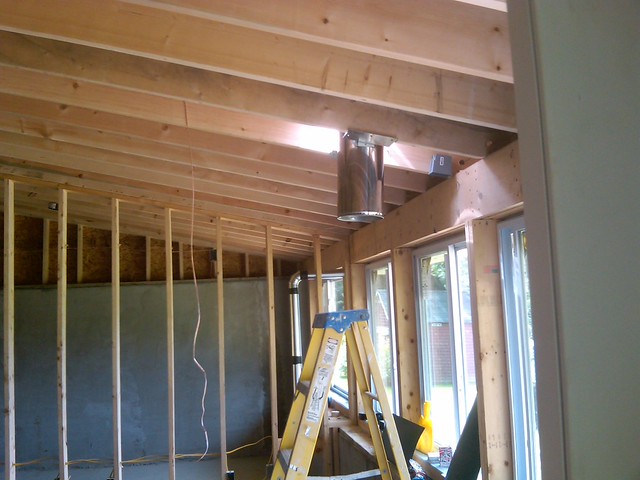
and installed the pipe and boot
15 Feb ’12
Offline
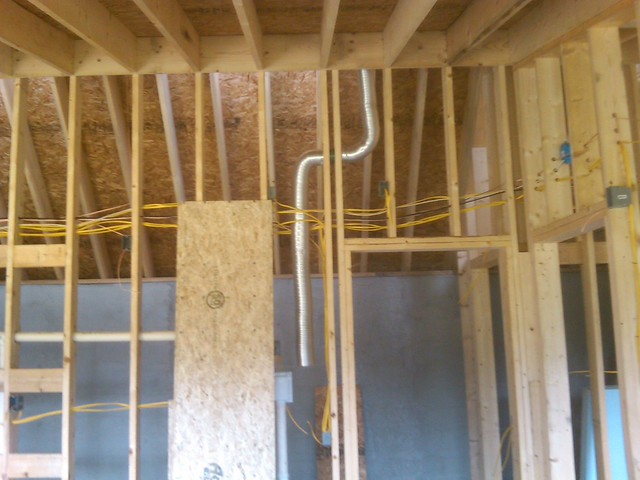
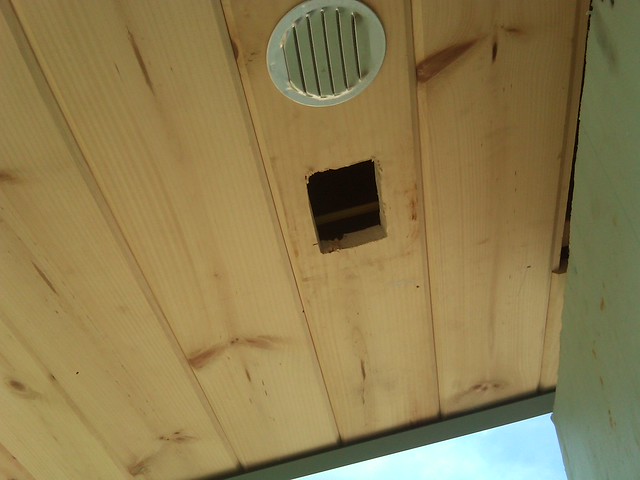
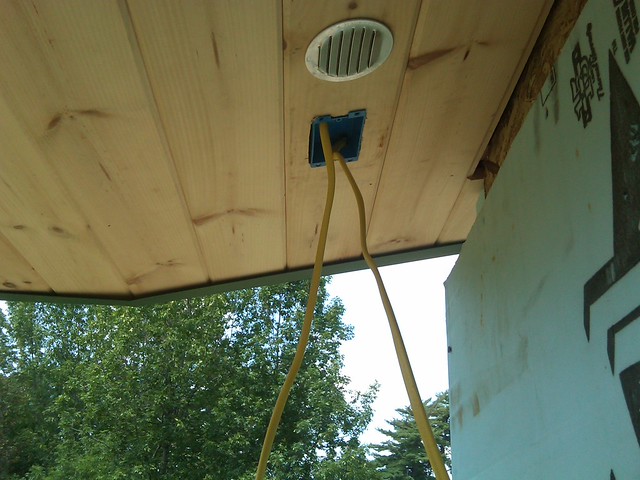
we started drilling out for the dryer vent
and installed it, you can see the a/v wiring in this pic to for the surround sound
and installed the outside vent cover
we then had to puzzle in the blue board on the gables, we used washers we had cut out of aluminum to nail into to hold the boards up
last piece going on
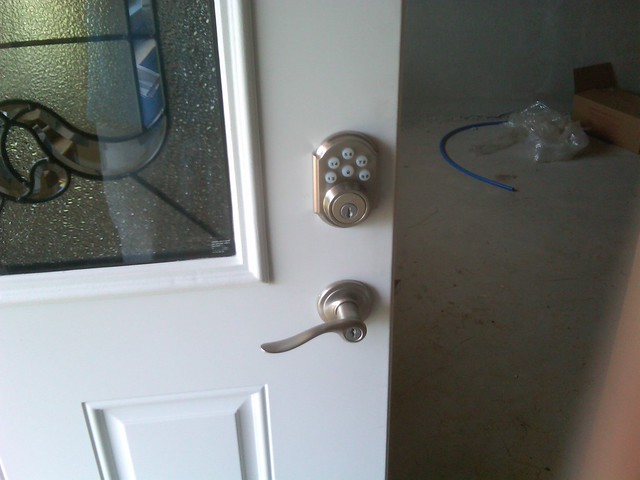
I installed the lockset on the door
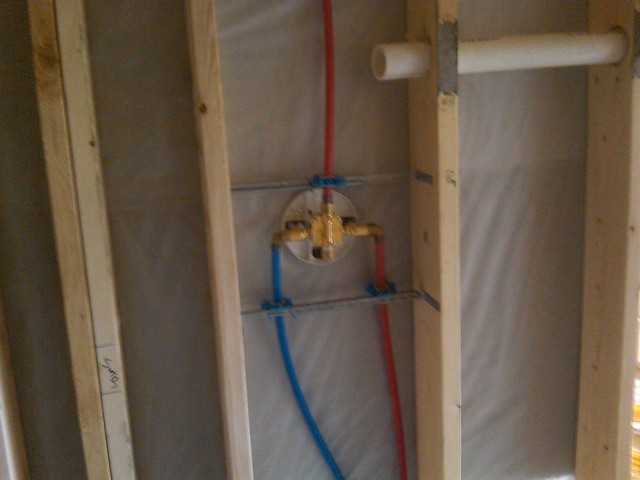
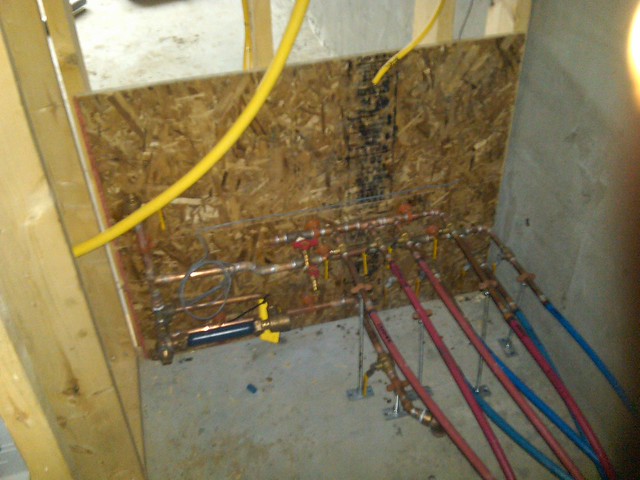
the plumber stopped by and roughed in the shower controls so I could start tiling the shower
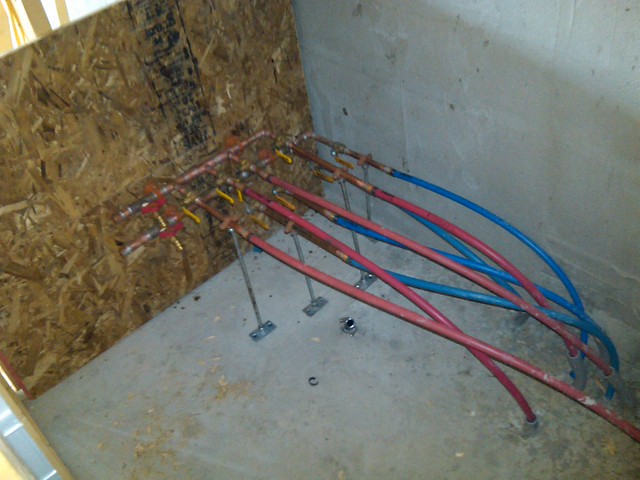
and hooked up the manifold for the cold and hot water
the guys cleared out all their tools, at this point we were done with them helping us and it would just be us working on it again for awhile, so I did a good sweep and cleaning and just stood looking around, it felt good to be this far

15 Feb ’12
Offline
The next day I fed the power supply into the house
Getting around the elbows were a pain
I ran the line for the generator hook up
and ran it out the side of the house to the shed
my friend who is a electician and doing the hook up for me stopped by to check everything the only issue he had was he said by code we were suppose to have a outdoor outlet on the back and front of the house, I said how the hell am I suppose to do that when the back is under 8 feet of dirt, he said to just put one on each corner and we'll call it good, so I took a box
and traced it onto the pine
I drilled out the corners and used my jigsaw to cut out the opening
and popped in the box and ran the wires out
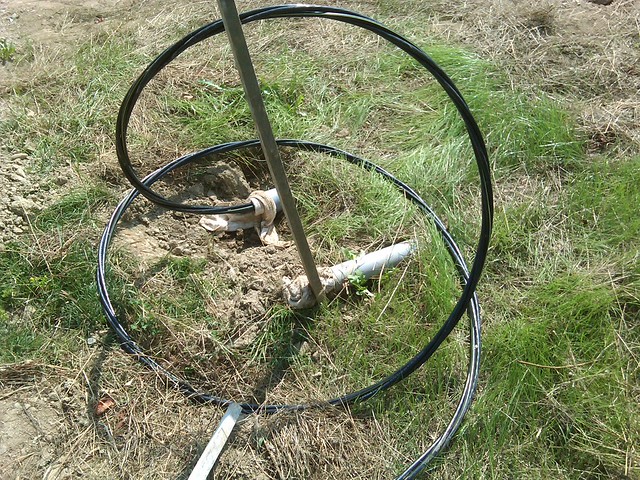
the water company stopped by and hooked up the meter
the propane company ran the propane main
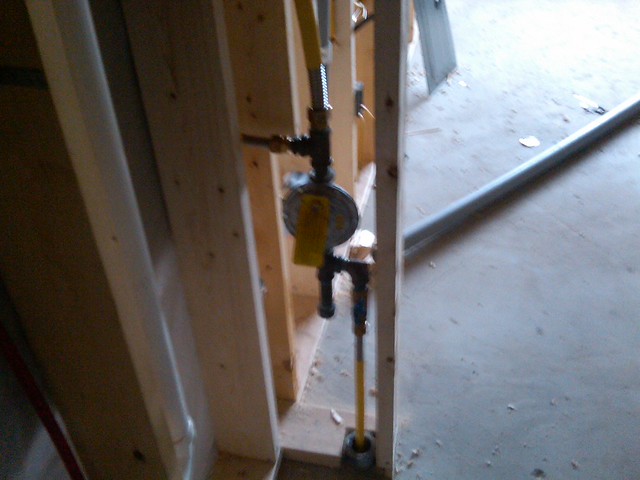
and we stubbed out for the stove, dryer and on demand hot water tank
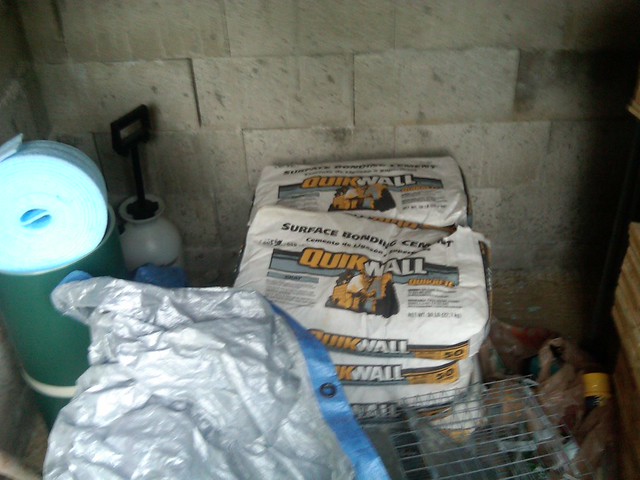
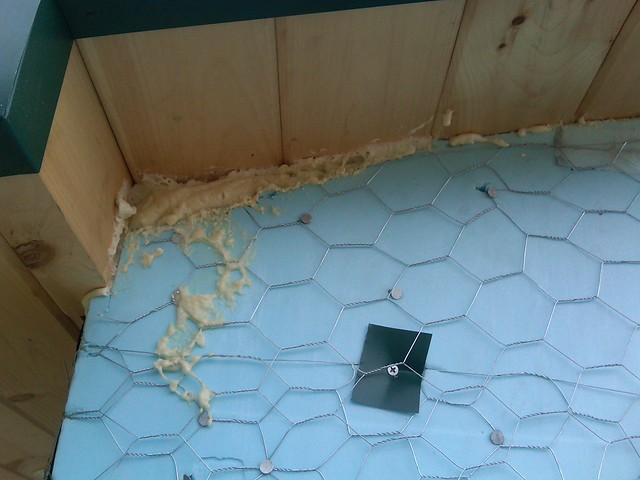
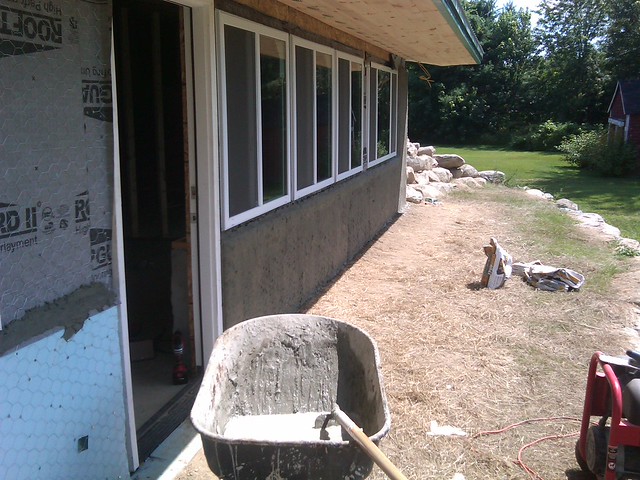
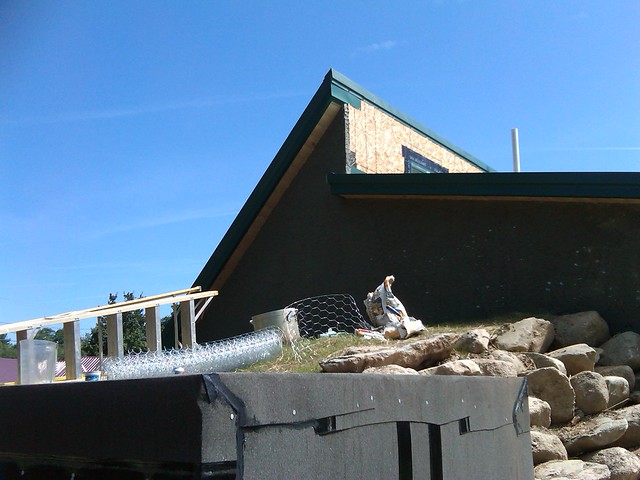
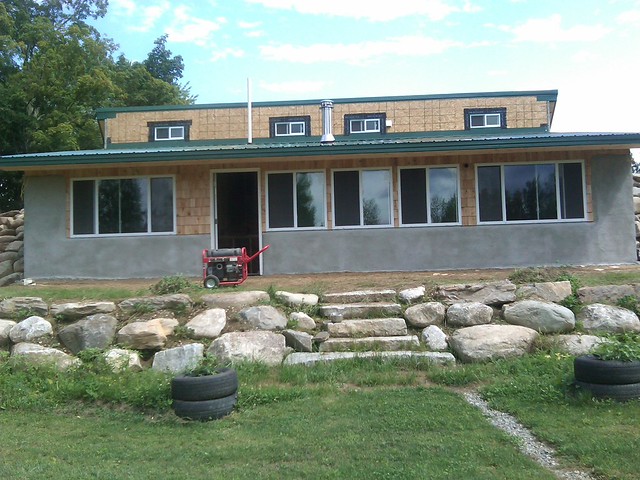
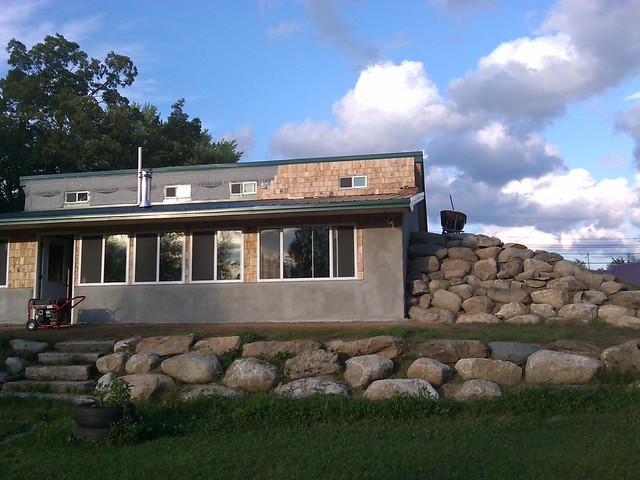
we decided to stucco the outside of the building and cedar shake around the windows, we decided to use the surface bonding cement since I was use to working with it, and it is very strong with all the fibres embedded and is water resistant so we picked up some chicken wire to use as metal lathe
and we picked up some more surface bonding cement
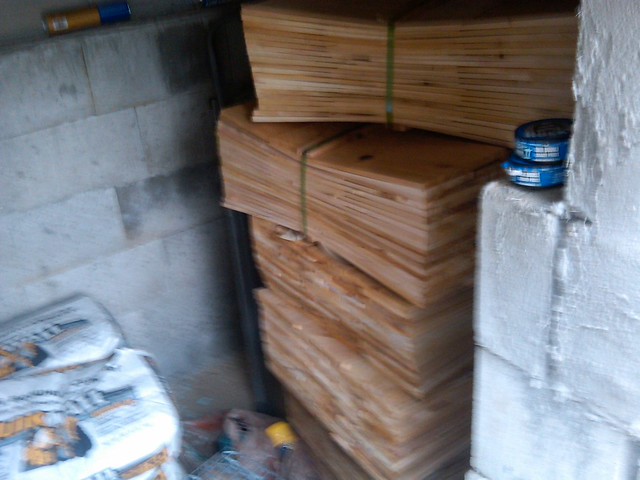
and 5 square of cedar shingles
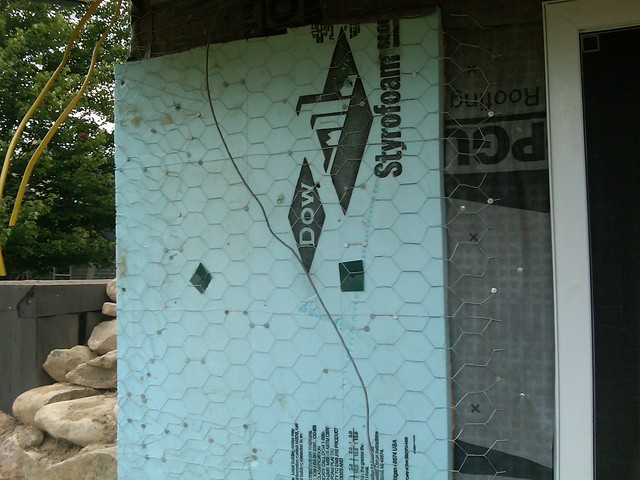
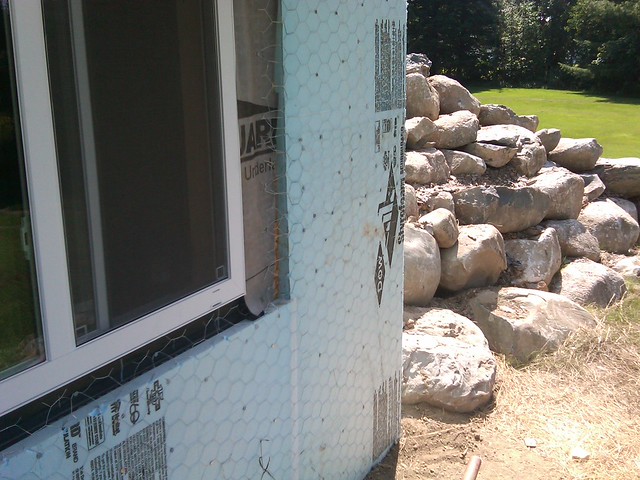
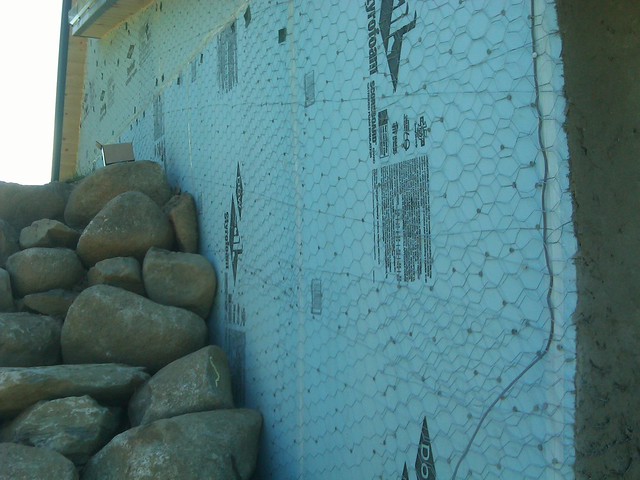
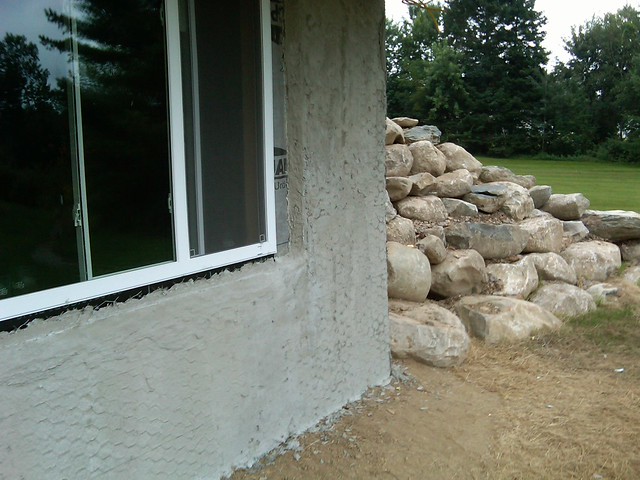
I used some left over roof guard and covered the sheathing around the windows
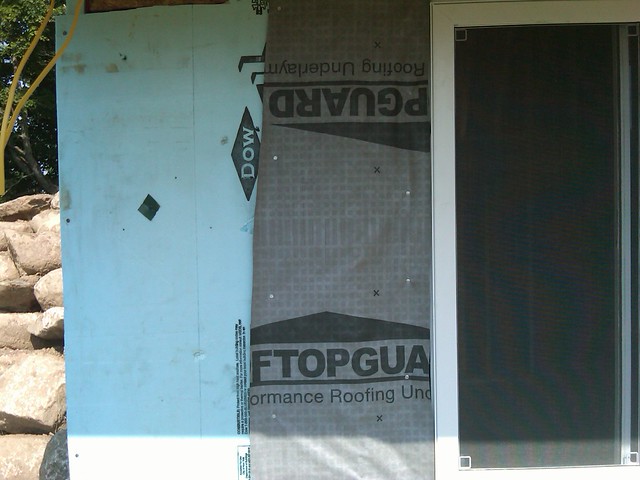
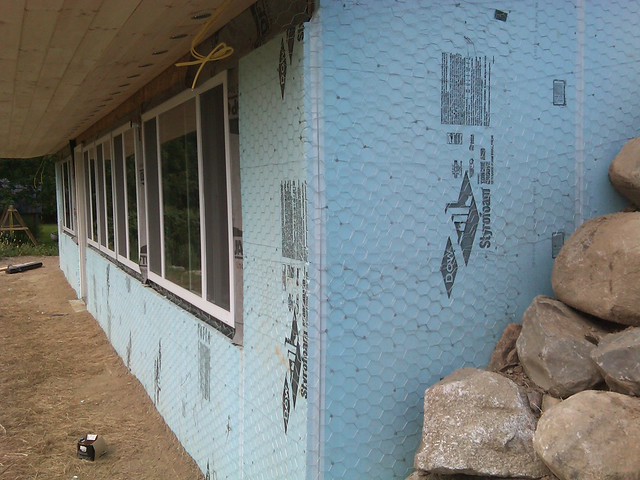
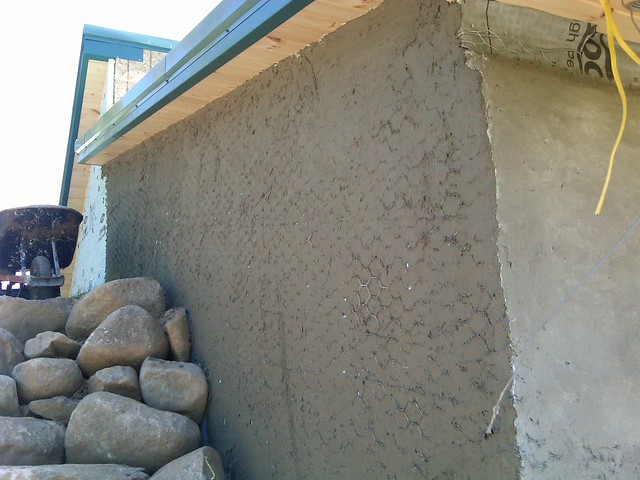
and started wrapping the building with chicken wire, I used roofing nails and pushed the wire into the insulation and stretched it tight wrapping the whole thing
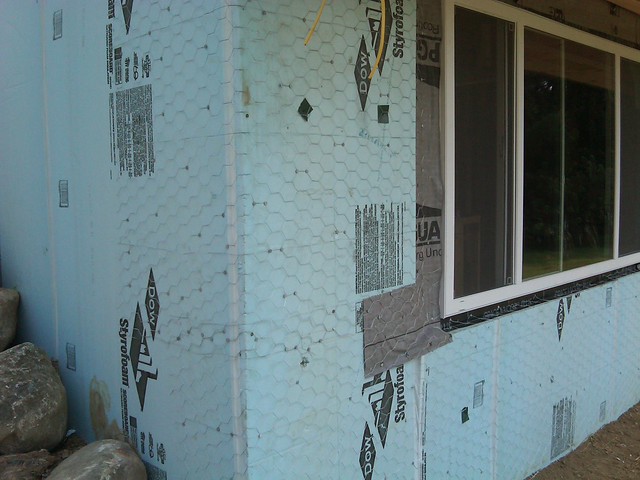

I fed the water meter line out the side
and went arouns and spray foamed any gaps
15 Feb ’12
Offline
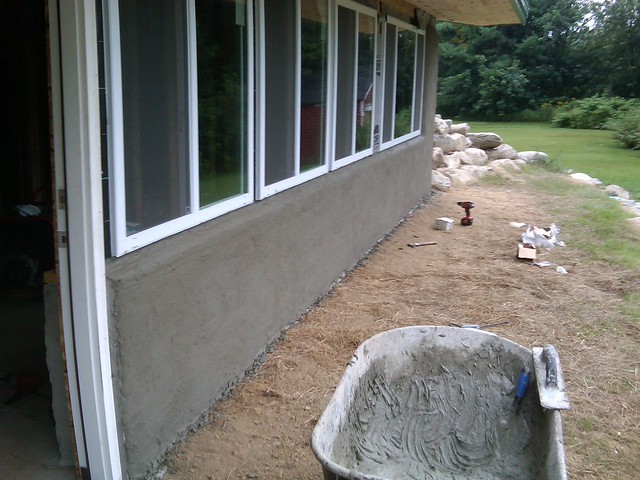
and went back to my friend, surface bonding cement, i think by this point I had moved 30,000 pounds of cement blocks 40,000 pounds of cement and 5000 pounds of surface bonding cement
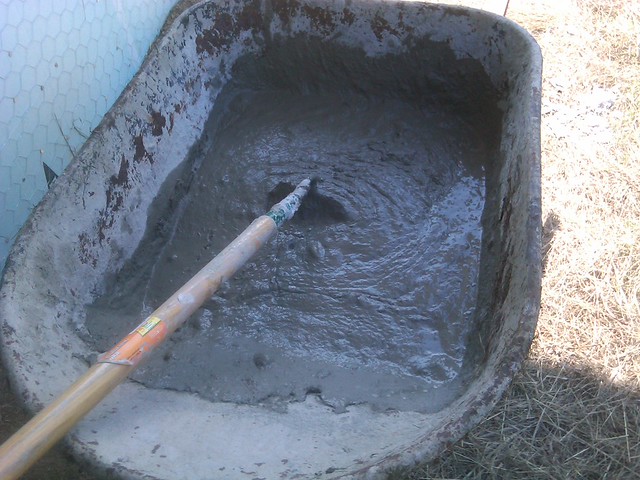
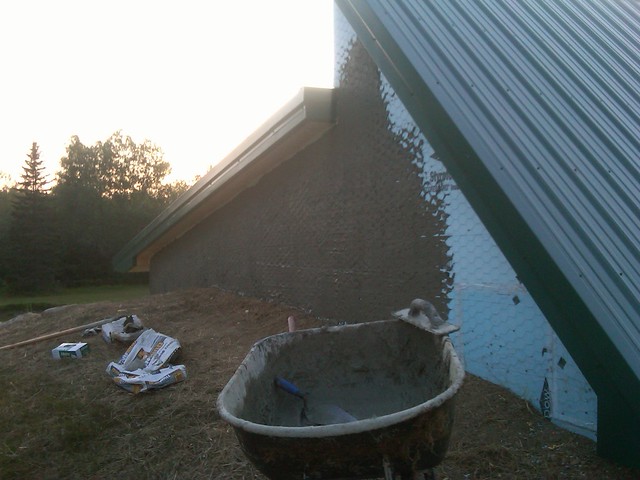
and started on the far corner with a scratch coat to make sure I wasn't working in the direct sun to prevent cracking
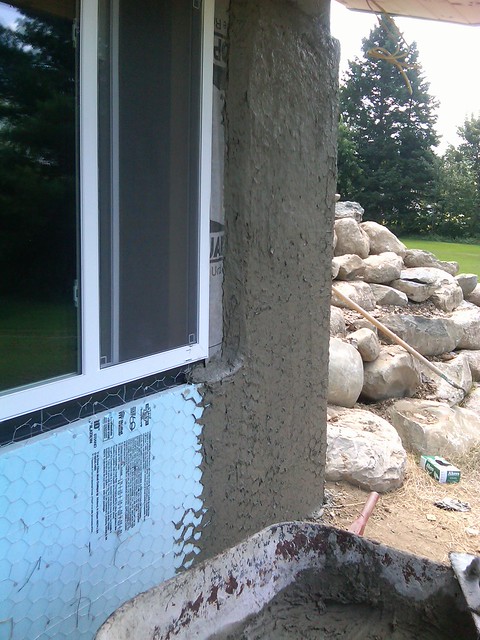
I would wait till I was getting to the end of the barrow when the cement was starting to set and then pack it under the windows
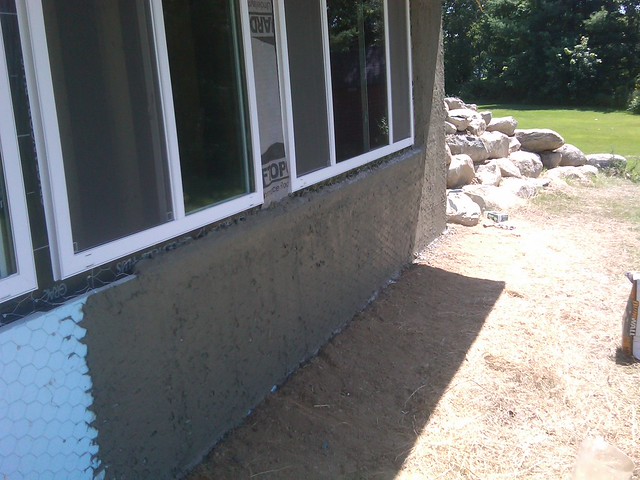
when I got to the corner I fed the meter wire behind chicken wire
the front scratch coat was done
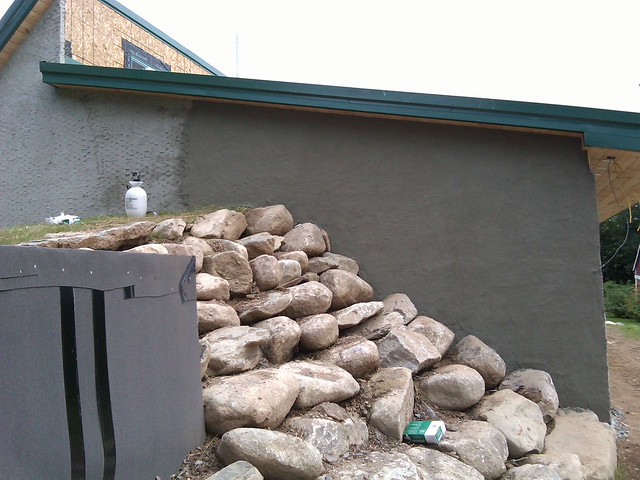
I started on the far side in the shadow

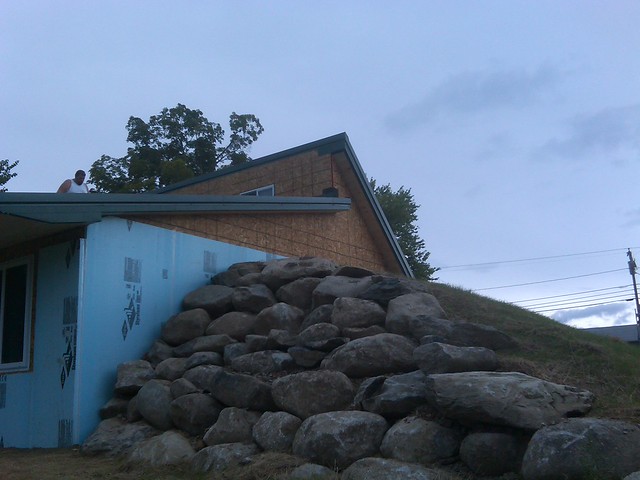
working around the retaining wall was very time consuming and I quickly ran out of light
the next morning I started on the far side in the shadow
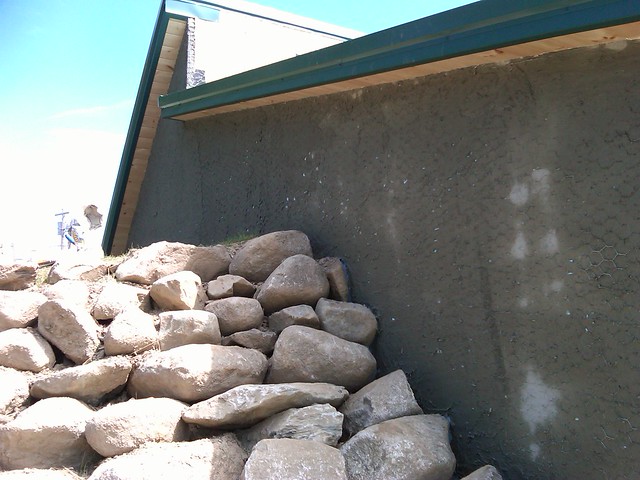
all finished
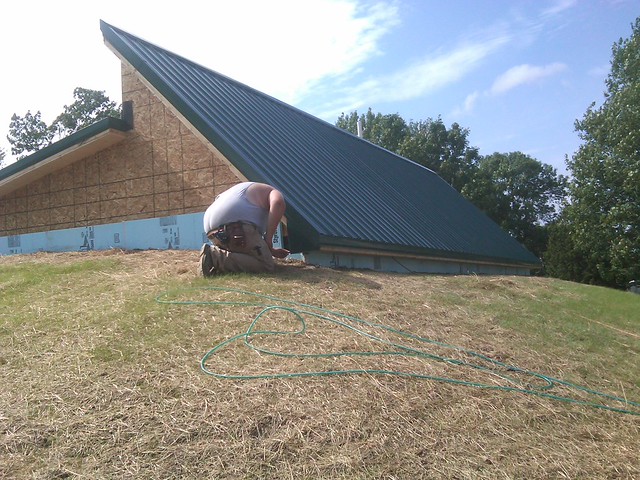
the back side was a pain, I had to lay on my side and pack it on
I finally finished the side I had stopped at the night before, before it got to dark

the scratch coat was finished
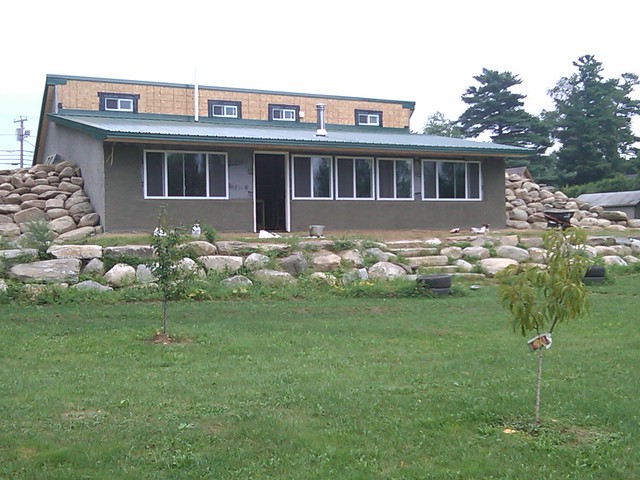
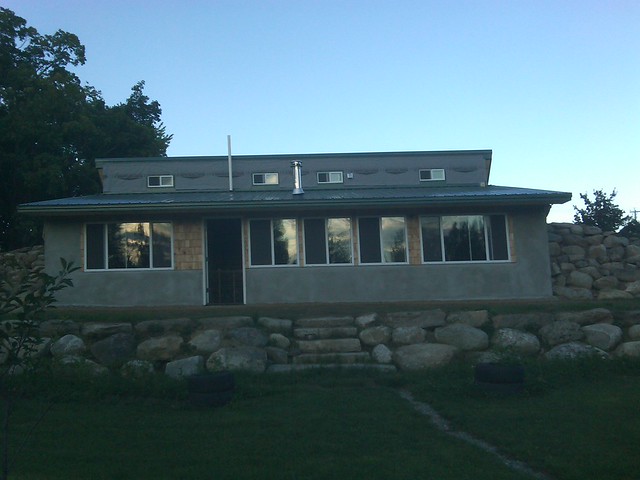
The next morning I started the whole process all over again for the finish coat, I misted the walls with water to form a good bond between the two layers

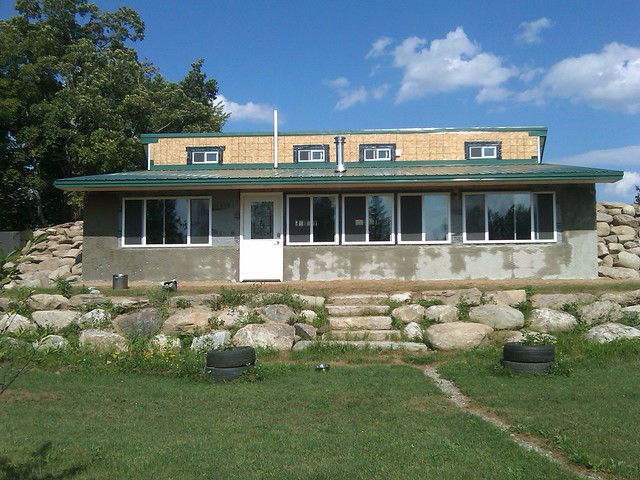
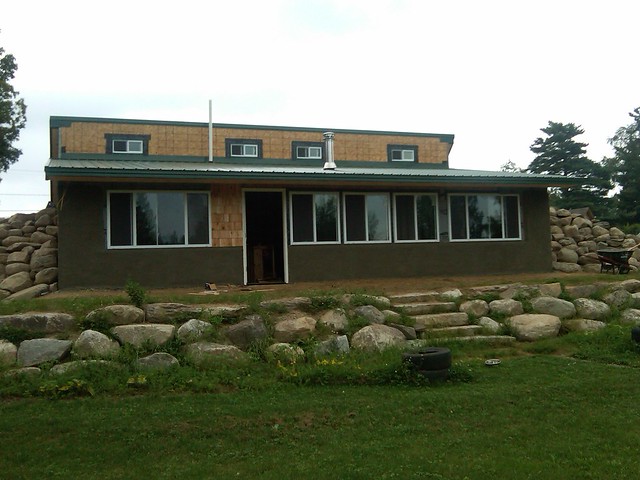
the front coat was done, I was kind of digging the dark look, at this point we had not decided on a paint color yet
15 Feb ’12
Offline
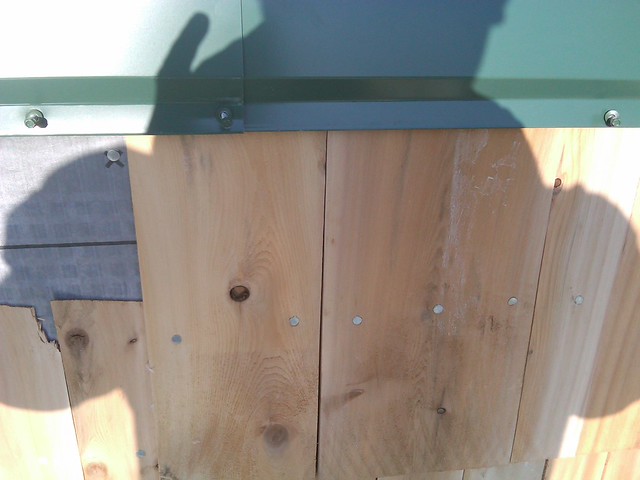
I decided to take a break from the stucco and shingle around the windows, I started with a starter row

and started working up the wall
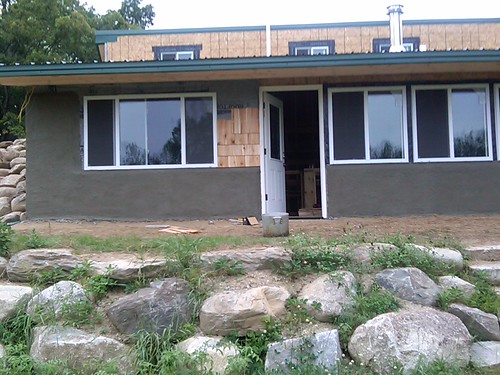
started filling between the windows
I trimmed above the door and butted right up to the pine
and cut out for the cold air return, that took a couple tries without splitting the shingle

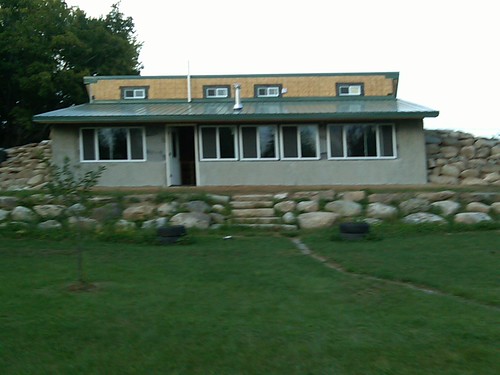
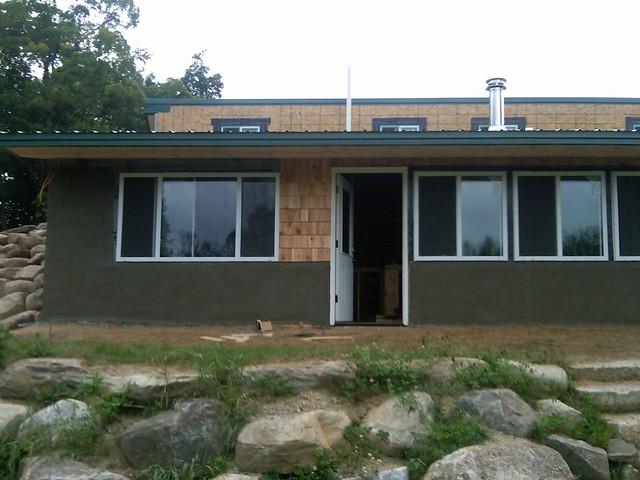
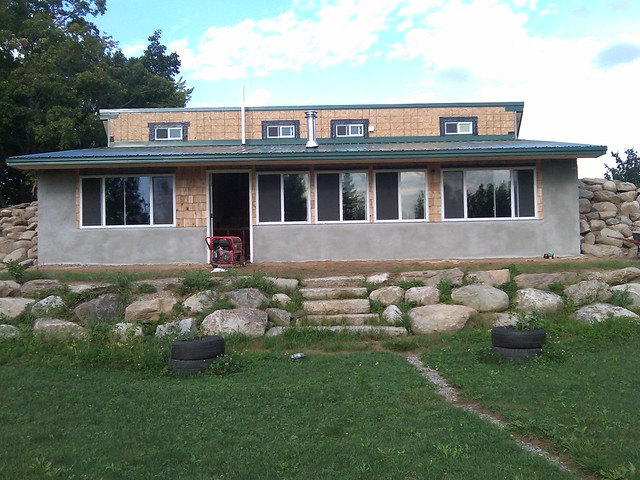
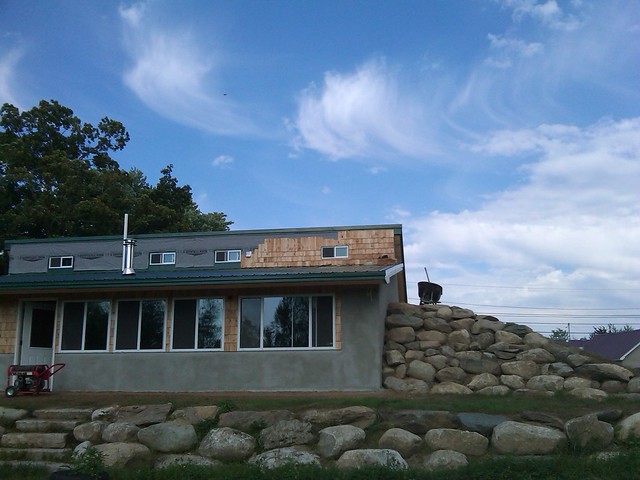
the front was finished
long enough of a break, time to finish the stucco

one more side finished
the next day I worked on the back and the far side
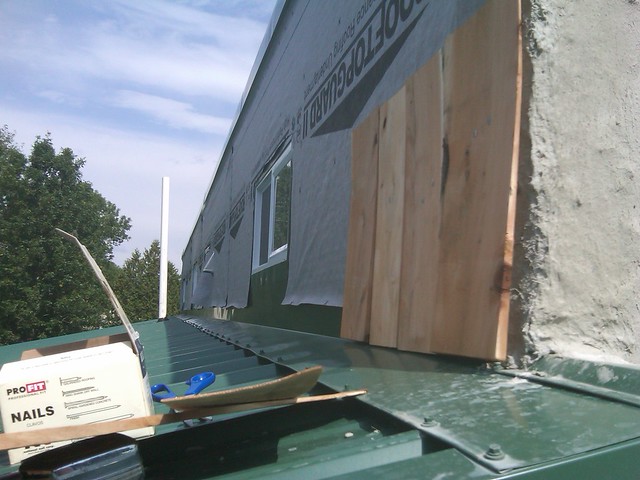
all finished, before I finished for the night, I decided to put up the roof guard and this was my first screw me moment, I figured I would roll out the sheet, nail it down and cut out the windows opening at the
end, well I was nailing the sheet down and drove a nail right through the left window, great way to ruin the night
the next morning I started my starter course on top, my friend stopped and asked if I wanted to borrow his nail gun and compressor, I said naw I'll hand nail them, big mistake
when I got to the top course I unscrewed the metal trim and slid the shake up underneath and screwed it back down
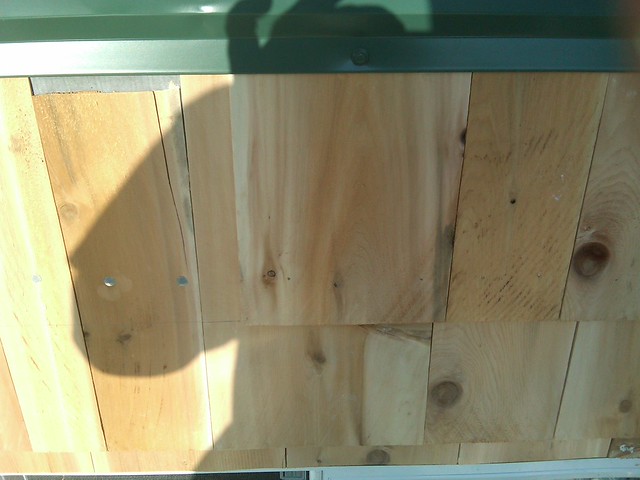
and this is as far as I got the first dat, because my back and knees were screaming from being bent over all day hand nailing
as I was wrapping up my neighbor came over to hook up our on demand hot water heater since he is a licensed propane tech
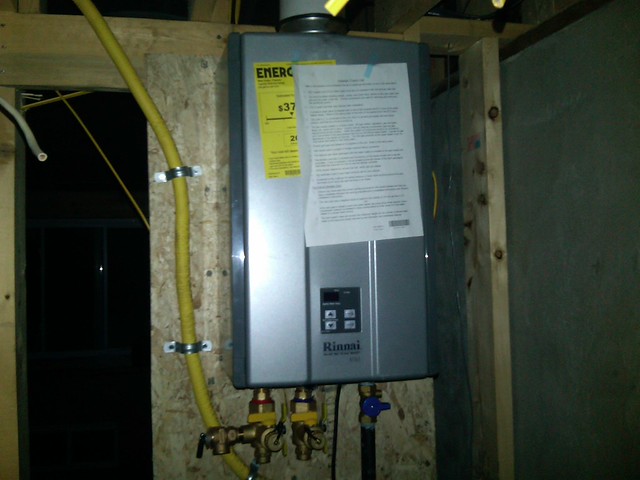
and hooked up the exhaust, it's important to pitch it down because moisture can condensate in the pipe and run back into the unit, destroying the tank
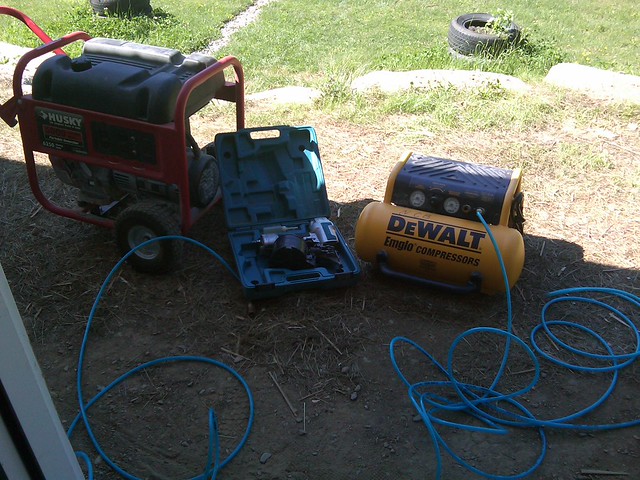
so I called my friend that night and said hey, you wanna drop off that compressor, and when I got there in the morning, there it was


Most Users Ever Online: 698
Currently Online: Stevenmop
21 Guest(s)
Currently Browsing this Page:
1 Guest(s)
Top Posters:
easytapper: 2149
DangerDuke: 2030
groinkick: 1667
PorkChopsMmm: 1515
Gravel Road: 1455
Newest Members:
Charlestetet
anndresdner17
ronniemcconnel
annmarie1349
grover02y5
Forum Stats:
Groups: 1
Forums: 12
Topics: 11478
Posts: 58673
Member Stats:
Guest Posters: 2
Members: 3526
Moderators: 0
Admins: 1
Administrators: K

