
 Register
 Log In
 Home
Home
15 Feb ’12
 Offline


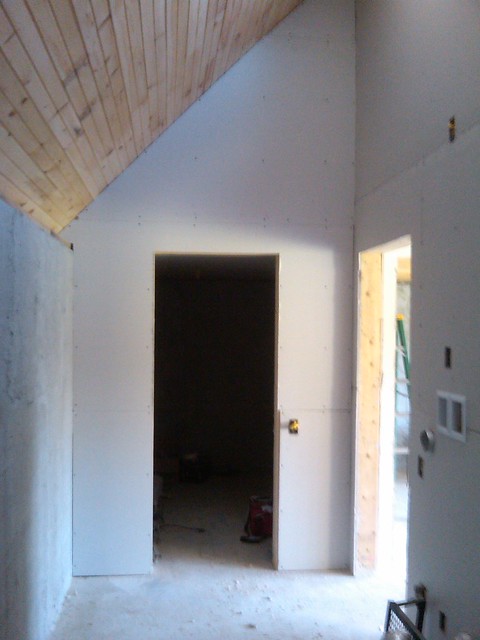
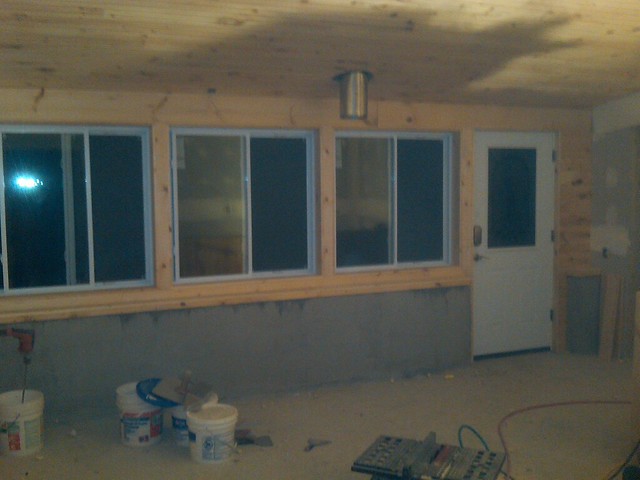
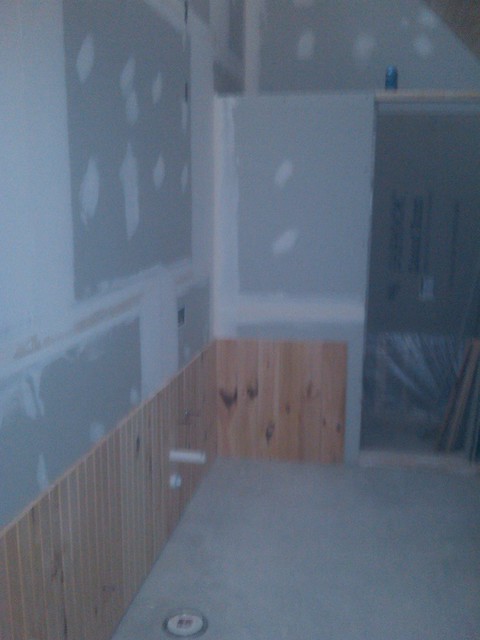
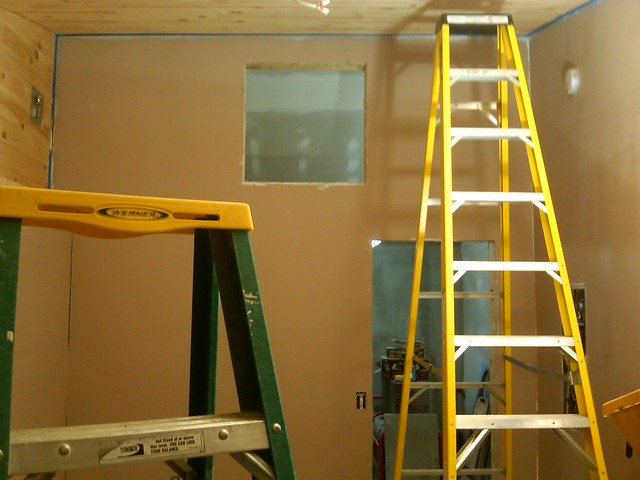
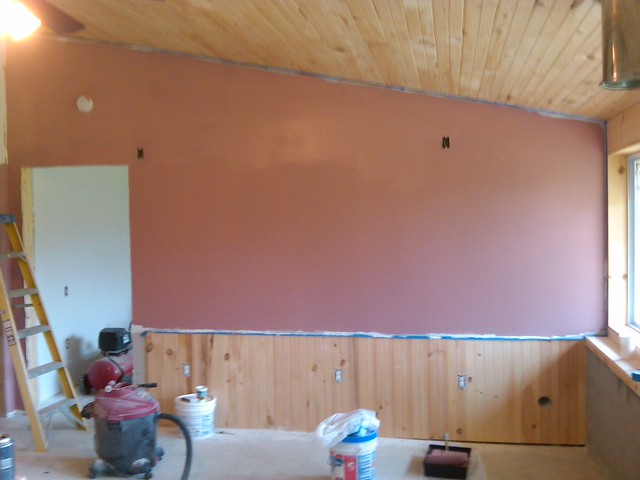
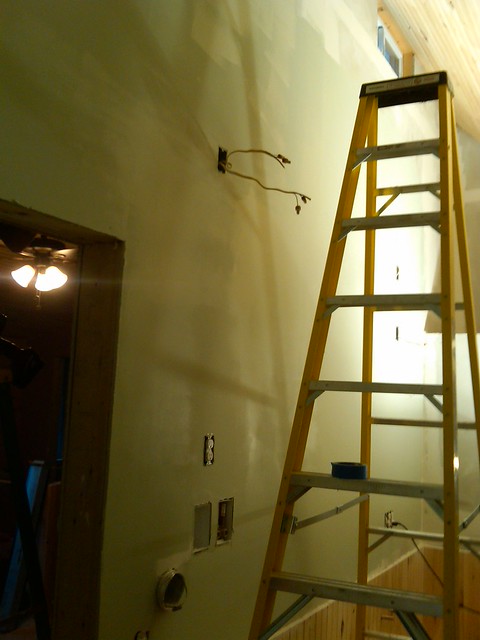
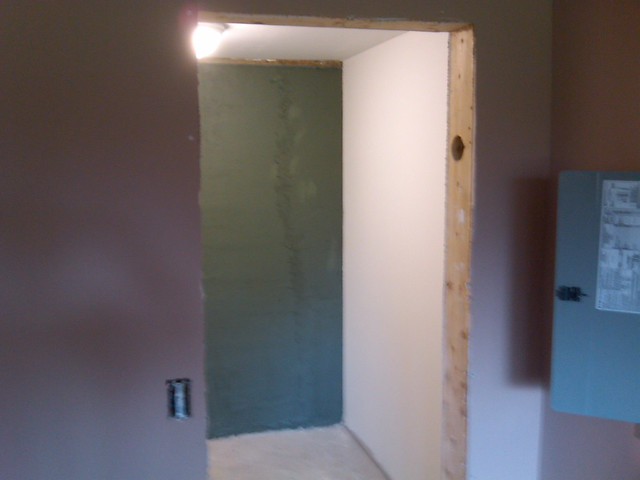
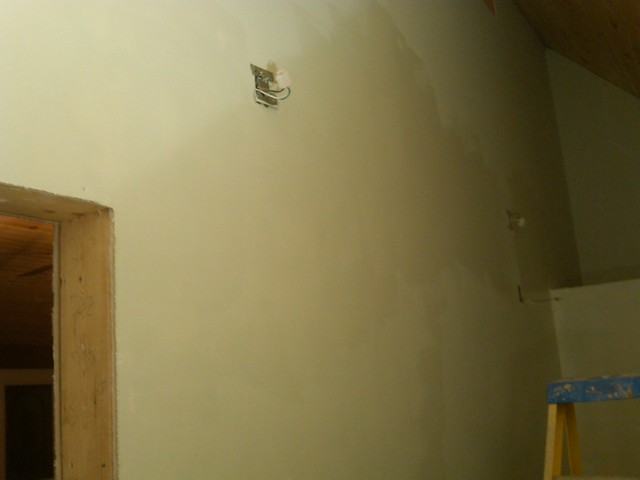
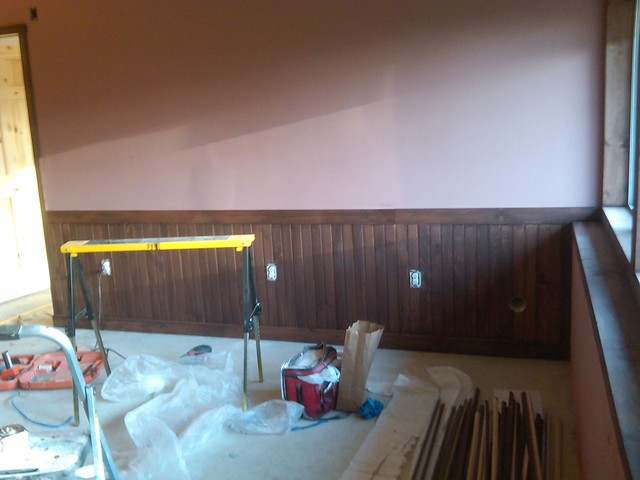
another wall done
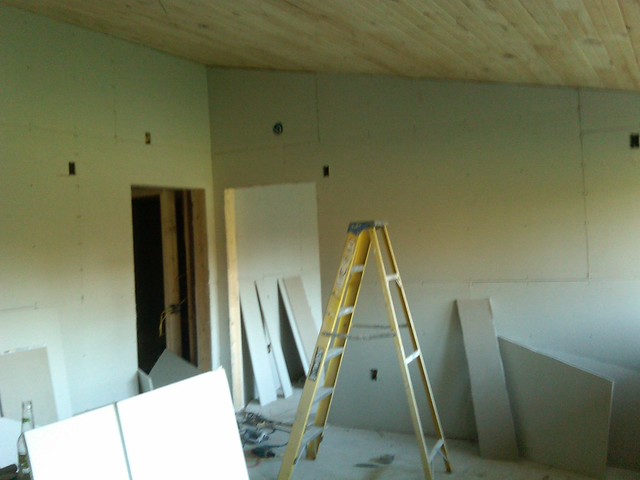
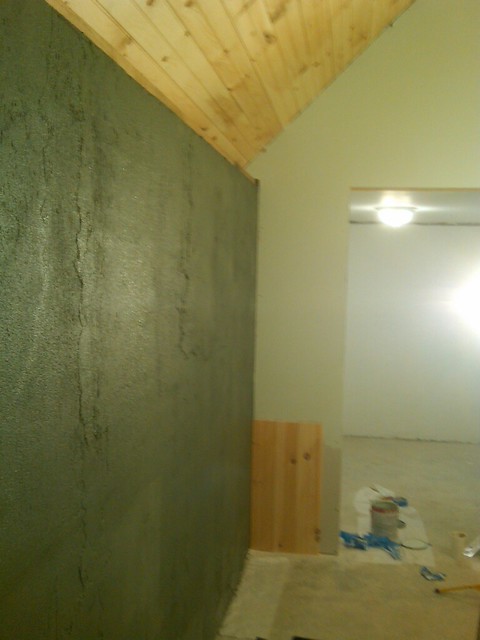
I started on the far wall
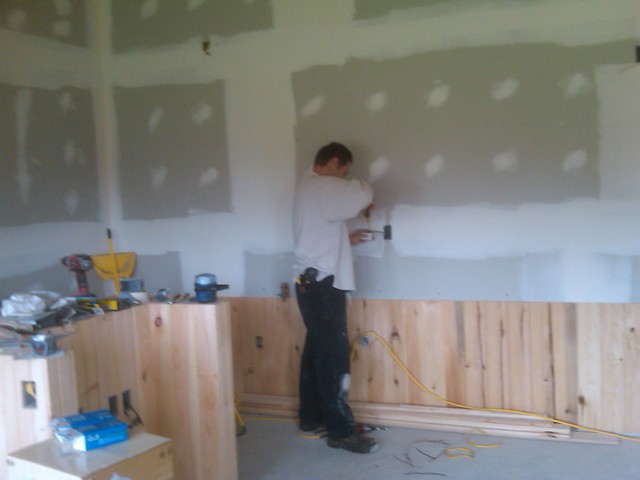
the guys who did the framing stopped by to see who I was doing and wanted to know if I needed a hand, sure!
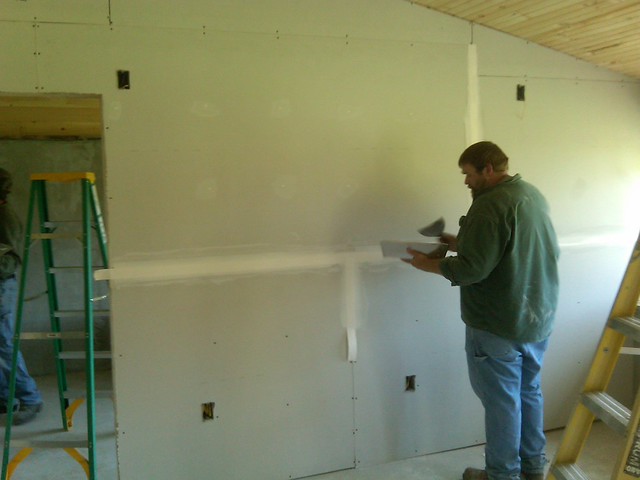
so they worked on hanging the rest
and started mudding and taping
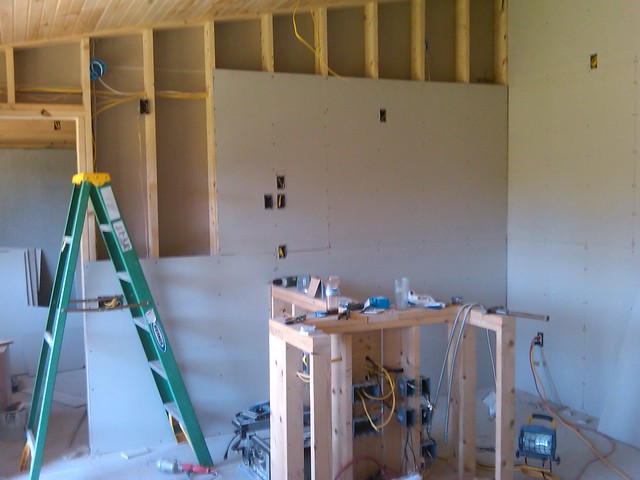
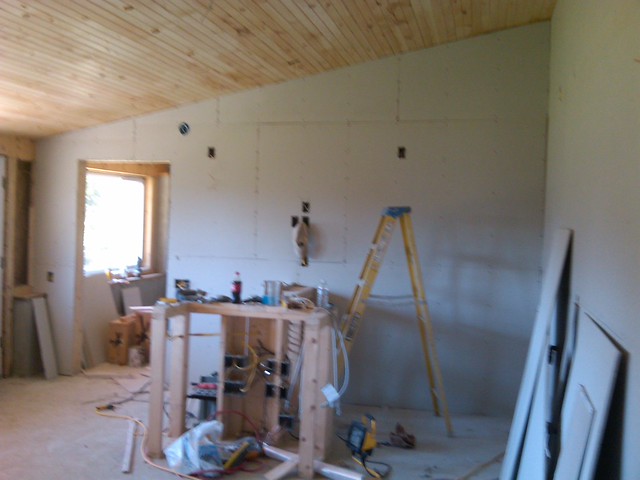
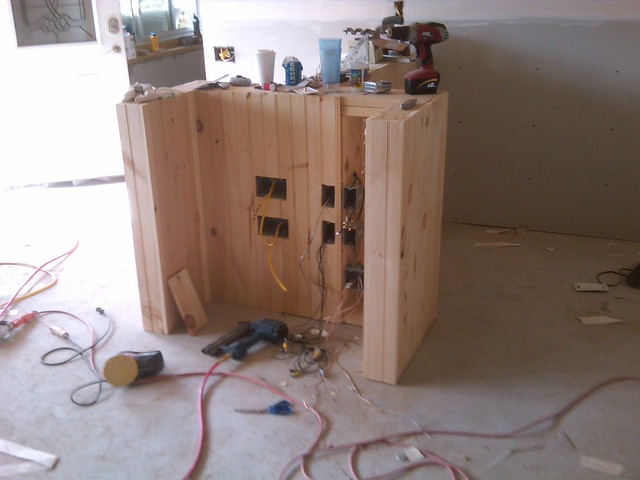
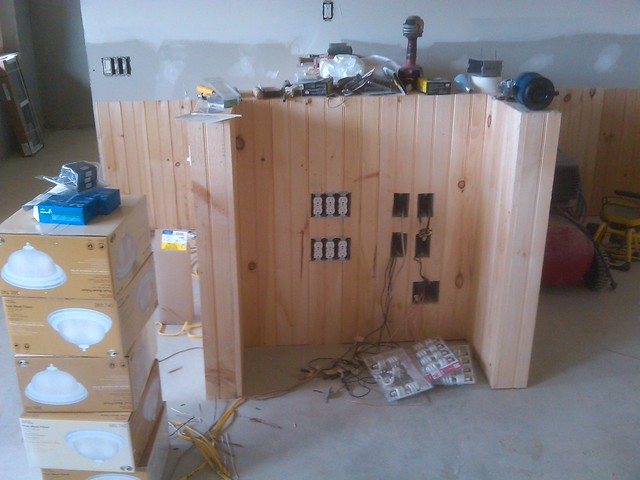
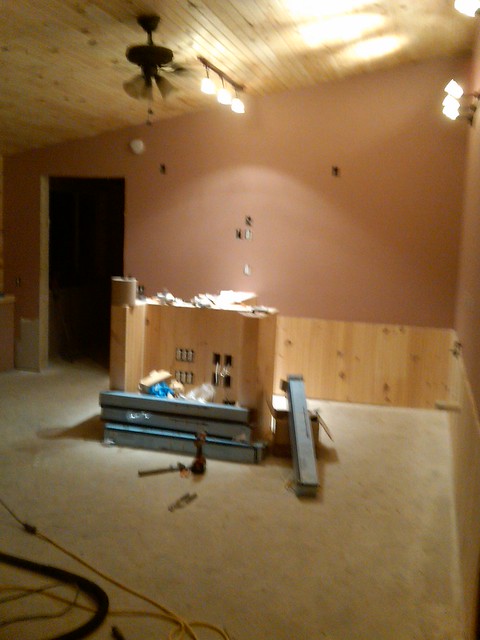
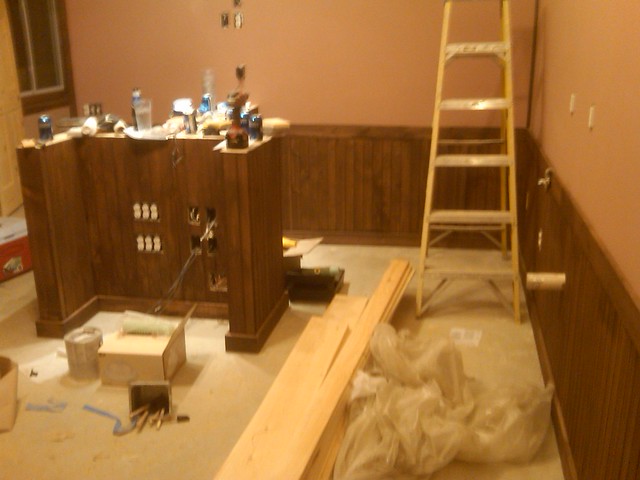
which allowed me to start wrapping our Island in pine, I had wired all our surround sound and A/V feeds through the Island
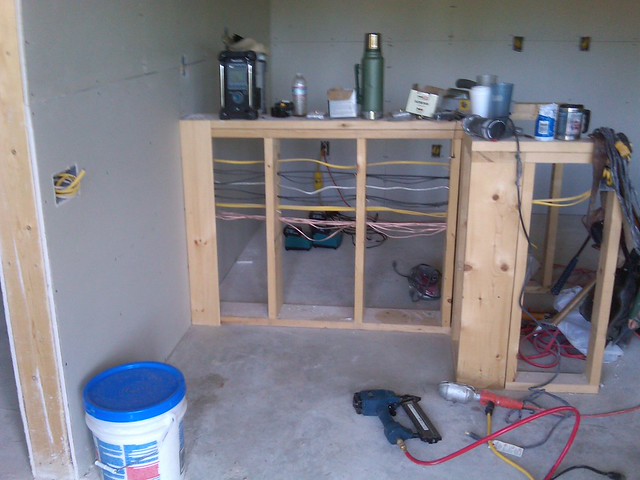
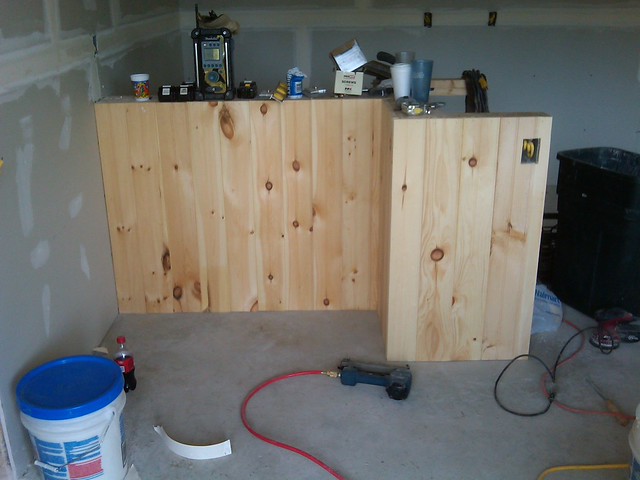
this is going to fun to wire up
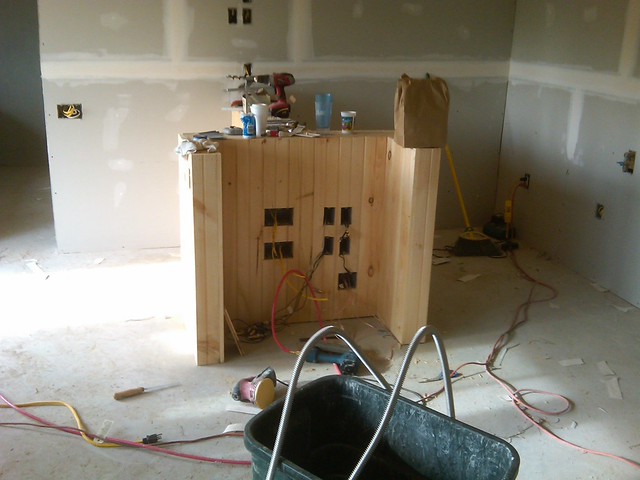
I worked late into the night, continuing the pine around the wall

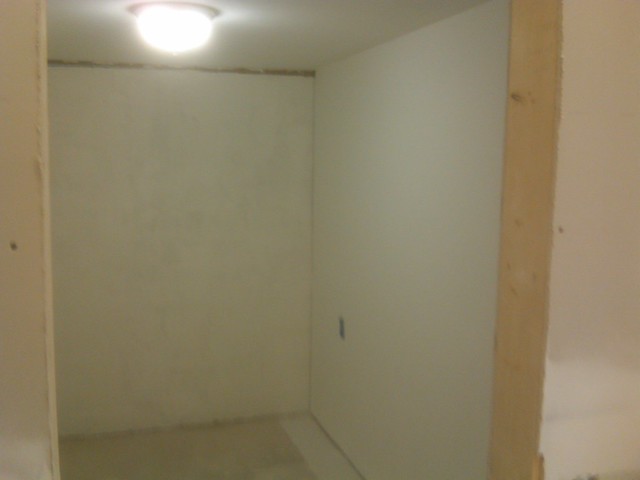
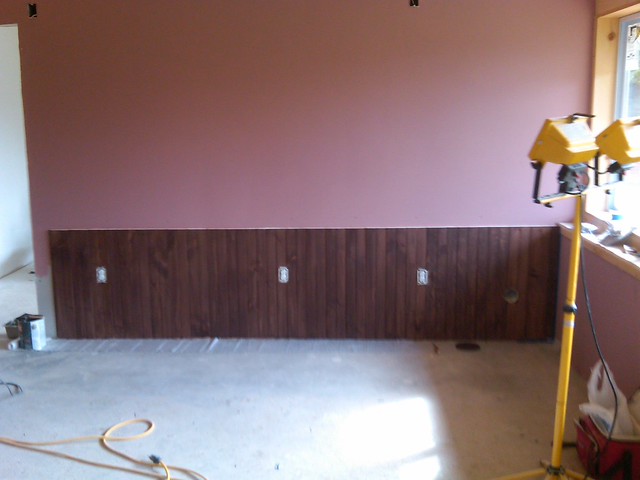
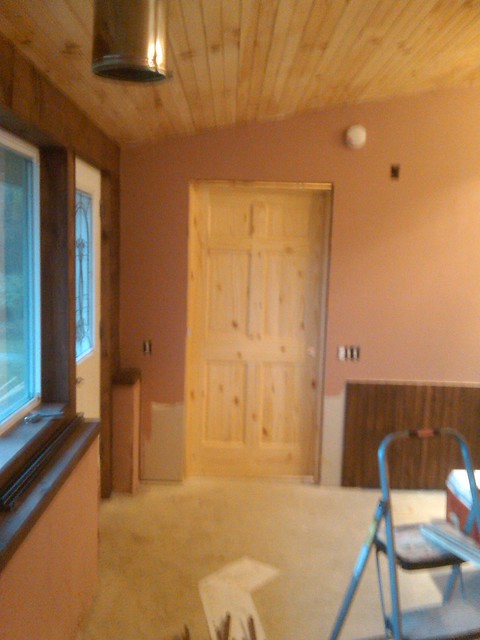
and finished up the last wall the next morning
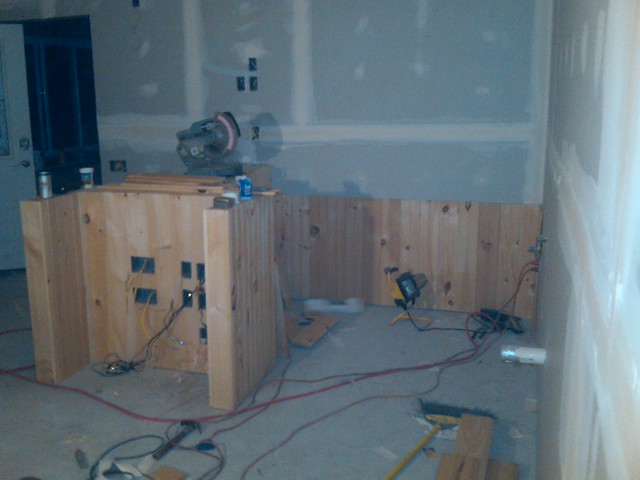
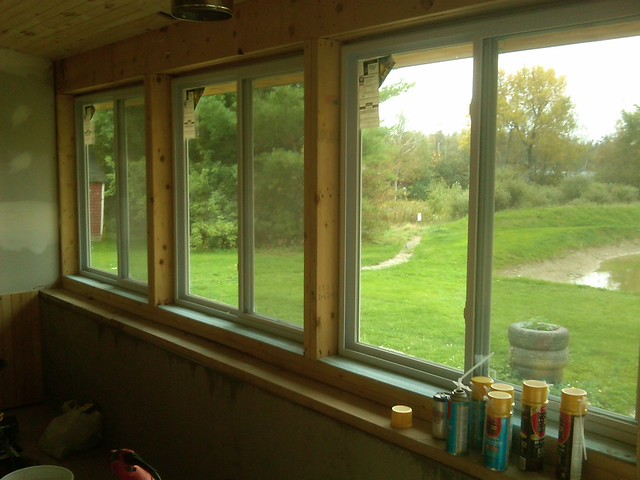
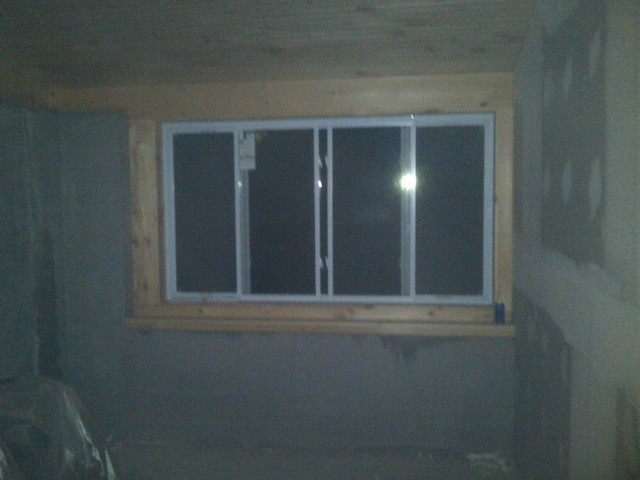
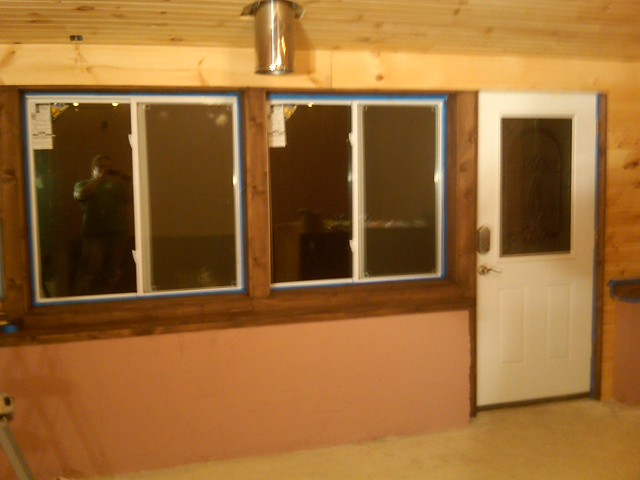
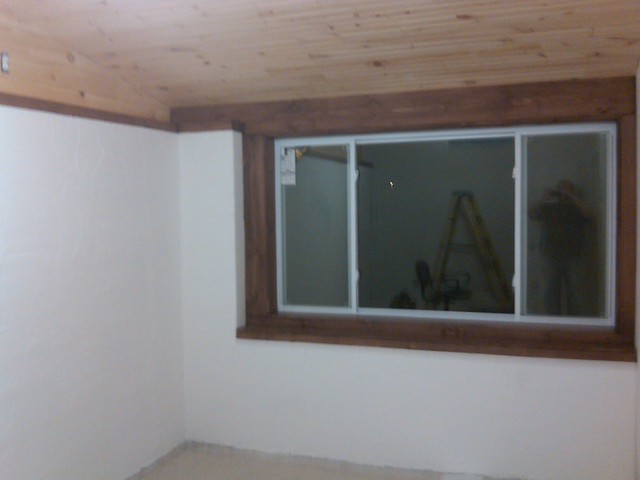
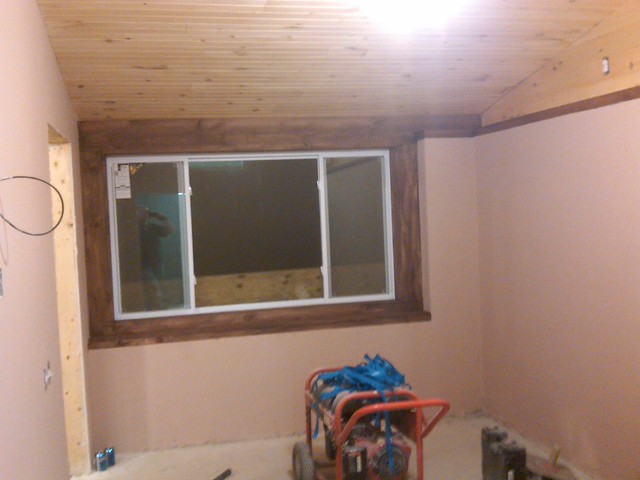
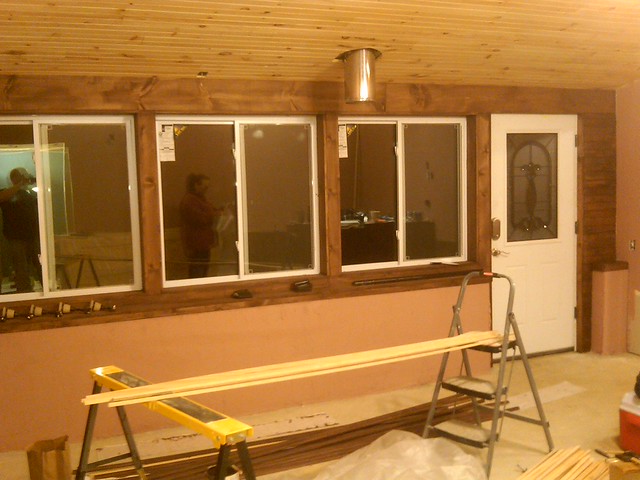
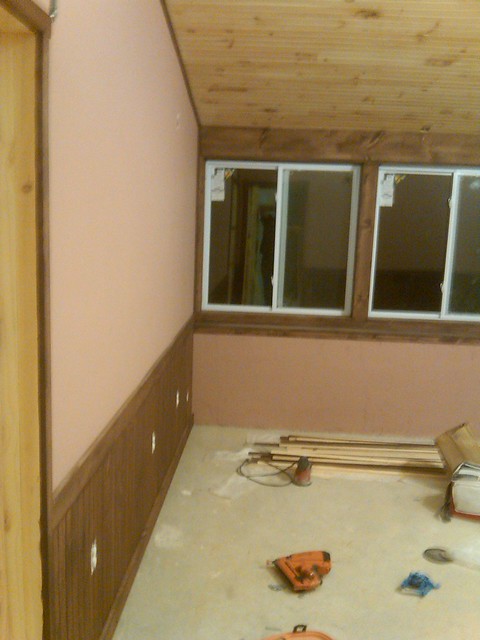
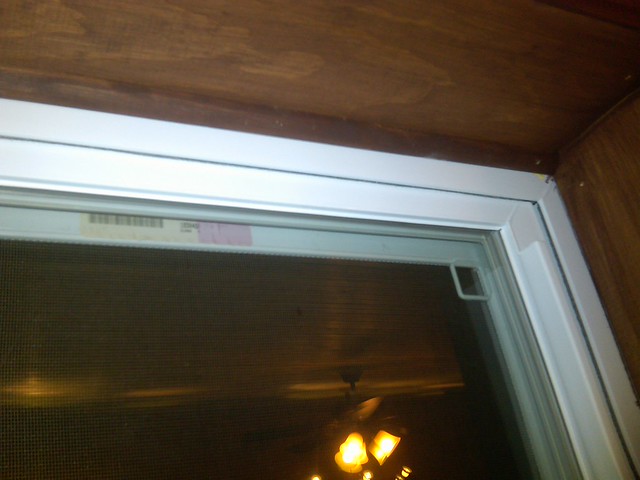
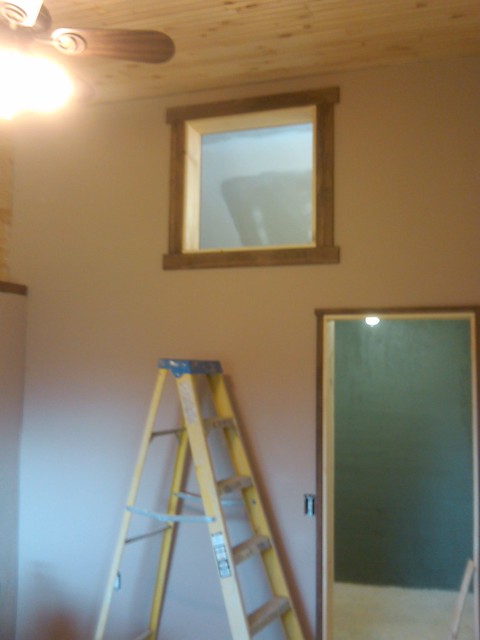
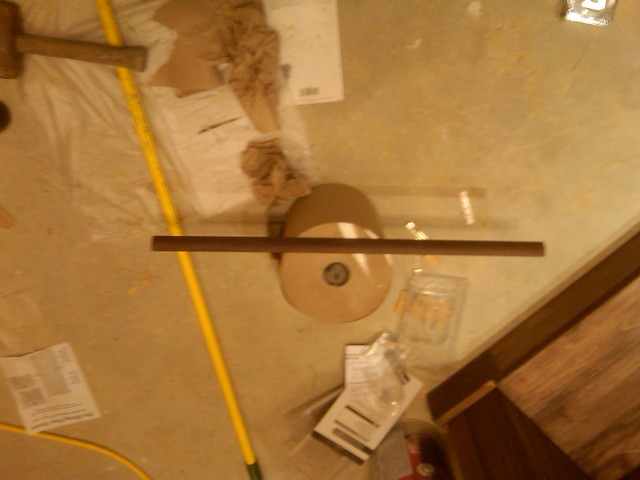
I picked up some pine to trim out the windows
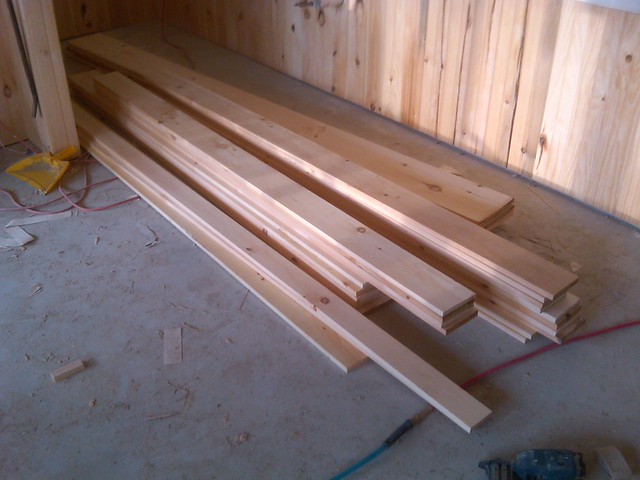
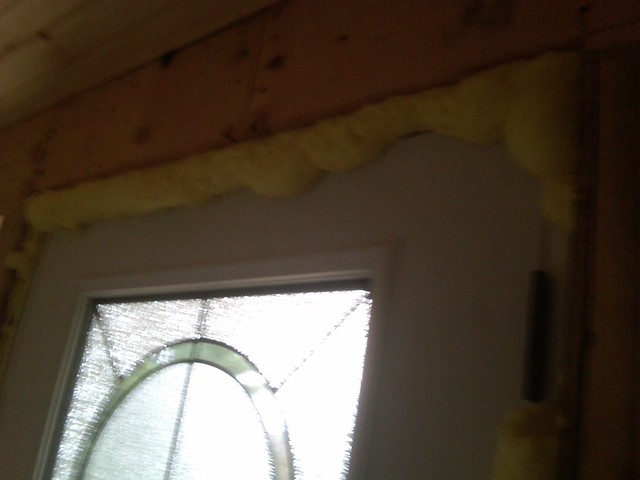
before I could start that though I had to get some spray foam to seal the windows and door
it quickly got away from me, that stuff expands quick!
15 Feb ’12
Offline
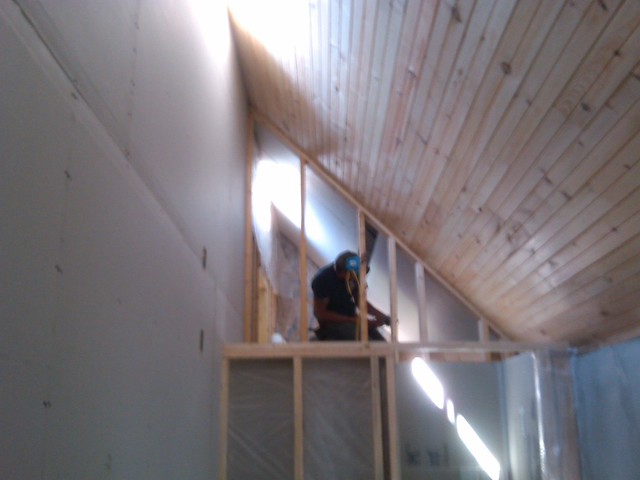
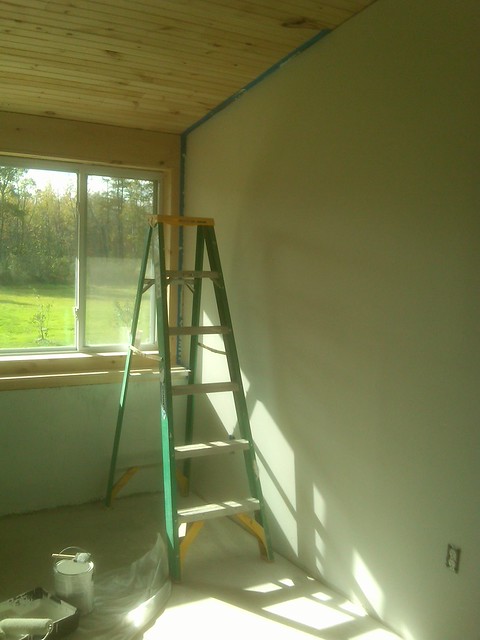
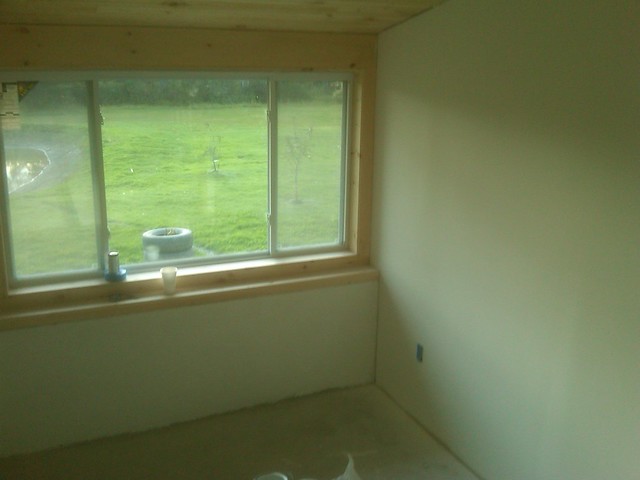
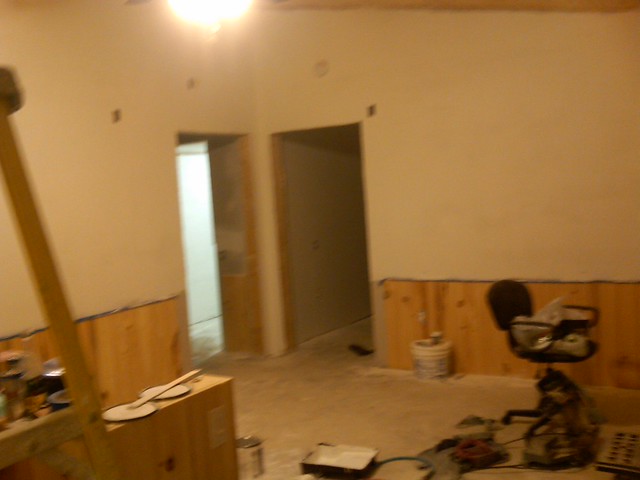
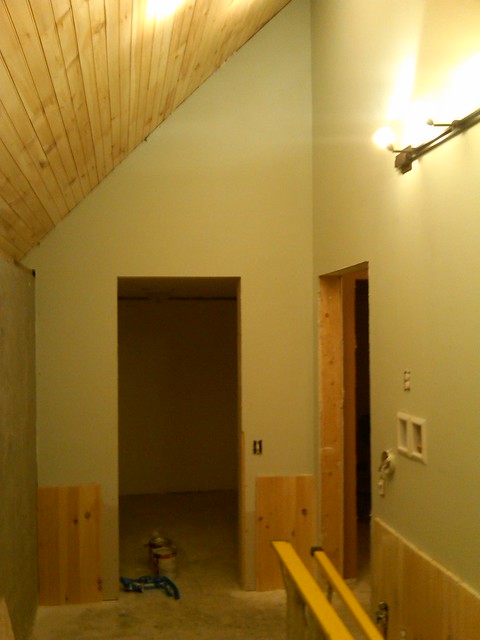
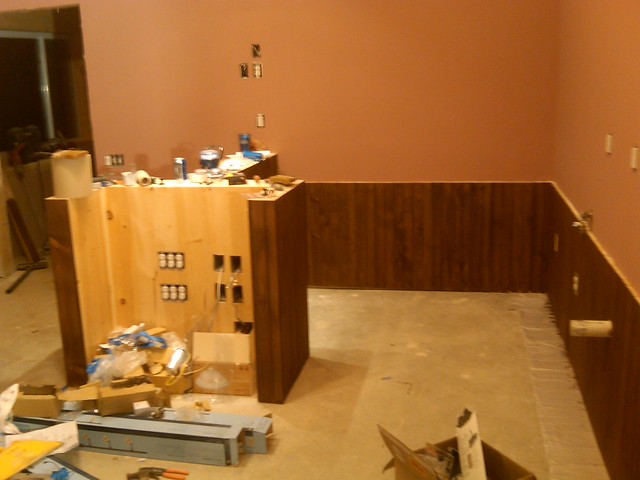
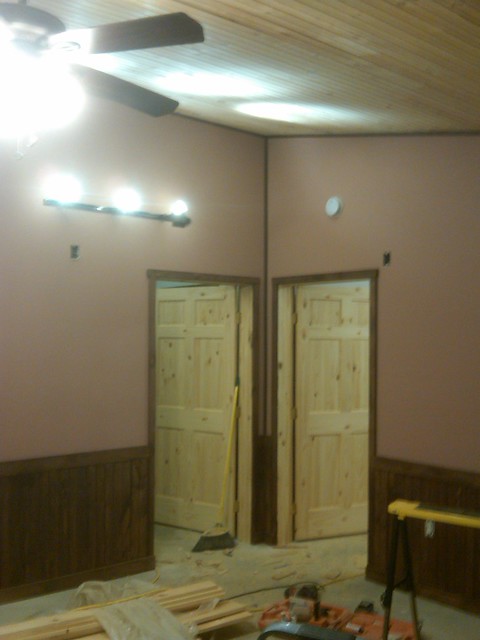
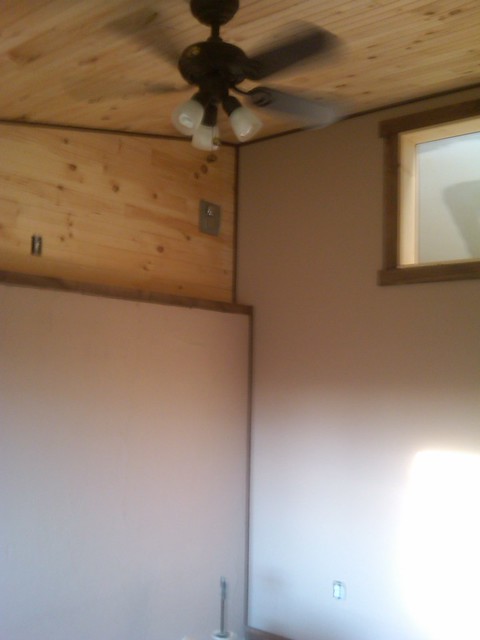
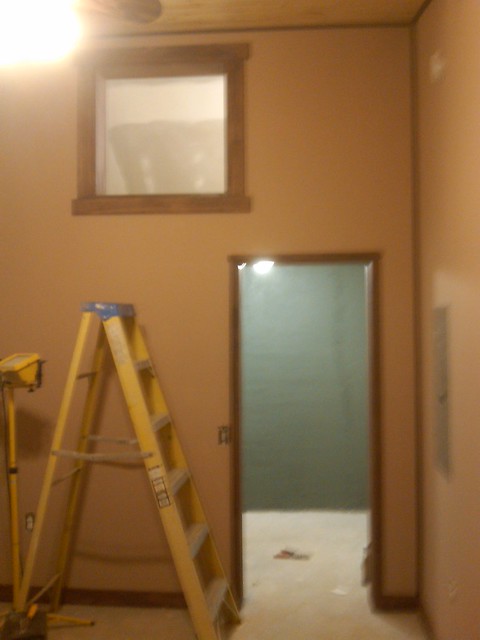
and started hanging the pine around the windows, just basically covering and boxing in all the framing
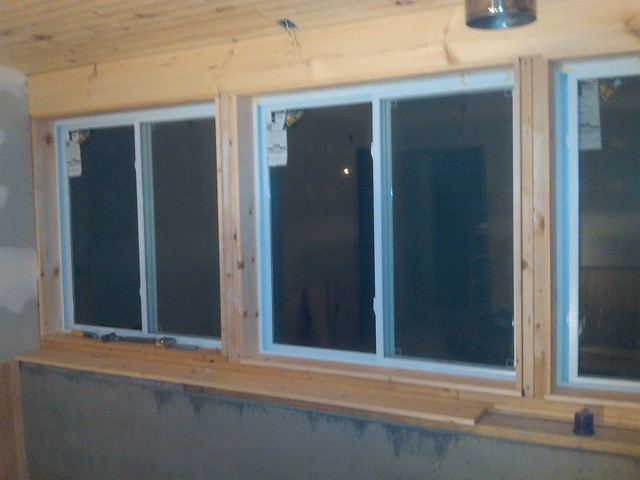
all complete
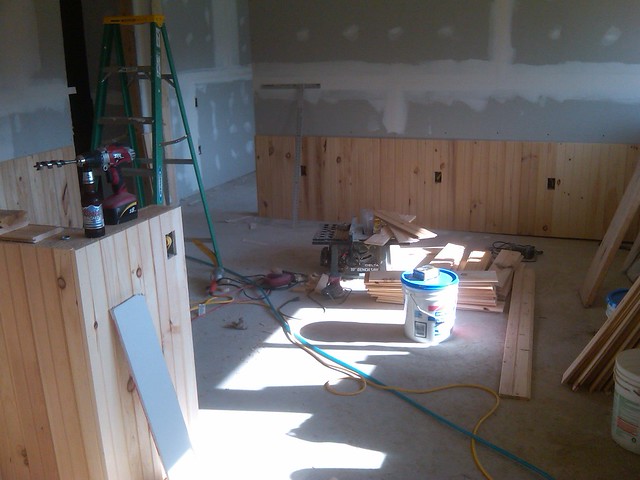
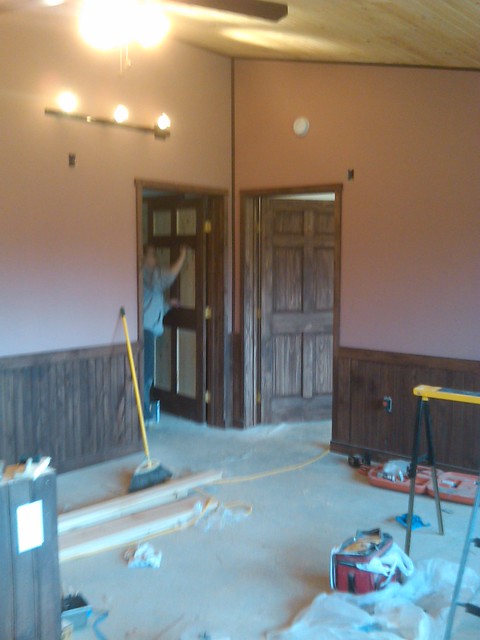
and I quickly knocked out the bedroom windows
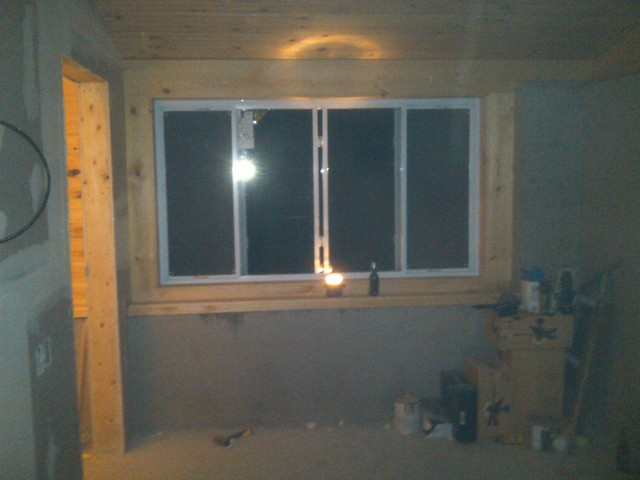
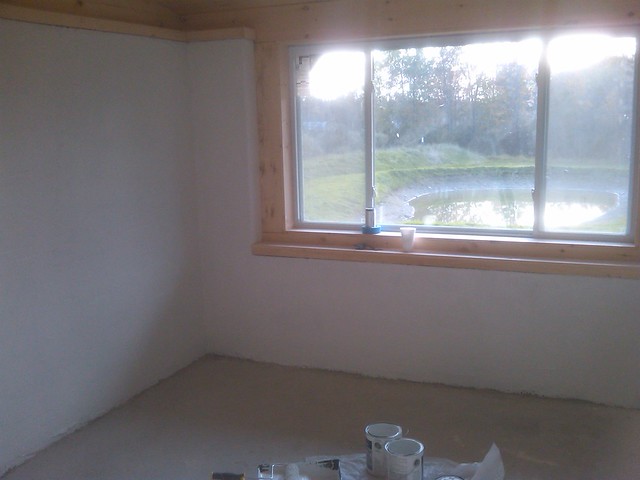
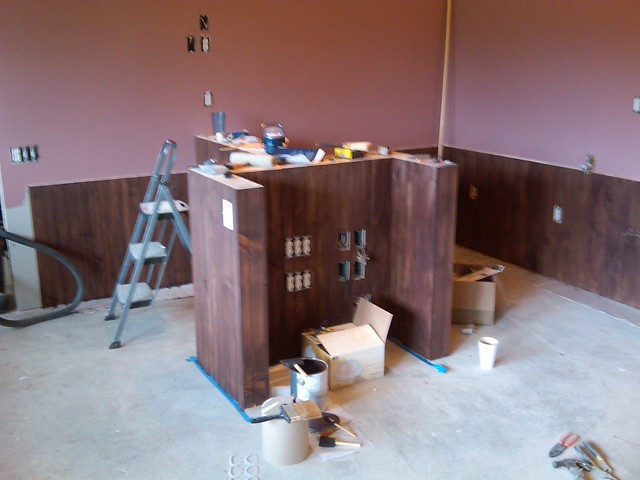
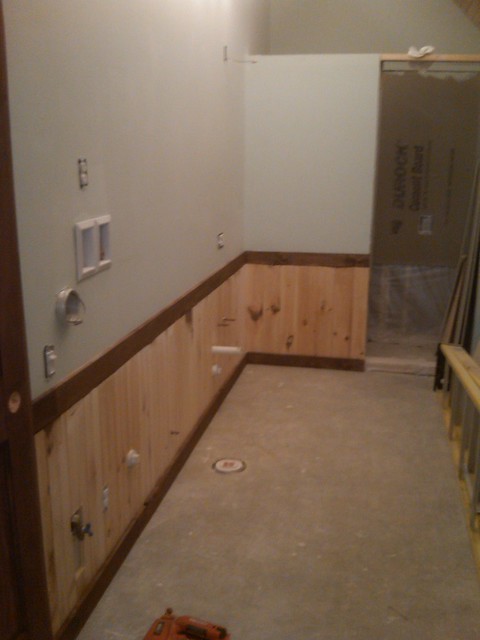
I ran the pine in the bathroom on the wall
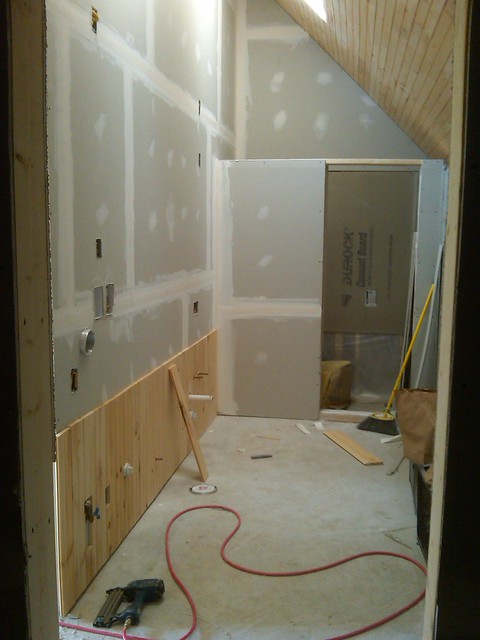
and proceeded to start sanding and mudding
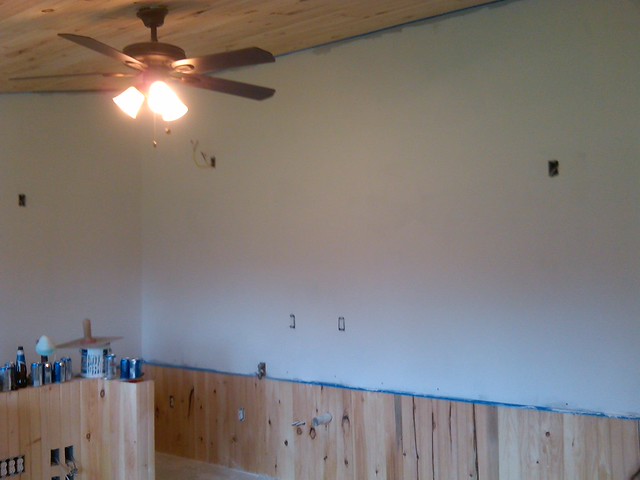
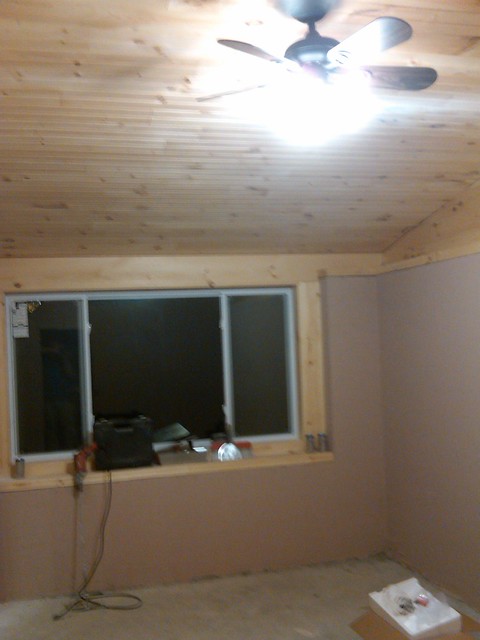
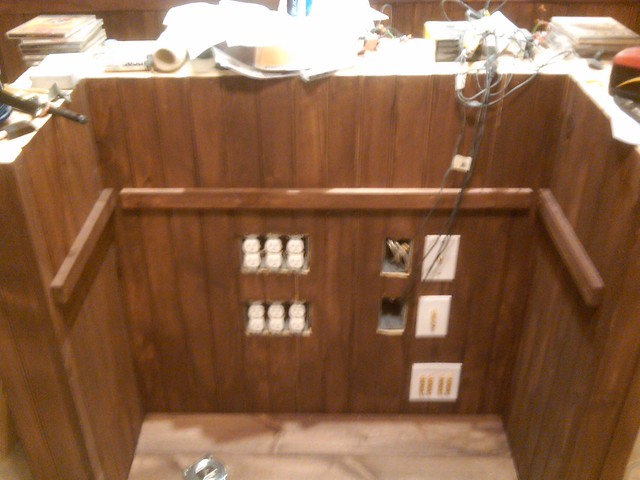
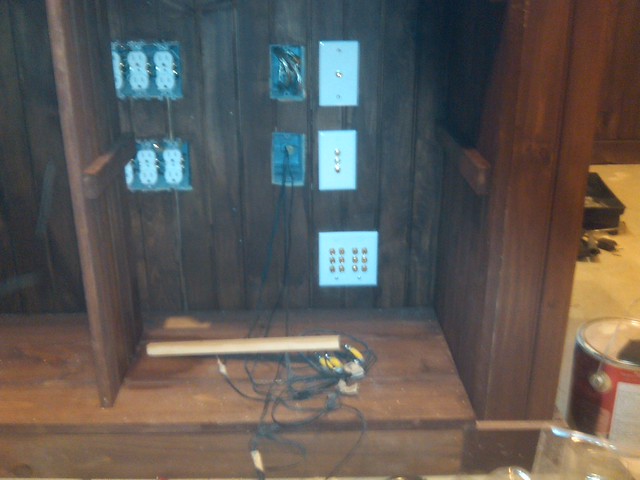
We hooked up the outlets and switches
and I started wiring up the entertainment center
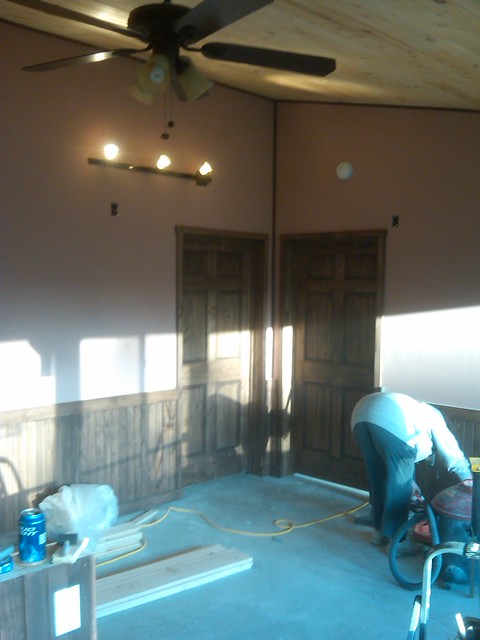
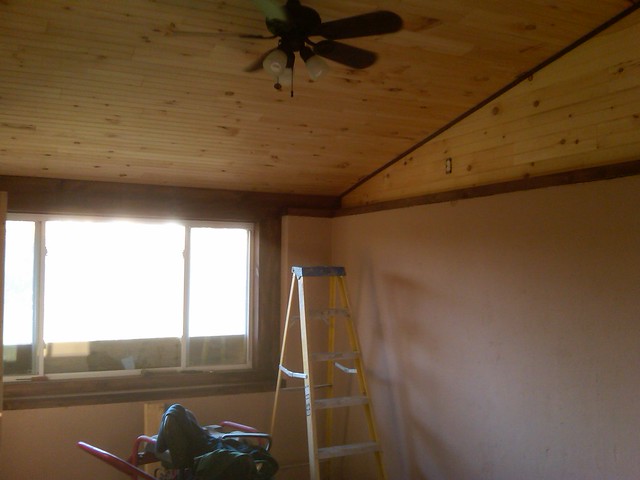
that night I hooked up the ceiling fan
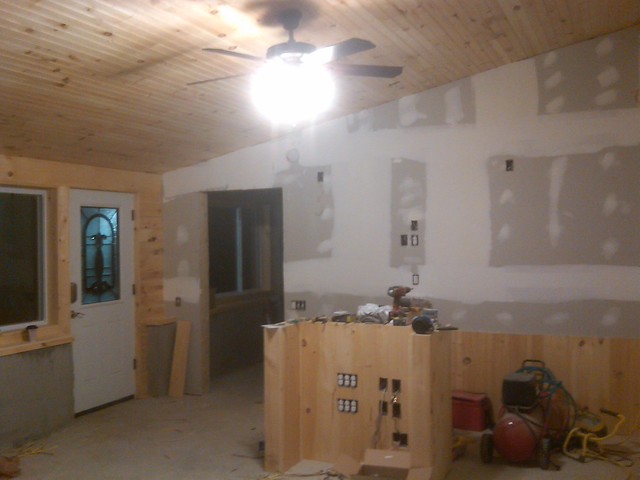
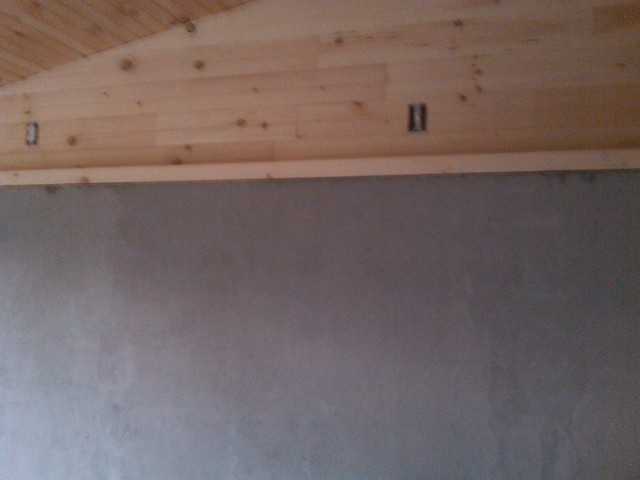
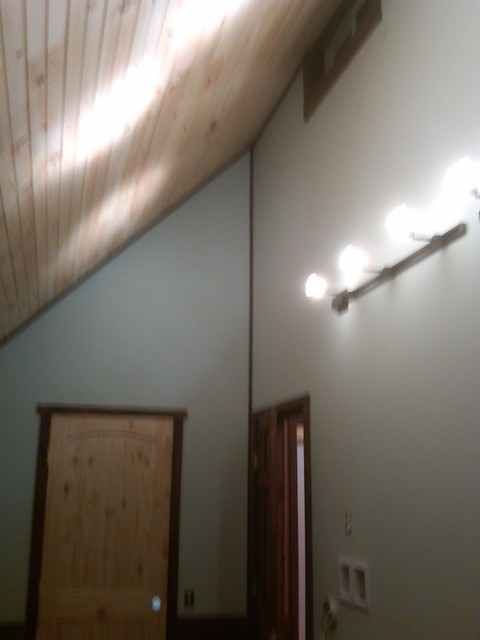
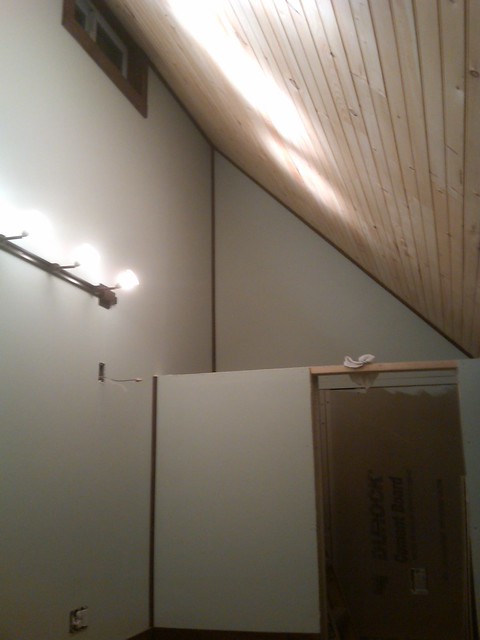
and trimmed out the top of the walls on the gable ends, building a shelf area
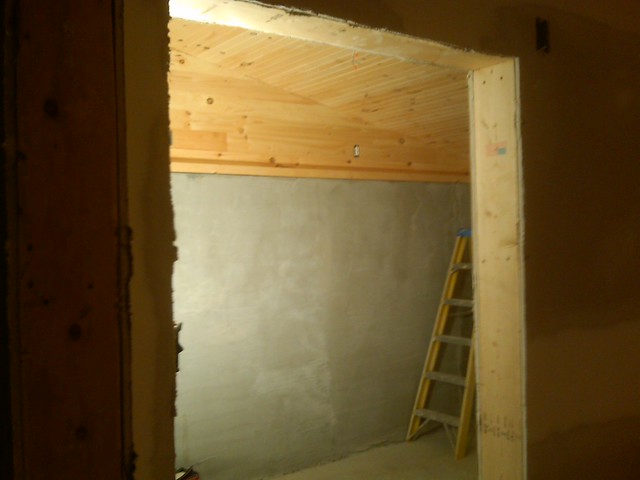
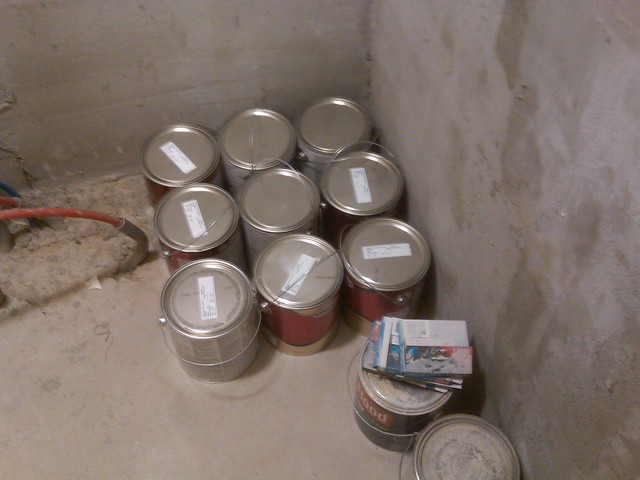
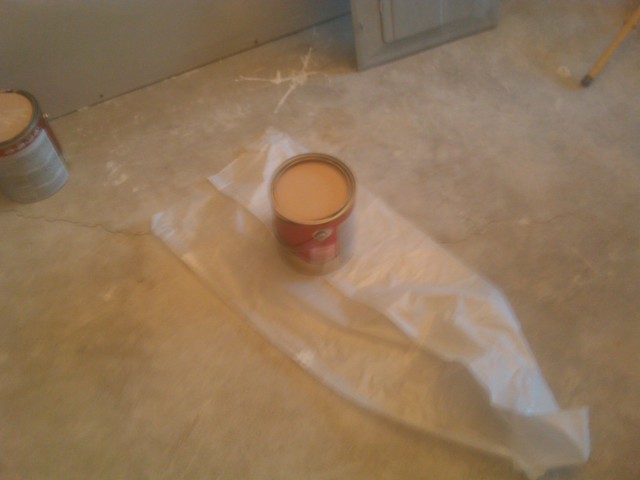
it's time to paint
to be continued
15 Feb ’12
Offline
so we started painting the pantry
and moved on to taping off the bedrooms
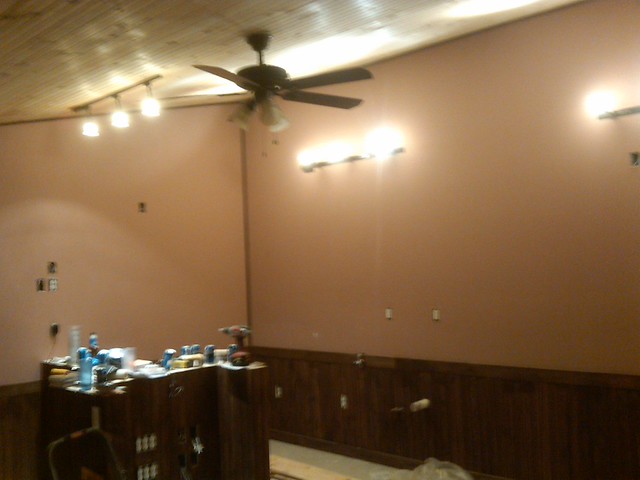
and went with white for one room
we went with sand clay for the other room
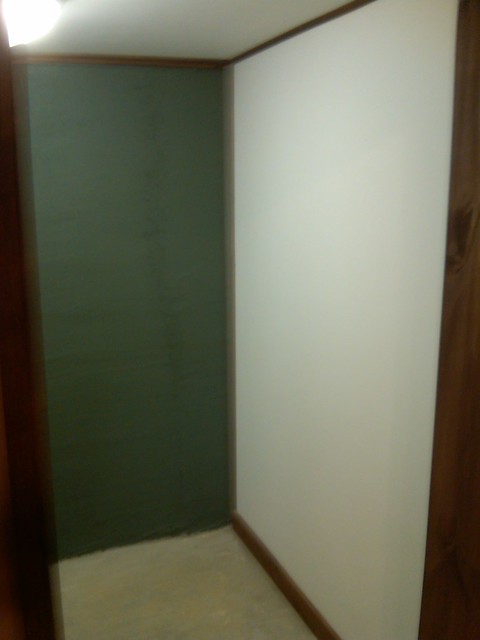
the cement walls ended up with a nice adobe look
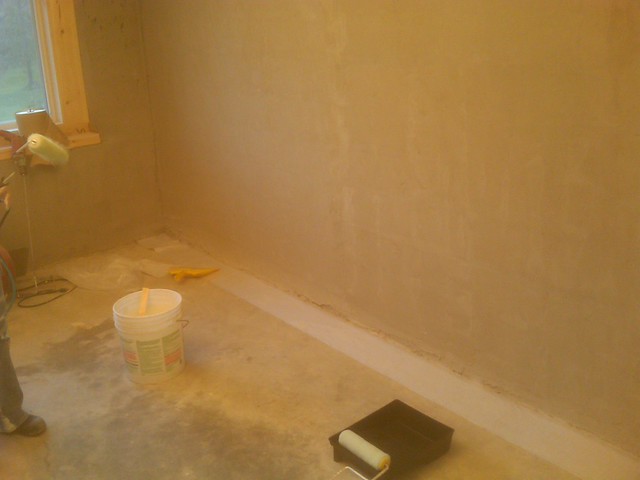
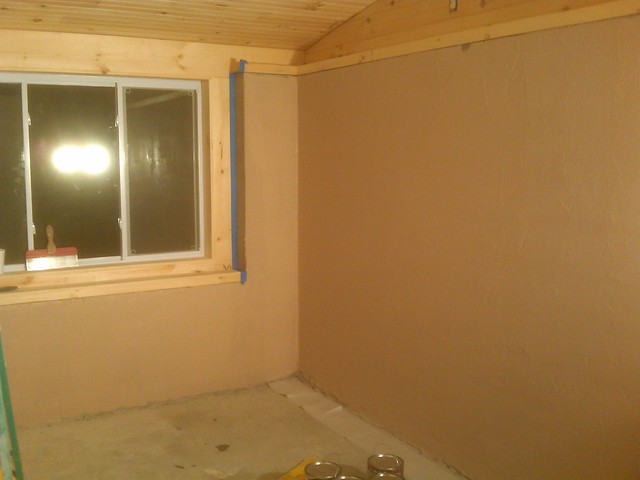
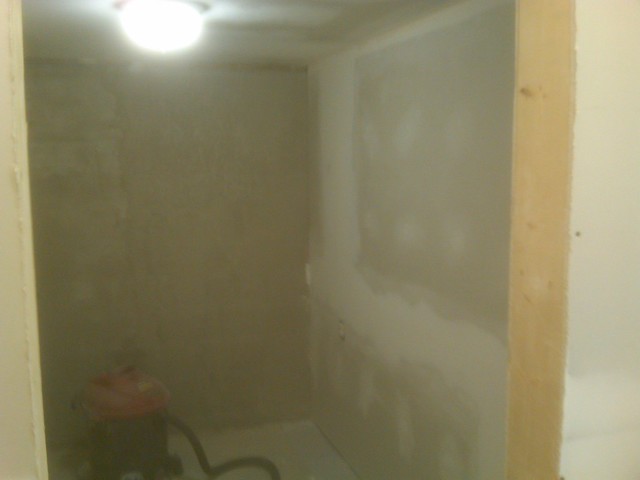
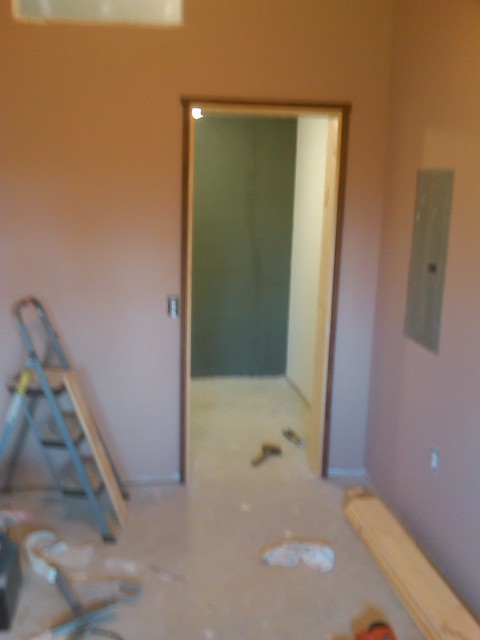
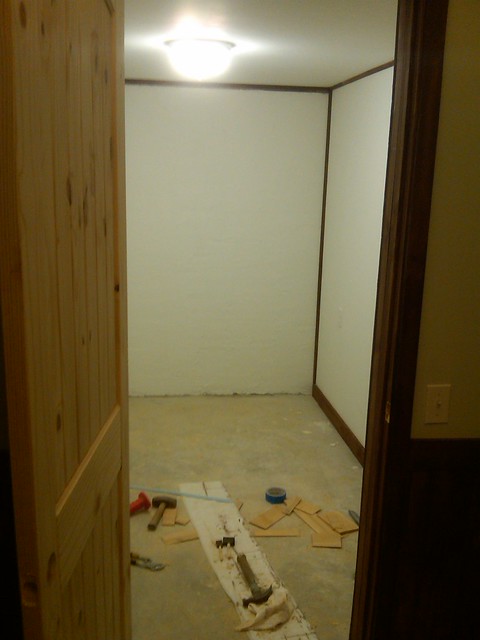
and knocked out the back walls
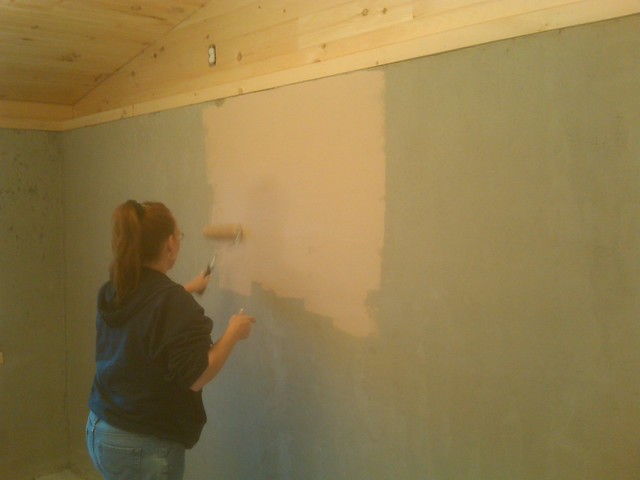
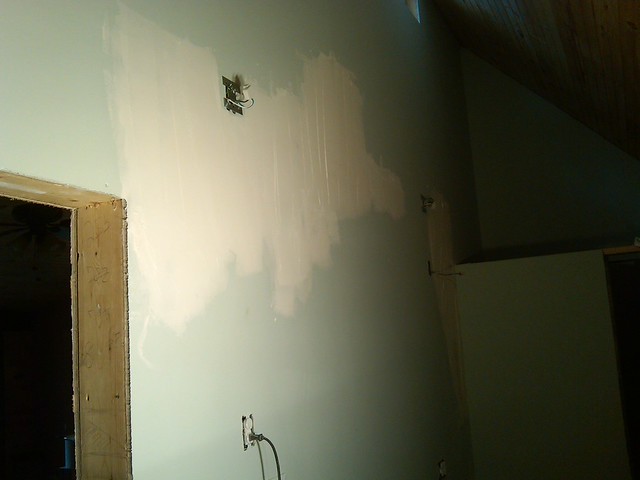
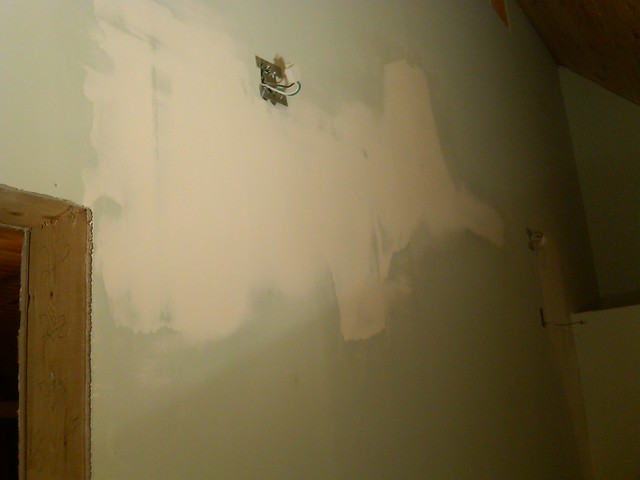
we primed the main room
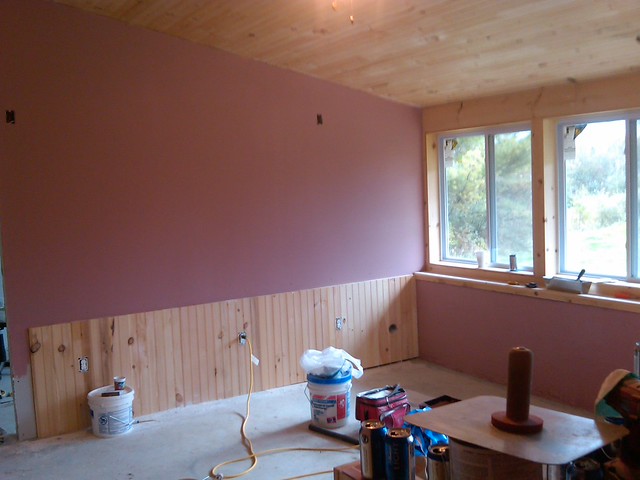
started the first coat of burgundy
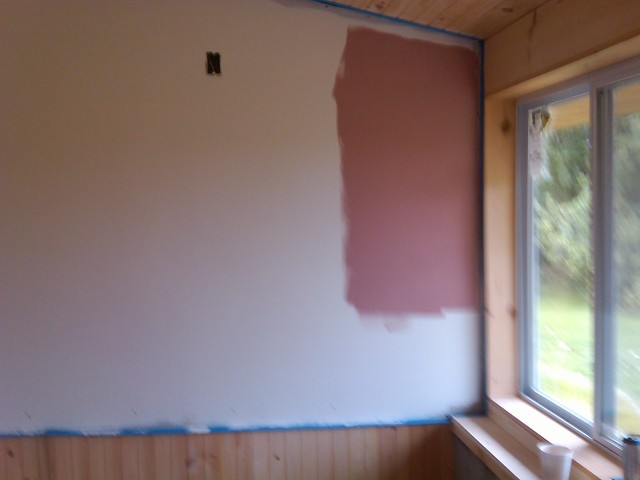
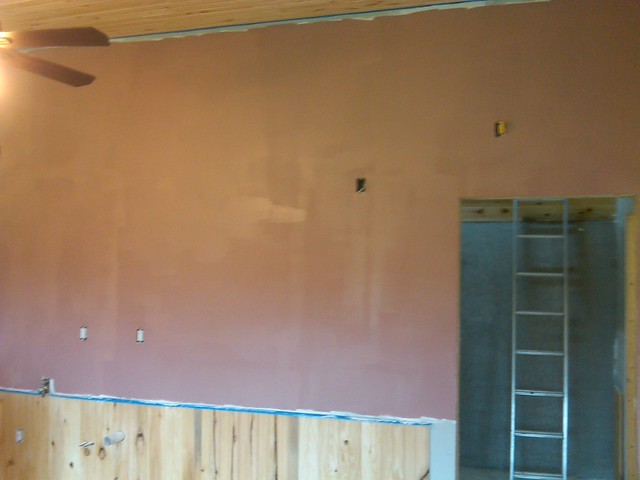
and moved onto the second coat
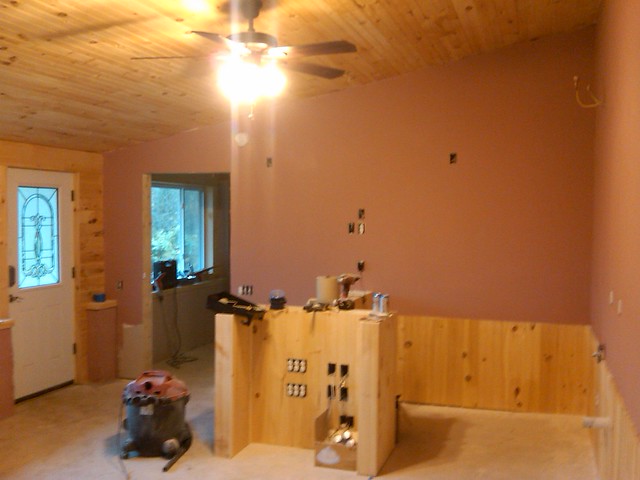
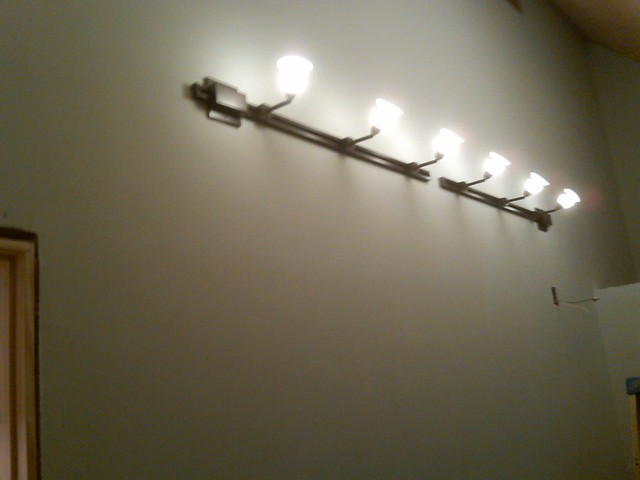
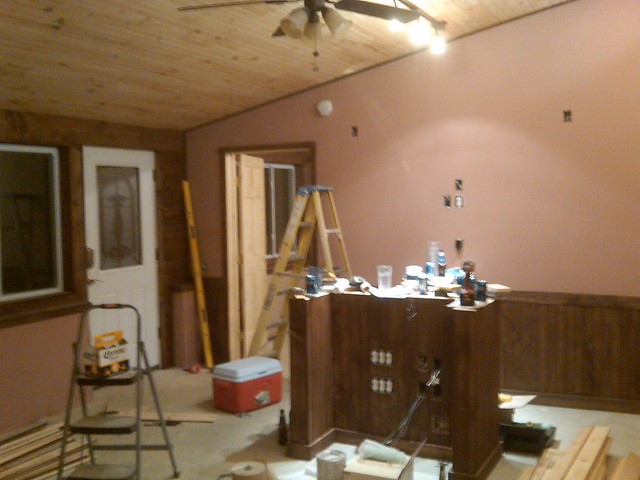
I wanted to get the track lighting mounted so I threw on two quick coats of paint
and mounted the lighting

and knocked out the rest of the bathroom
I mounted the ceiling fans in the bathrooms
and mounted the track lighting in the main room
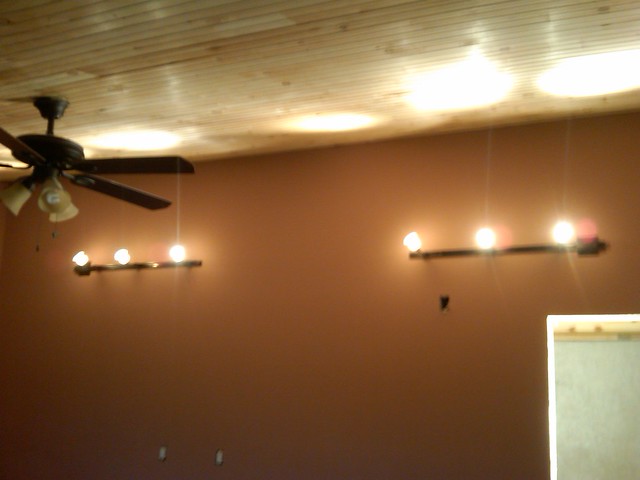
and above the island
15 Feb ’12
Offline
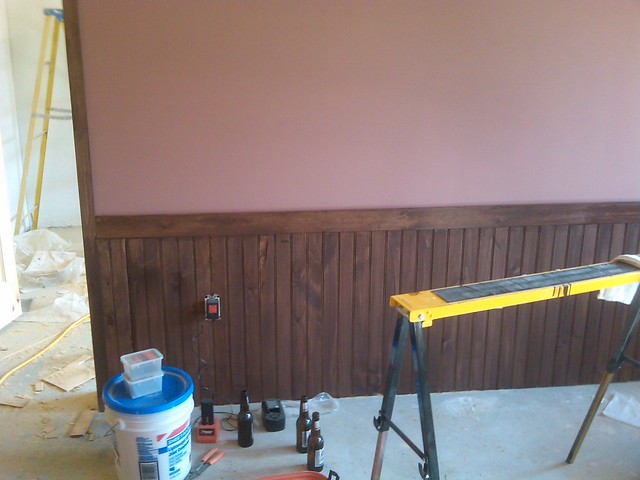
the next day we started staining the woodwork
we started staining up the quarter round to finish off the trim
15 Feb ’12
Offline
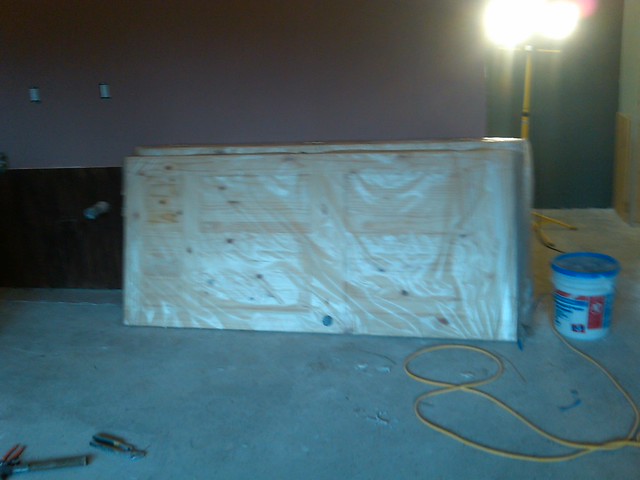
We painted the back walls the same color as the exterior
As I was finishing up the bathroom back wall I noticed the behind behind the track lighting was cracking like alligator skin, and was peeling off. I had a huge section screwed up from not letting my paint dry between coats all the way as I rushing to try and get the lights hung. This totally threw me off, I didn't do anything for 2 days, I was so pissed, frustrated etc. every time I looked at it. It was quite disconcerting. So I went back and scraped the wall, and then did a skim coat of mud
I let it dry overnight and sanded it
and repainted it
and rehung the lighting, all was right with the world again
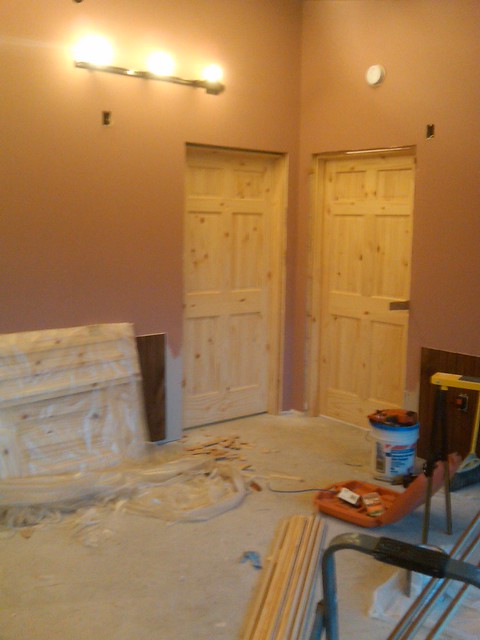
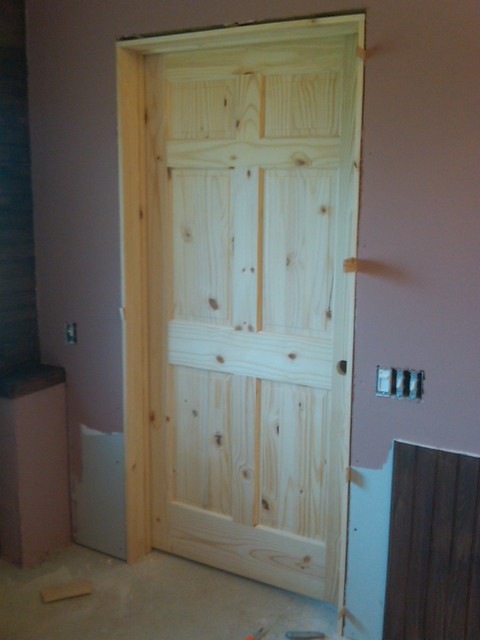
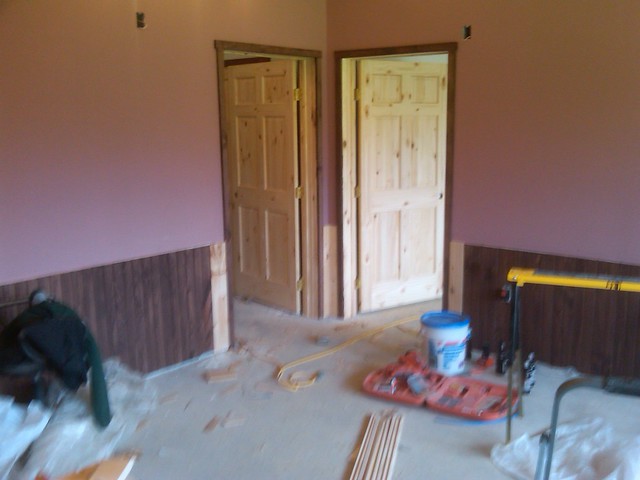
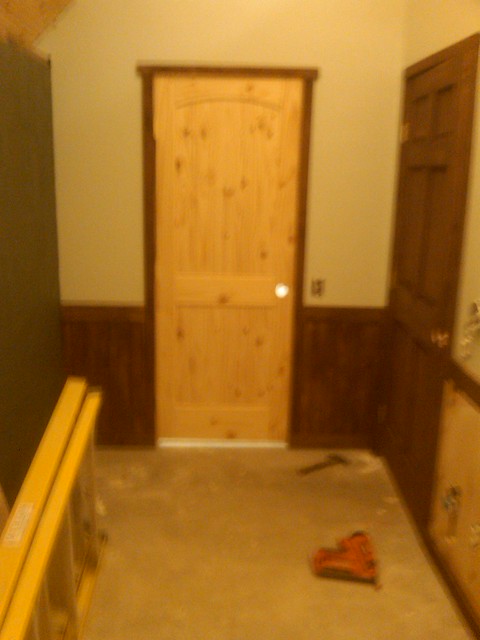
I had some solid pine doors delivered
and hung them
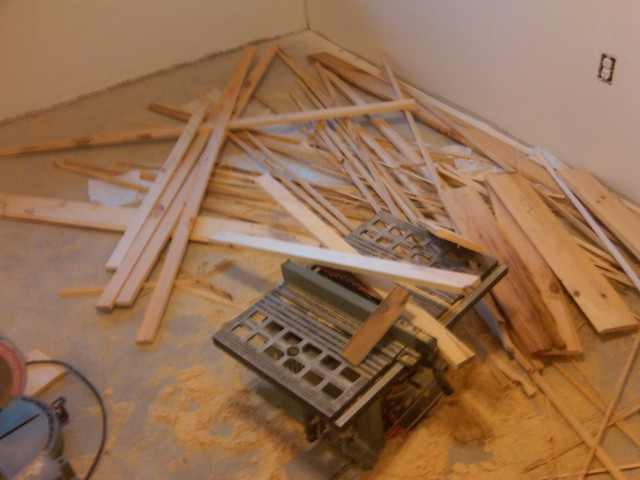
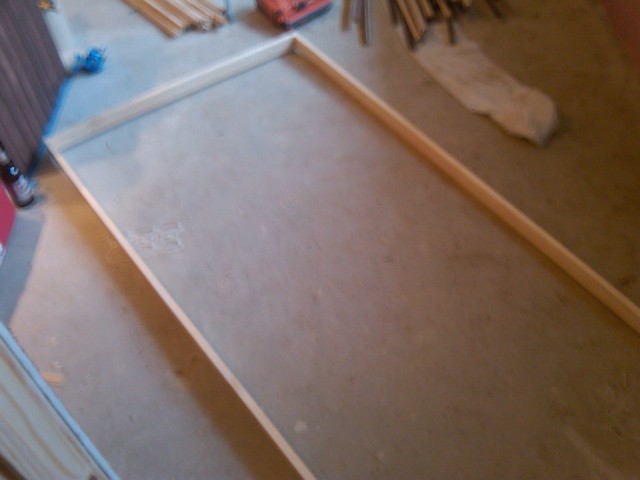
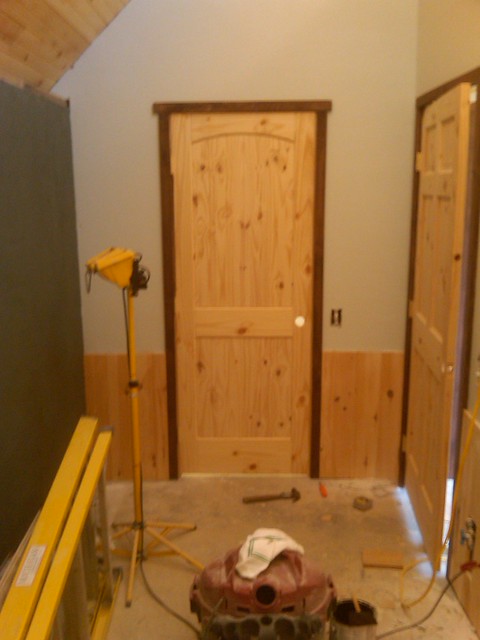
I was using one of the rooms for my ripping room and I started ripping down left over T&G pine for door trim and build out the jambs
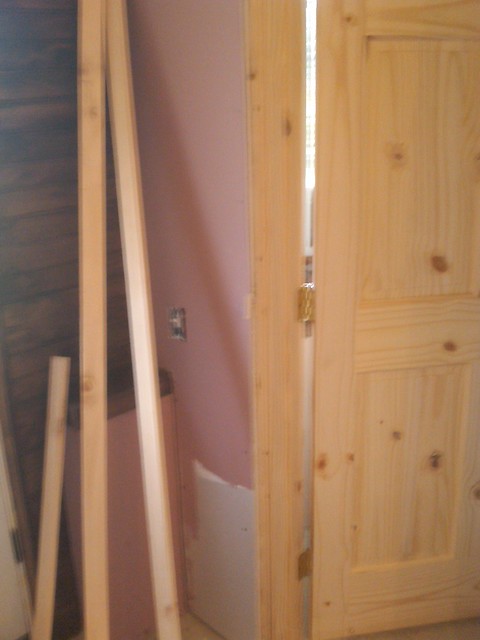
I nailed the jamb extender together
and stood it up and shimmed it out so it was flush with the factory jamb and nailed it down
15 Feb ’12
Offline
I stained up the trim before I nailed it around the doorways
and stained up some 1x4's to use as a chair rail on top of the wainscoting
I stained up and nailed down a baseboard around the bottom
and started nailing down the quarter round trim along the ceiling and the wall
15 Feb ’12
Offline
I trimmed out our closet
and the opening for our storage
meanwhile my wife was staining the doors
I started knocking out the corners in the bedroom with quarter round
My wife started working on the bathroom
Starting nailing the quarter round, this part was a pain
and stained around the upper windows
I knocked out the trim in the pantry and closet
15 Feb ’12
Offline
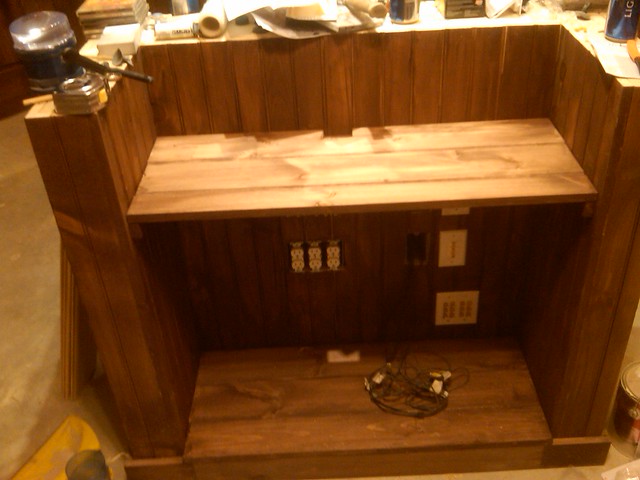
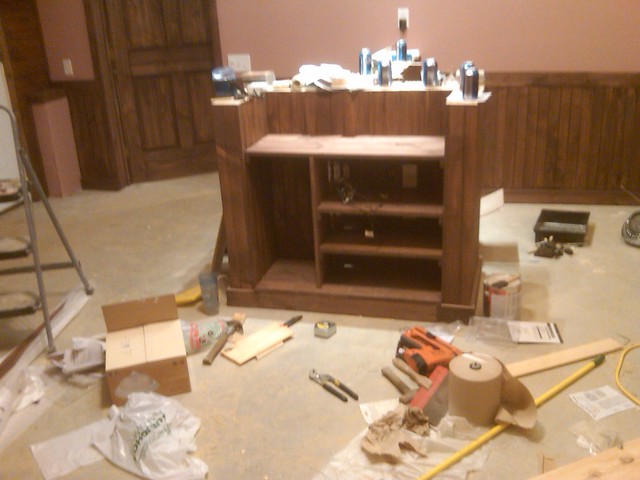
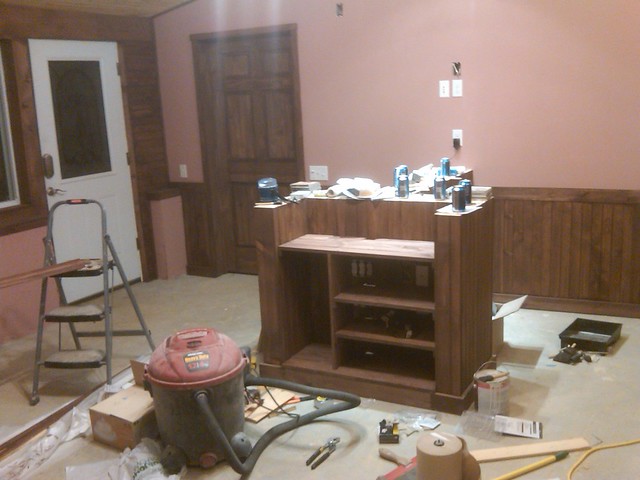
time to knock out the entertainment center
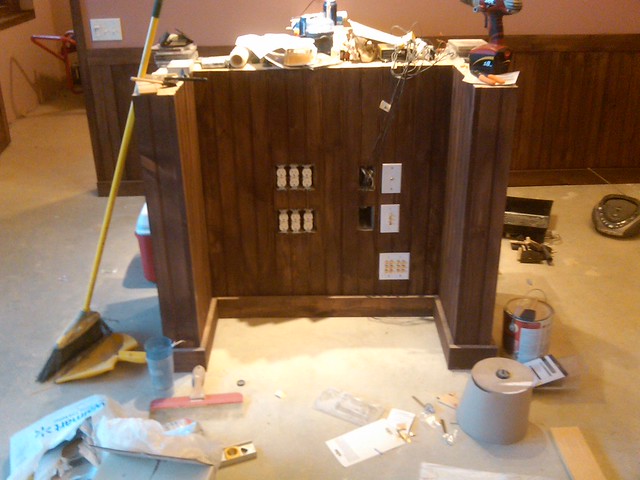
I started by cutting 3 pieces of T&G pine and setting them on top of the baseboard
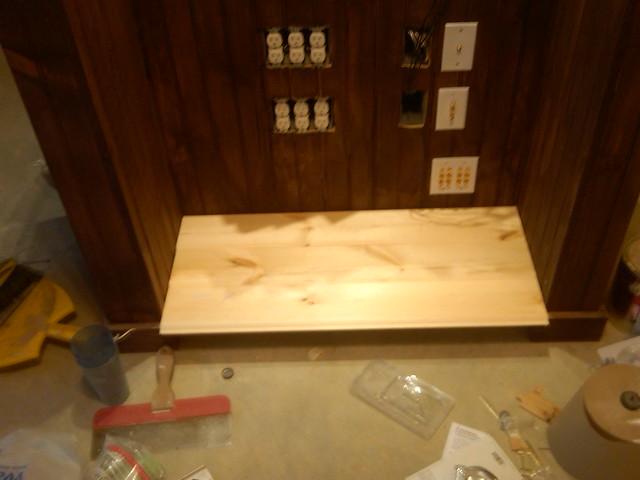
I used a pencil and straight edge and snapped my line and trim the boards flush
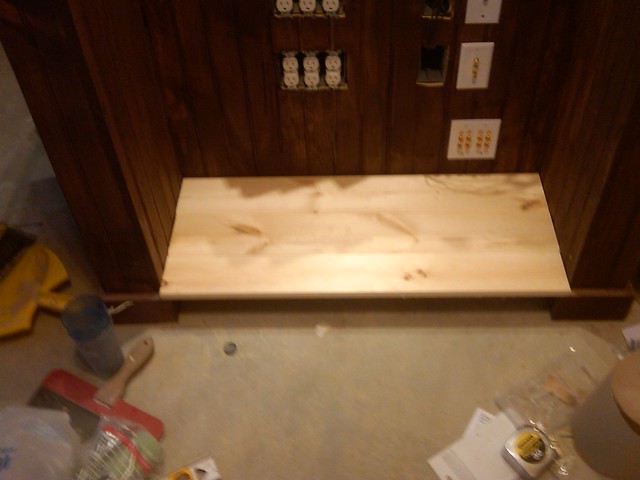
and cut a bracer piece that is recessed 3/4 inch from the edge
used a scrap piece to make sure the spacing was correct
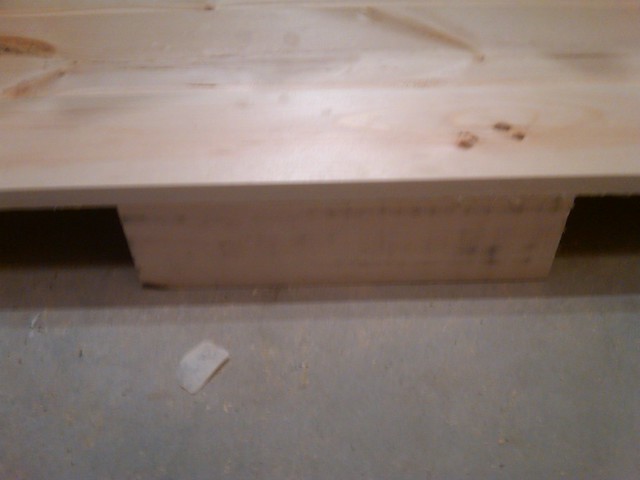
and cut a nailer for each end to nail the faceplate into
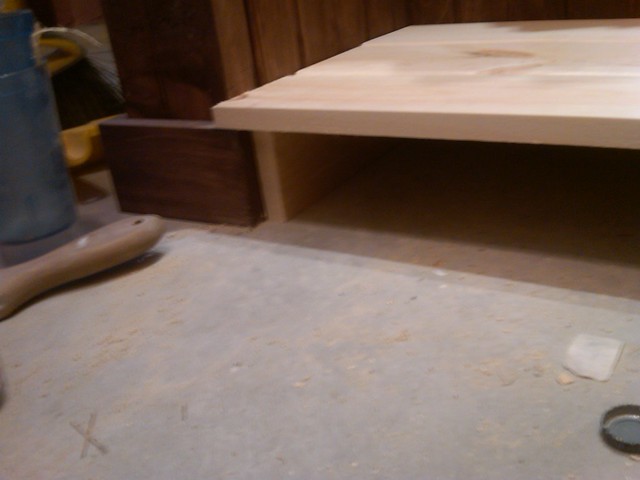
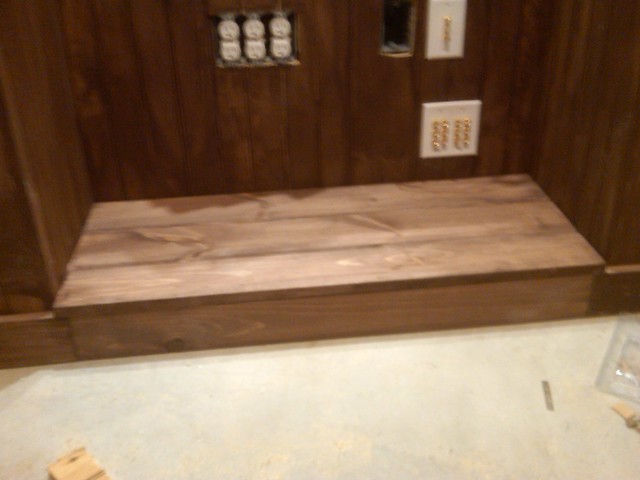
I removed the boards and stained them up and remounted them
and stained and nailed the faceplate
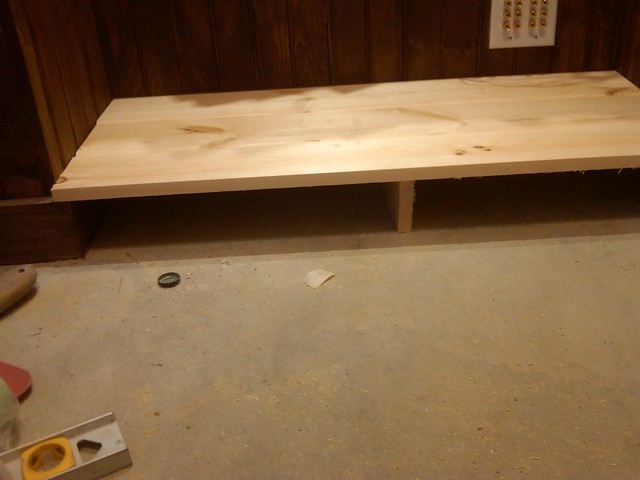
I used a piece of scrap for a spacer
and used the spacer to make sure the shelve supports were level and nailed down the supports
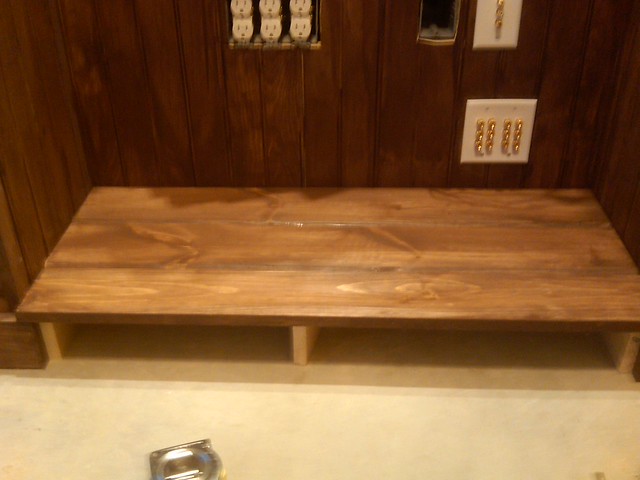
and stained 3 boards for a shelf and nailed them down
I cut 2 boards for a divider and stained them and used a scrap for a spacer and toenailed them on the bottom and down thru the top
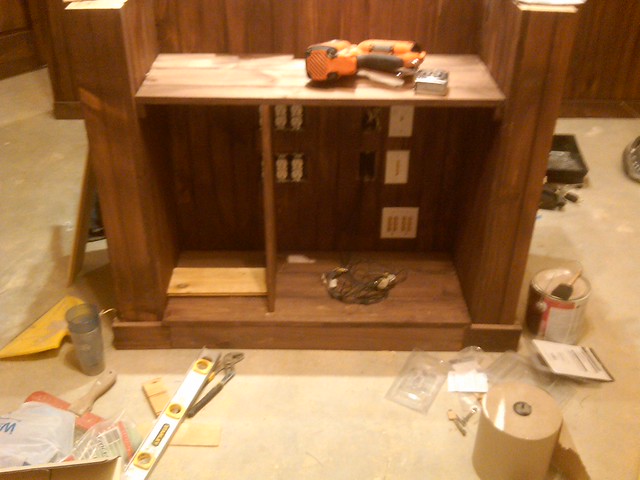
cut another spacer for the smaller shelves and mounted supports
and mounted the smaller shelves, leaving a gap in the back for air flow
all complete


Most Users Ever Online: 698
Currently Online:
21 Guest(s)
Currently Browsing this Page:
1 Guest(s)
Top Posters:
easytapper: 2149
DangerDuke: 2030
groinkick: 1667
PorkChopsMmm: 1515
Gravel Road: 1455
Newest Members:
dessienewling3
loiscapps5
bennycolls
charolettedunkel
alexandrahic
Forum Stats:
Groups: 1
Forums: 12
Topics: 11478
Posts: 58673
Member Stats:
Guest Posters: 2
Members: 3499
Moderators: 0
Admins: 1
Administrators: K

