
 Register
 Log In
 Home
Home
15 Feb ’12
 Offline


while I was working on that my wife was finishing the staining


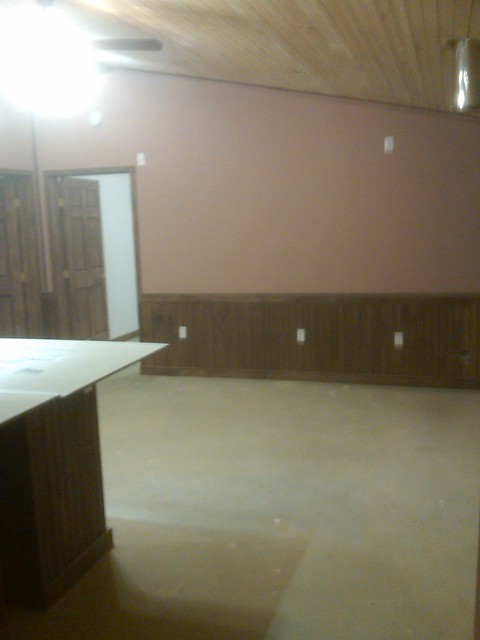
cleaned up my temporary sawmill area, and hung the last of the trim and stained
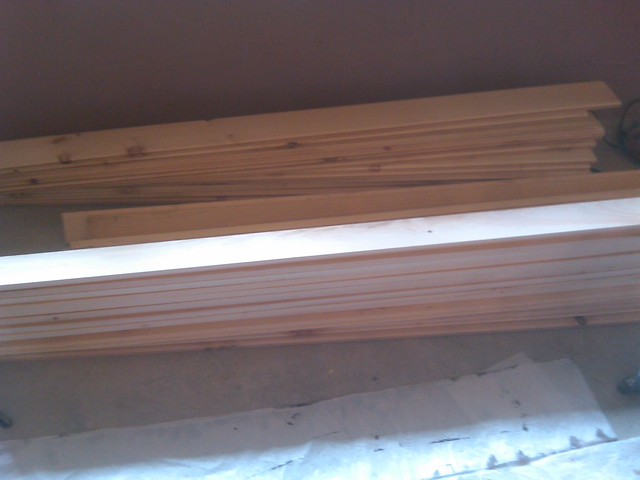
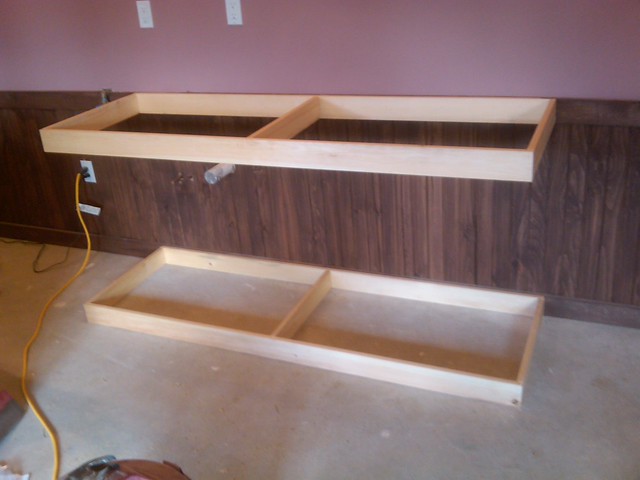
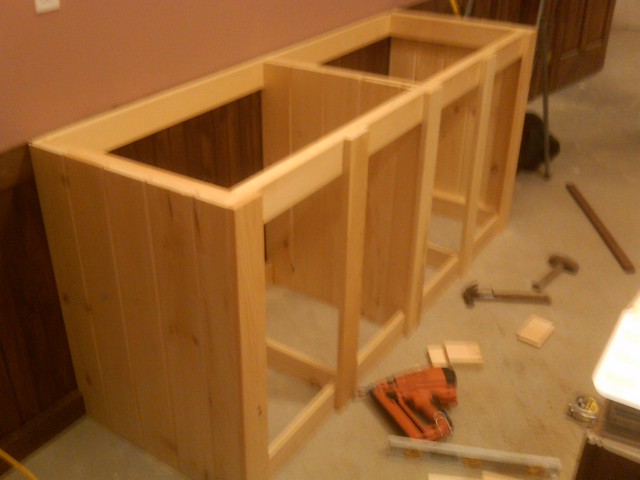
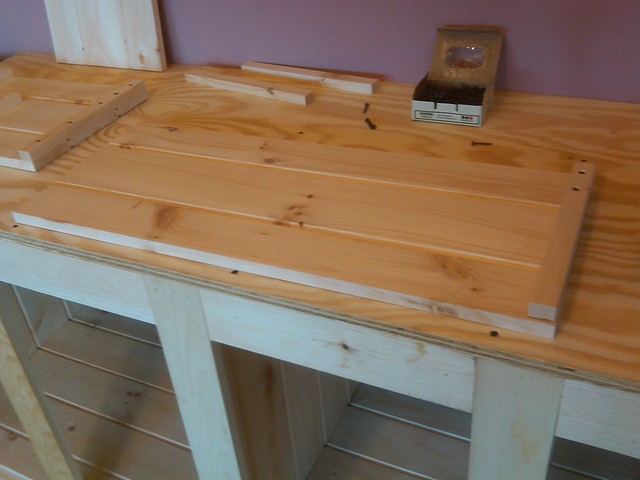
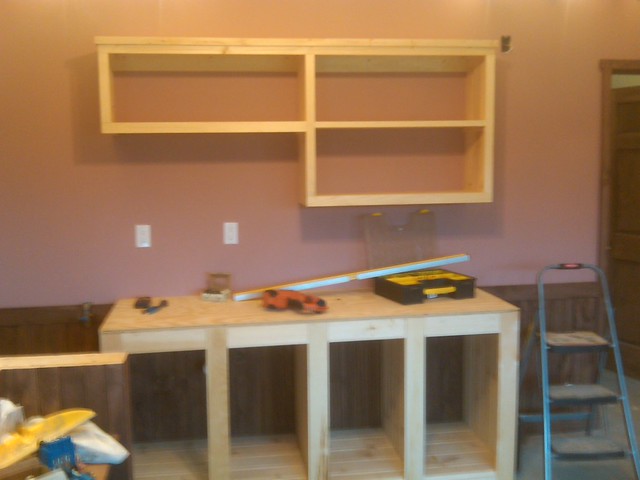
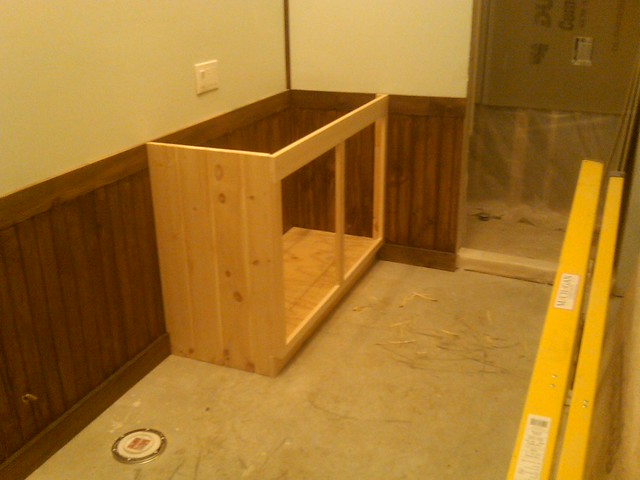
I picked up the pine to build the cabinets
15 Feb ’12
Offline
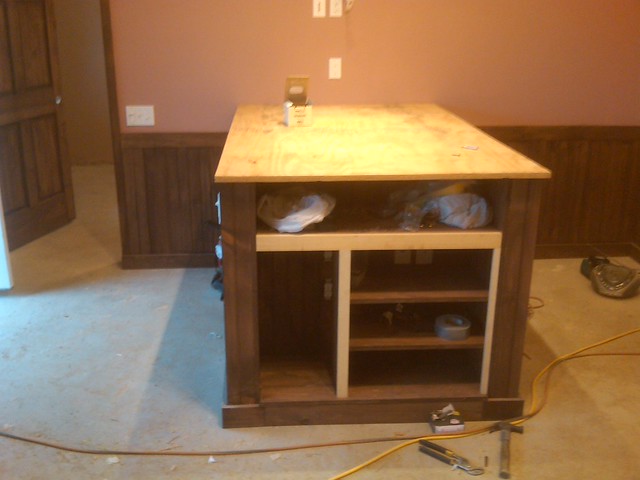
I was brainstorming how I wanted to build them, we had some fluctuation in the floor, and with the baseboards etc in place, I decided to build it piece by piece in place
I started with a top and bottom frame and nailed them in
and cut the end pieces and nailed them down
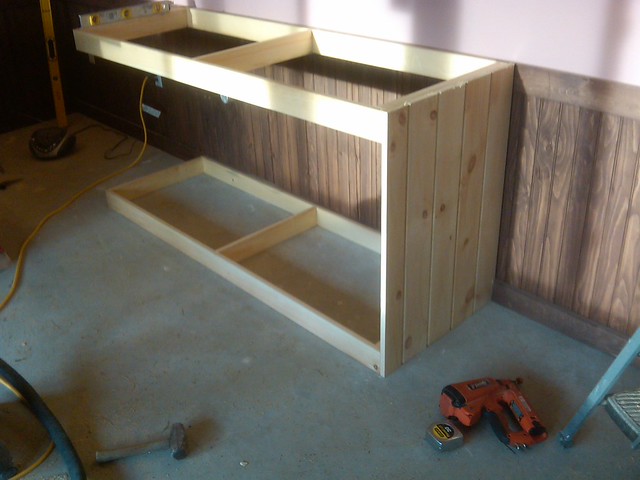
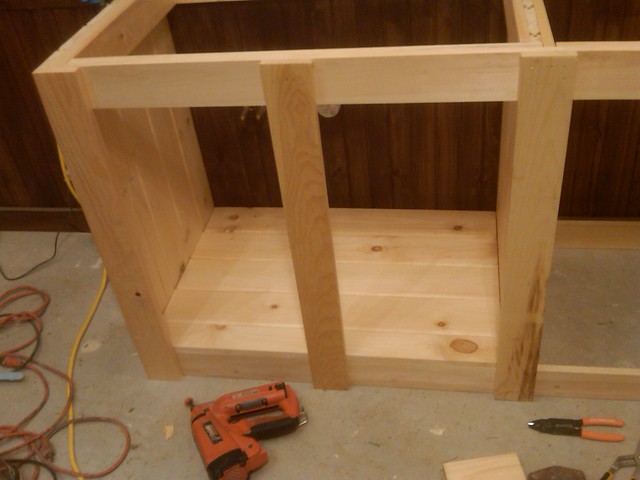
I cut some base spacers
and cut the faceplate spacers and nailed them down
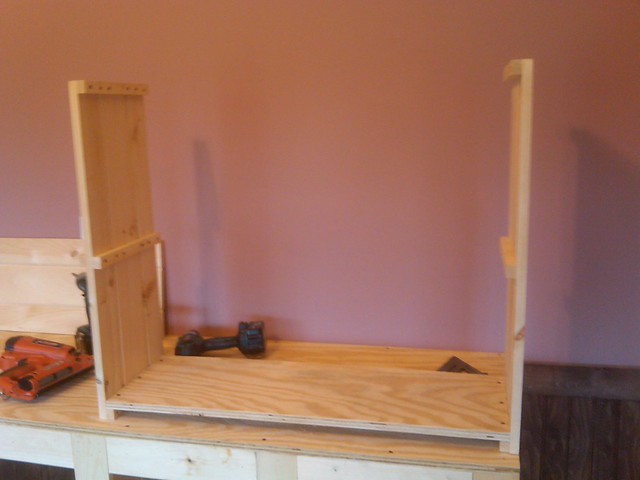
and filled in the middle wall
and nailed down some base supports
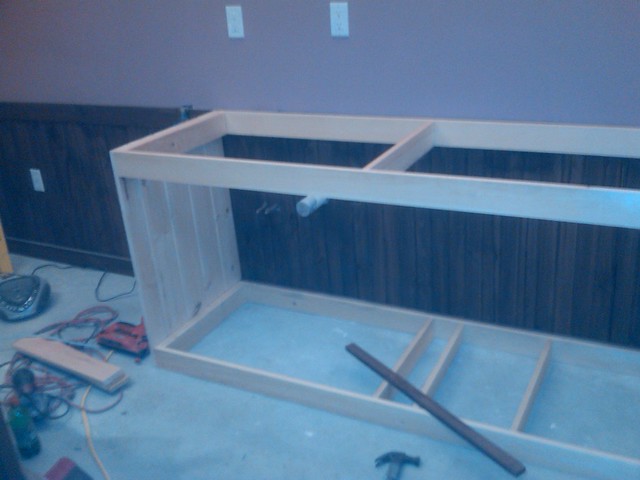
and filled in the other divider wall
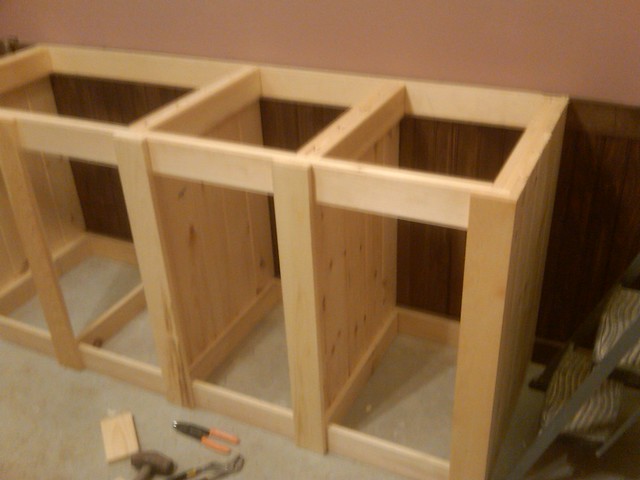
and nailed on the divider plate and support for the sink base and put in the floor of the cabinet
and continued down the rest of the cabinet
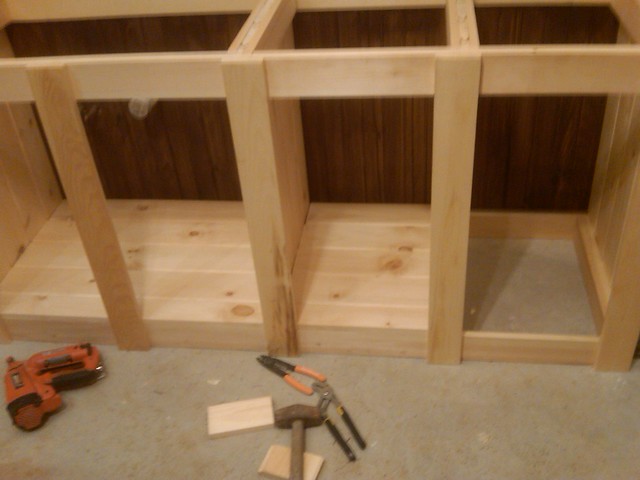
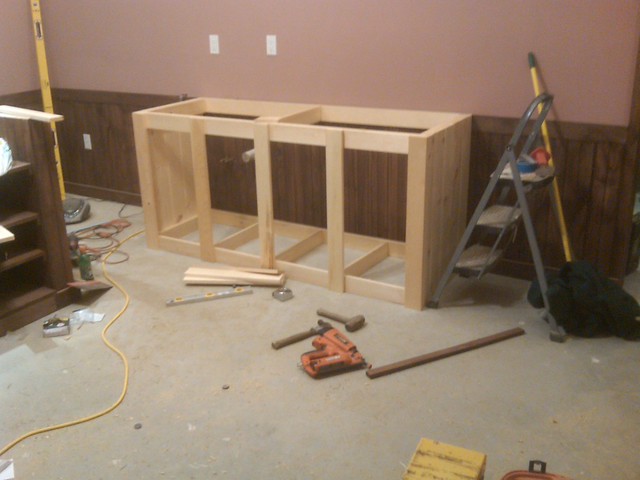
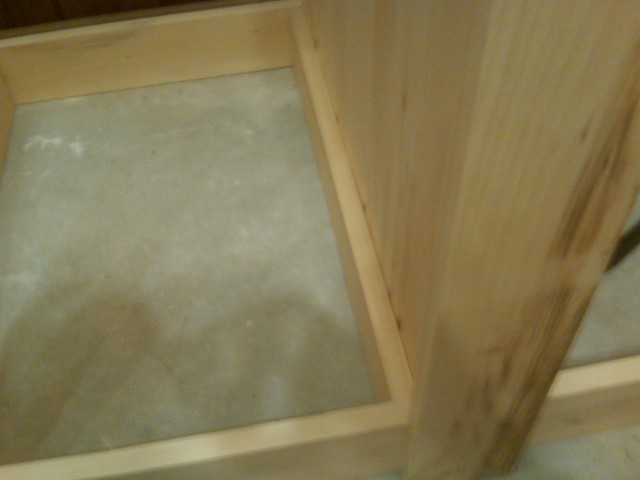
floor complete
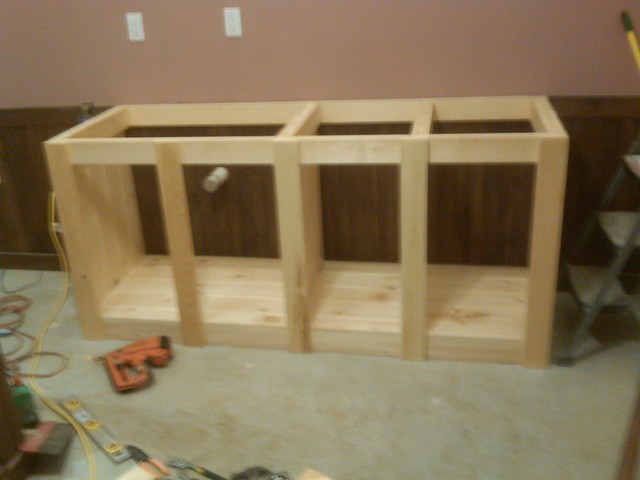
I just had to nail in some trim spacers on the faceplate
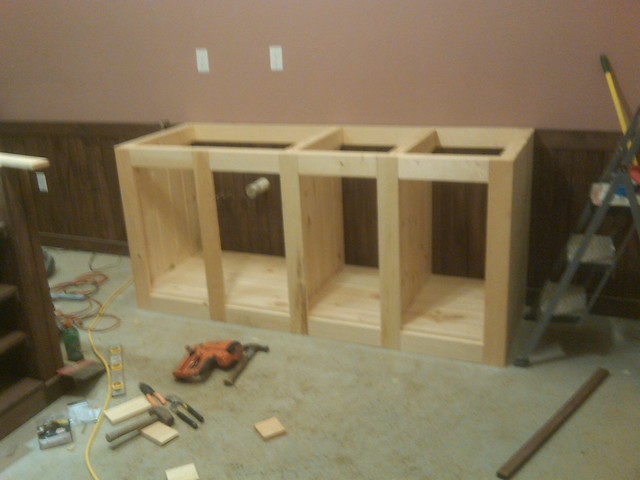
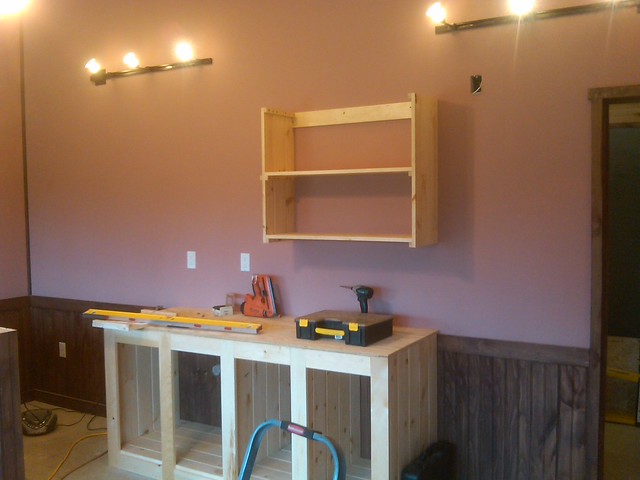
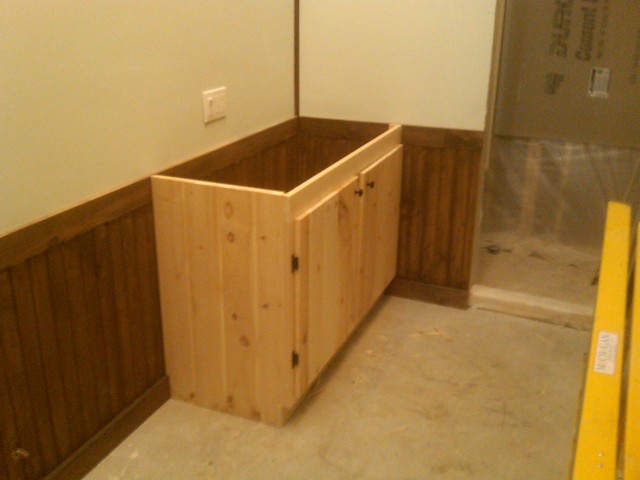
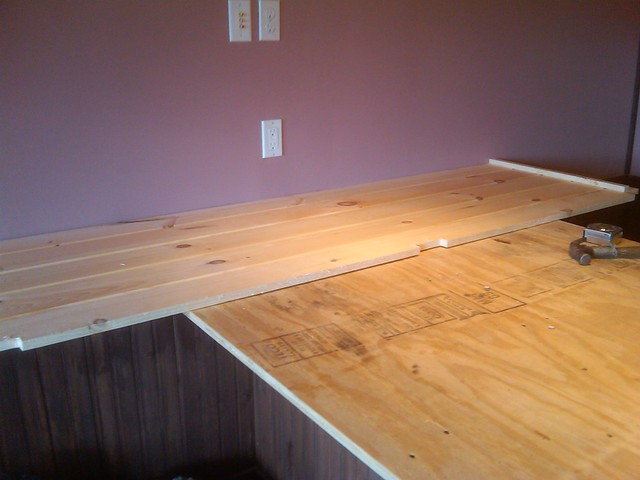
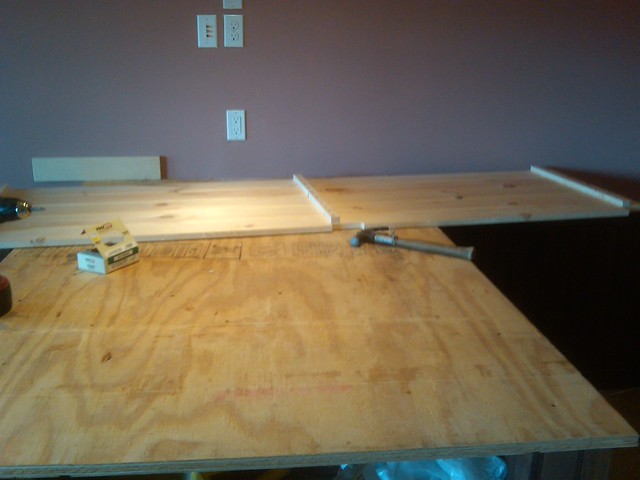
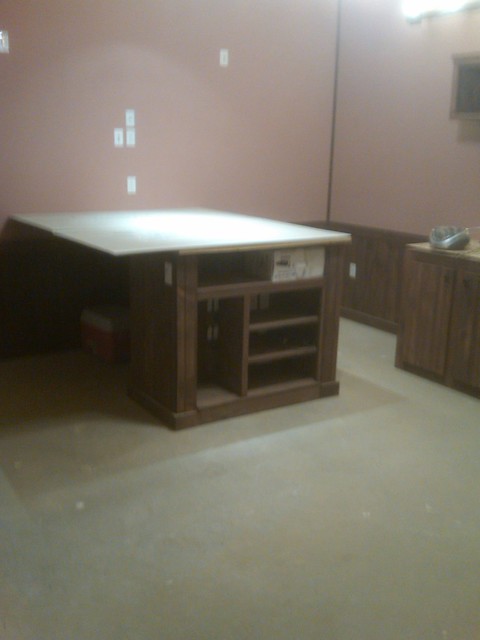
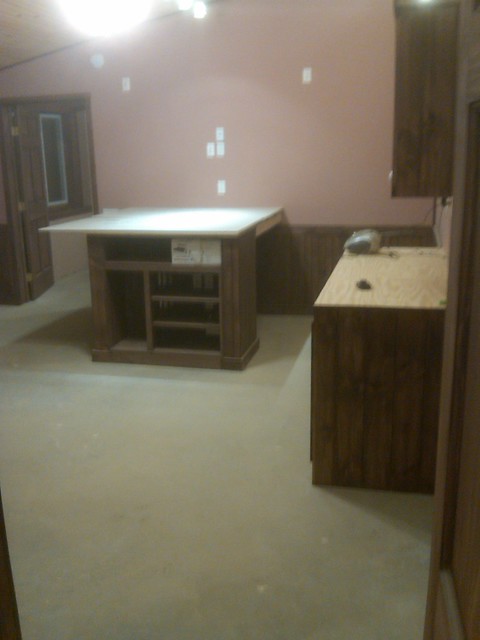
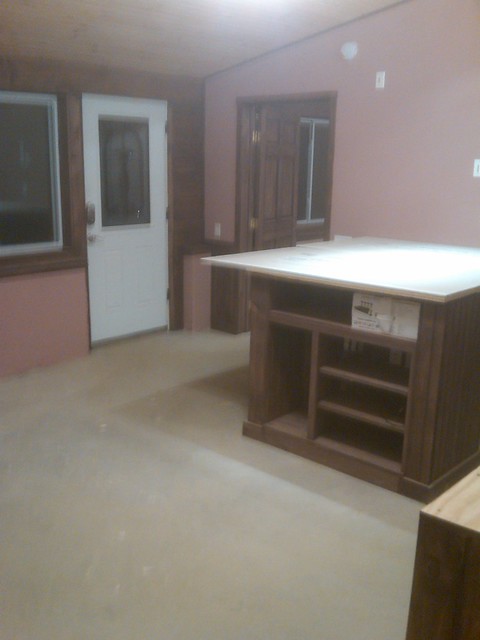
the next morning, I screwed down the plywood top
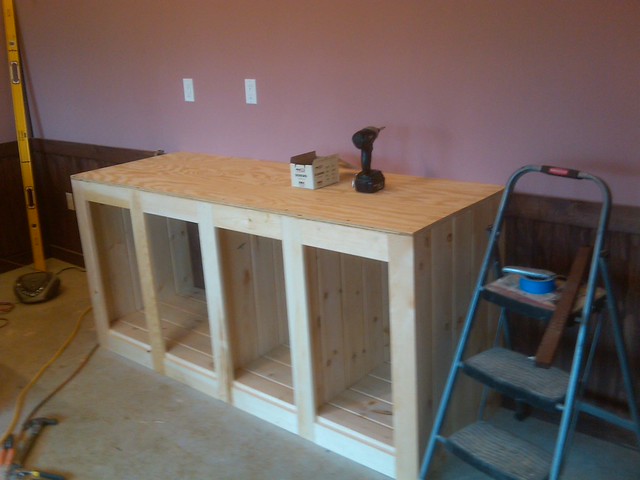
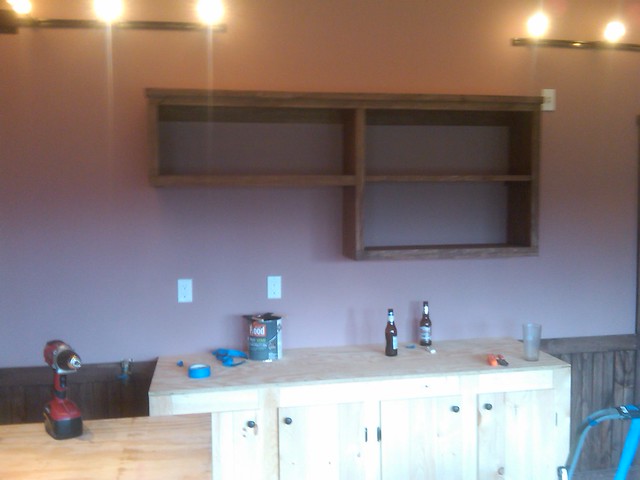
and started building the uppers. The uppers I built frame-less
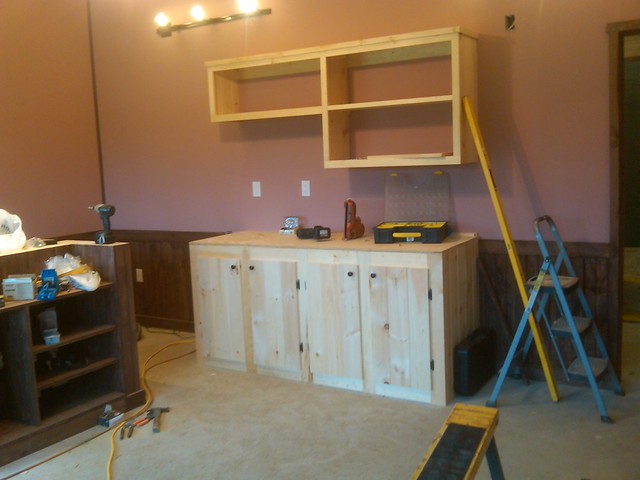
and mounted them on the wall
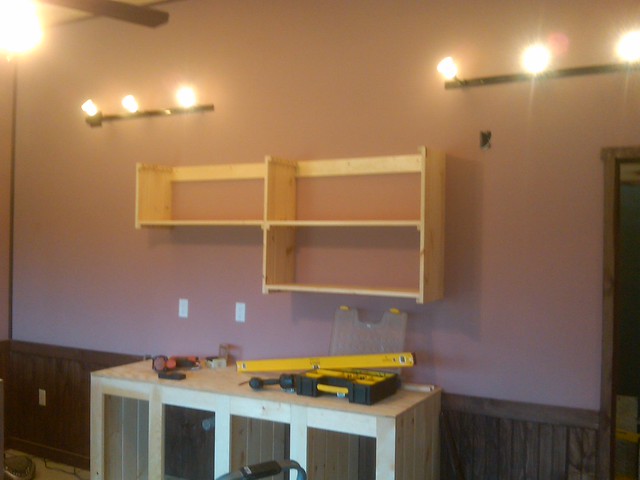
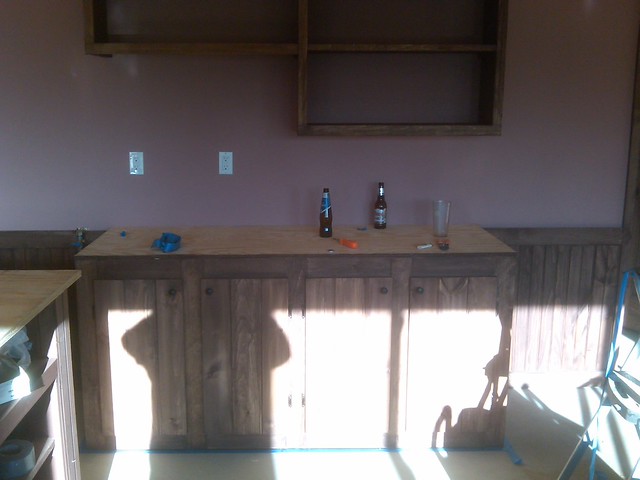
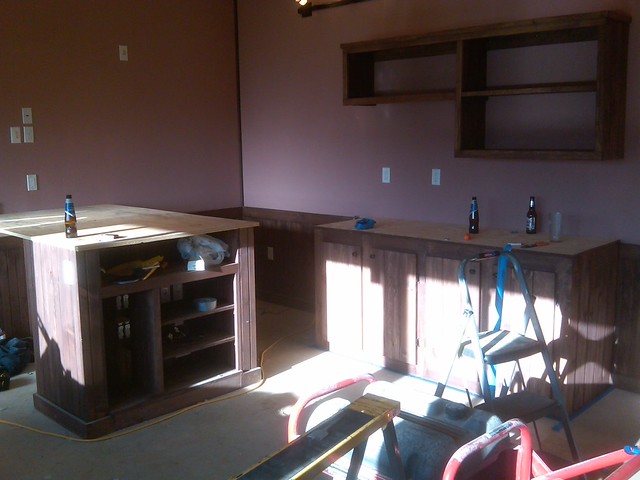
and trimmed out the face
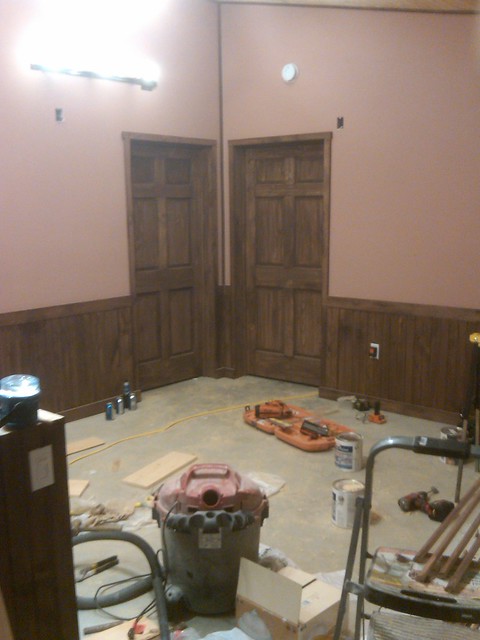
and mounted the doors on the base cabinet
for the bathroom since the cabinet is in the corner, I just built a side and used the existing wainscoting as the right hand side of the cabinet
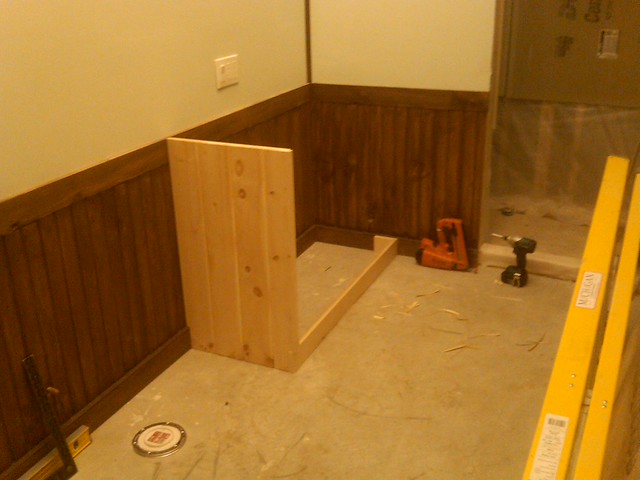
and added on the top plate
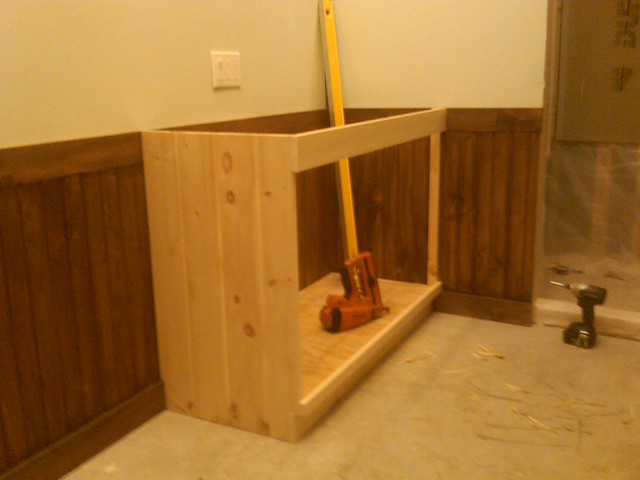
and added the divider
and mounted the doors
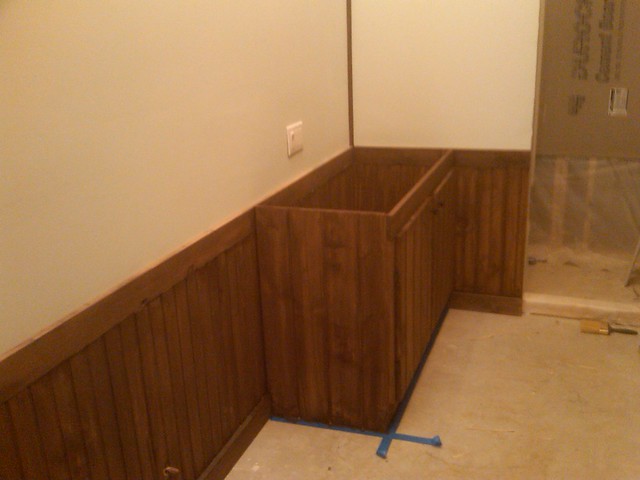
and stained it up
15 Feb ’12
Offline
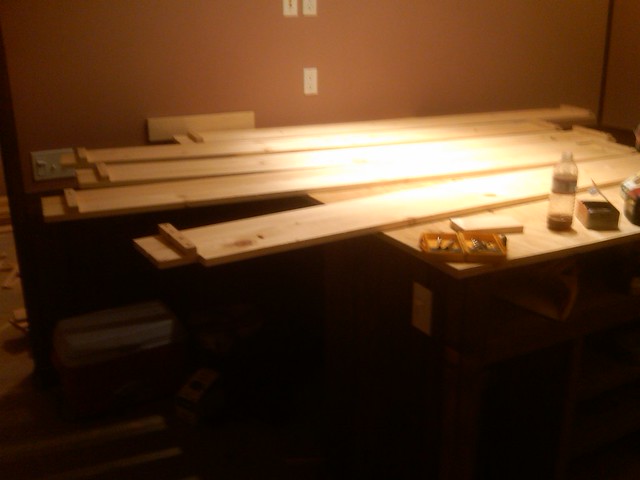
I set the plywood on the bartop
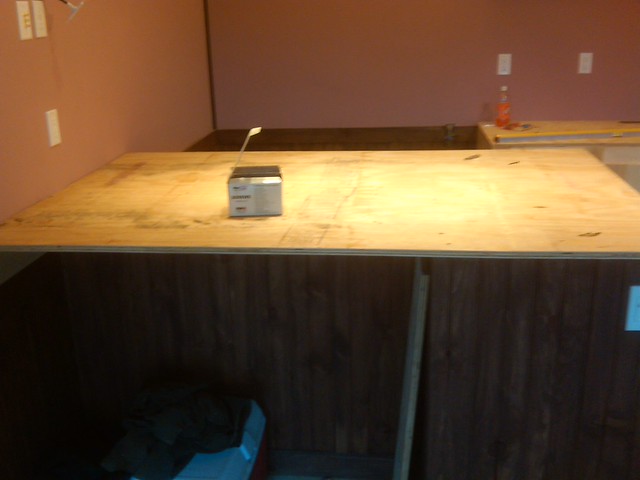
cut and trimmed it and trimmed out the entertainment center face
the next day I stained the cabinets
I'm just a weekend hack, but I like it
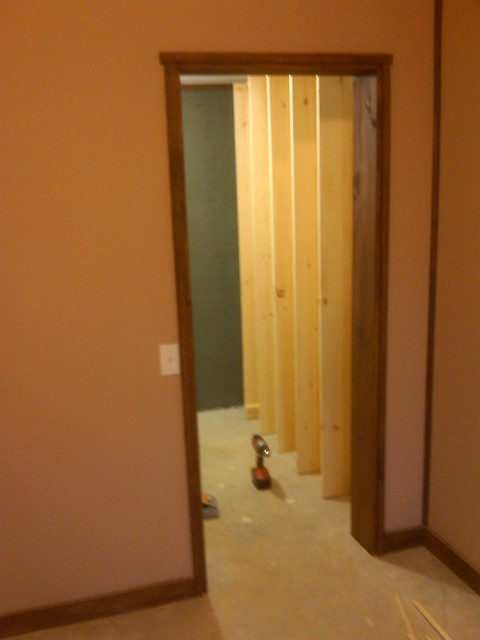
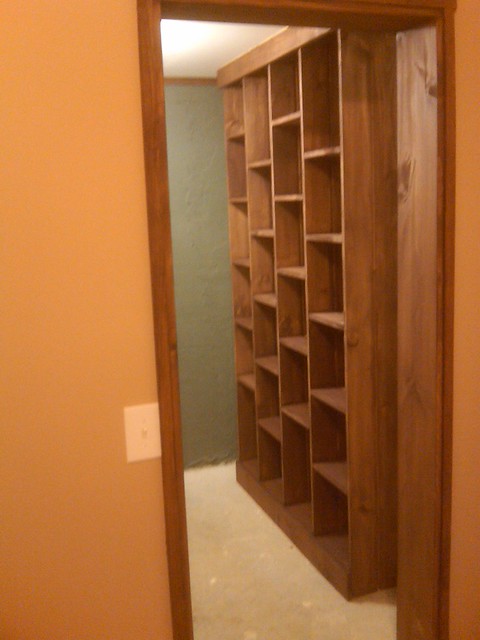
next, I had to address our closet, I needed to build something to hold clothes and such
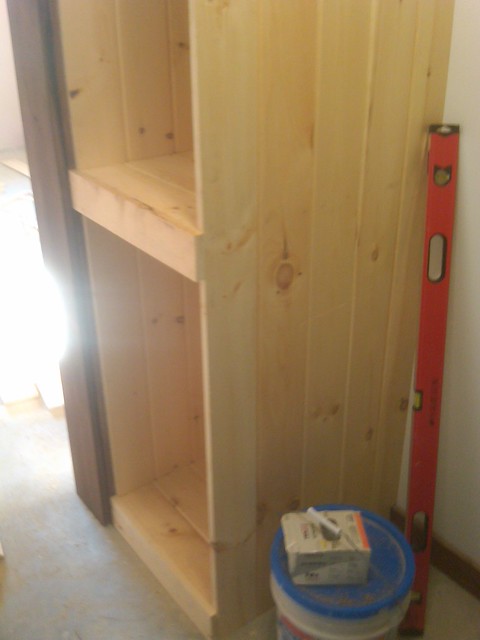
so I started building a frame-less cabinet
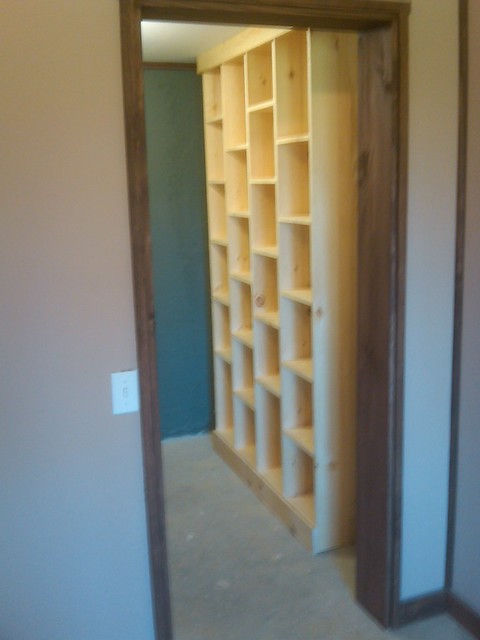
and stood them up and nailed in a middle shelf and trimmed out the top and bottom

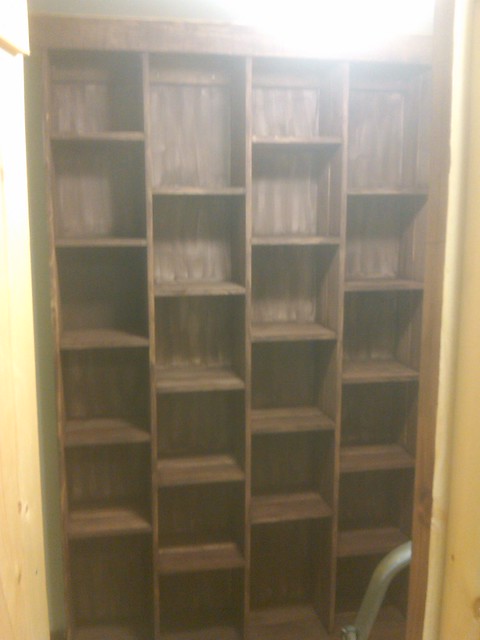
then built another one with multiple shelves
stood up the outer pieces and naile a brace across the top and bottom
and then started filling in the middles
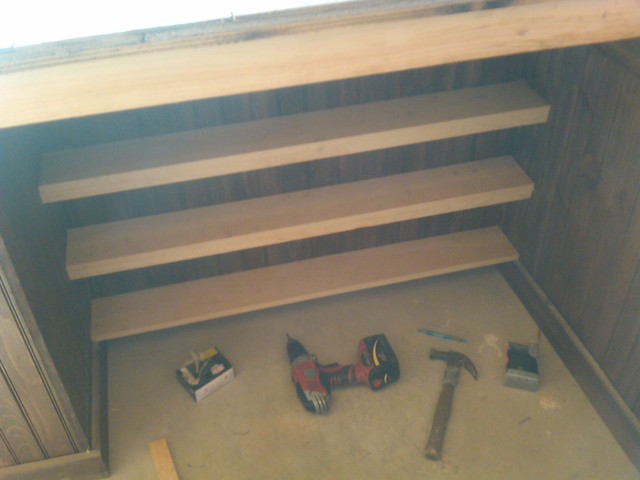
screwed it to the wall and then started mounting supports and shelves

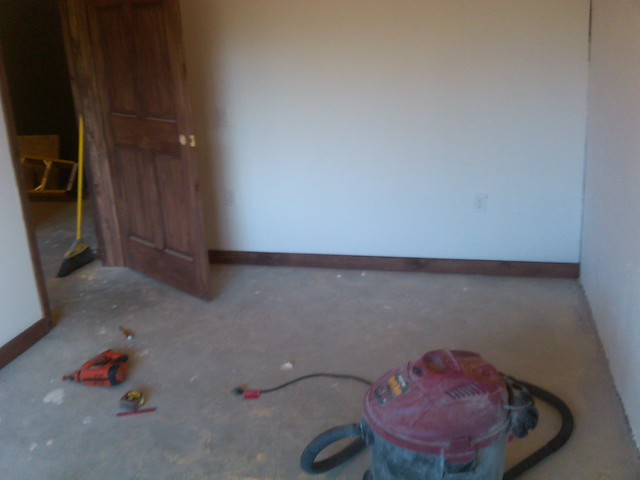
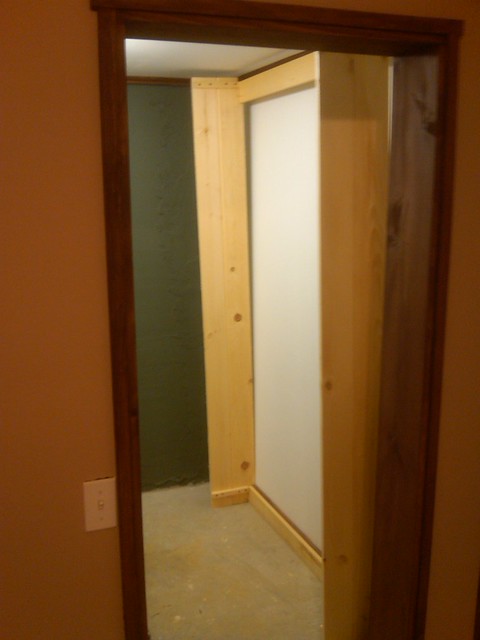
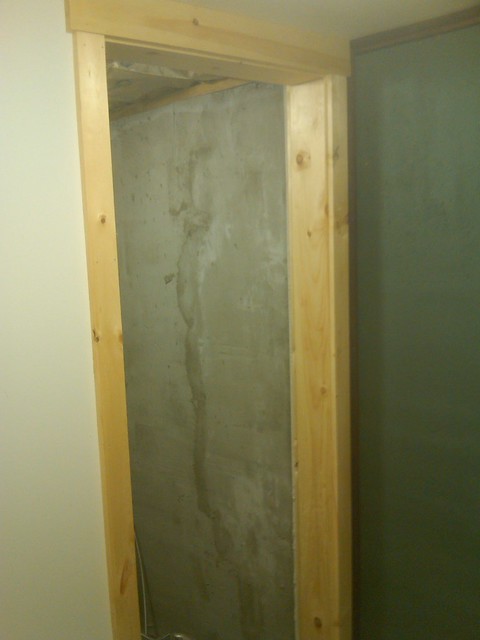
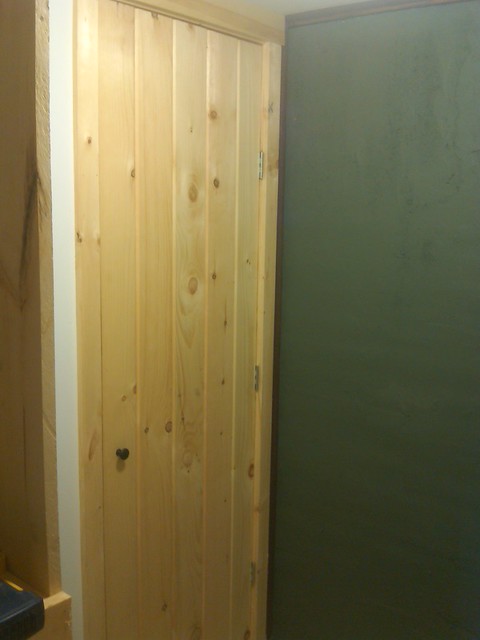
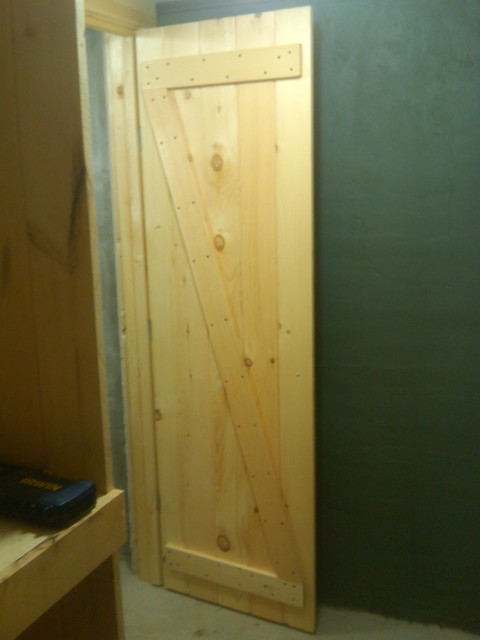
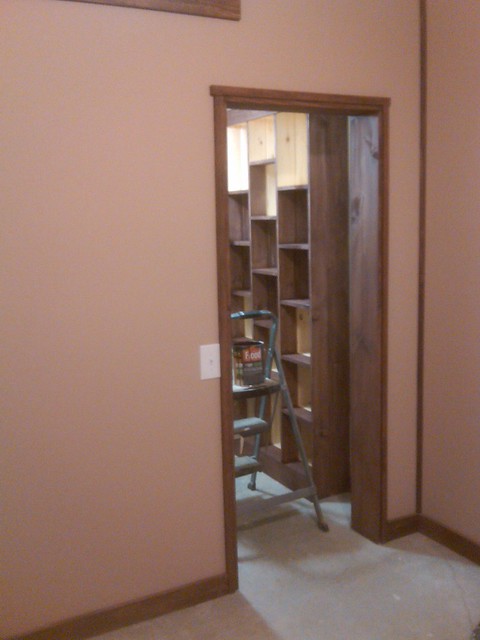
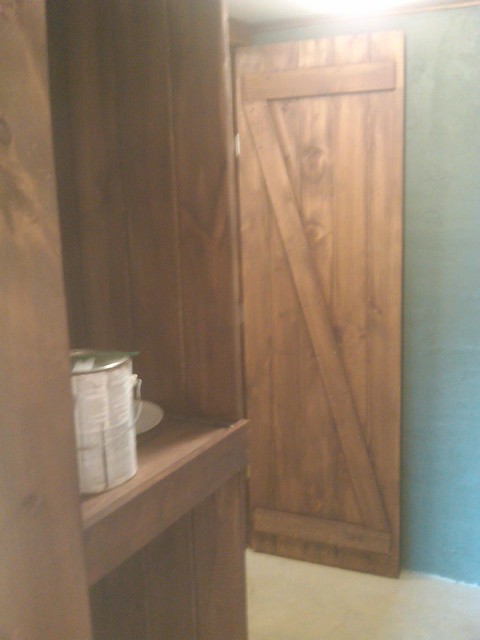
trimmed out the doorway to the utility room,
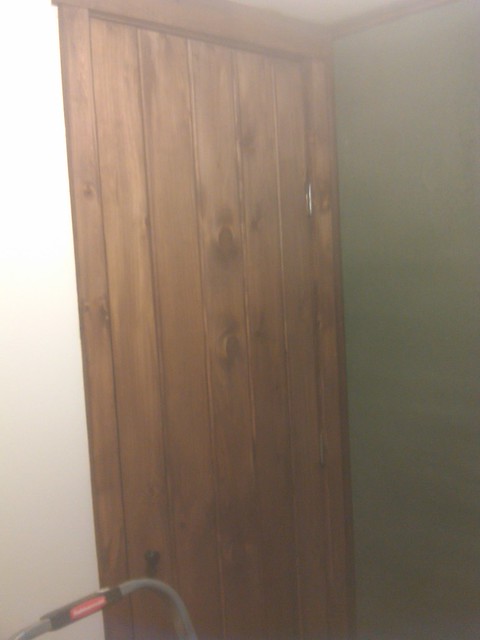
the lumberyard didn't have a 24 inch pine door, so I made one out of T&G pine, z-backed it and mounted it
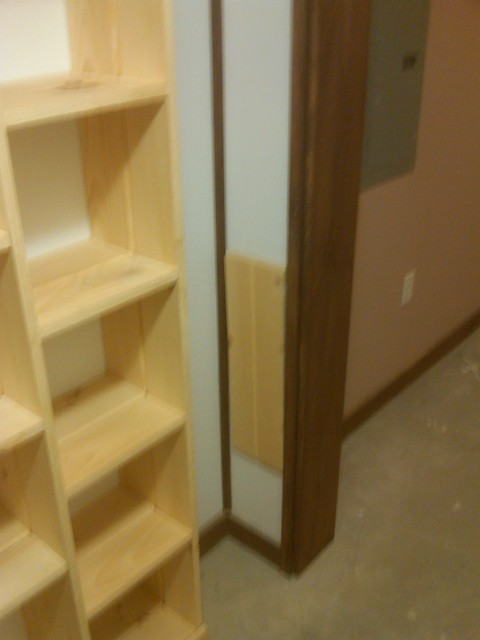
I made a access panel for the propane main and mounted that
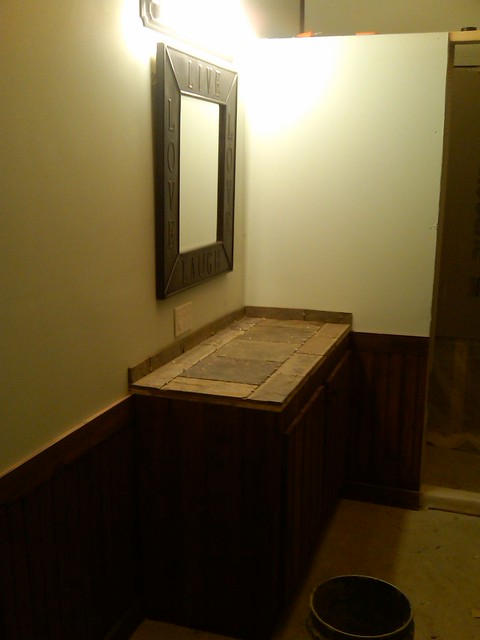
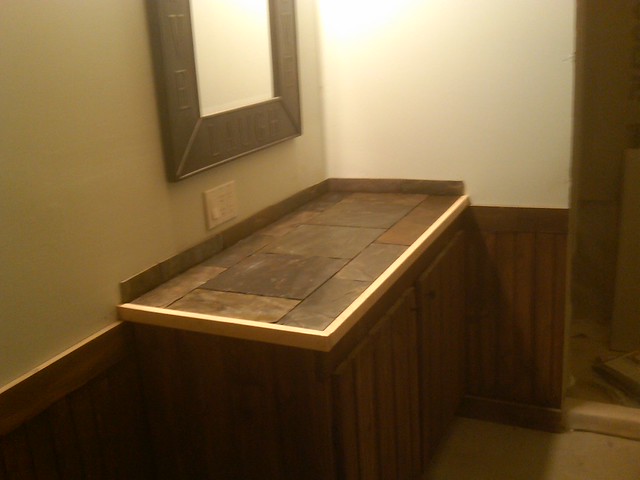
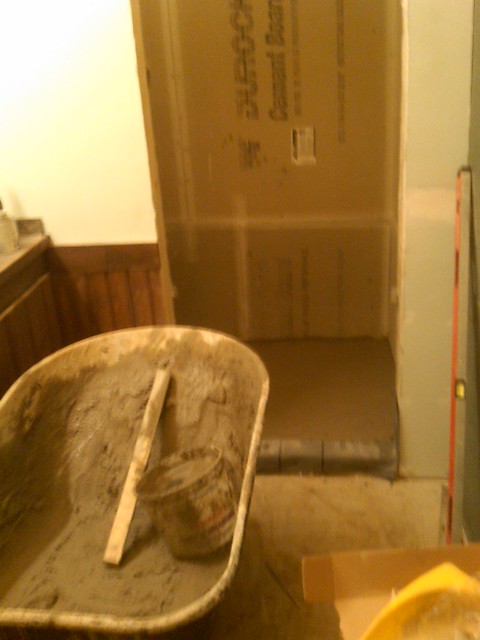
mounted the cement board on the vanity
15 Feb ’12
Offline
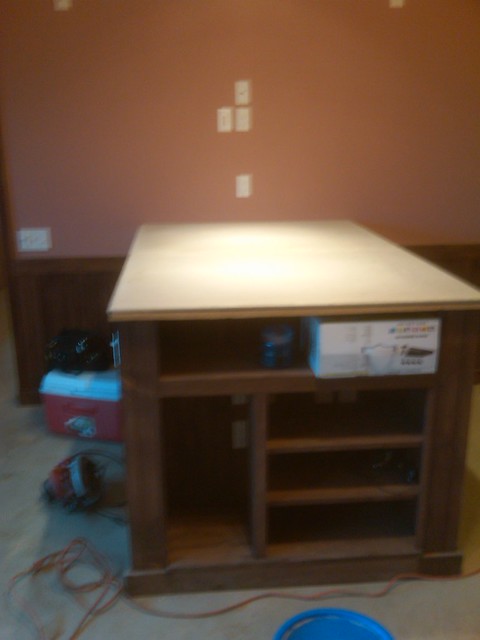
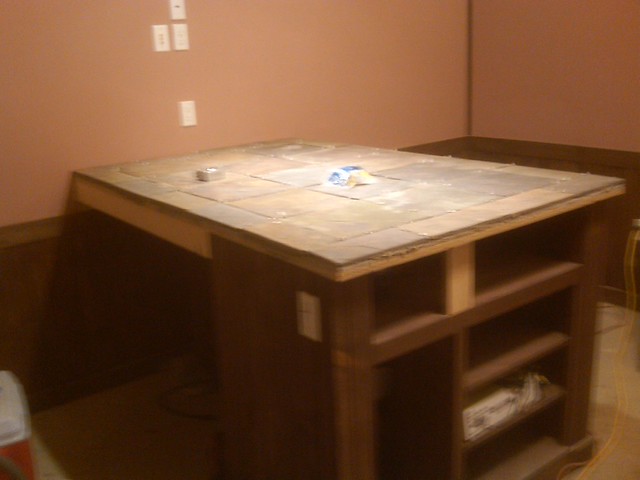
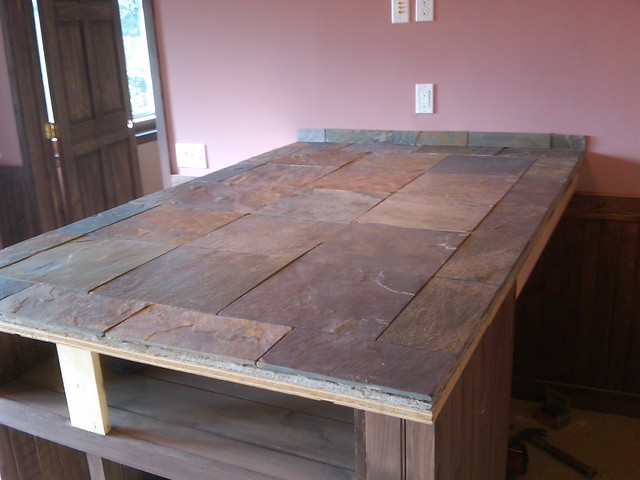
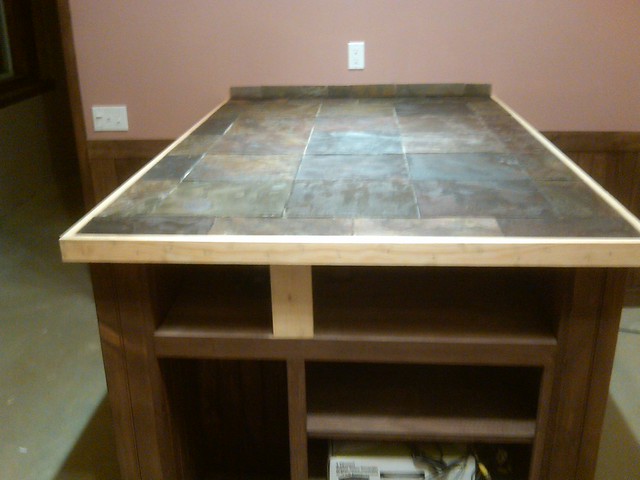
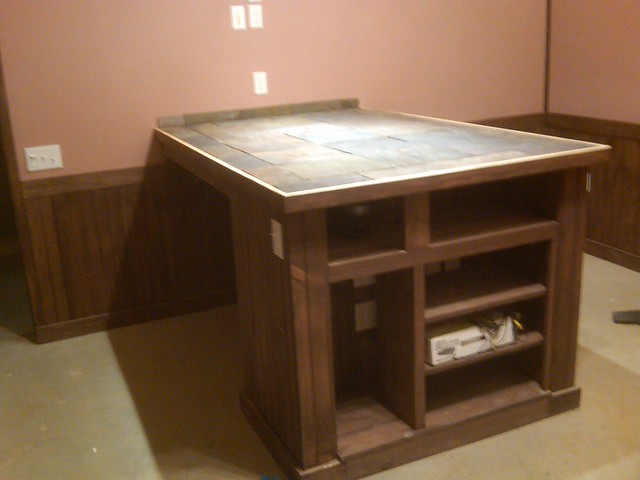
set the cement board on top of the Island and did a good cleaning and organizing,
this was oct 12th, 4 months after we started and less than 3 weeks from our projected move in date
next we stained the woodwork in the closet
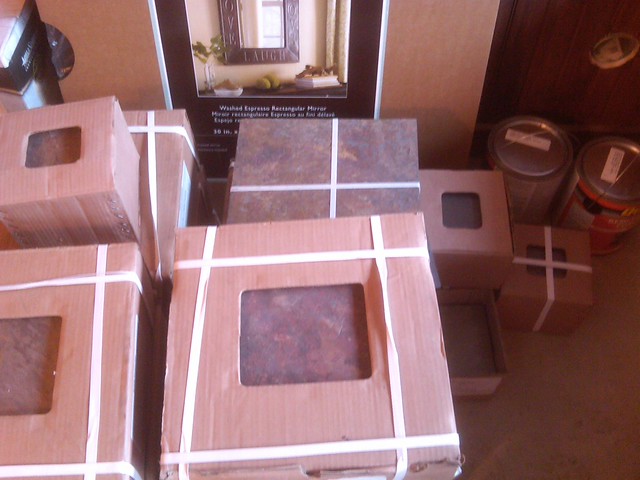
we then went to lowes and picked up the rest of the stuff to finish the house, tile, toilets, sinks, etc.
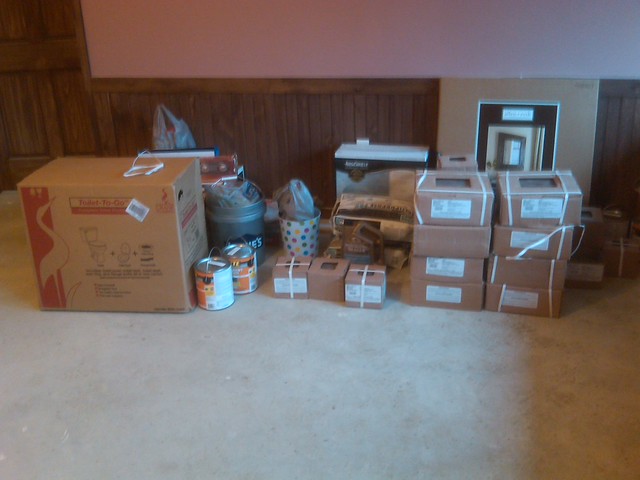
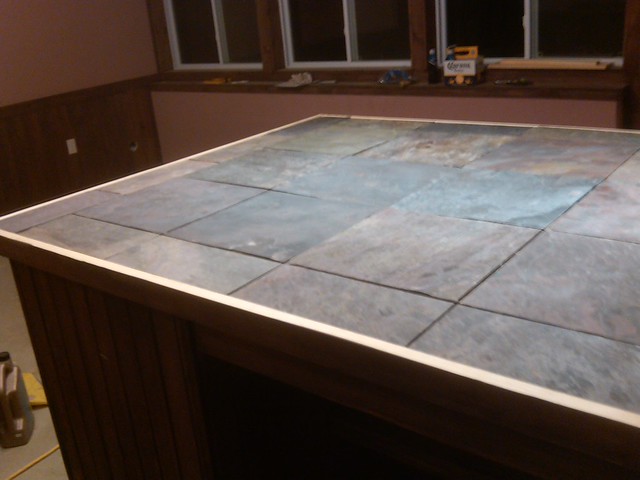
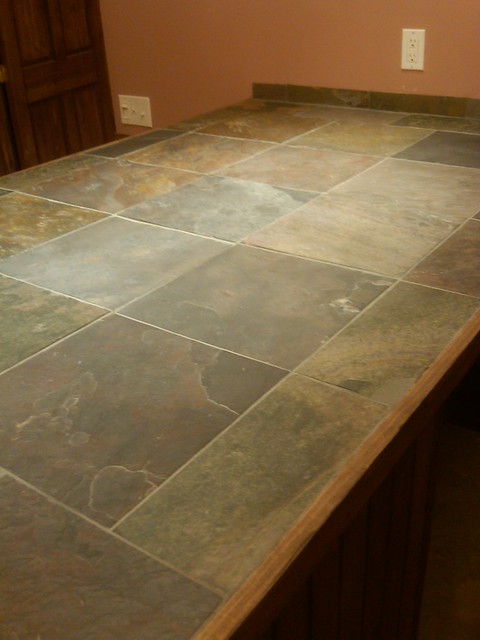
my wife picked out a nice slate that did a good job of combining all the colors we had in the house
15 Feb ’12
Offline
I trimmed the cement board on the bar
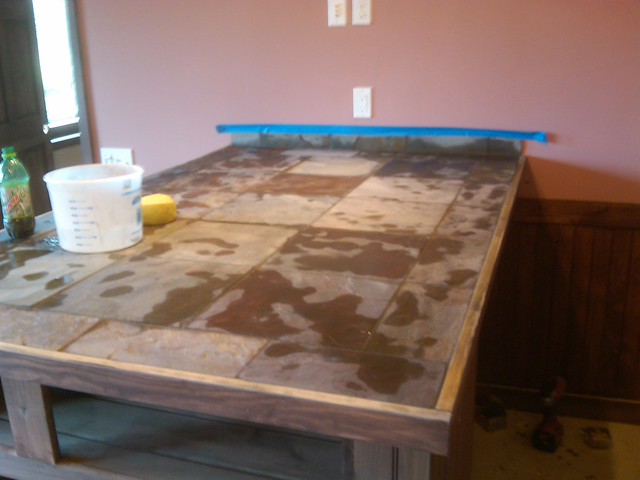
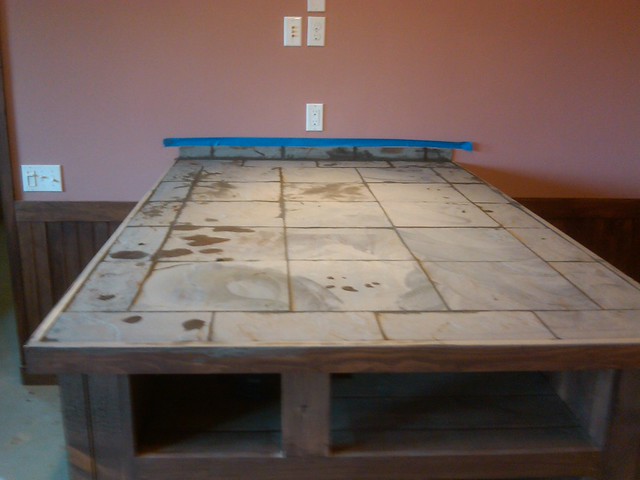
and did a dry fit of the tile
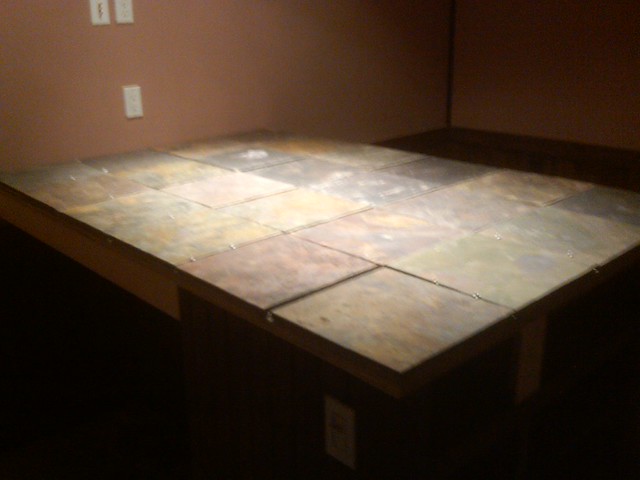
I decided to do a border
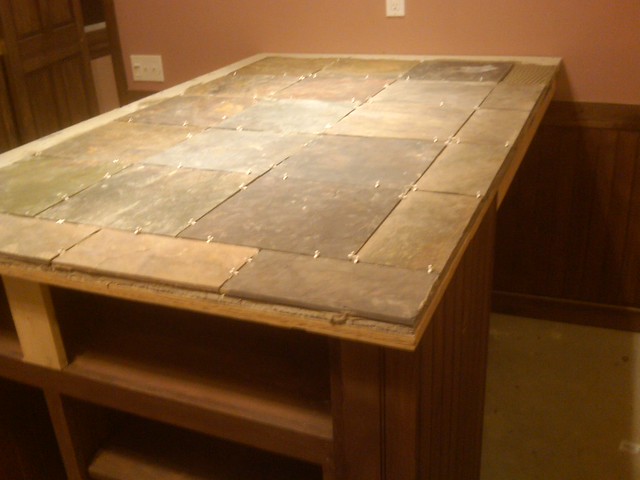
and grouted down the tiles
I added some trim to carry the weight on the sides and the entertainment center
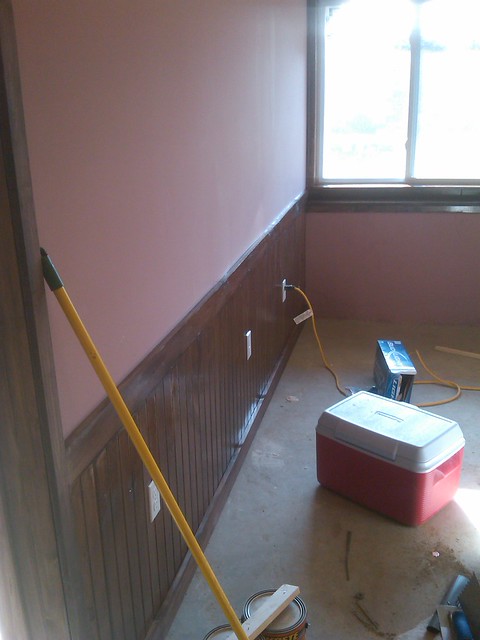
we decided to stain the floor instead of carpet, that way we can use the thermal mass of the floor, instead of covering it with carpet. We did a test spot in the utility room
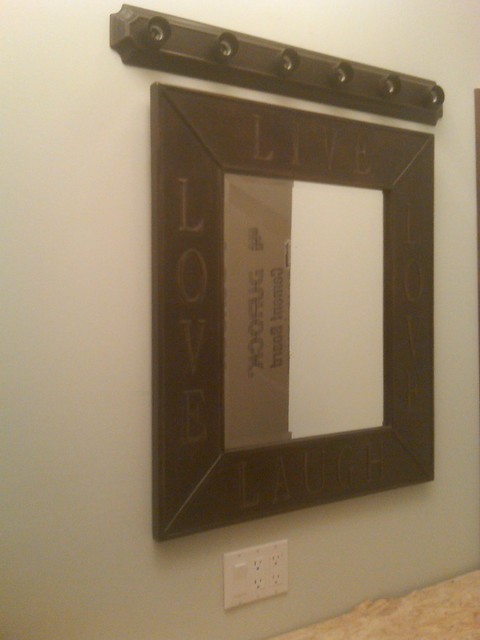
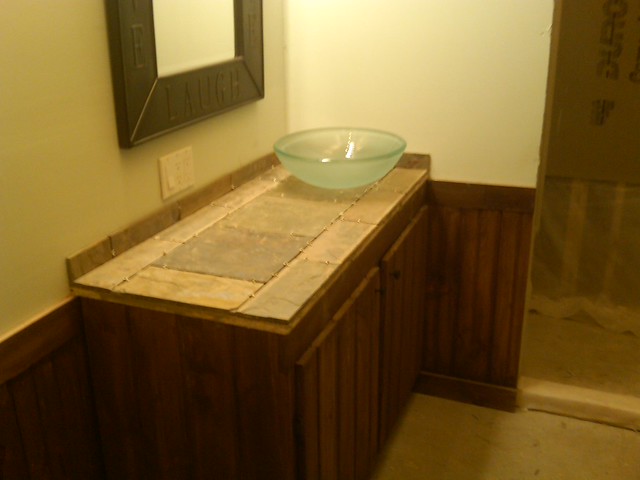
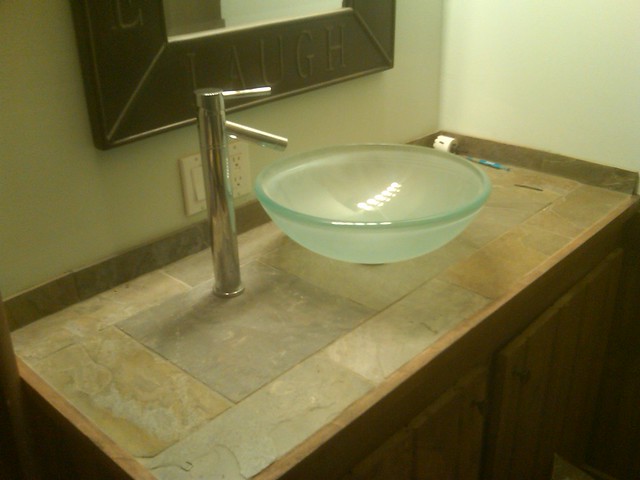
We hung the mirror and the light bar in the bathroom
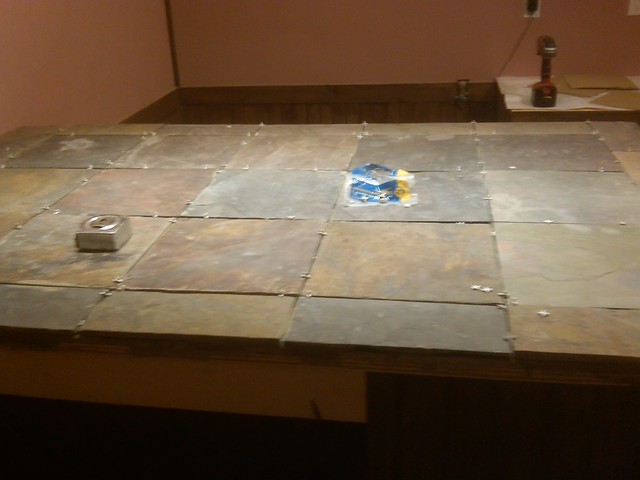
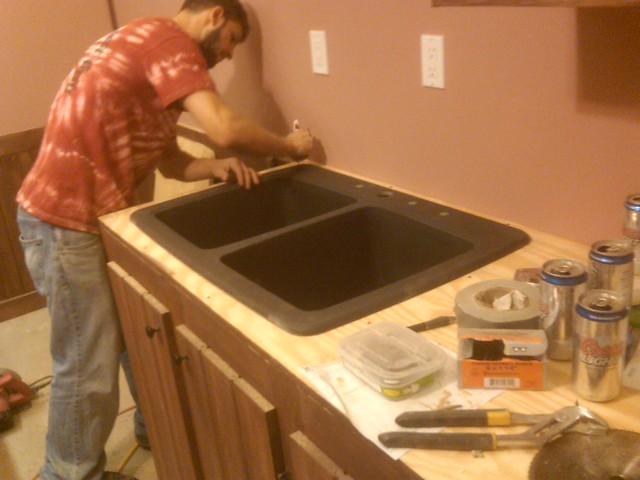
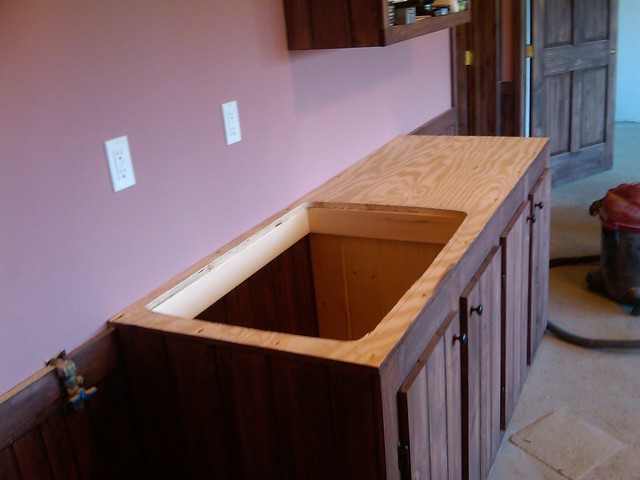
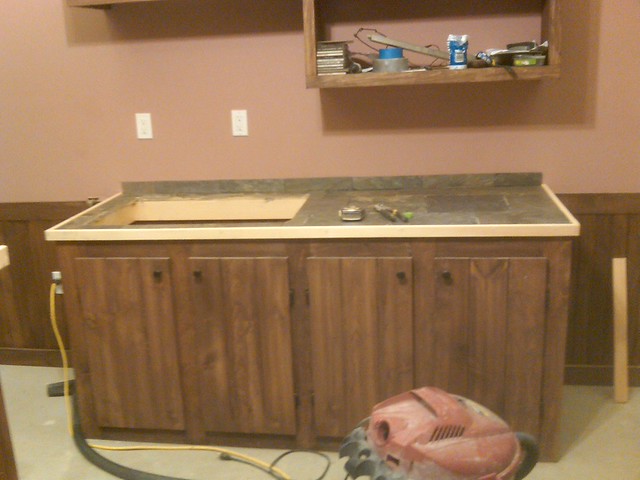
before we left for the night we cut out for the sink, so I could tile the next day
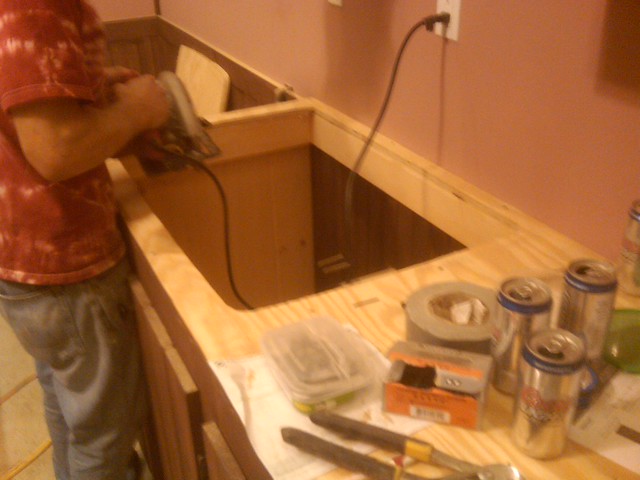
and dry fit the sink
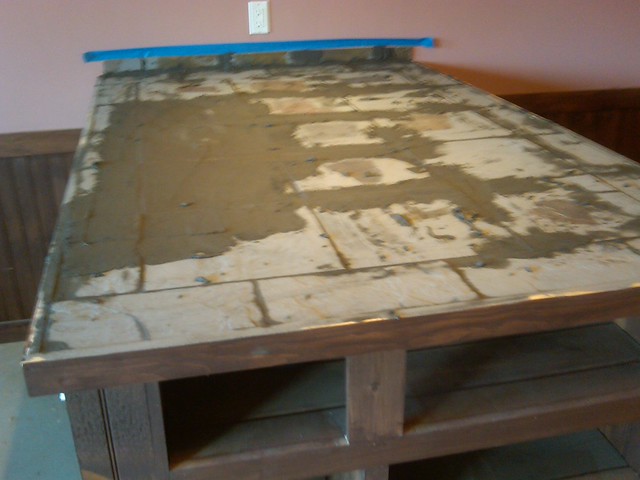
the next day I cleared off the top
got a good mortar bed
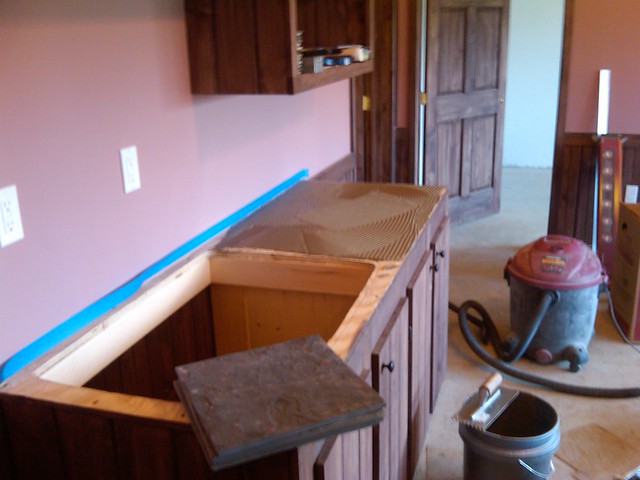
and started laying out the tile after buttering the back of the tiles
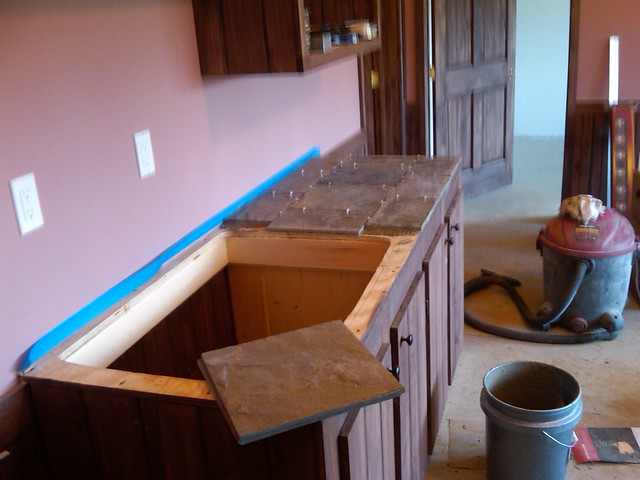
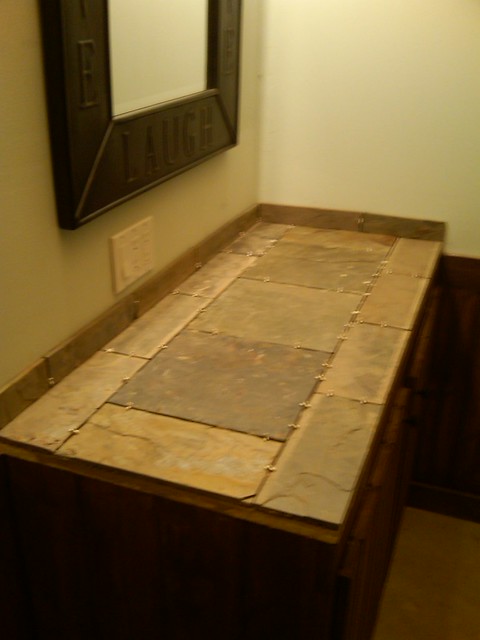
and did the same in the bathroom
and cut some small pieces for a backsplash
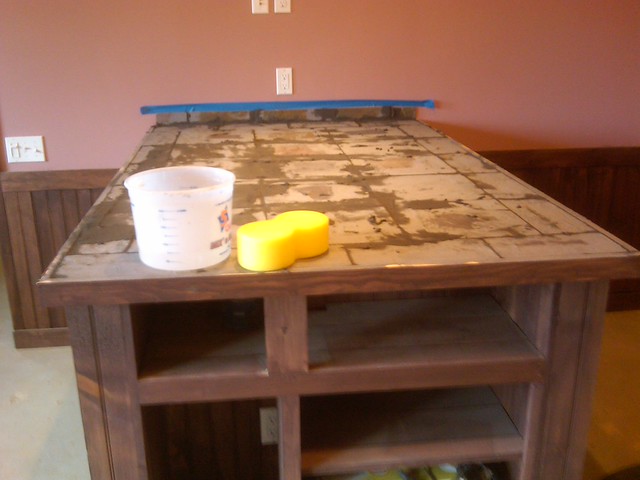
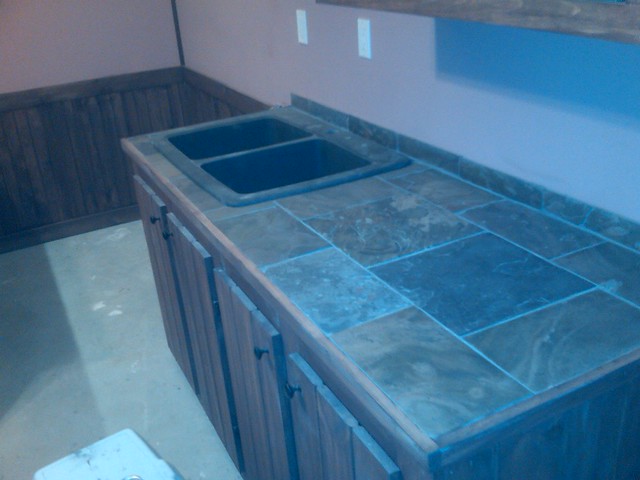
and did the same on the island
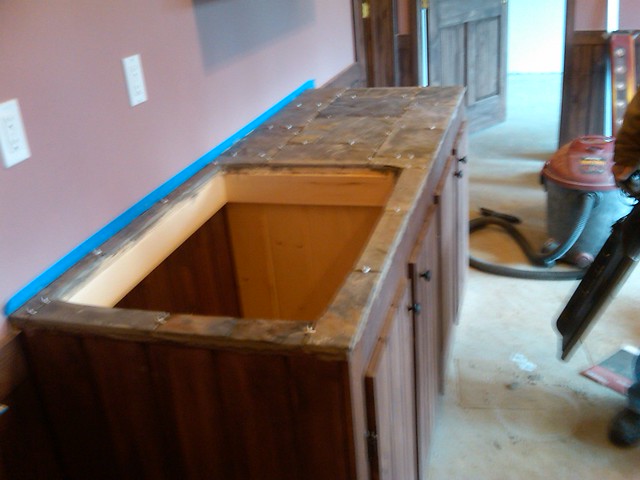
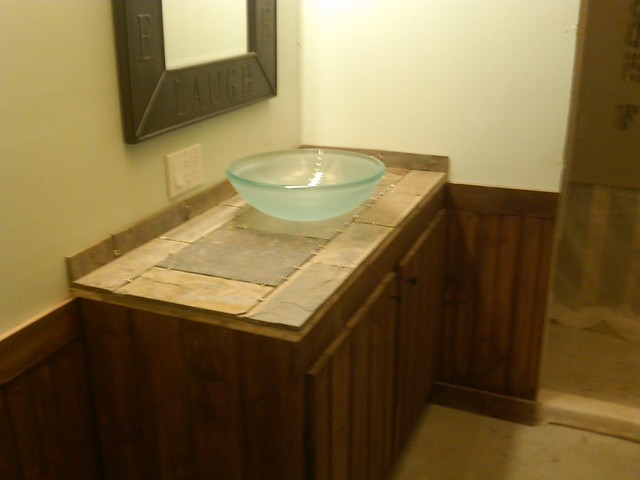
we just need to decide where to mount the basin sink
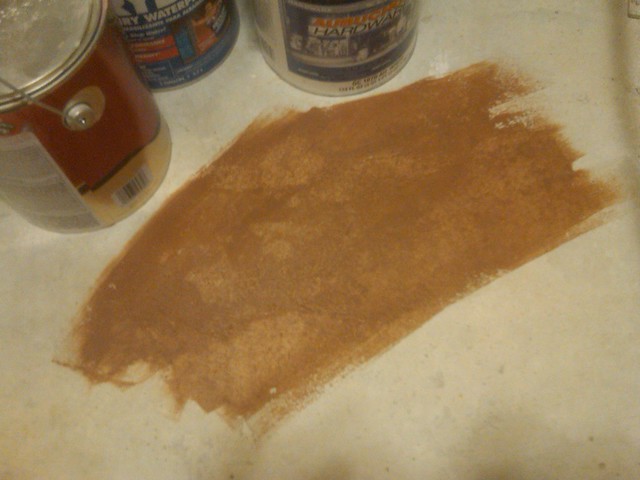
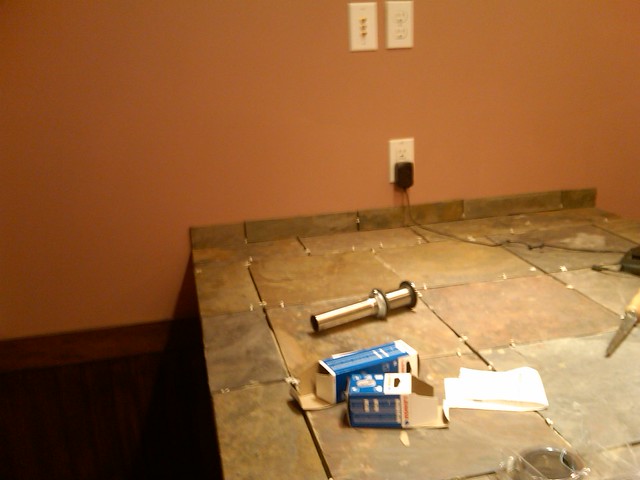
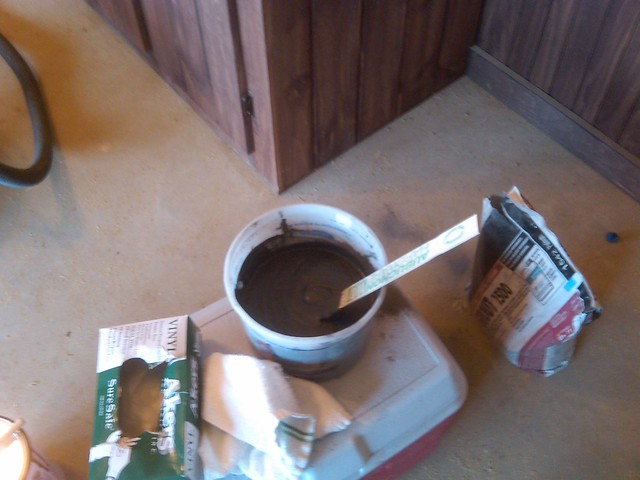
the next day we prepared to grout, so I pulled the spacers, I had to apply three coats of tile sealer before I grouted though and had to let them dry between coats
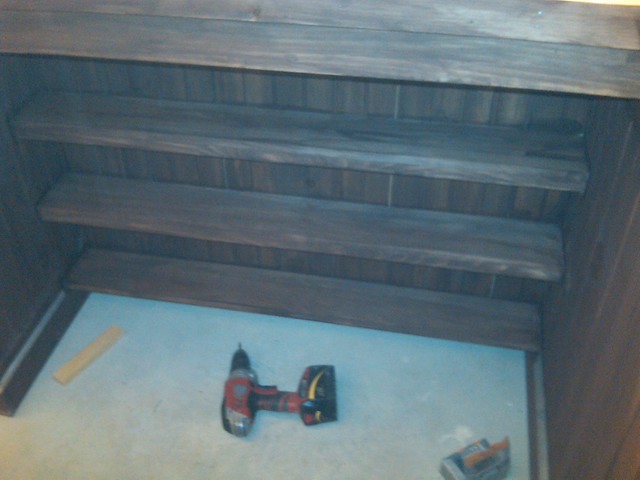
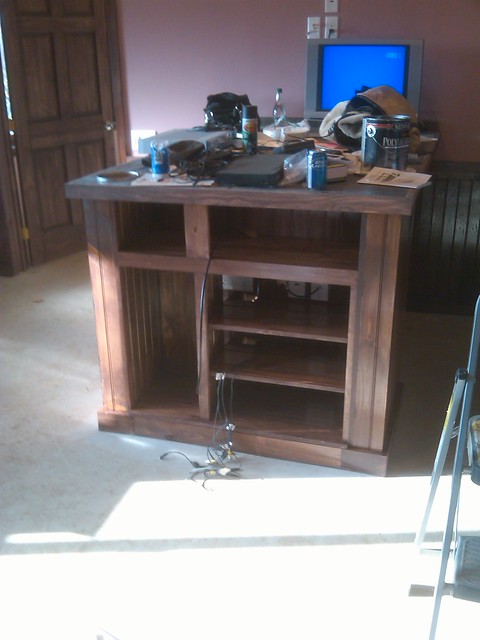
So while I was waiting for the sealer to dry I built some shelves on the backside of the bar to hold media
and trimmed out around all the tile with pine
and stained everything up again
15 Feb ’12
Offline
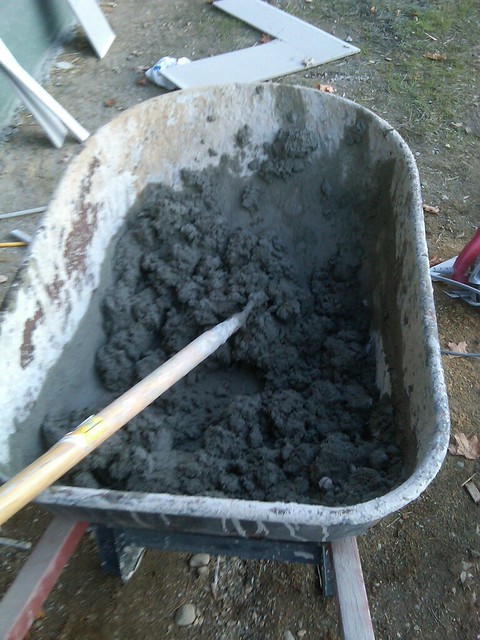
the next day I mixed up the grout
and spent the next 8 hours, spreading, sponging and wiping
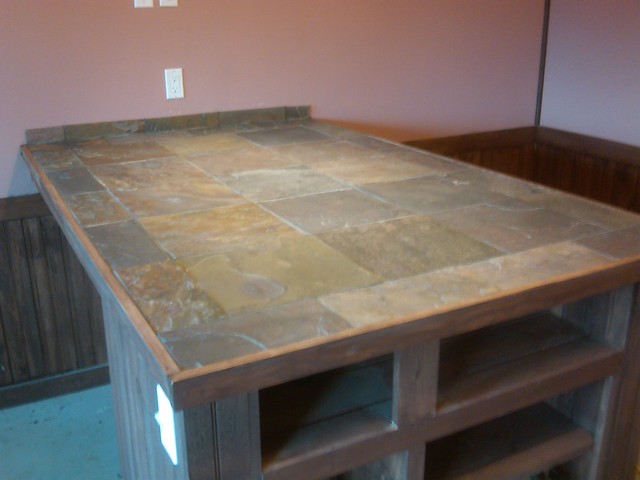
all finished
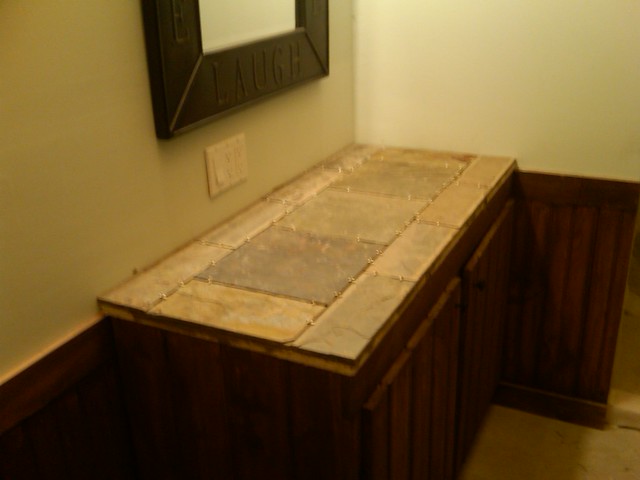
I did the same with the bathroom vanity

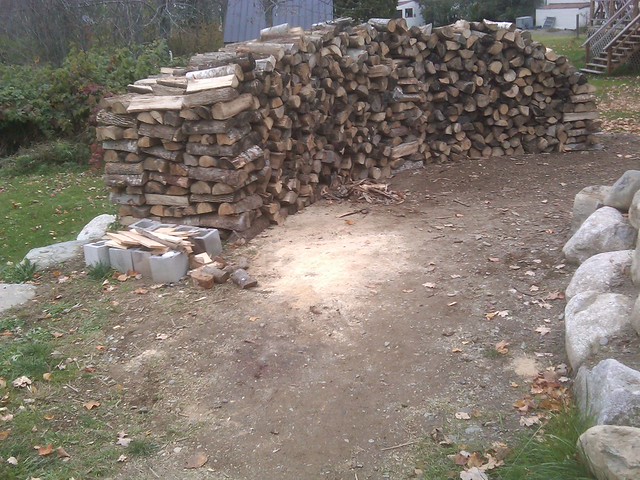
we finished bringing down the rest of our firewood and our woodstove, and got a fire going

we mounted the basin sink and faucet
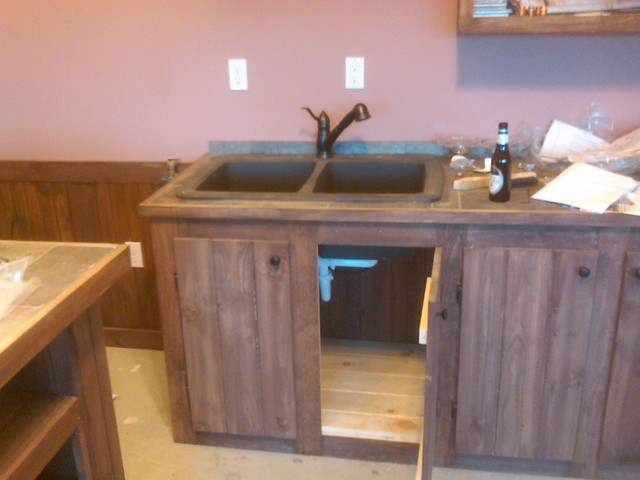
and the kitchen sink
15 Feb ’12
Offline
my wife started applying poly to the wood work, she chose a high gloss which I wasn't sure of, but it turned out nice
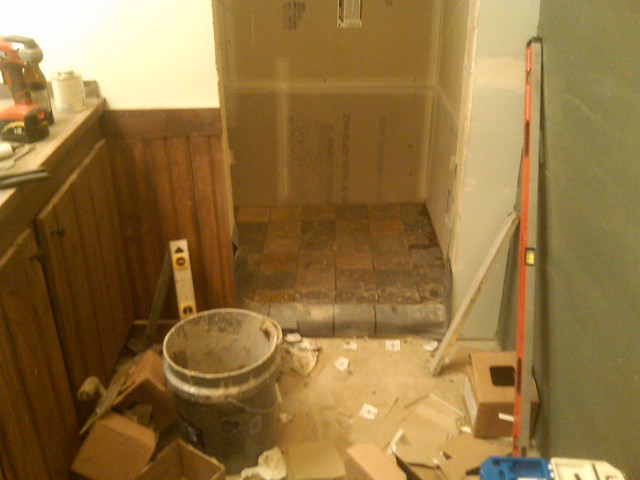
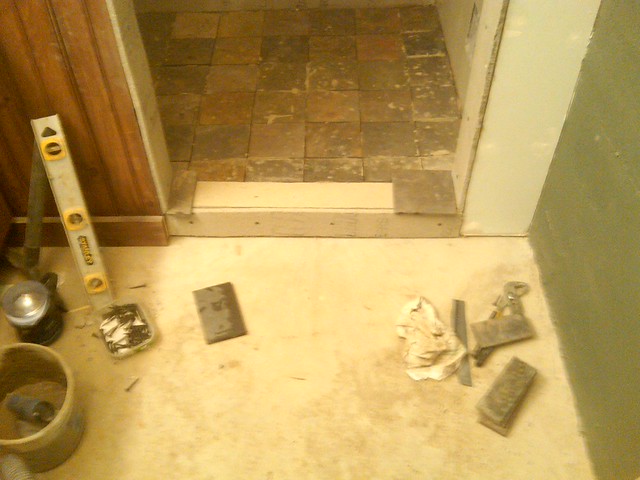
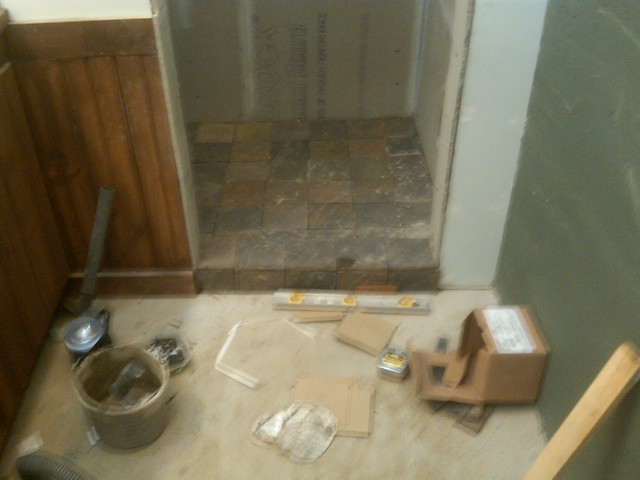
while she was working on that I started working on the shower
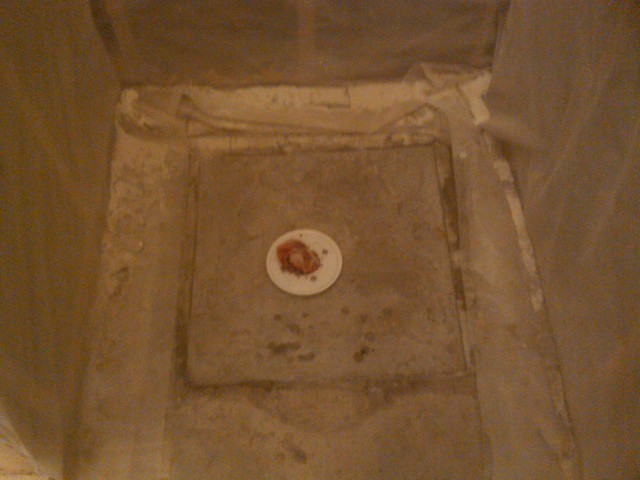
the day before I had filled the hole around the floor drain with cement
15 Feb ’12
Offline
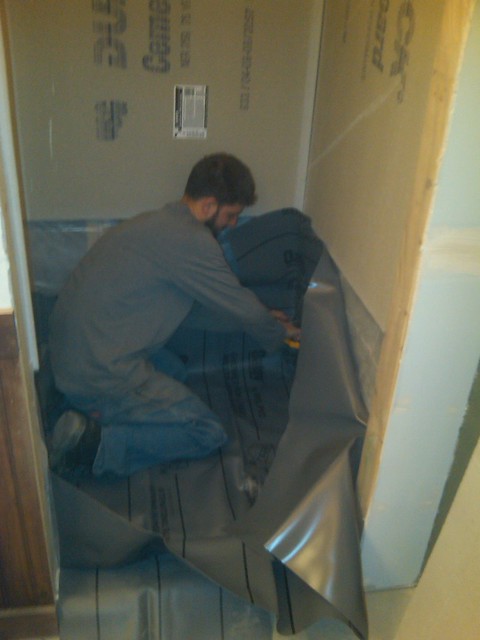
and started building a mortar bed sloping towards the drain
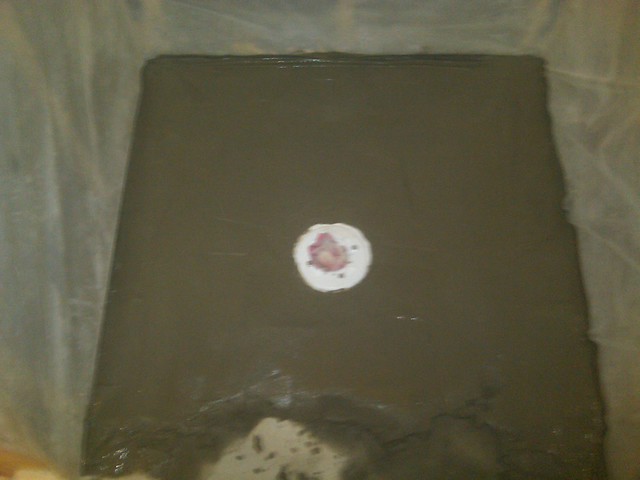
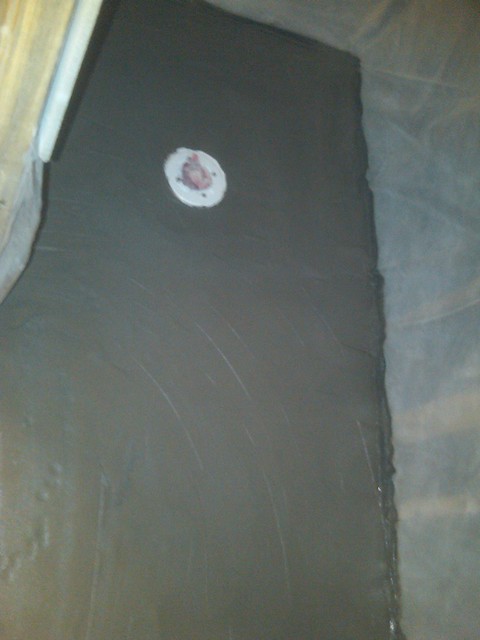
after letting that set up overnight we installed the shower pan, which is nothing more than a heavy rubber sheet, you cut it around your drain flange and there is a special screw on piece to make it a water tight seal
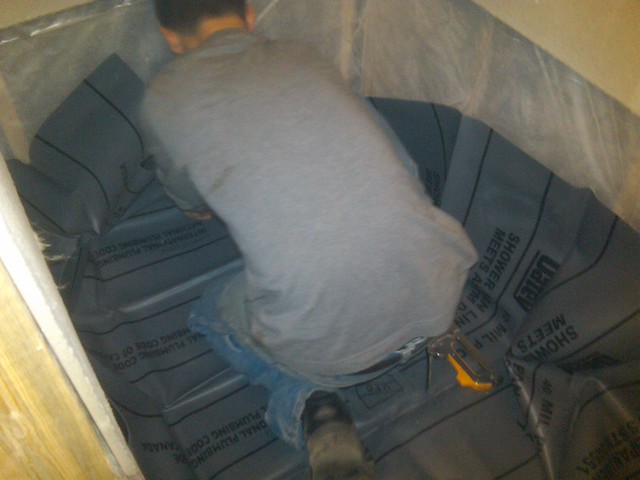
we overlapped it up the wall a foot
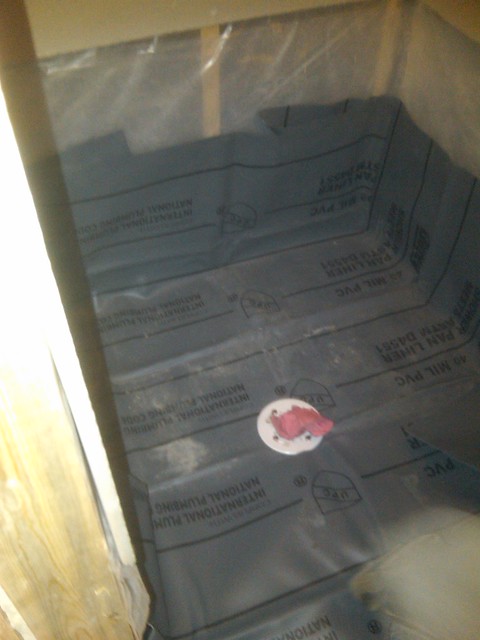
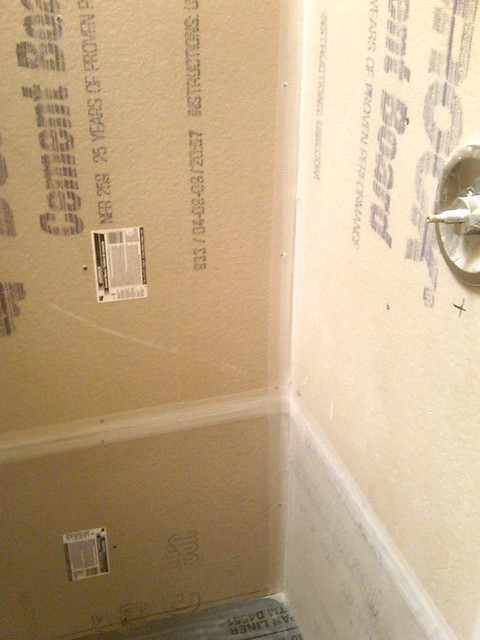
and installed the bottom pieces of cement board
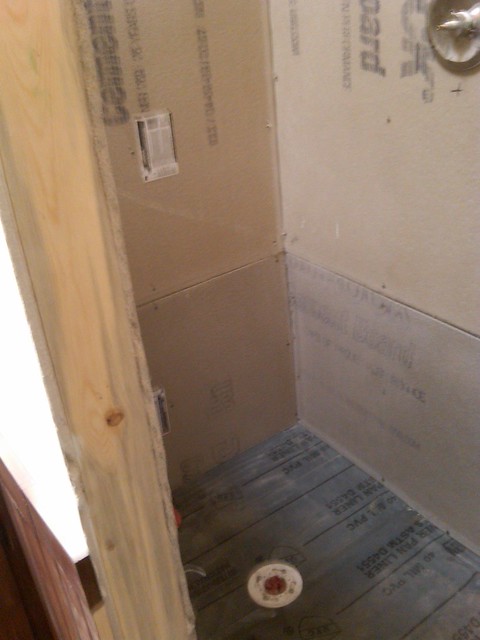
I established a outside height, so as I filled in with the grout bed, I can slope to the drain
I taped the seams with fiber tape
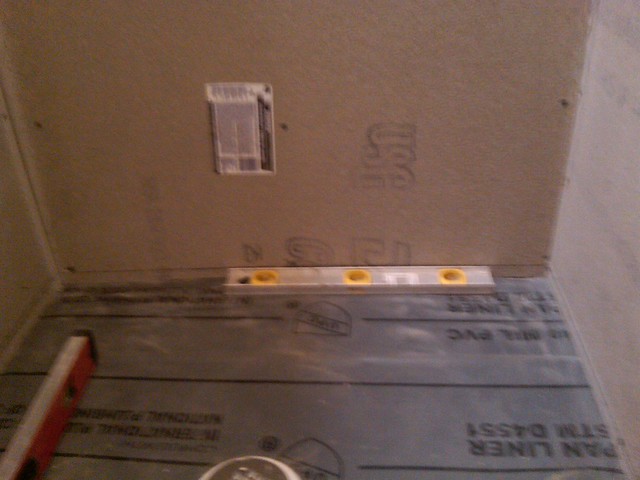
and filled the shower pan with a mortar bed sloping it towards the drain
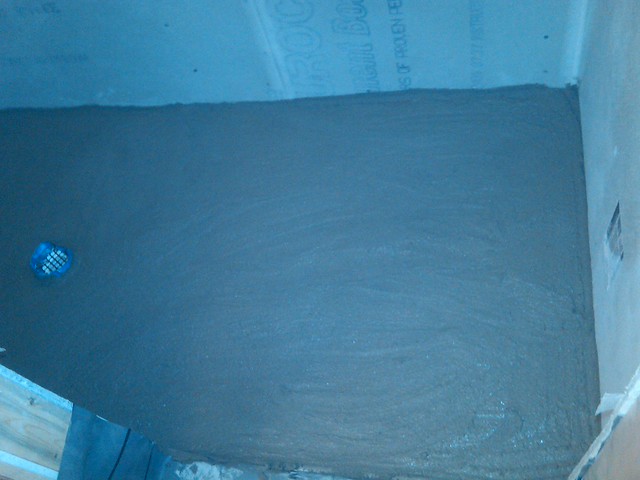
after letting that set up over night, I mixed up mortar to place my floor tiles. I spaced them out making sure they were sloping towards the drain
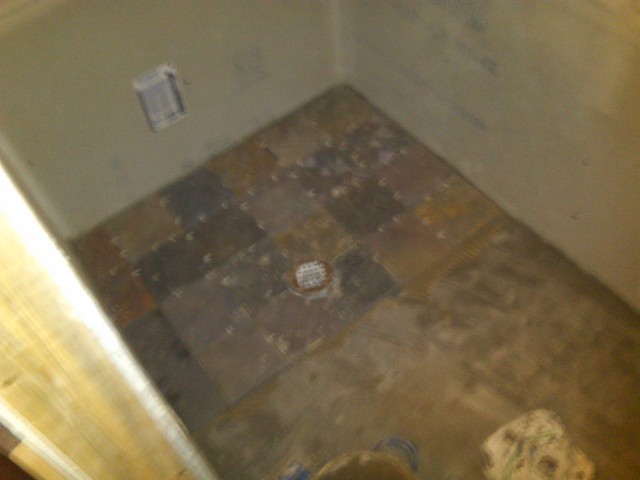
I cut some small pieces and covered the thresh hold


Most Users Ever Online: 698
Currently Online:
30 Guest(s)
Currently Browsing this Page:
1 Guest(s)
Top Posters:
easytapper: 2149
DangerDuke: 2030
groinkick: 1667
PorkChopsMmm: 1515
Gravel Road: 1455
Newest Members:
justine3607
orvalsaltau
ezral056396
Charlestetet
anndresdner17
Forum Stats:
Groups: 1
Forums: 12
Topics: 11478
Posts: 58673
Member Stats:
Guest Posters: 2
Members: 3529
Moderators: 0
Admins: 1
Administrators: K

