
Have you ever wanted to learn how to build a shower? When my wife and I built our home we had looked at and priced out the drop in units. Let’s just say we were less than impressed with the quality and the looks of white plastic that is the norm for them, So I looked at my wife and said, I’m going to build a shower. So I did.
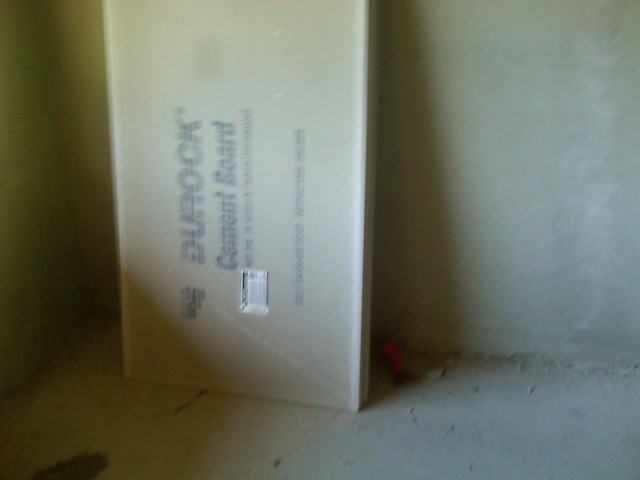
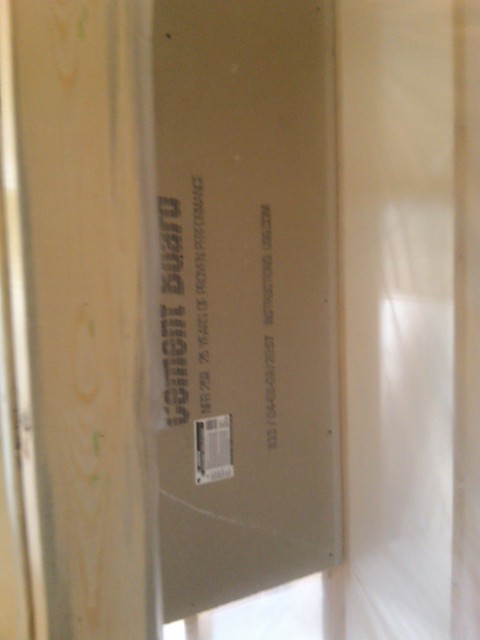
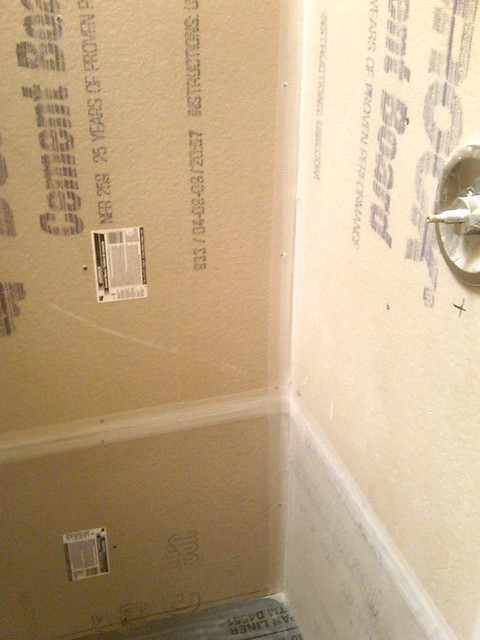
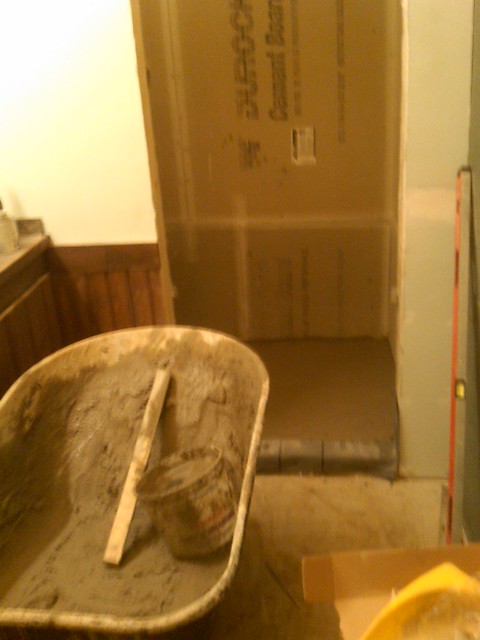
To start off you need a good water resistant backer board to be the basis of your shower. Cement board fits the bill nicely for that, so we picked up several sheets from home depot.
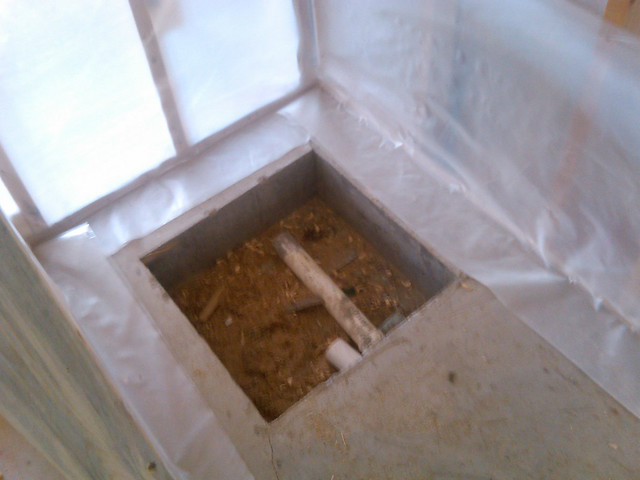
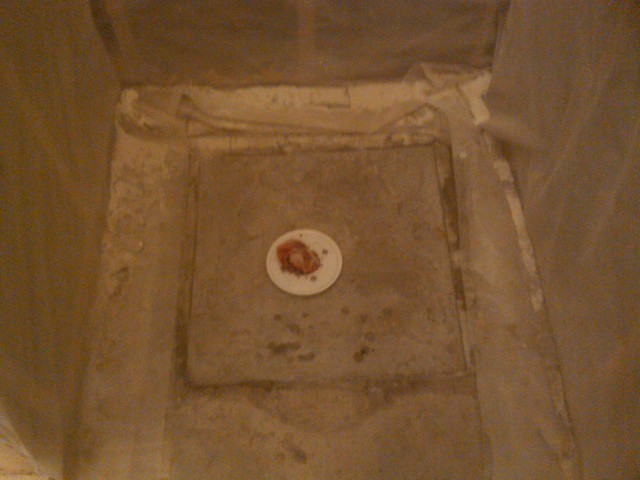
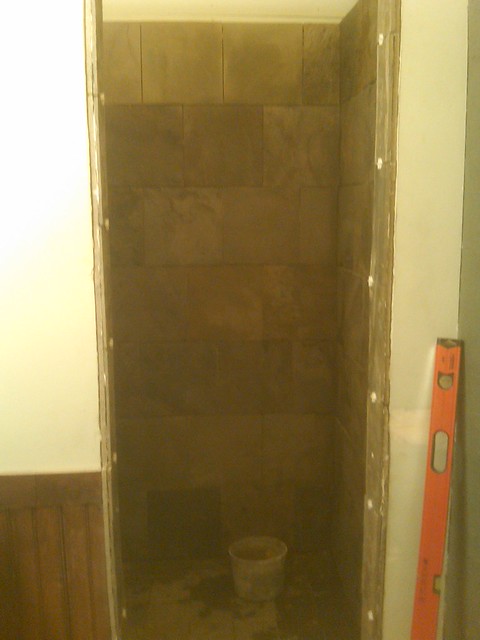
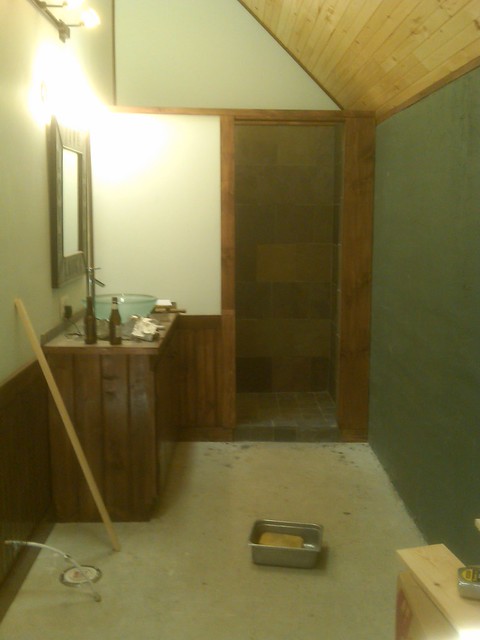
When we poured the floor we had boxed out a area for the floor drain, so we started framing out the walls around it.
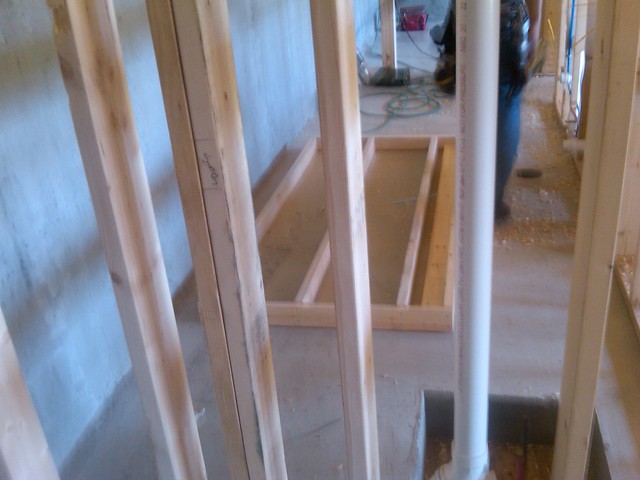
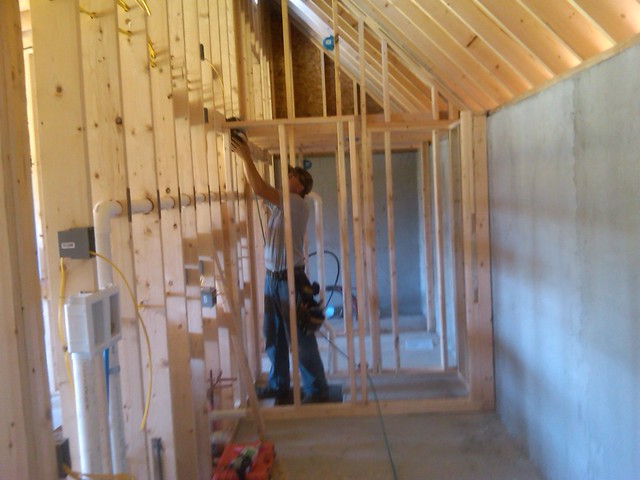
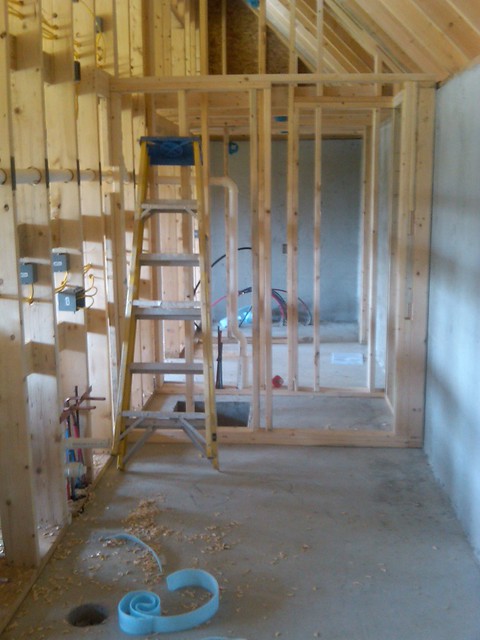
All framed, now the fun begins.
I stapled on four layers of 6 mil poly for a start to our waterproofing.
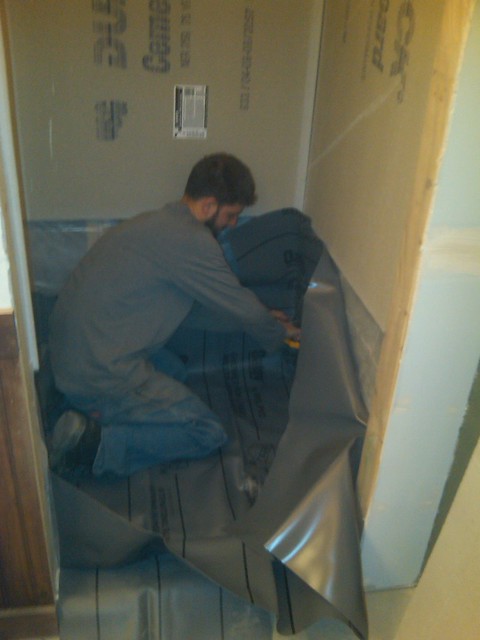
Then I started screwing down the cement board, covering the plastic sheeting.
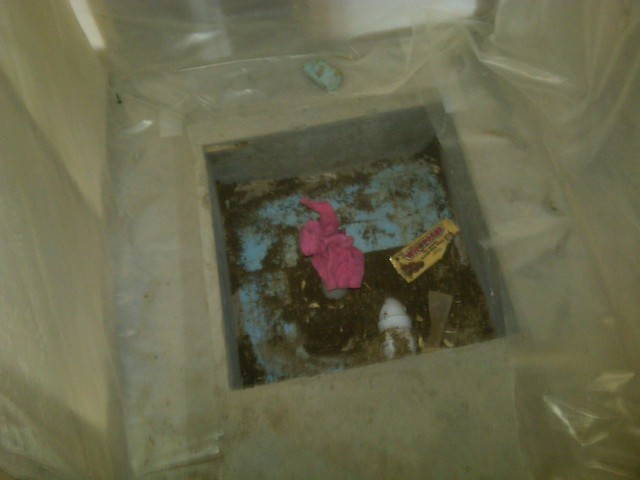
We installed the floor trap for the drain.
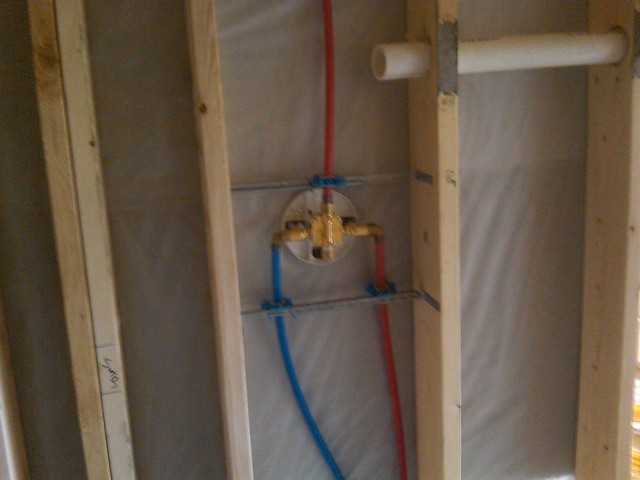
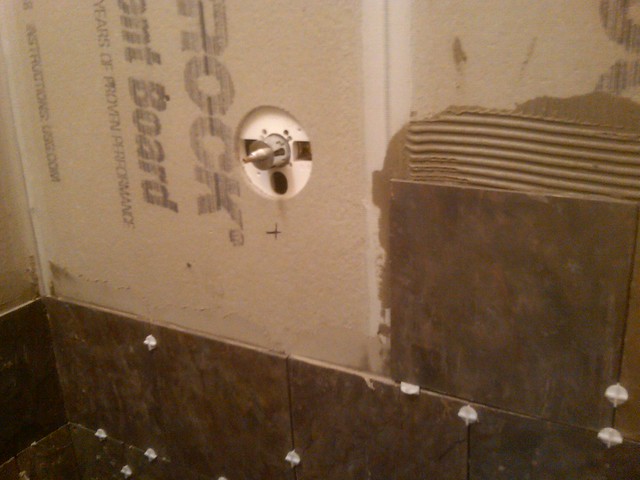
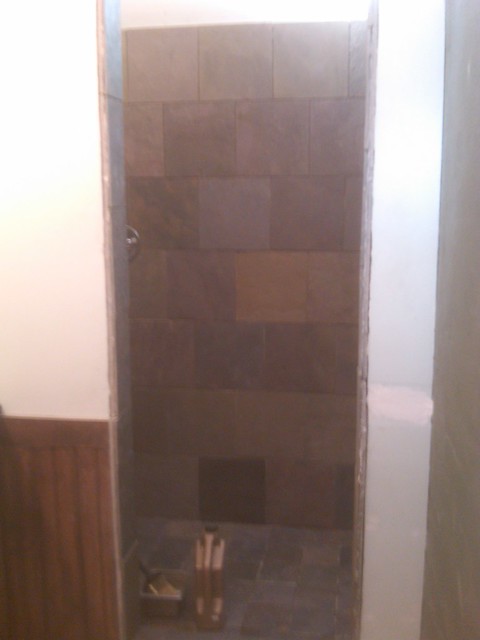
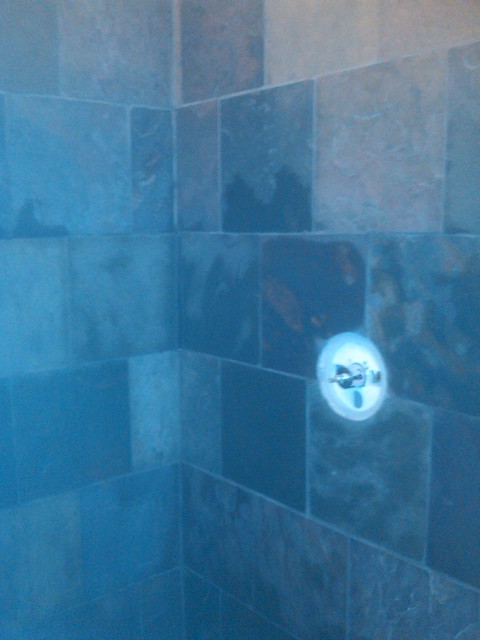
And roughed in the shower controls so I could start tiling the shower.
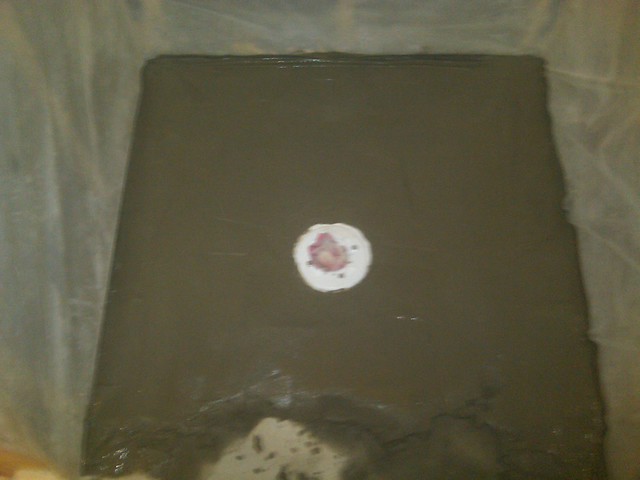
That night I filled the hole around the floor drain with cement.
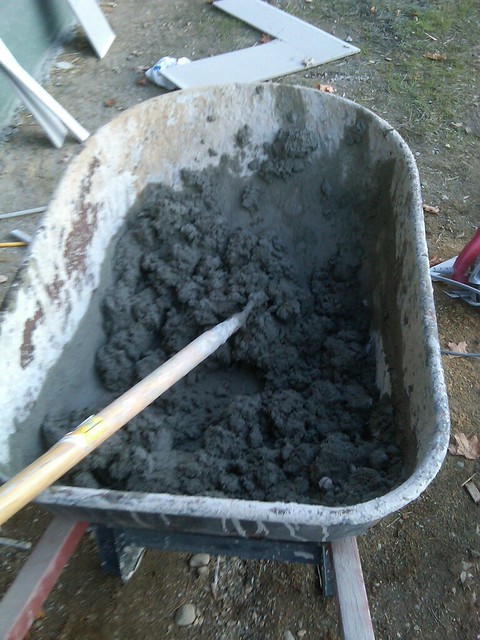
The next morning after it had set up I started building a mortar bed forming it so it sloped towards the drain.
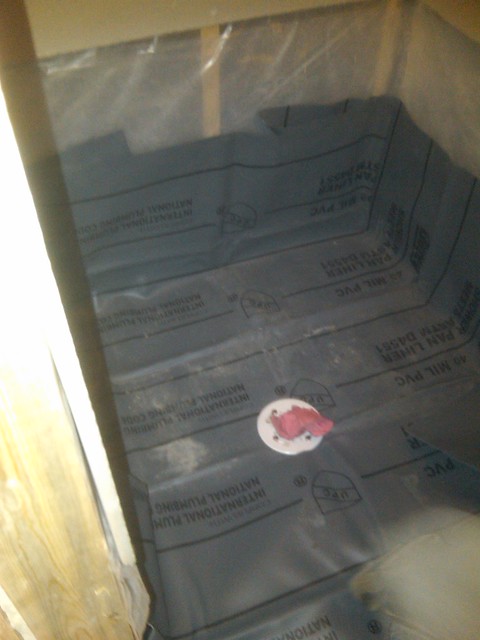
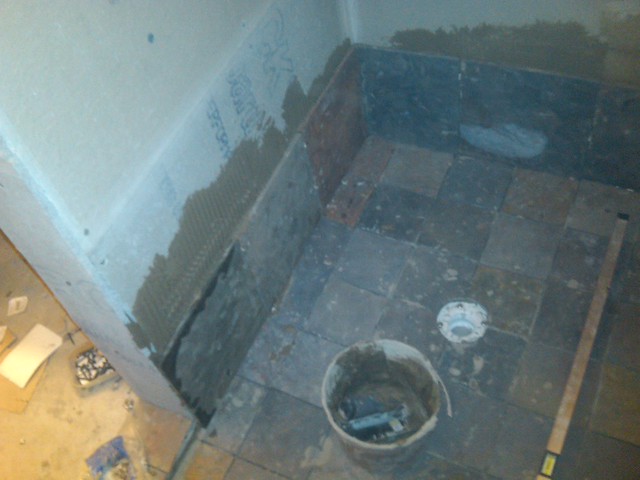
After letting that set up overnight we installed the shower pan, which is nothing more than a heavy rubber sheet, you cut it around your drain flange and there is a special screw on piece to make it a water tight seal. This is available at home depot or lowes.
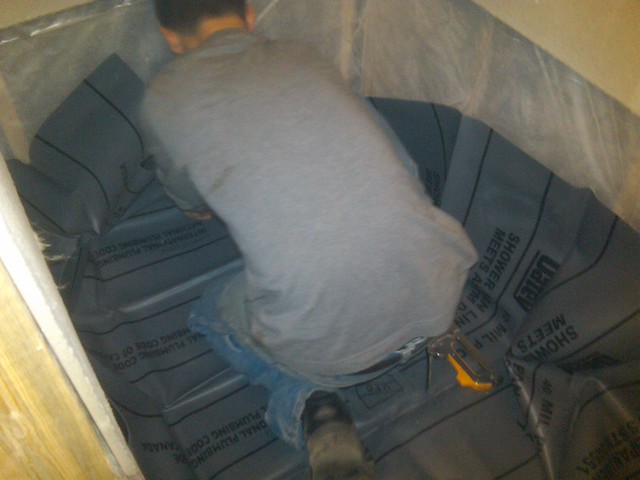
We overlapped it up the wall a foot so that it gave extra protection to the lowest parts of the wall that would have to deal with the most water.
After that was done we installed the bottom pieces of cement board.
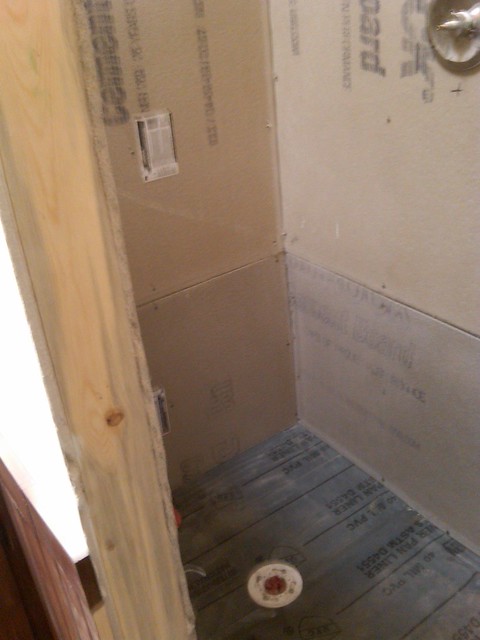
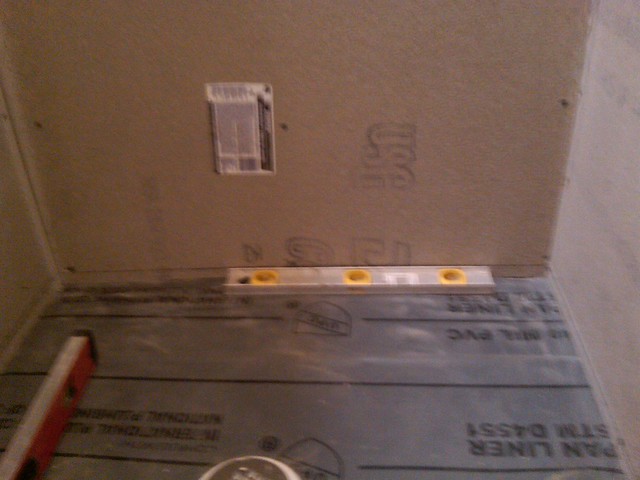
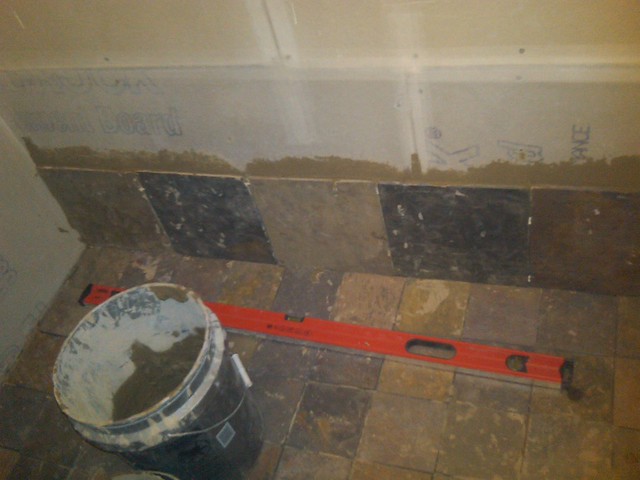
I established a outside height with my level, so as I filled in with the grout bed, I can slope to the drain.
I taped the seams with fiber tape.
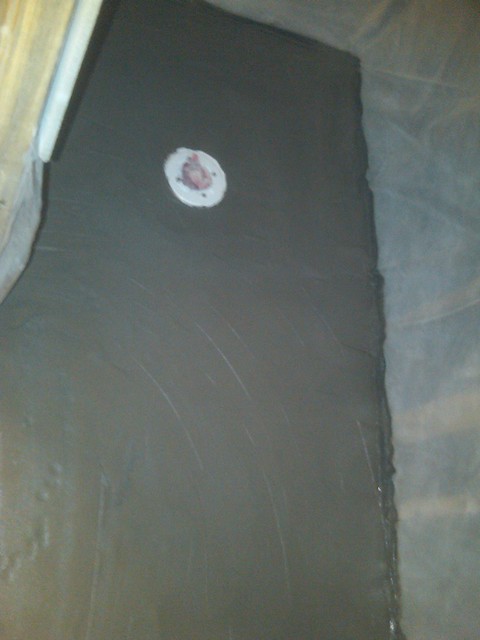
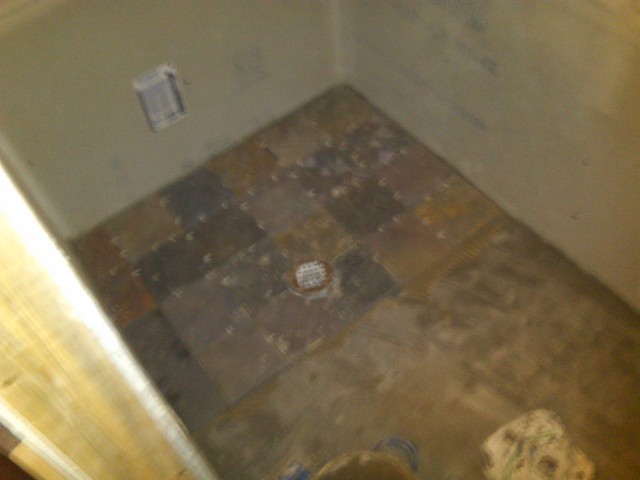
And filled the shower pan with a mortar bed sloping it towards the drain.
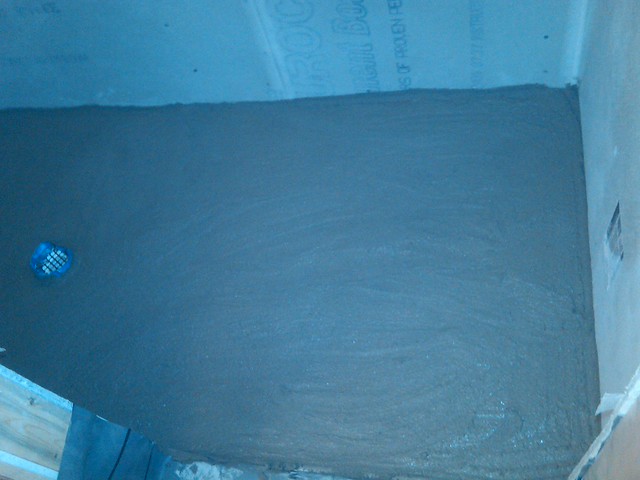
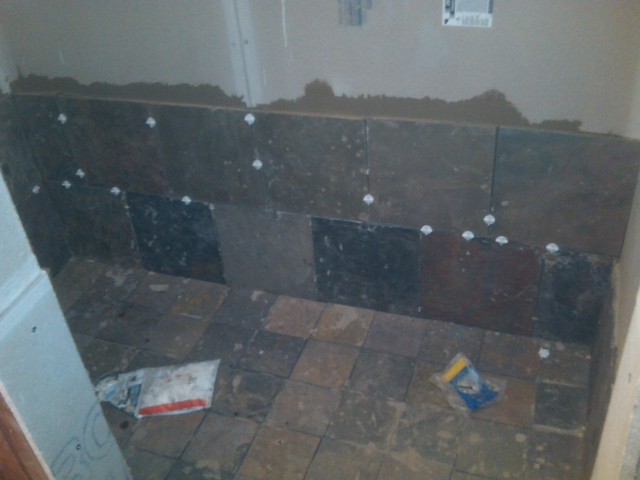
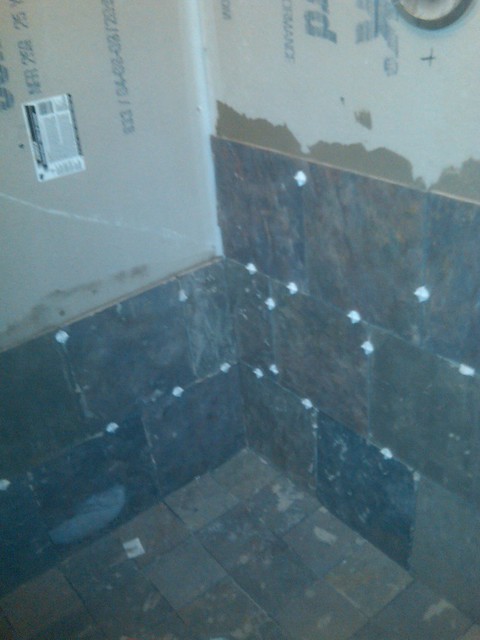
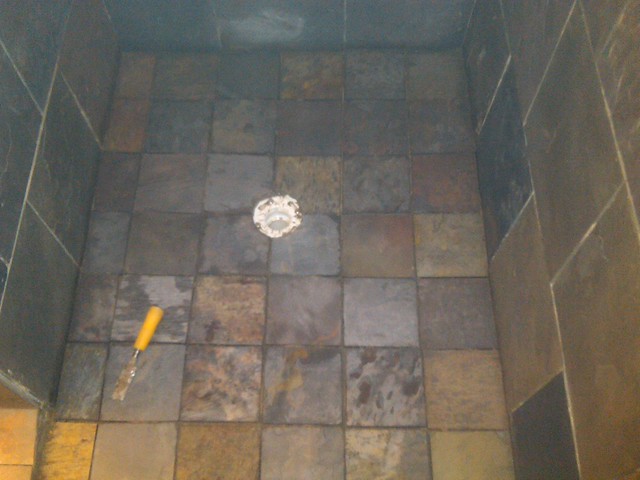
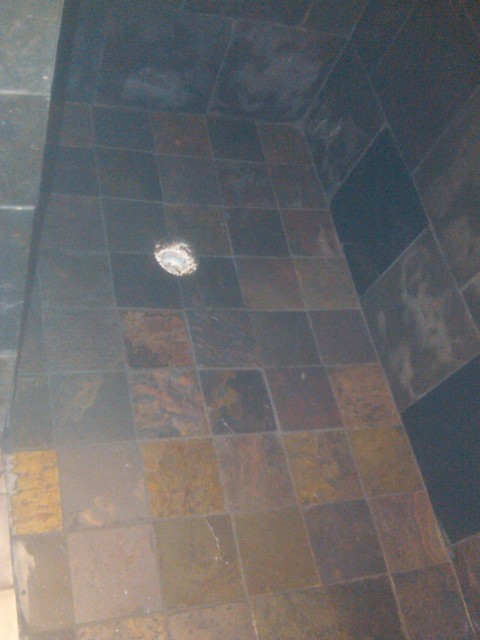
After letting that set up over night, I mixed up mortar to place my floor tiles. I spaced them out making sure they were sloping towards the drain. Sloping everything towards the drain must be important,huh? 😉
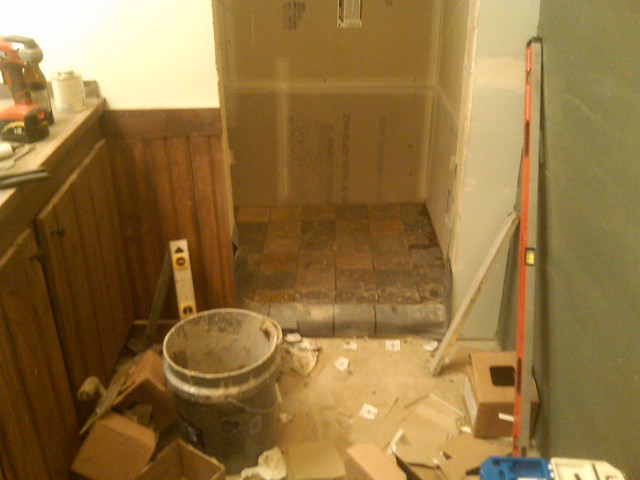
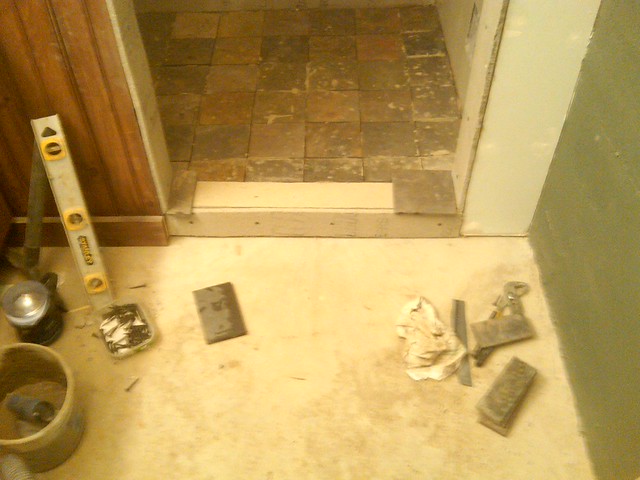
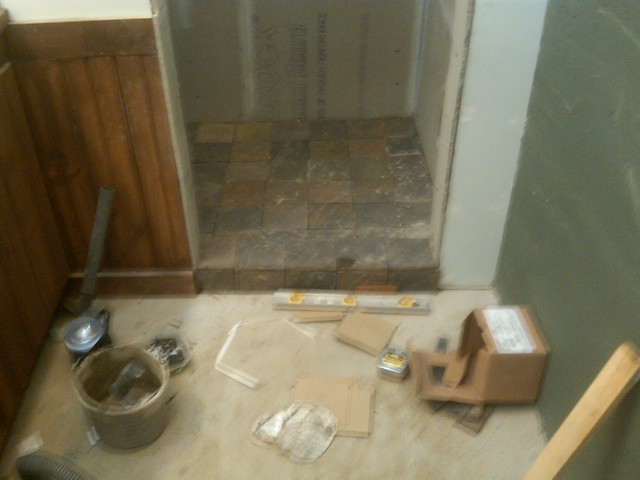
I cut some small pieces and covered the thresh hold.
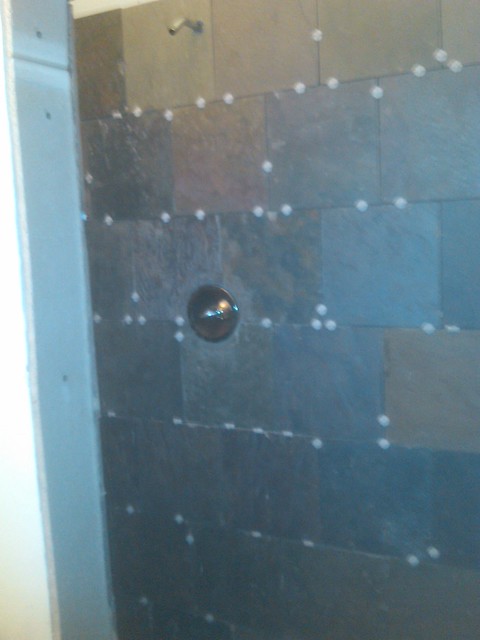
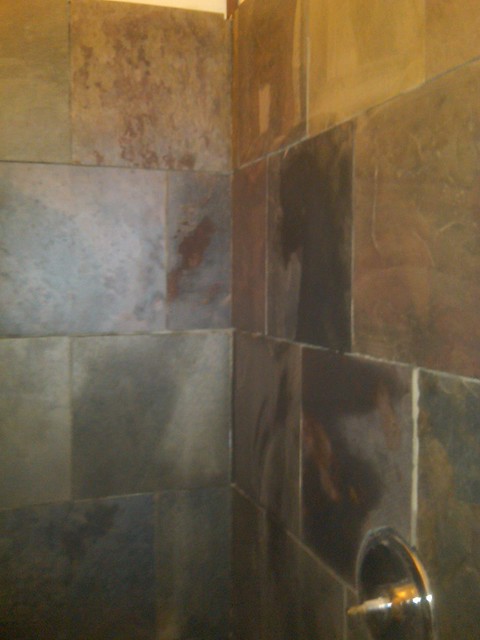
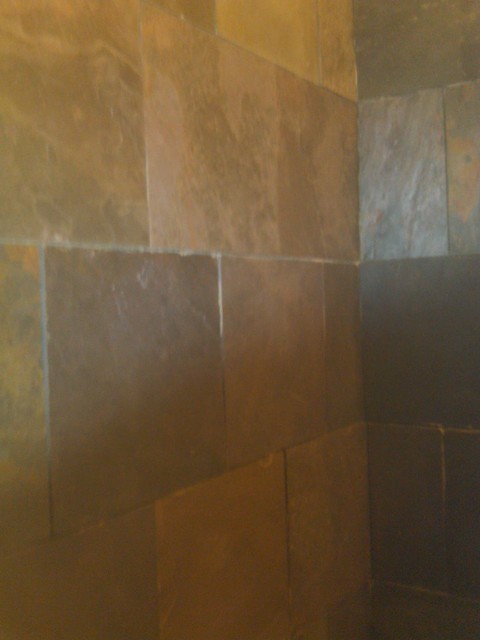
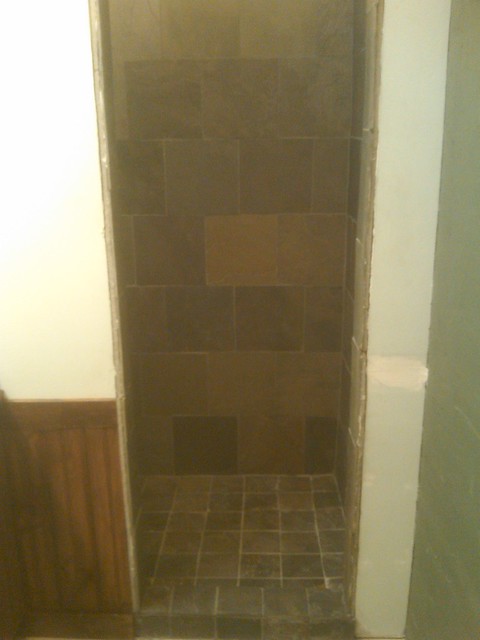
I let that set up over night and started on the walls the next morning, just spacing and making sure the joints are staggered. You can buy little spacers to make sure your spacing for grout is correct.

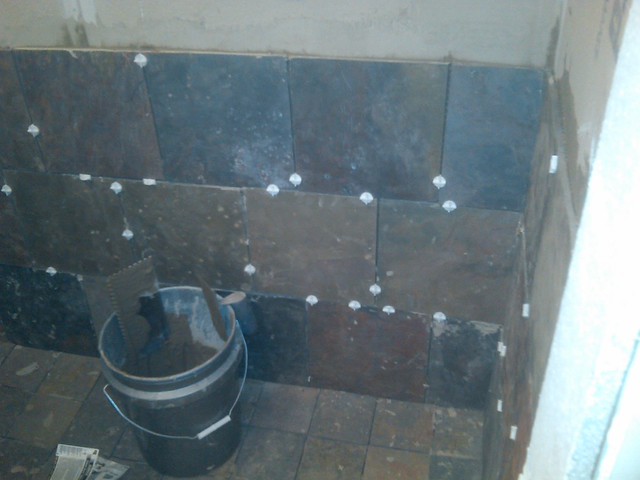
After letting that set up overnight I pulled the spacers, wiped down the tiles and sealed them with tile sealer.
After letting the sealer dry, I started grouting. When you grout you want to apply a liberal amount of grout, let it set up briefly and then use a sponge to wipe away the excess. Make sure you keep changing your water and wipe it down several times every half hour or less to remove the haze before it sets up to quickly on you.

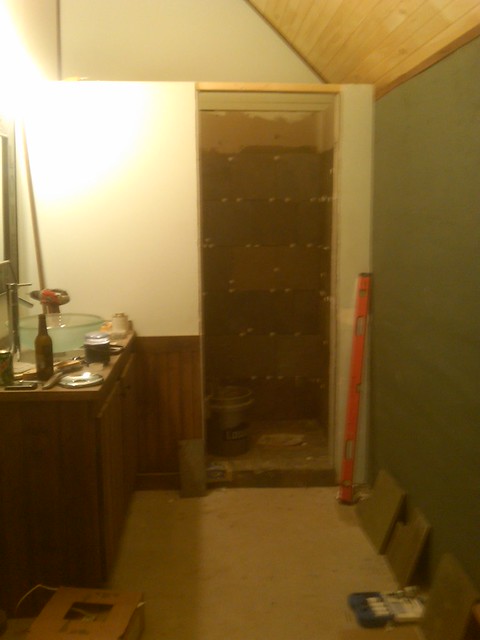
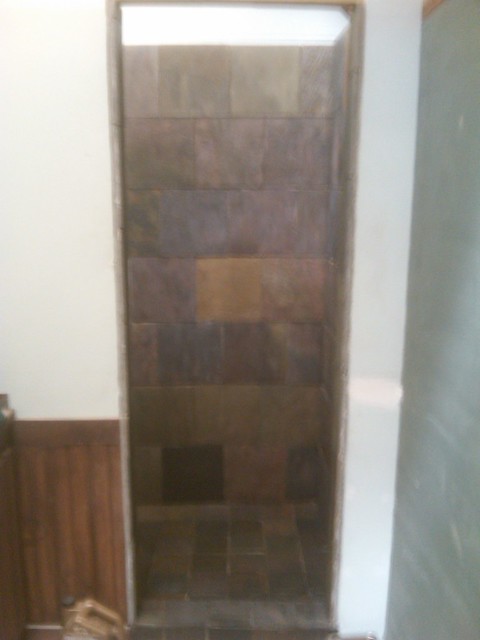
I finally finished that after what seemed like forever, I then needed to trim out the shower entry.
So I ripped down some extra pine boards we had laying around.
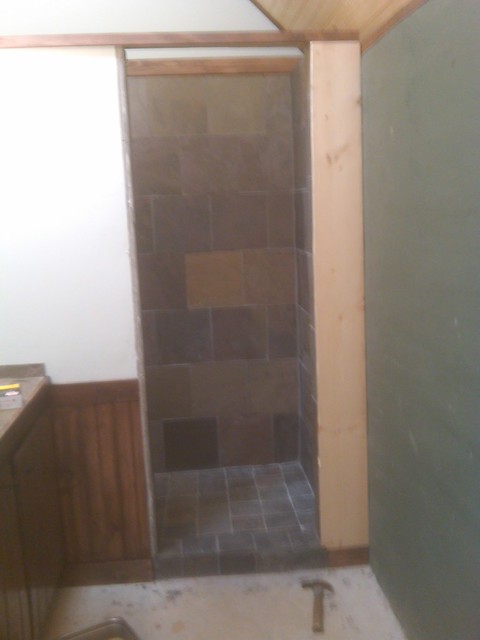
And stained it up.
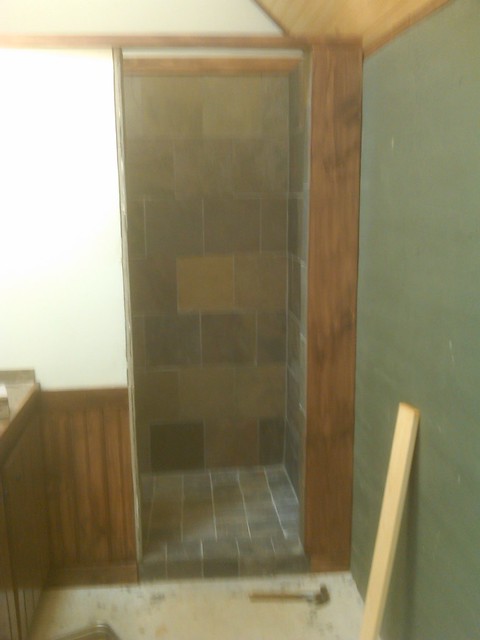
And trimmed out the other side.
The shower was done! We had a custom tiled shower for about the same money as a cheap plastic drop in unit. We are happy we went with this option instead of buying one. Thanks for reading!


