
Here is how you can go about pouring a cement patio.
We were debating between installing a wood deck or pouring a slab because one design flaw we had with our house was that we had not pinned the front wall to the footer.
In Rob Roy’s original design that we used as a model for our home, he had backfilled the very front of the house which would keep the wall from shifting out.
My wife wanted to keep the front open and I did not modify the design by anchoring the wall to the footer, which would have been the correct way to do it.
To get around this we decided to pour a slab two inches above the exterior wall and pin it to the footer, sandwiching the wall between the interior slab and the outside slab.
It wasn’t perfect but it was the best solution we could come up with.
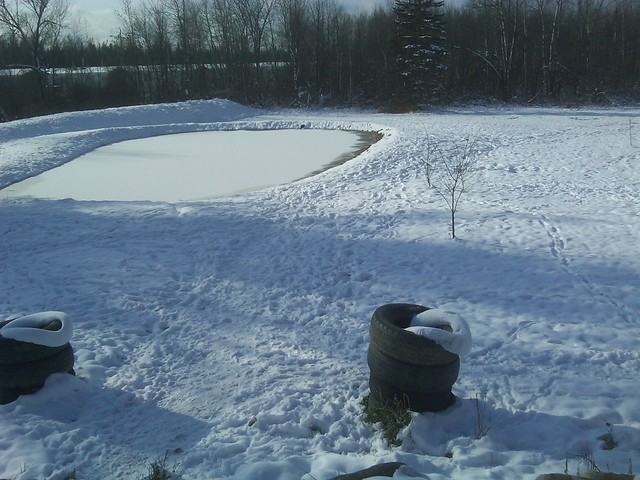
First we had to get through winter.
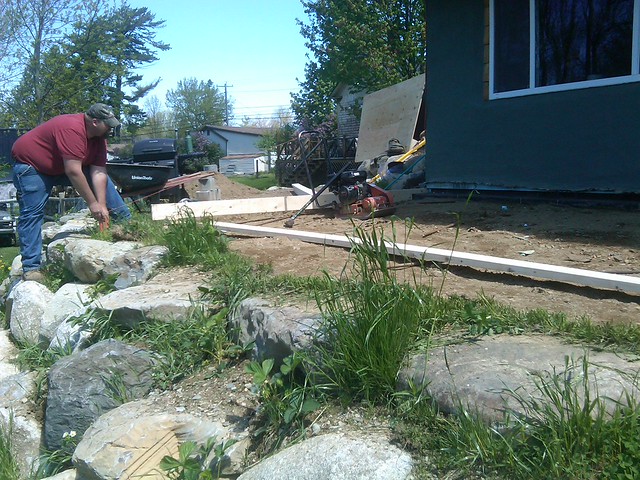
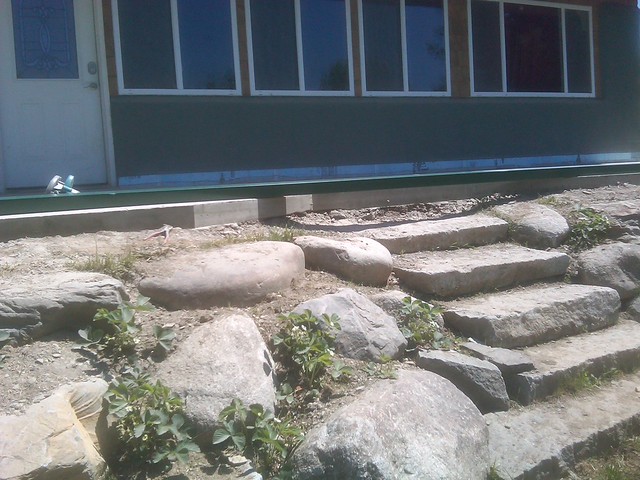
So in the spring we scraped off the topsoil that we had laid in front of the house.
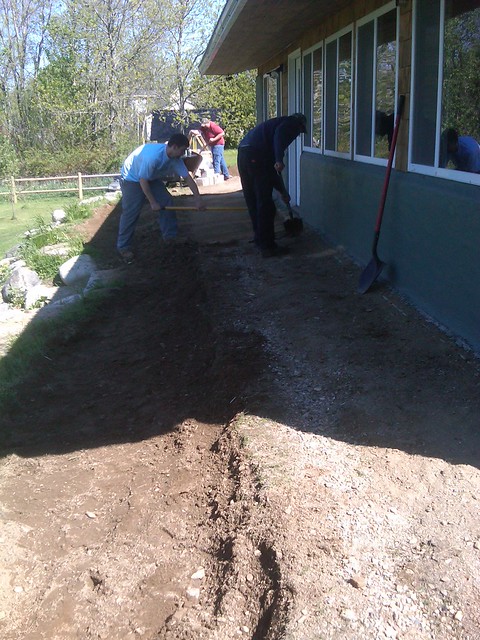
and exposed the footer.
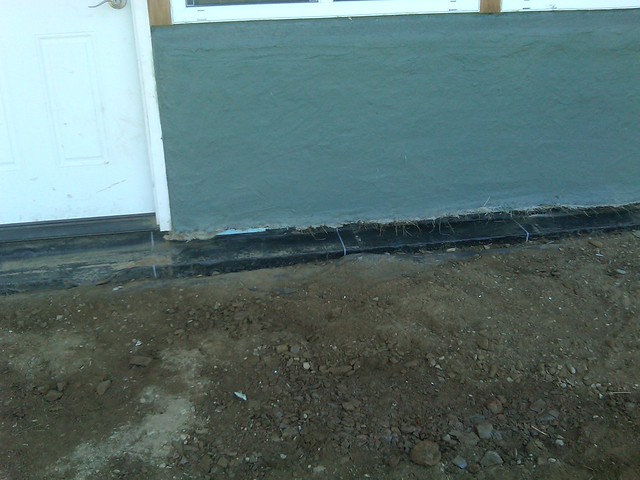
We cleaned it up the best we could, the bottom of the stucco was quite rough, we would have to address this later.
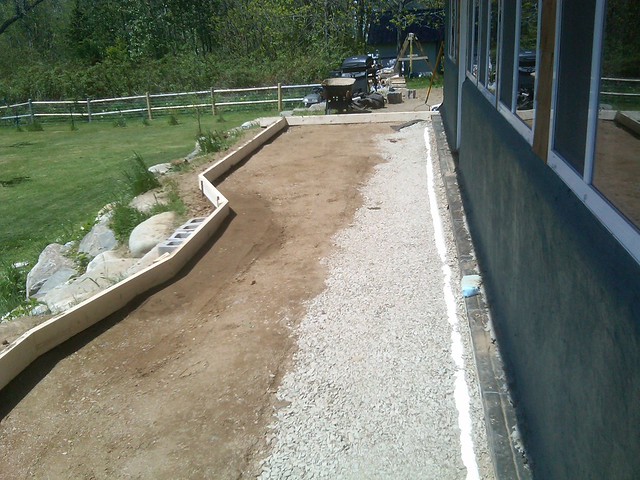
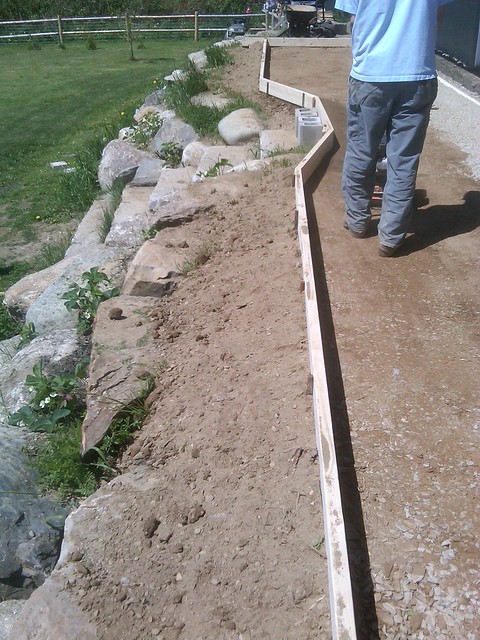
We set up some forms using 2×6’s.
And staggered it back to form a step down to the granite stairway.

We ripped up the filtration fabric that was below the soil.
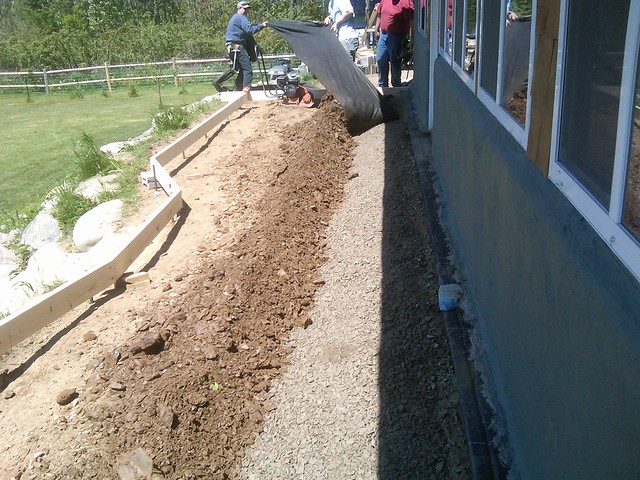
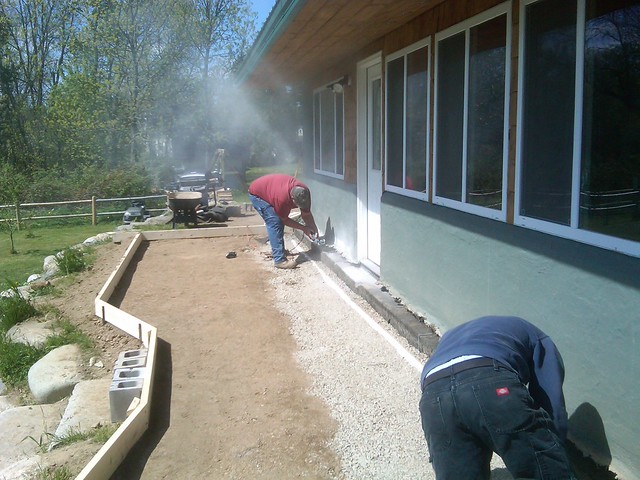
and raked it out, exposing the footing drain. We went and rented a compactor.

and spent the next couple hours raking and compacting.
we backfilled around the forms to stop any blowouts
and started drilling out pin holes into the footer
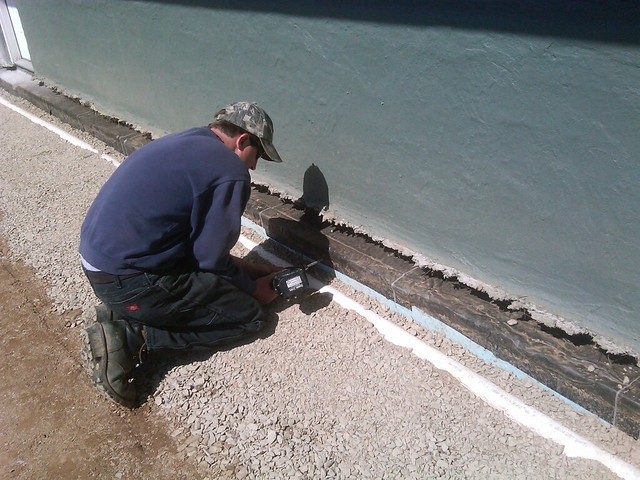
and hammered in 2 foot sections of rebar
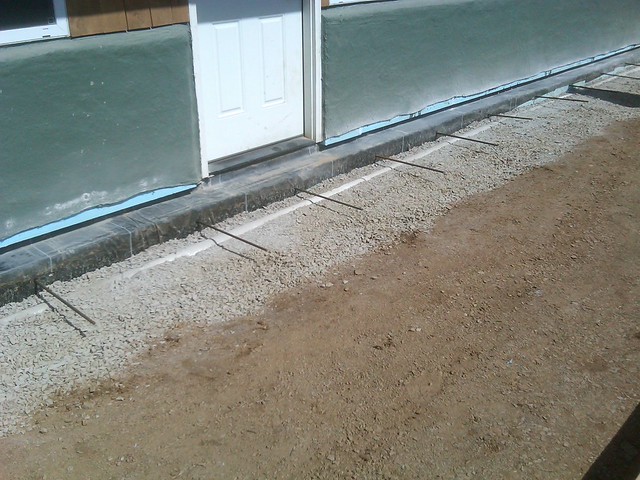
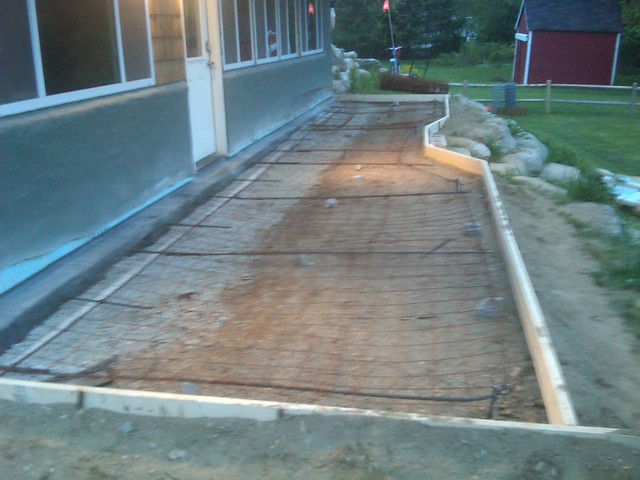
we ran rebar around the perimeter
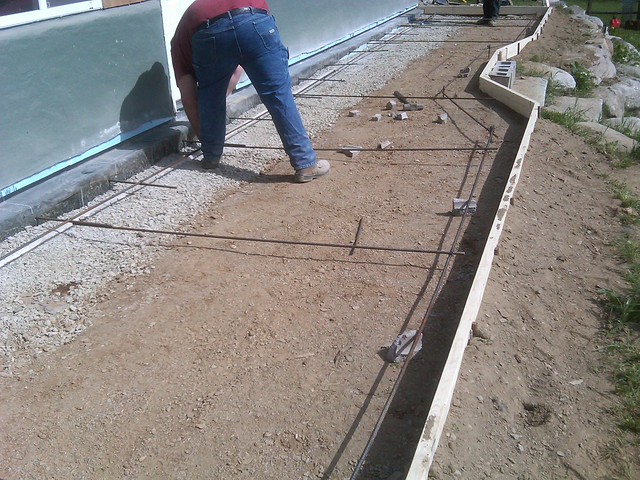
and laid down wire mesh
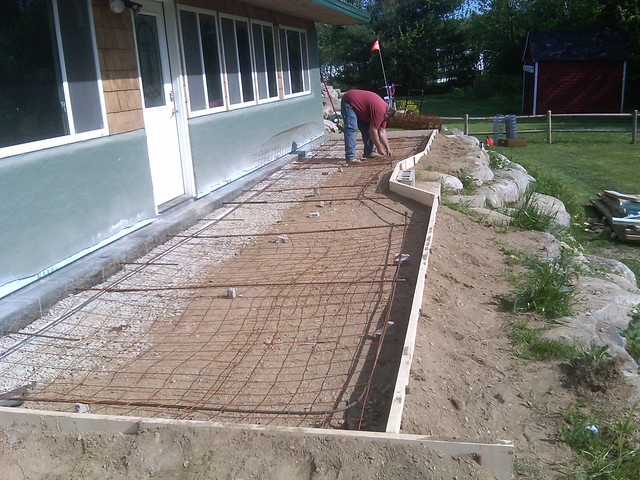
all ready to pour
The next morning the pump trailer showed up, because of the way the house sits we had to pump it around the house.

We ran the hose around the building.
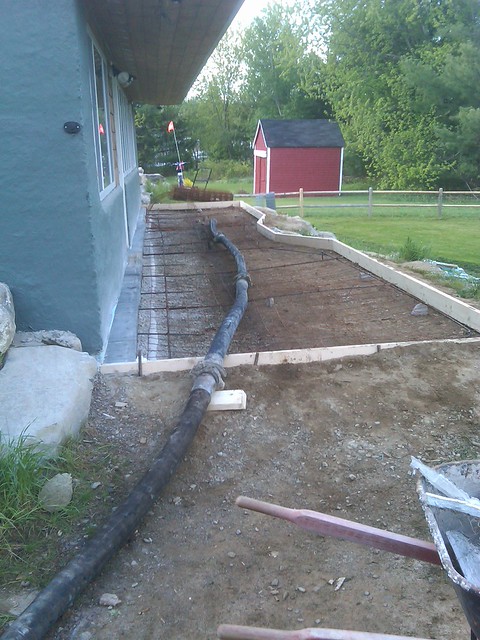
and started pumping and pulling concrete.
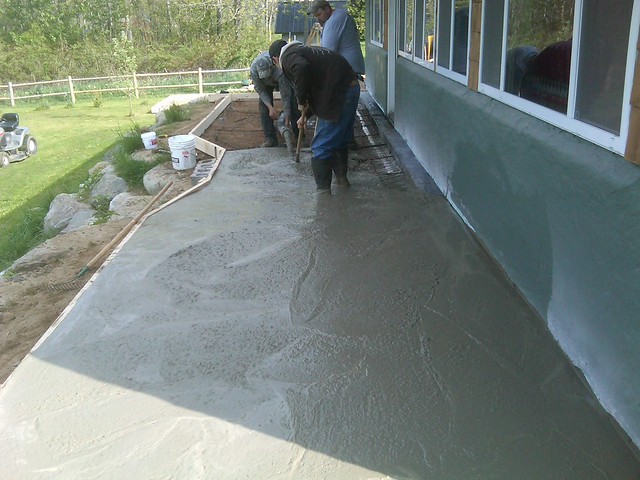

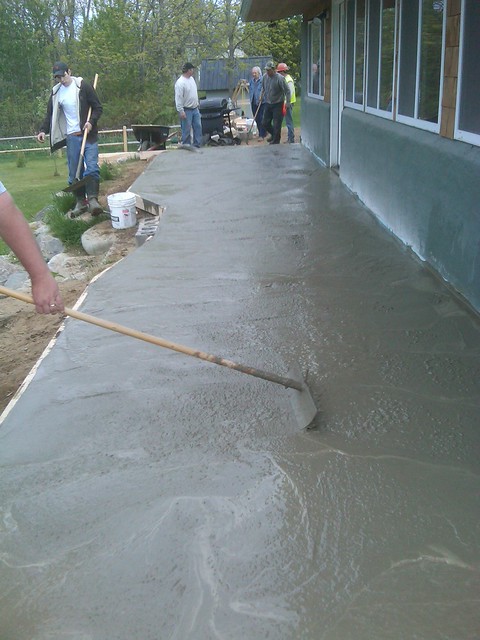
we started floating the slab
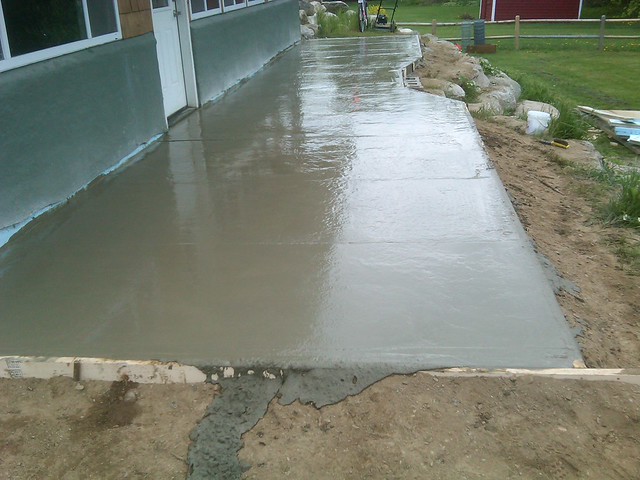
and it quickly set up
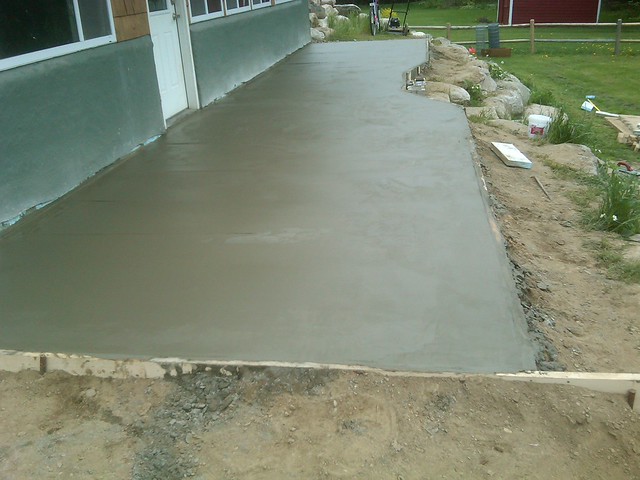
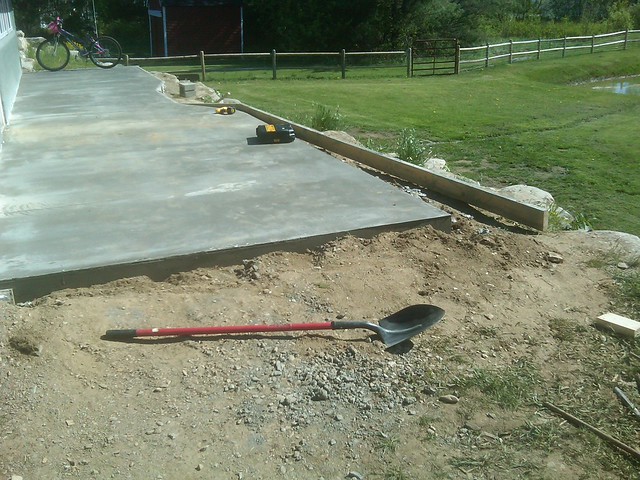
I let it cure for two days and started pulling the forms off
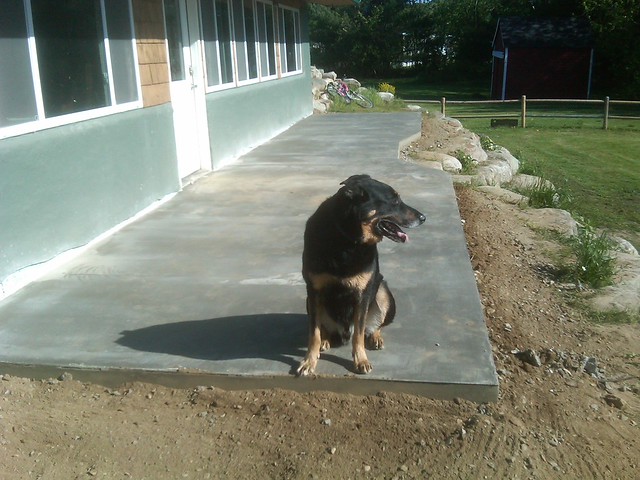
Our old boy was not impressed.
I had to brainstorm a way to finish off the bottom of the stucco.
we decided to cut the slab into a 3×3 gridwork so it looked like a large tile floor and to provide stress relief
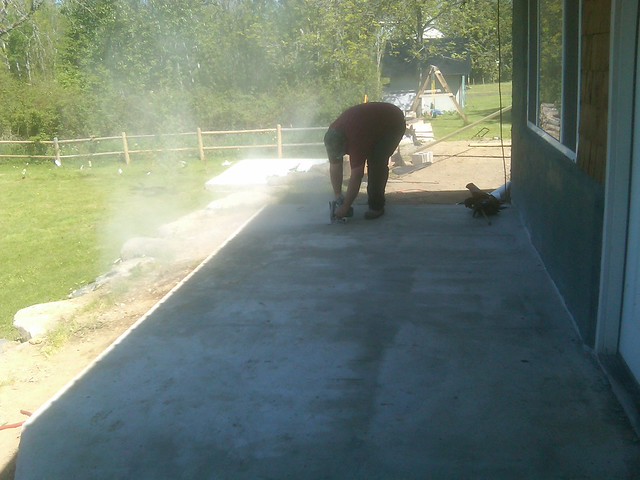
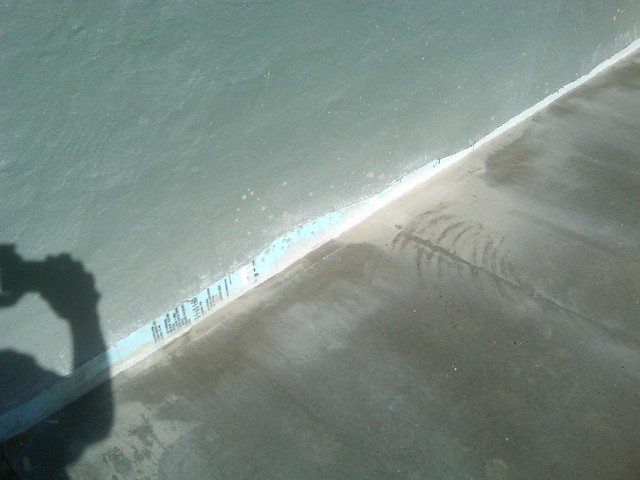
and snapped a line and cut the bottom of the stucco 5.5 inches off the bottom
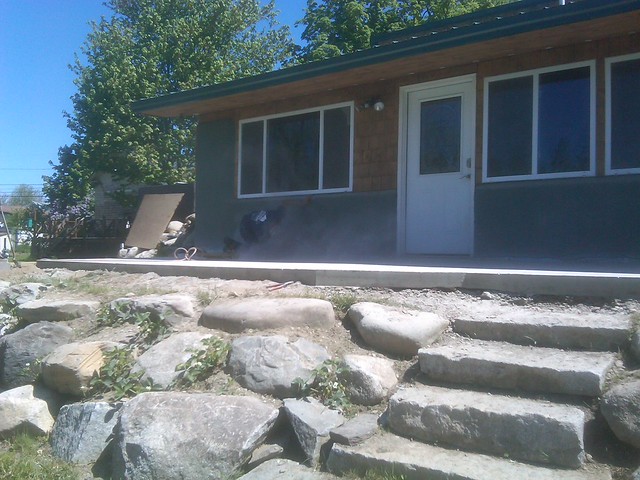
we used a piece of 2×6 pressure treated and filled in the bottom cut, we also installed a drain for the gutters

all done, we also had a seamless gutter delivered
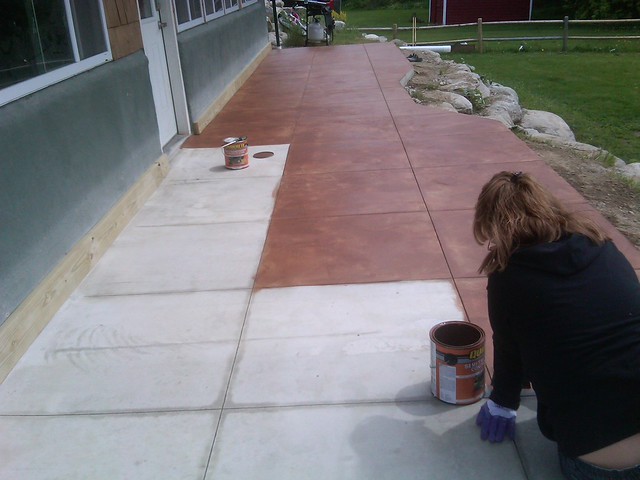
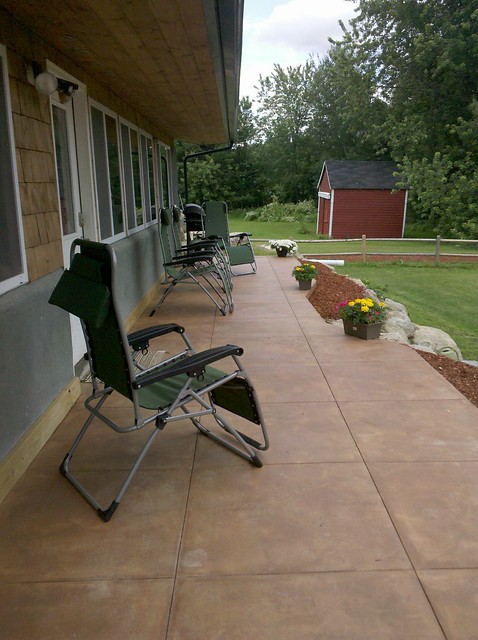
The next afternoon we washed the cement several times to get it clean.

and my wife started staining the slab.
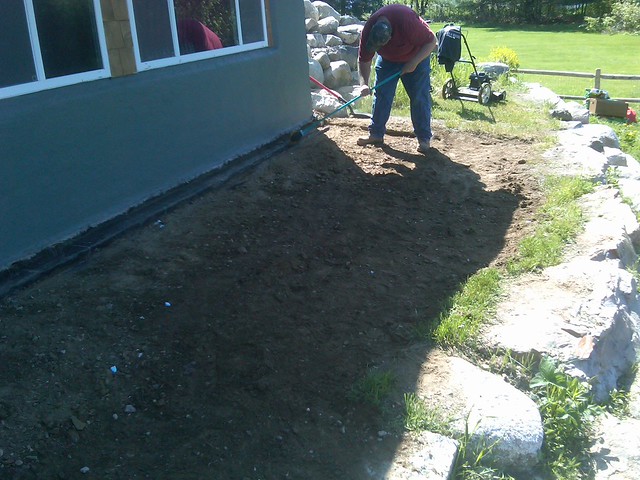
we mulched around the slab
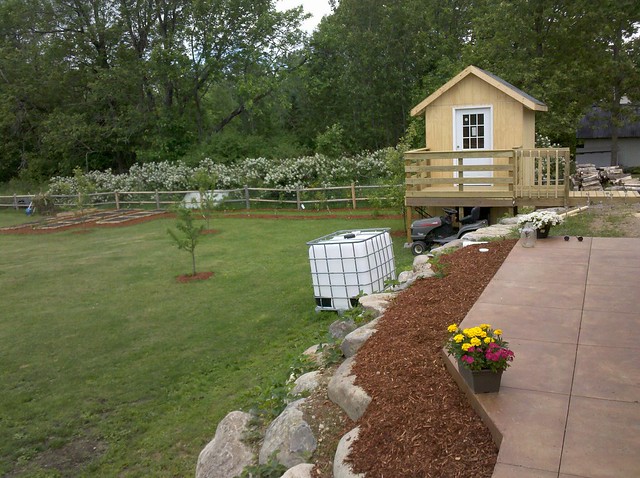
and mounted the gutter and piped it through the drains, we use this for our rain water catchment system.
at this point the slab was officially done
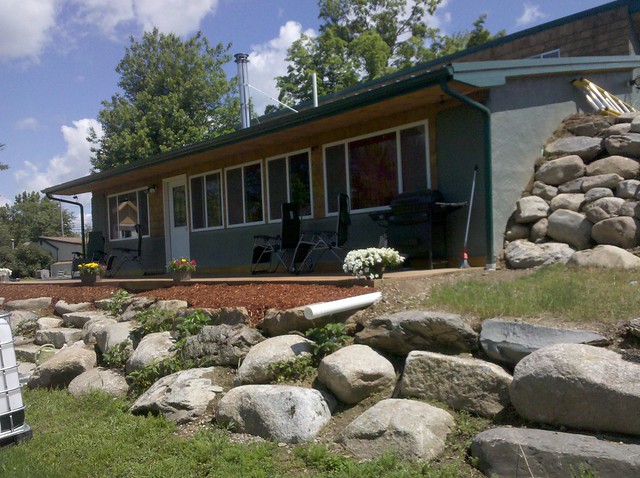
A couple points. Our home sits on a three foot bed of compacted shale and backfilled with sand. We have excellent drainage and is why we can pour a slab on grade with no insulation or footer with no fear of heaving here in Northern Maine.
If your soil does not have excellent drainage, you would want to add both of those to keep any possible frost from ruining your hard work.


