7 Mar ’12
 Offline
Hi guys,
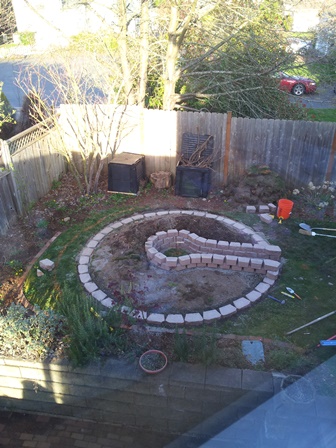
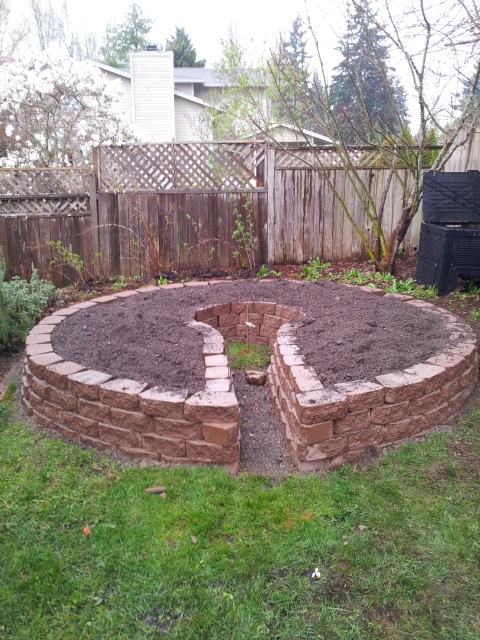
I've been lurking a bit lately, but wanted to show a project called a Keyhole Garden. The concept is to build the garden so that you can have easy access to all areas of the garden without moving around too much. Efficiency is the name of the game here.
There are versions of the keyhole garden that include a "compost tower" in the middle, with soil built up to the sides of the tower, sloping down. This concept is to compost in-place, when you dump your food scraps etc into the middle, and also to manage water flow, watering from the top of the slope, then building micro-climates of plants to take advantage of the different elevations and exposures. This version isn't what I was after.
My goal was to build a garden that looked great, but would also allow me to grow the flowers for my wedding in year 1, but convert it to a vegetable garden going forward. One criteria was that it had to have an aesthetic quality, or my fiancee wouldn't go for it. For this reason, we chose Wellington style landscaping bricks.
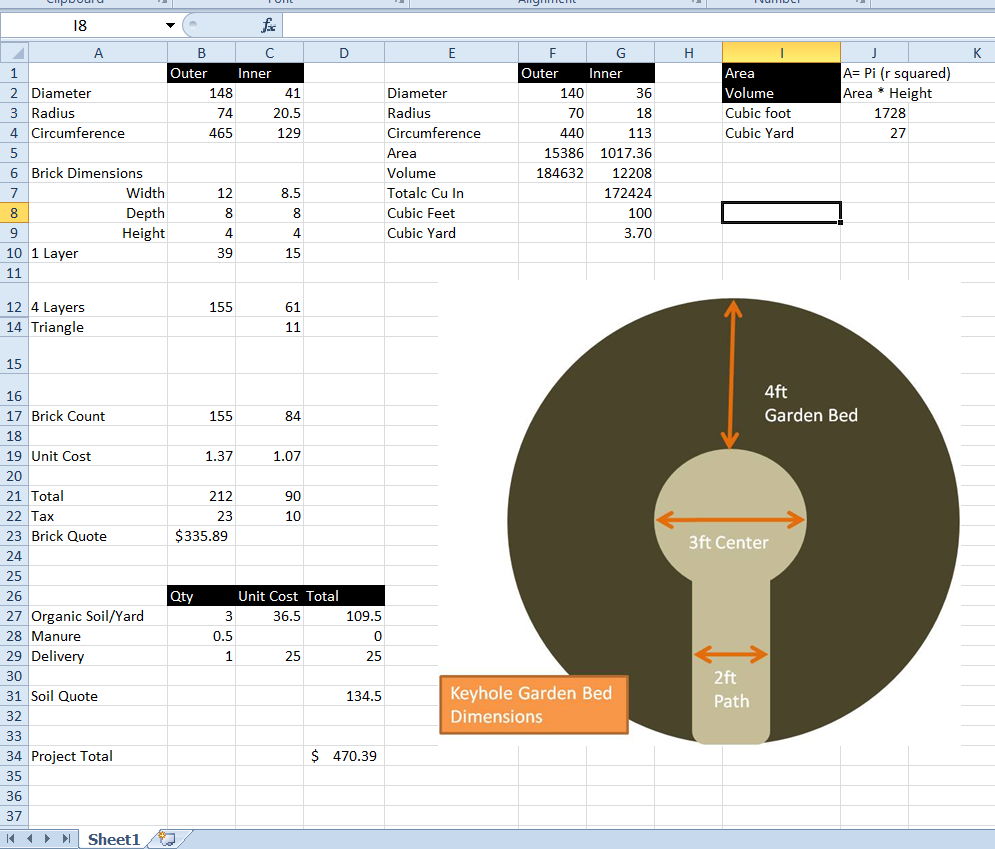
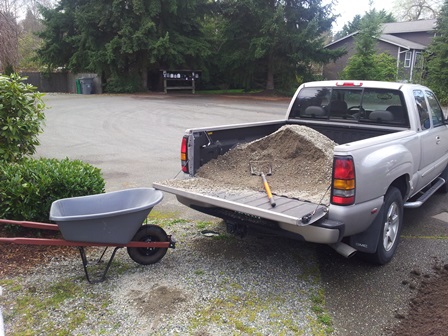
I've included the spreadsheet that I used to plan the materials purchases. This isn't the cheapest way to do this, but I'm in a 1/4 acre suburb lot, and don't have field stones or lots of logs/trees hanging around. I do, however, have a strong back and a pickup truck.
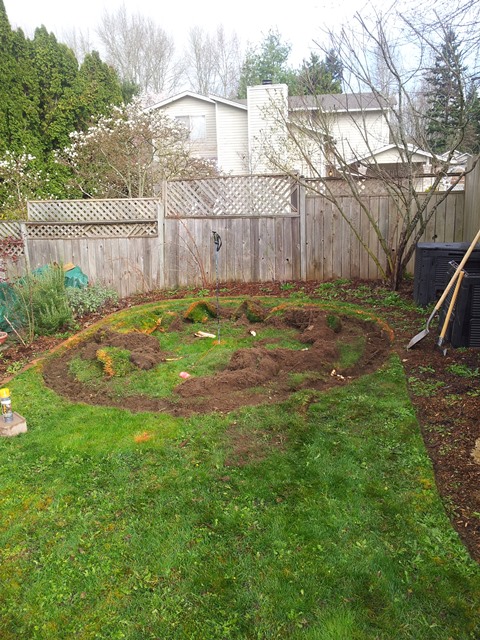
Step 1 - Basic excavation. Measured the 12' circle by planting a post in the center, and going around it with a twine and can of paint. Then used a spade to clear the sod. At this point, I should have cleared all of the sod, but I'll get into that later.
Step 2 - Gravel foundation - at least 4' deep all around 5/8' gravel. Take your time here, as having a good, deep foundation will make leveling the brick flights much easier.
Step 3 - First flight of bricks. - this is the most important flight, and will dictate the structural integrity and level-ness of your walls for the rest of the flights.
7 Mar ’12
 Offline
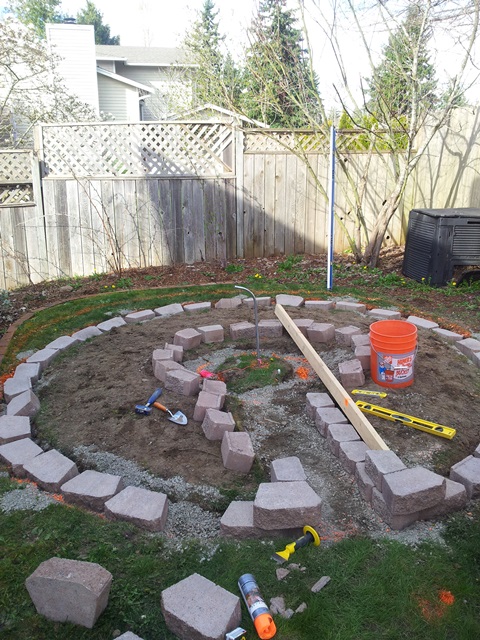
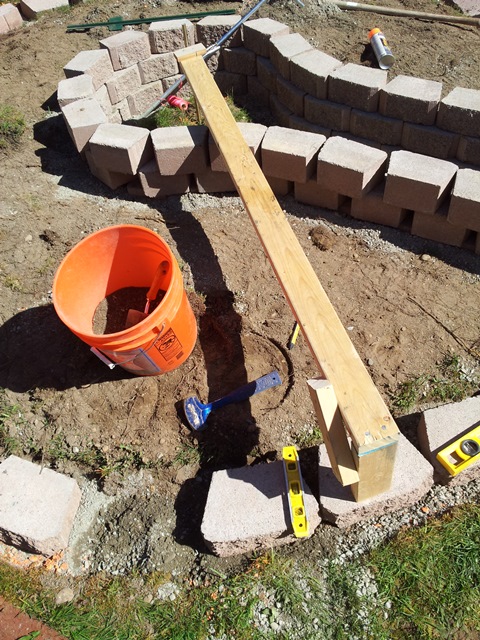
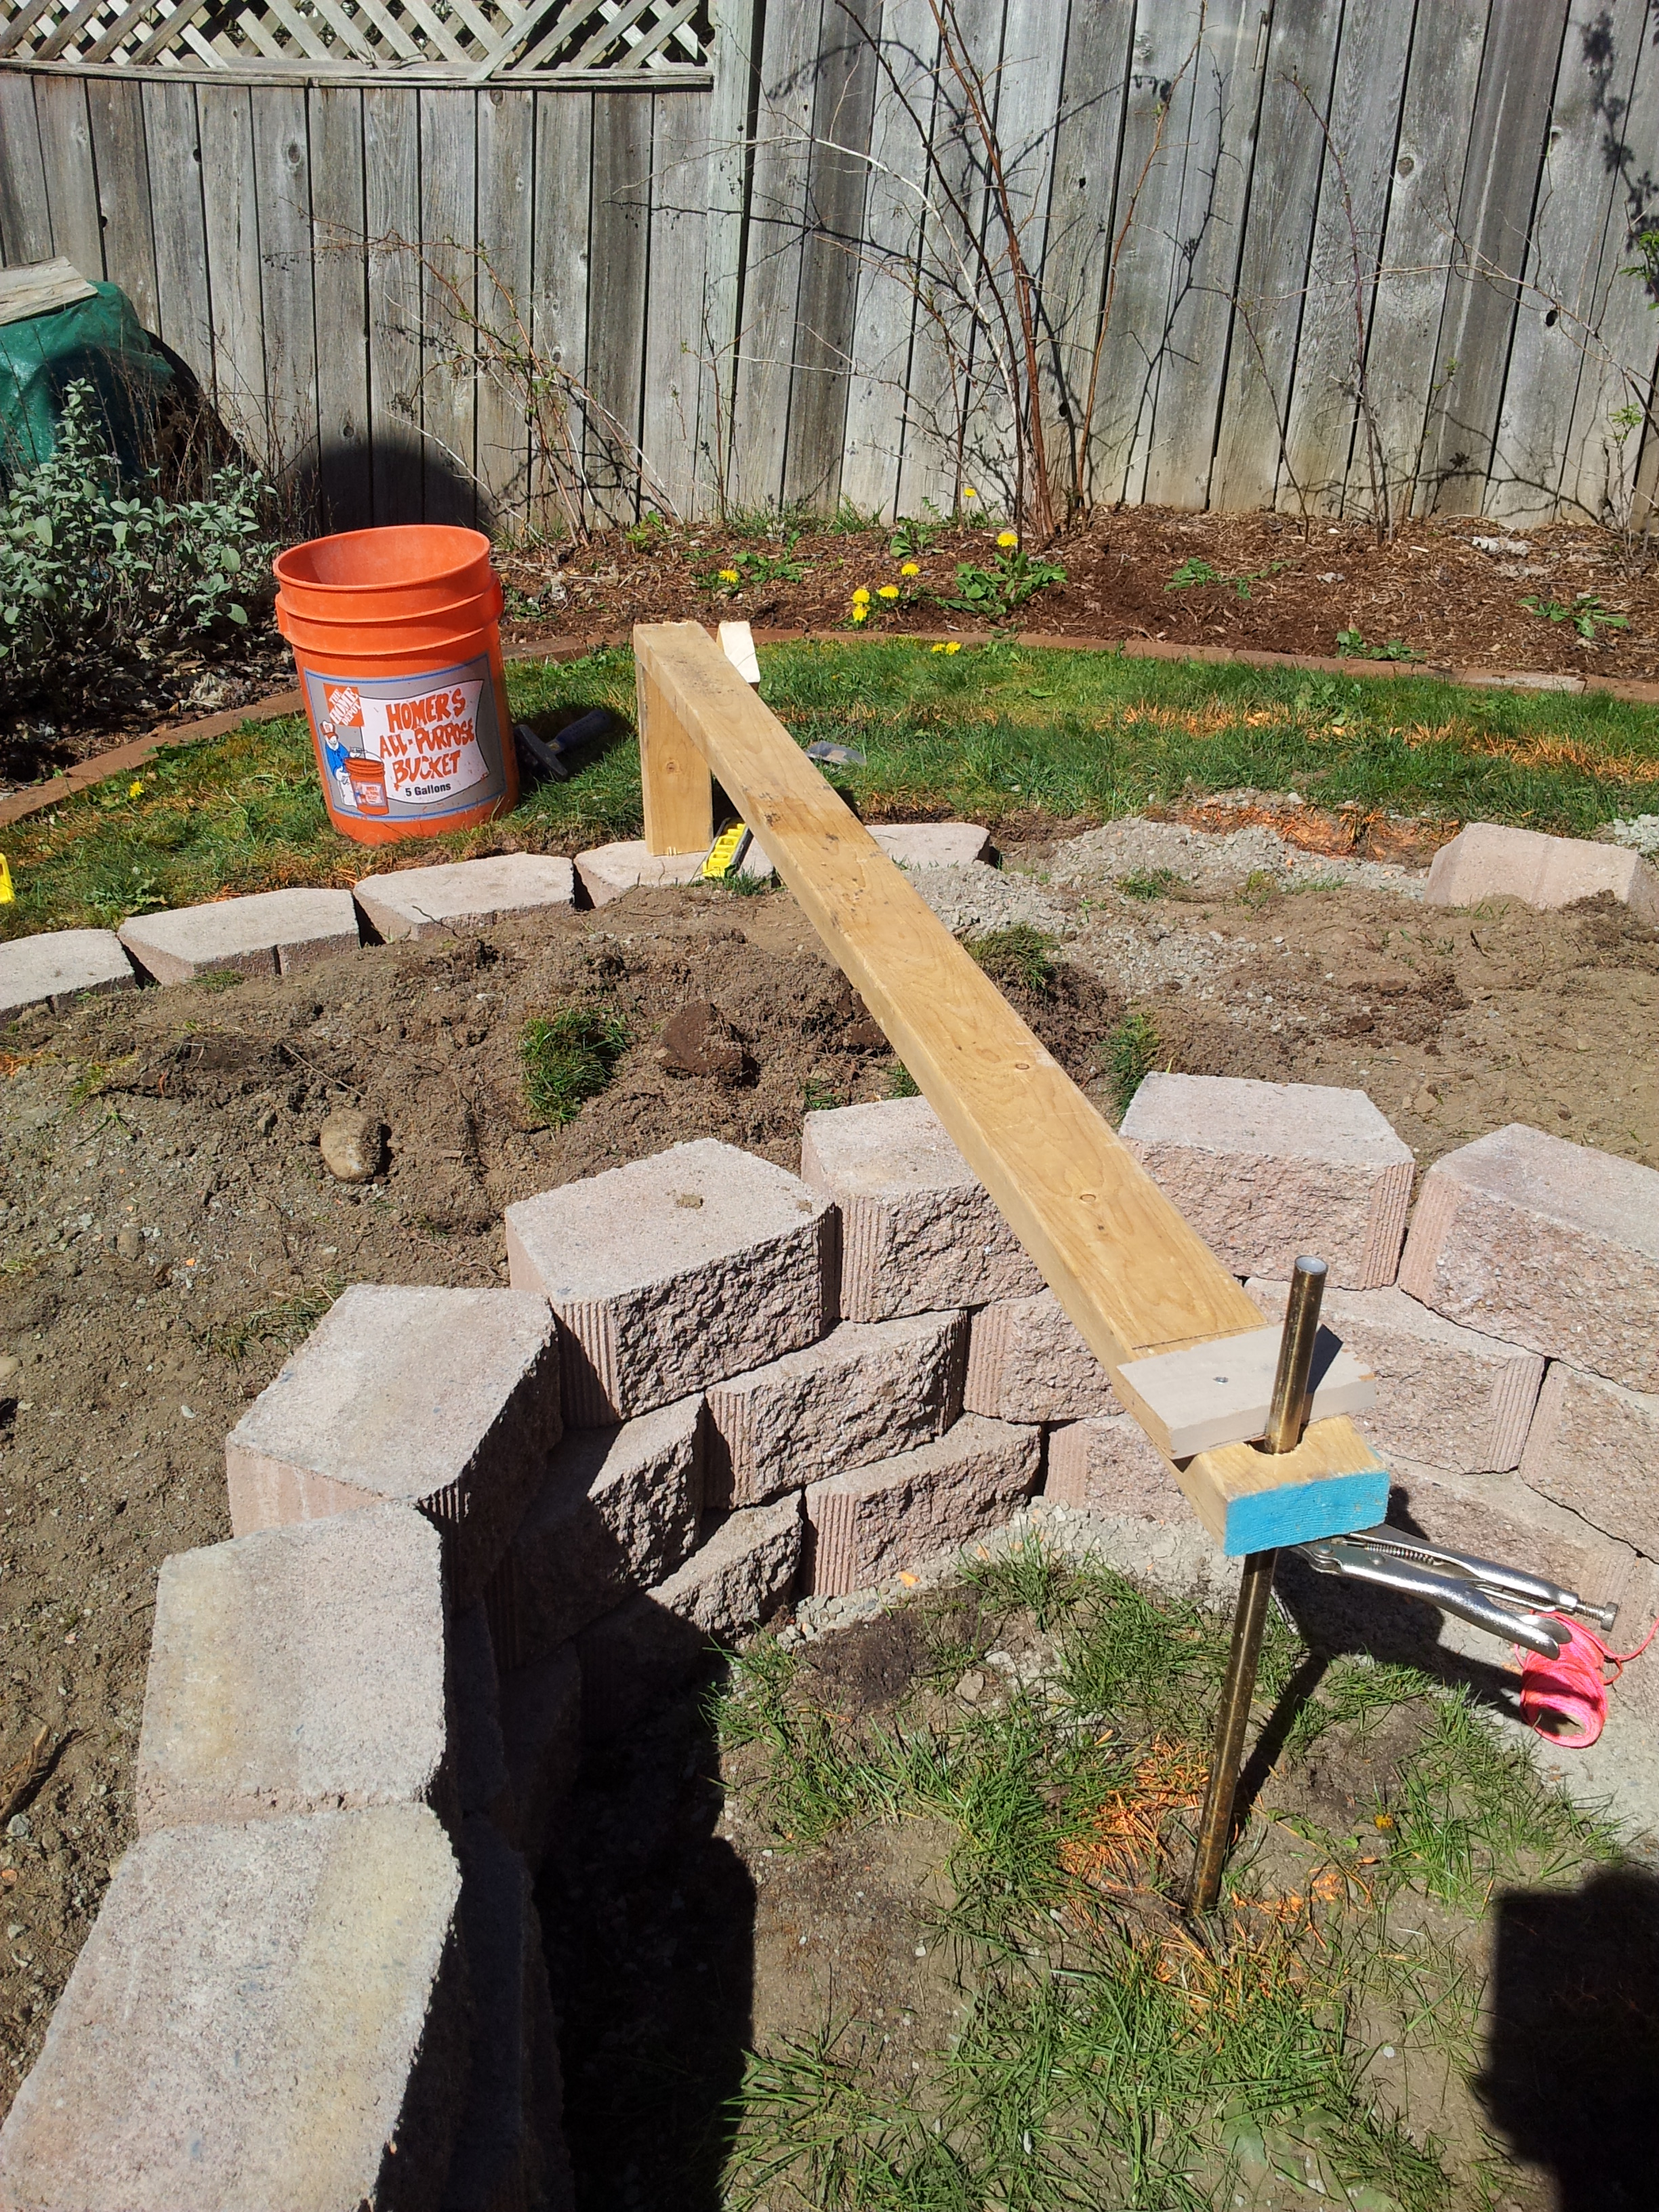
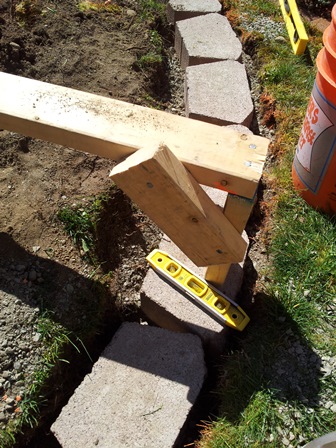
Step 4 - The Jig. To make this circle shape more precise, I crafted a jig from a 2x4. It started with a stake (or curtain rod in my case) pounded firmly into the exact center. Then I drilled a hole in one end of the 2x4 for the curtain rod to fit into. After that, I created a very rough 90° turn at 6' on the far end, with a scrap to support it. I wanted it elevated to eliminate dragging the length of the 2x4 in the dirt.
This jig allowed me to move from stone to stone very easily measure the exact distance from center.
I would place the stone on the gravel foundation, measure the position with the jig, and the level with a combo of my speed level and a longer level.
As it turned out, this was a very precise way to measure. When I went to measure the final stone placement, it was EXACTLY level with the first stone that I placed. This was a true moment of victory for me. If that final stone wasn't level with the first, I would have had to adjust most of the stones all over again.
7 Mar ’12
 Offline
Step 5 - Add stones to the structure in flights. This is the easy part, and it's pretty much smooth sailing from here on out.
Step 6 - fill with garden soil.
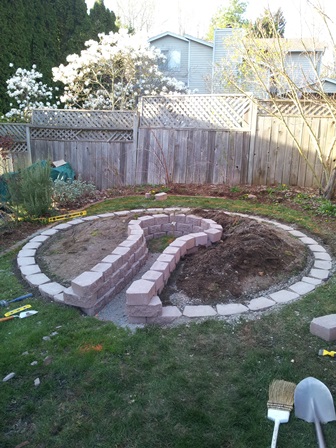
I know this isn't the most advanced project, but all of my research on keyhole gardening makes me optimistic that this will be a productive way to garden for a very long time.
22 Oct ’12
 Offline
Wow that looks great. I like the idea of having a compost pile in the middle, is that still part of the plan? I'm thinking not since the center seems like the best spot to get to all the plants. Congrats on the upcoming wedding what kind of flowers are you guys going to be growing.
7 Mar ’12
 Offline
Wow that looks great. I like the idea of having a compost pile in the middle, is that still part of the plan? I'm thinking not since the center seems like the best spot to get to all the plants. Congrats on the upcoming wedding what kind of flowers are you guys going to be growing.
You are correct, and thank you!. I'm not going to do the compost tower in the middle. Basically, I'm going to put a stool there for relaxing and summer reading.
The wedding flowers will be almost all Dalhia's (sp?), with some baby's breath grown in another part of the yard. Growing my own will save us almost $1500.00 on the wedding budget.
The best thing that happened was we had a break in the winter weather where it was in the mid 60's for several days. That really helped motivate me to get this done while the weather lasted. On the final 2 days of building (it wasn't a full time job every day) it was back down in the high 40's and pouring rain. bleh.
Most Users Ever Online: 698
Currently Online:
73 Guest(s)
Currently Browsing this Page:
3 Guest(s)
Top Posters:
easytapper: 2149
DangerDuke: 2030
groinkick: 1667
PorkChopsMmm: 1515
Gravel Road: 1455
Newest Members:
Forum Stats:
Groups: 1
Forums: 12
Topics: 11482
Posts: 58640
Member Stats:
Guest Posters: 2
Members: 19842
Moderators: 0
Admins: 1
Administrators: K

 Log In
 Home
Home


