")
Since the pallet duck house build was a success, we decided to move our egg slaves into the yard this winter and build them a simple coop. The one thing missing in my opinion in a lot of pallet builds is insulating and outside finishes. So here is our version of a pallet chicken coop.
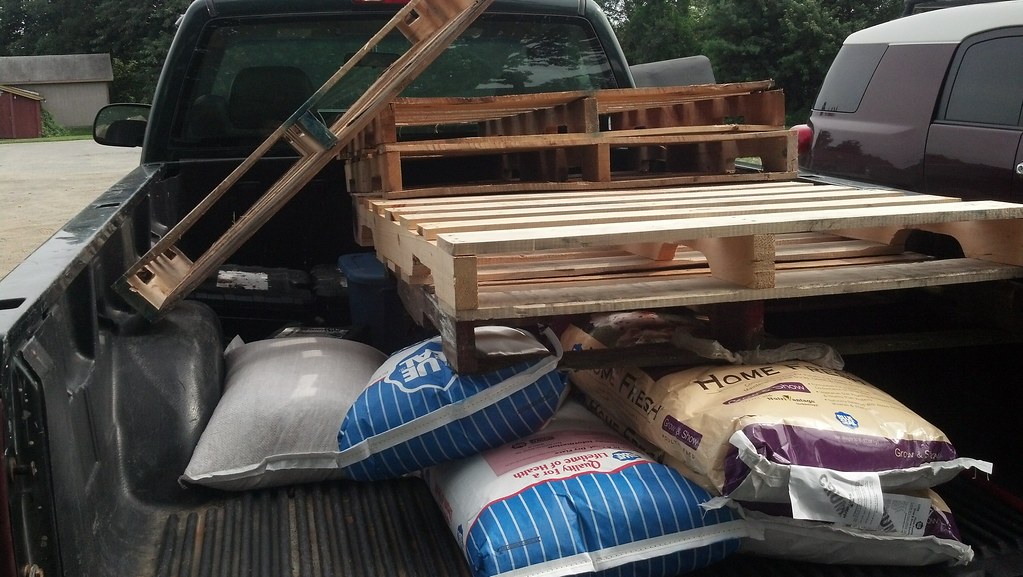
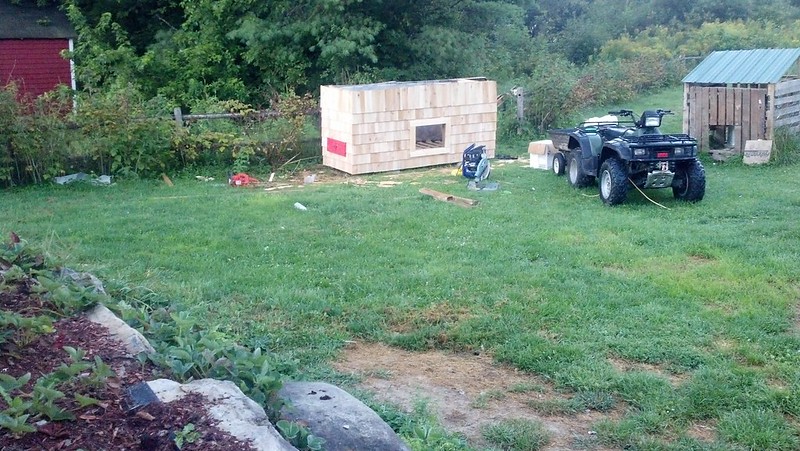
So I spent a couple days gathering needed supplies, and the weather was finally nice enough to get started, we decided to build the coop against the fence by the gate, it gets sun first thing in the morning before anywhere else in the yard.
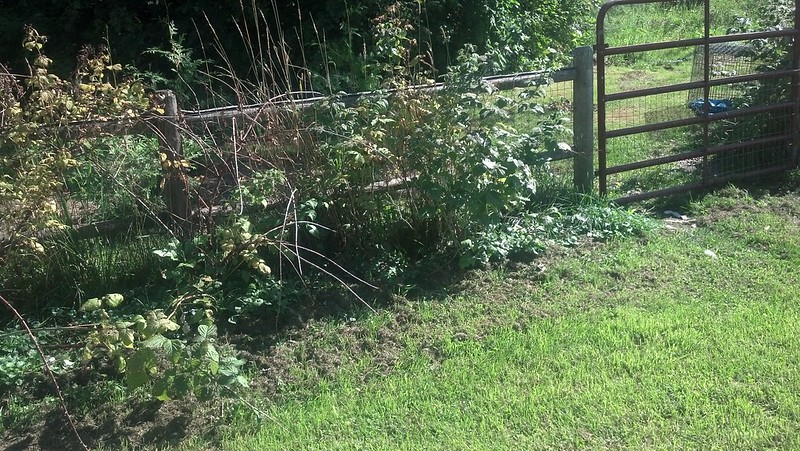
I laid the base down to see how much of the raspberry bushes I needed to cut back
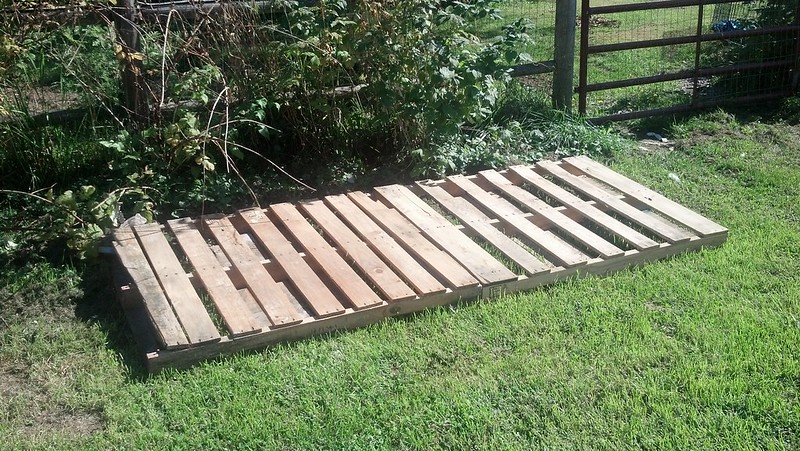
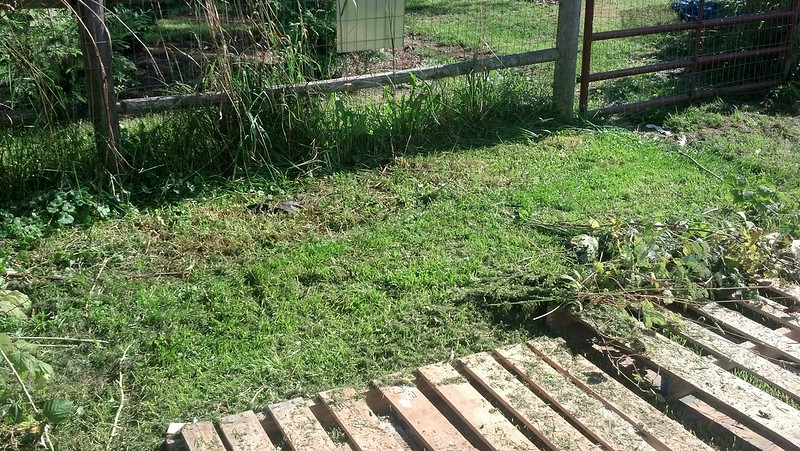
So I cleared out some of the canes and mowed the area down

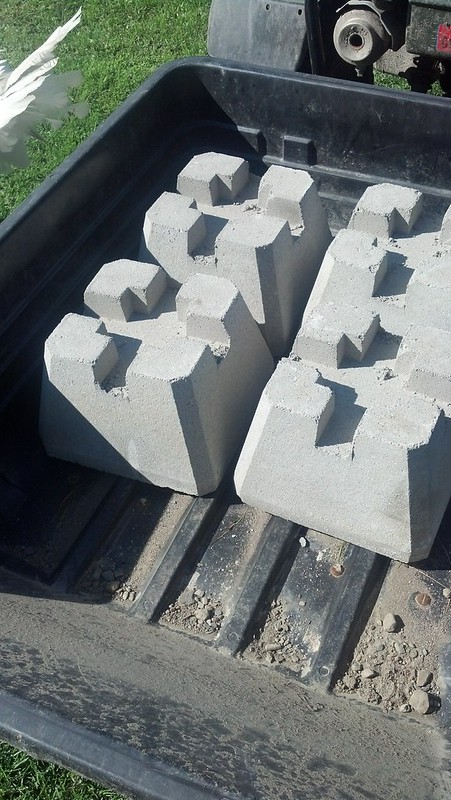
I picked up some piers the other day
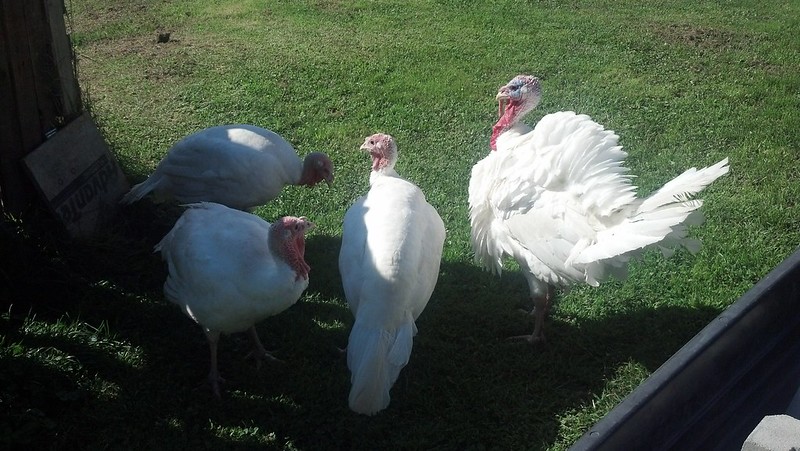
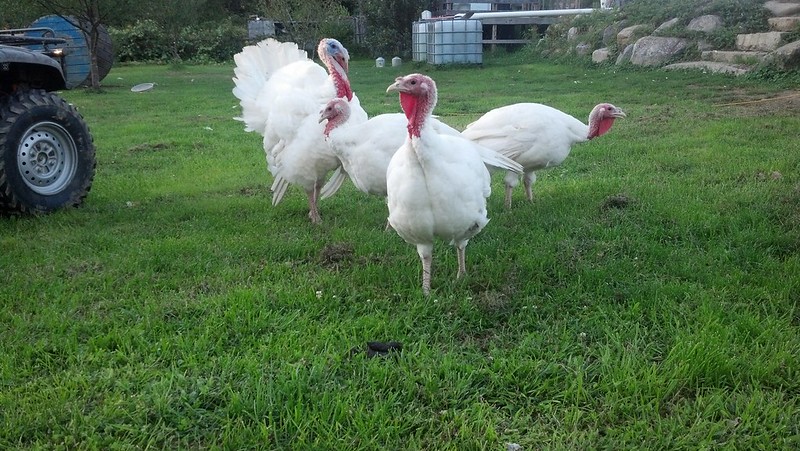
Of course the turkeys had to come see what all the commotion was about.
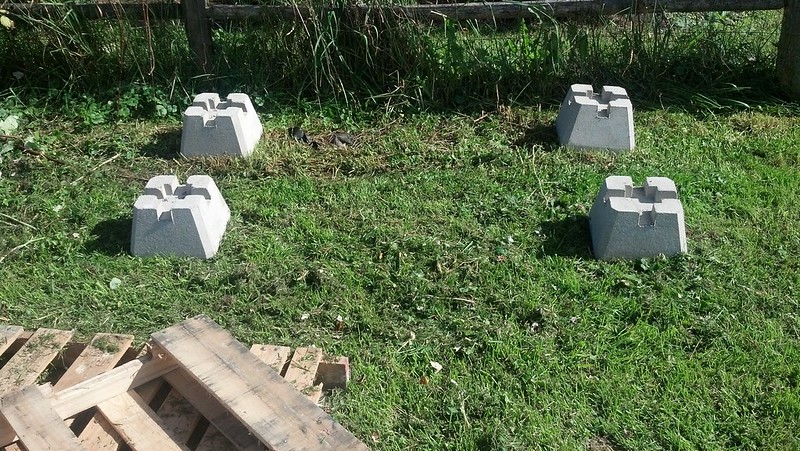
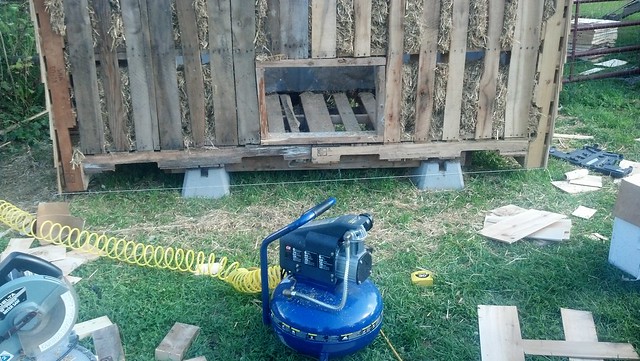
I set the piers on the ground
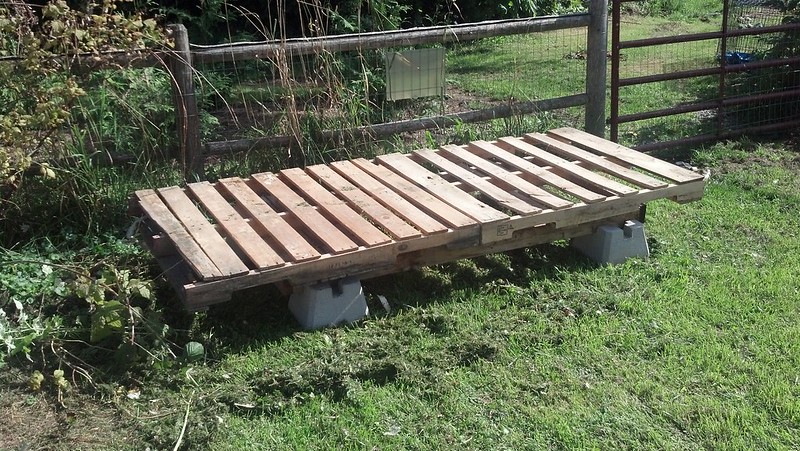
And grabbed the door frame from the greenhouse I had taken down to use as a support base for the pallets.

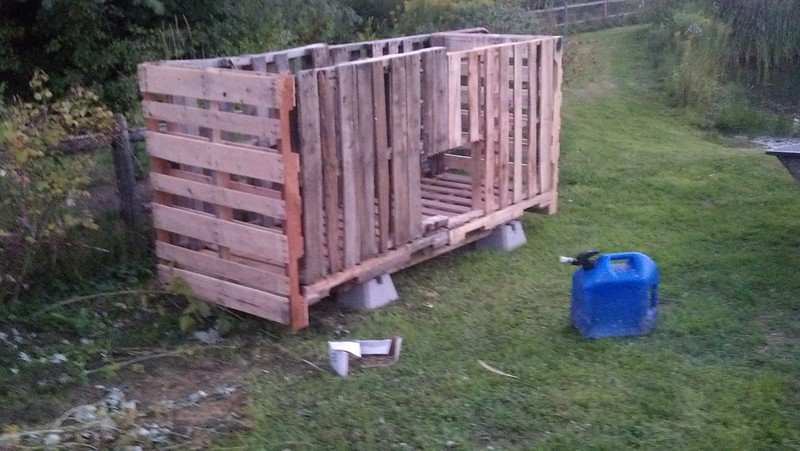
and screwed two of the pallets down to the base
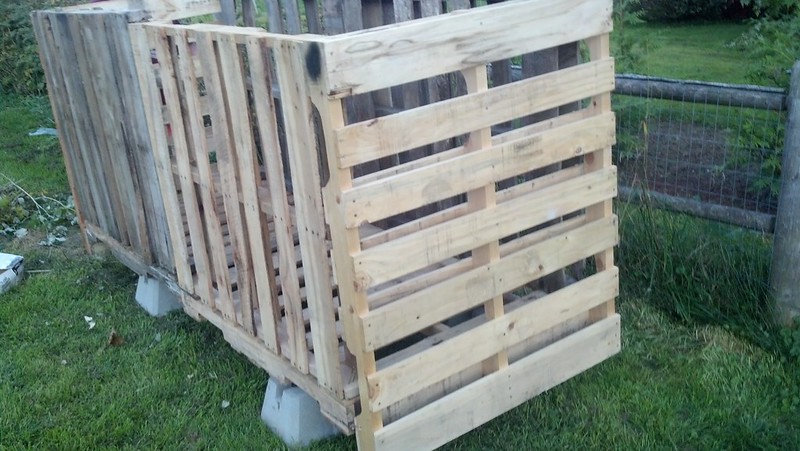
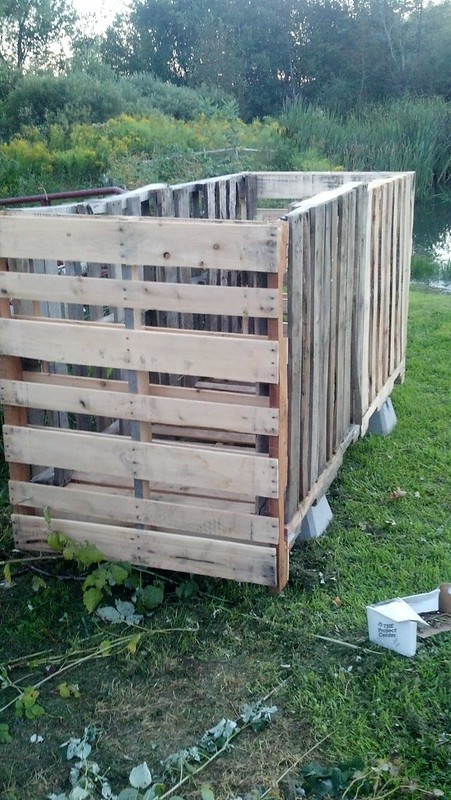
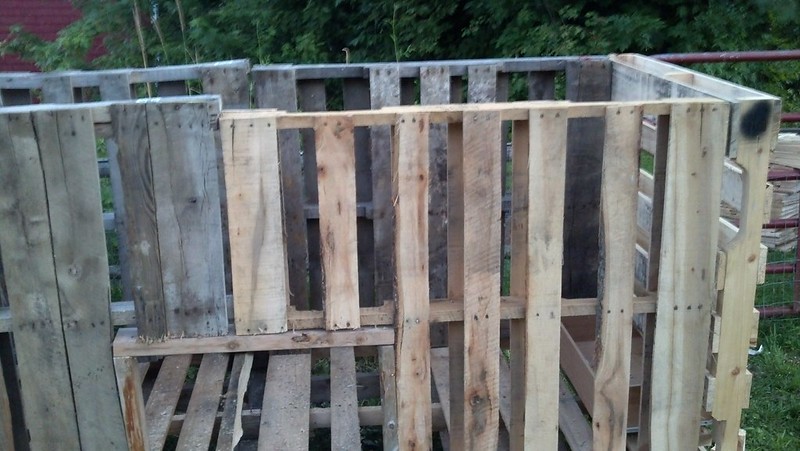
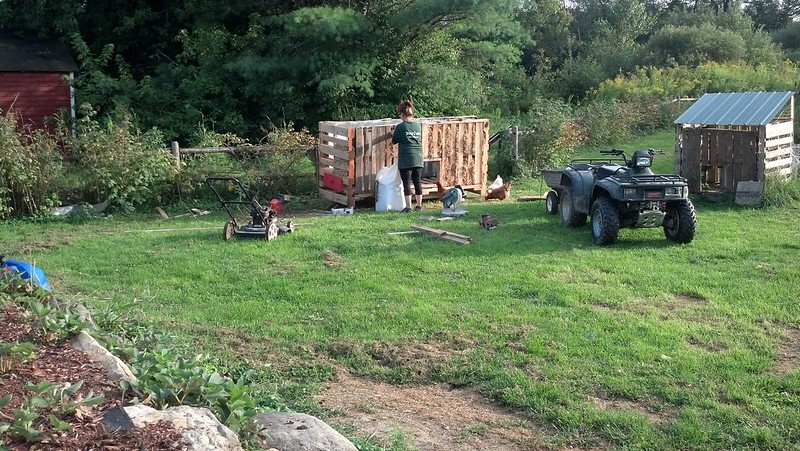
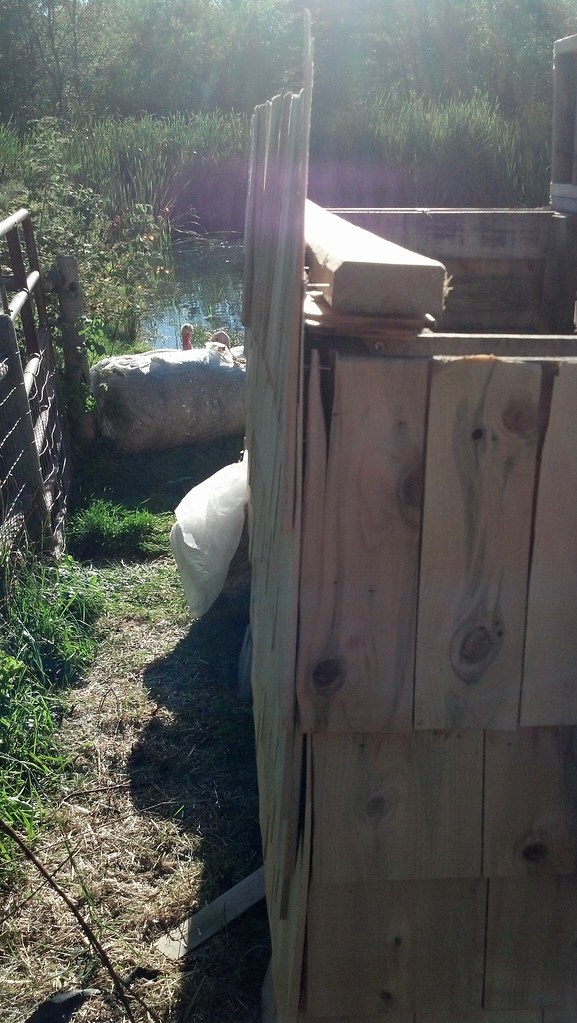
My wife and I then started standing up pallets and screwing them down into the base pallets

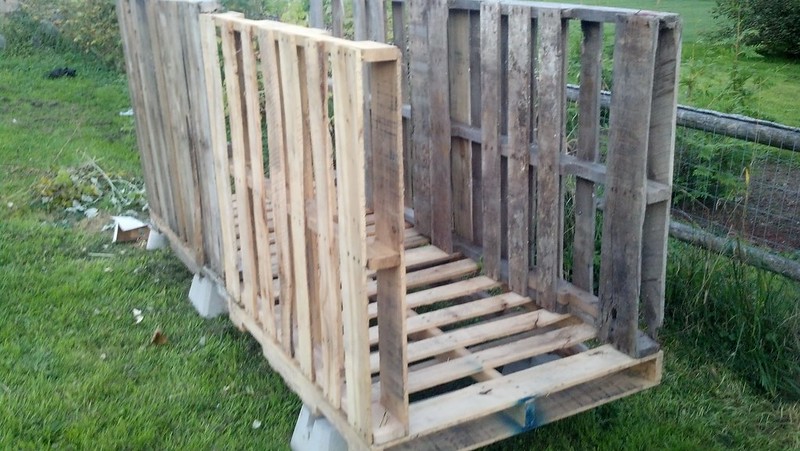
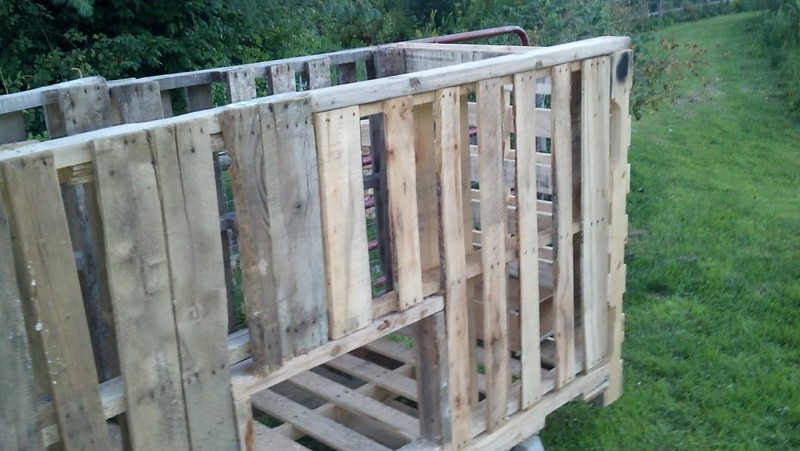
The ends we stood up in place and leveled the top with the front and back pallets and screwed them into the sides
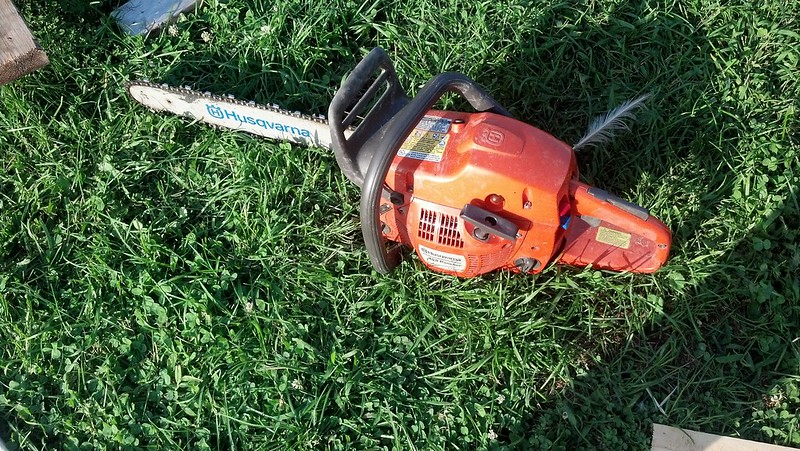
I grabbed the chainsaw
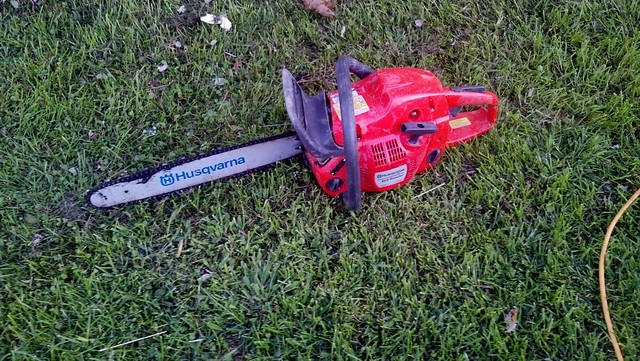
and cut out a doorway
It didn’t look to bad!

The next day I trimmed back some more of the doorway.
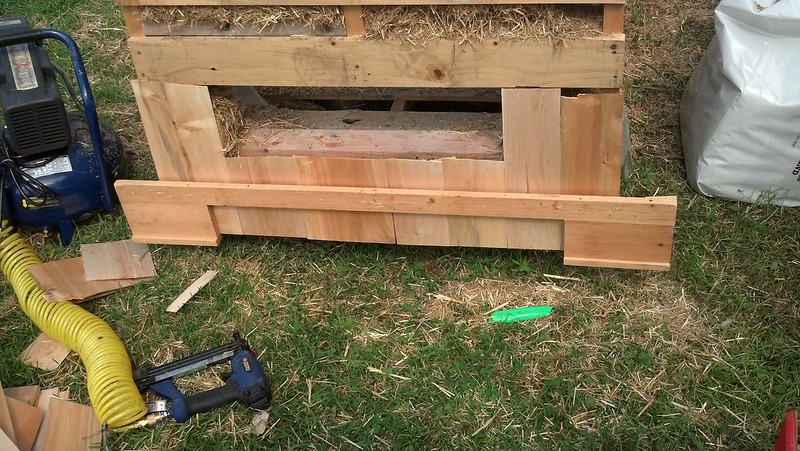
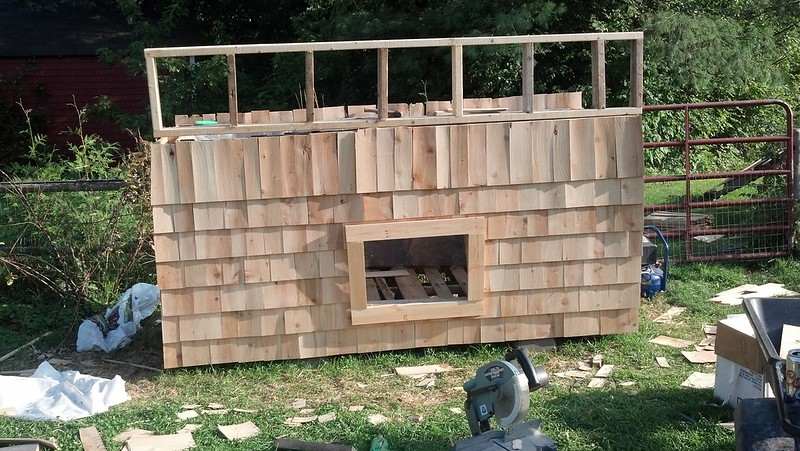
and framed it out with some scrap 2×4 I had laying around
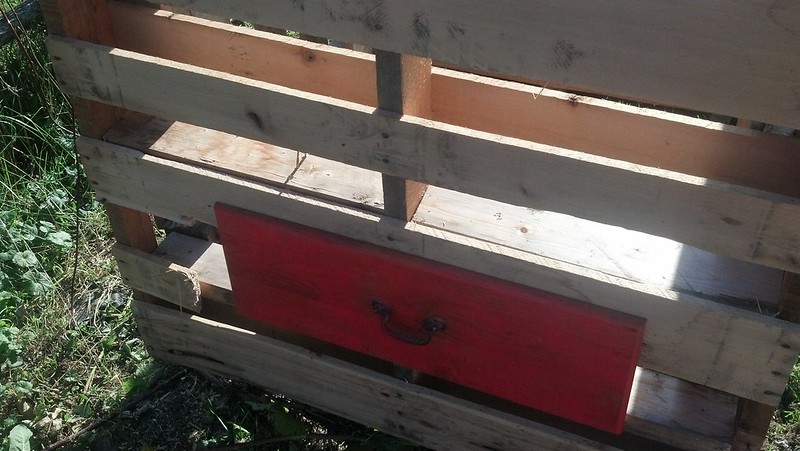
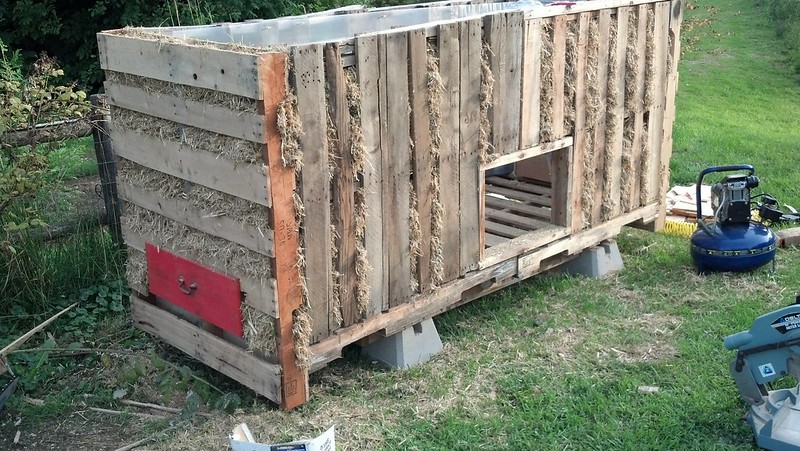
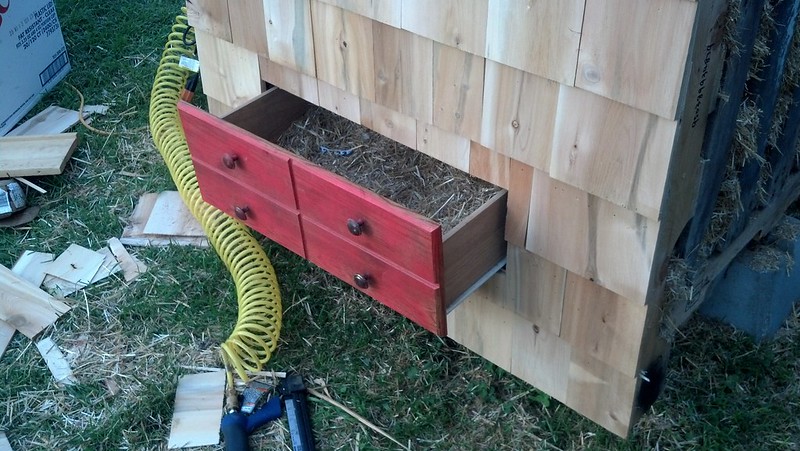
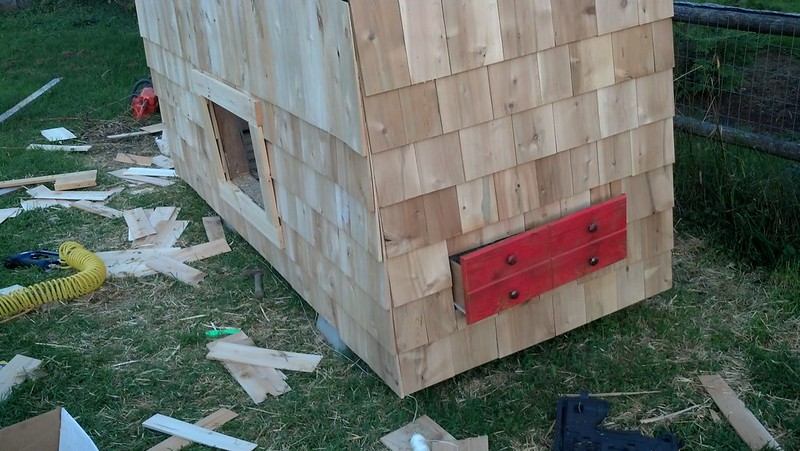
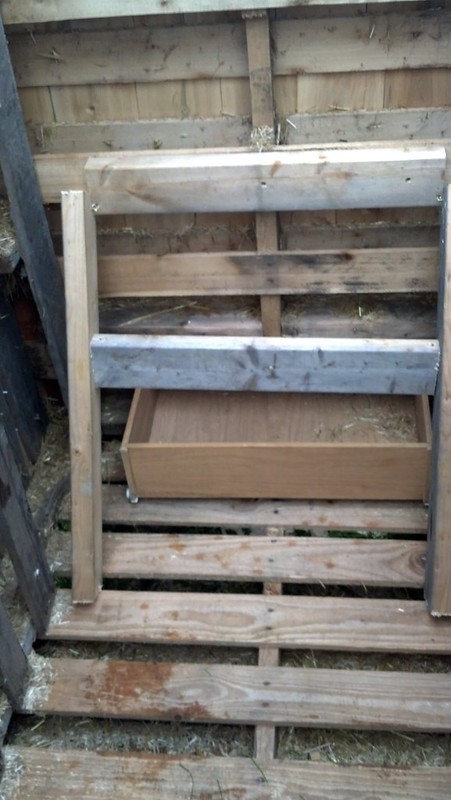
My daughter was getting rid of a old side dresser she had, so not wanting to waste anything, I decided to repurpose the drawers.
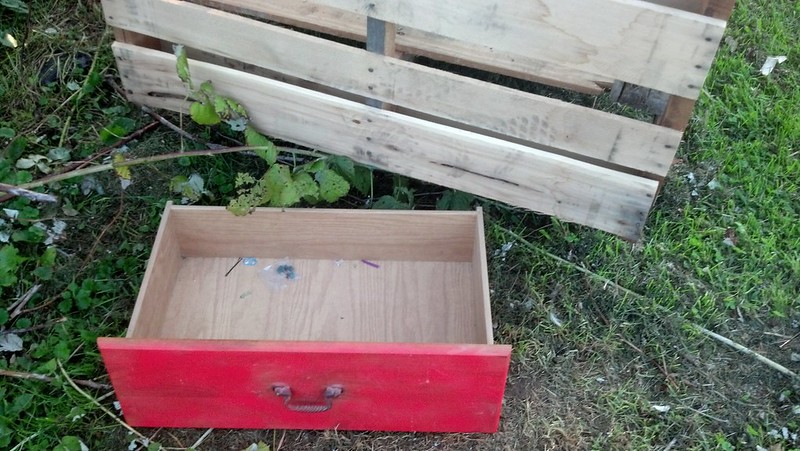
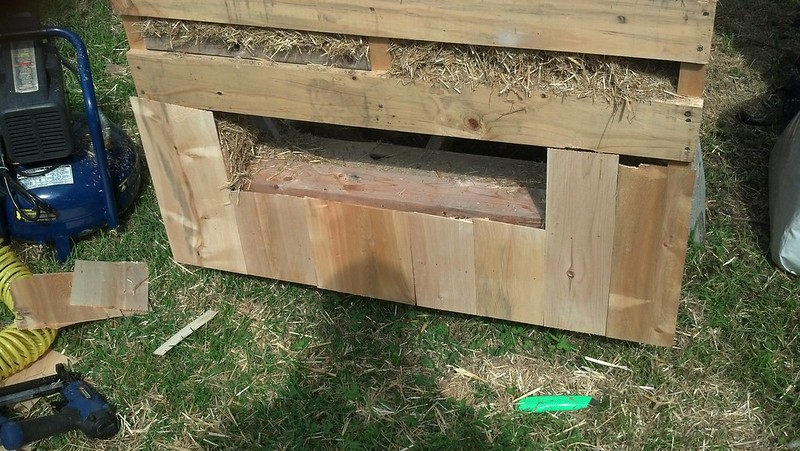
So I cut out a opening on each end and put in a filler piece of wood.
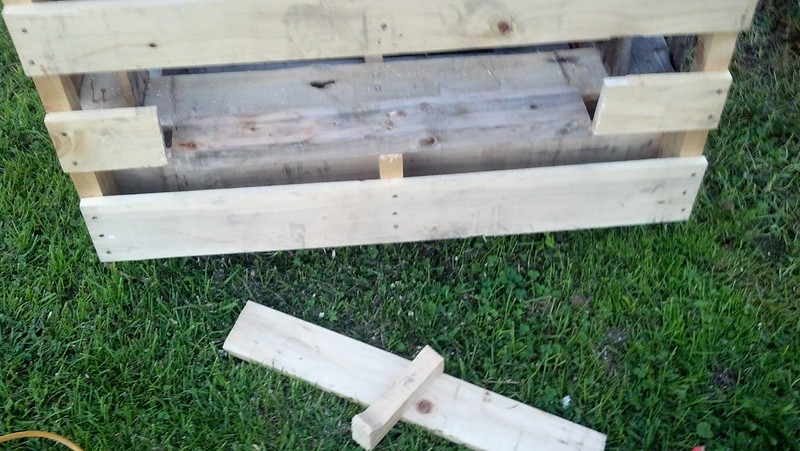
and test fit the drawers
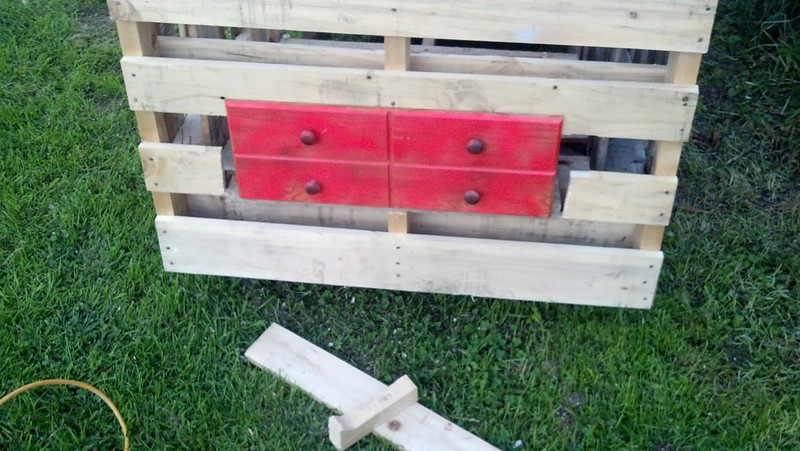
These will be used as a nesting box on one end and a poop clean out on the other, just slide them out and grab a egg or empty out the poop from under their roosting area.
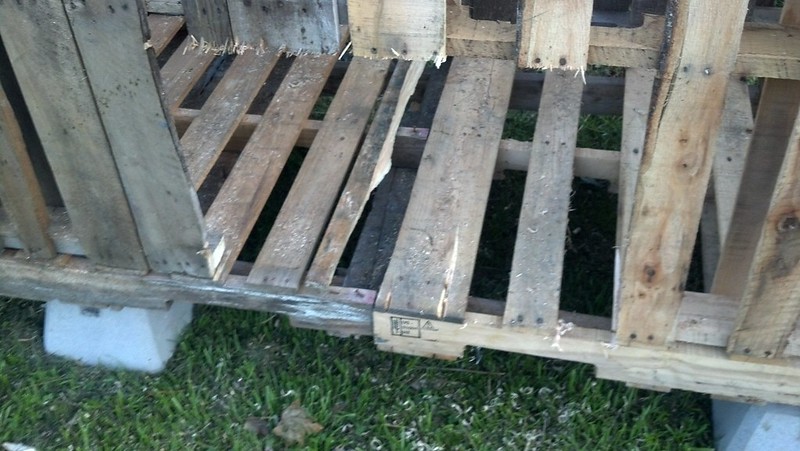
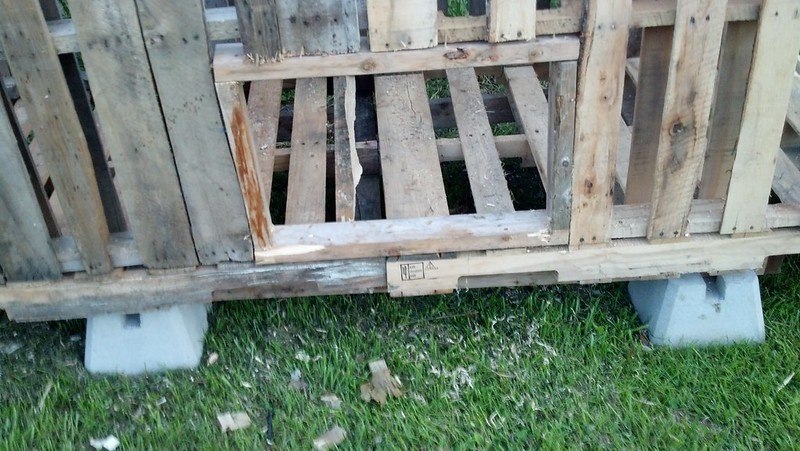
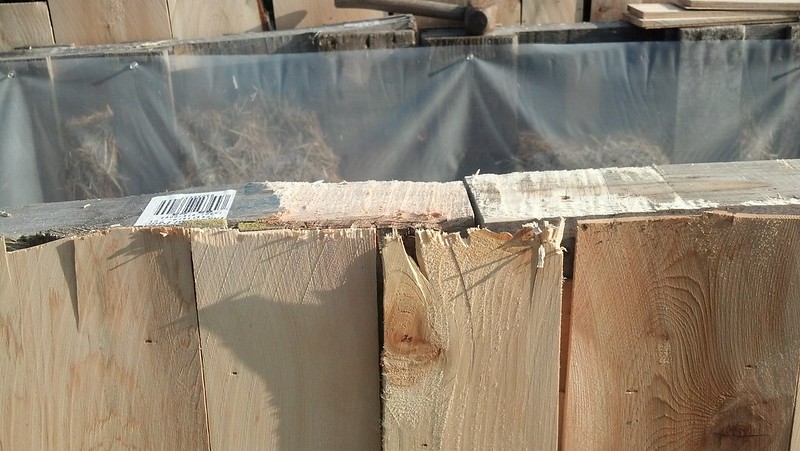
I also noticed the pallets weren’t lining up properly along the front.
so I screwed down a scrap piece of wood to level it out
My shadows give me 2 wings up so far lol
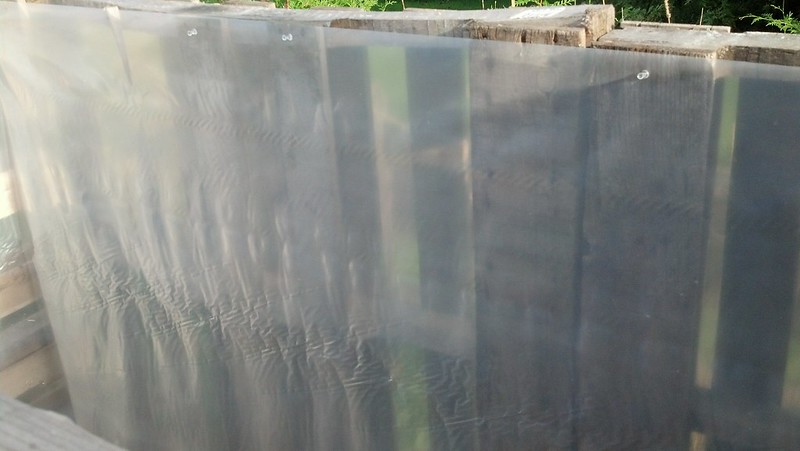
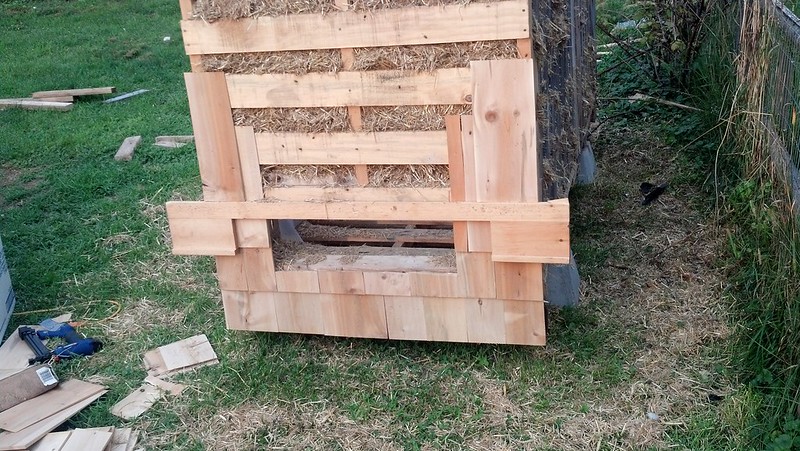
So I stuck some filler pieces on top of the drawers as well to keep the insulation from falling into the drawers
and we hung some plastic on the inside to keep it from falling through the larger gaps
I picked up some mulch master, which is chopped straw, baled straw is next to impossible to find right now.

and started filling in the gaps

No one light a match!
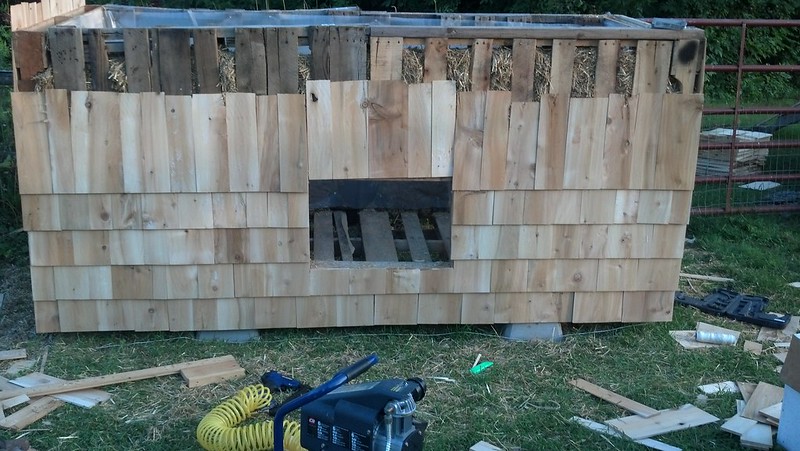
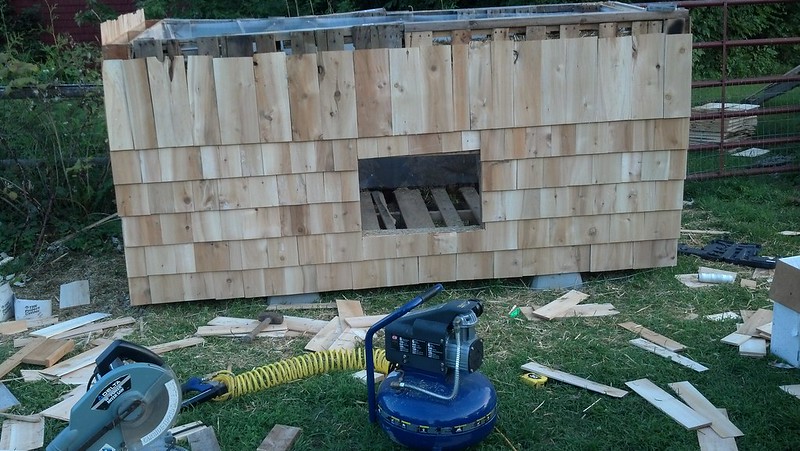
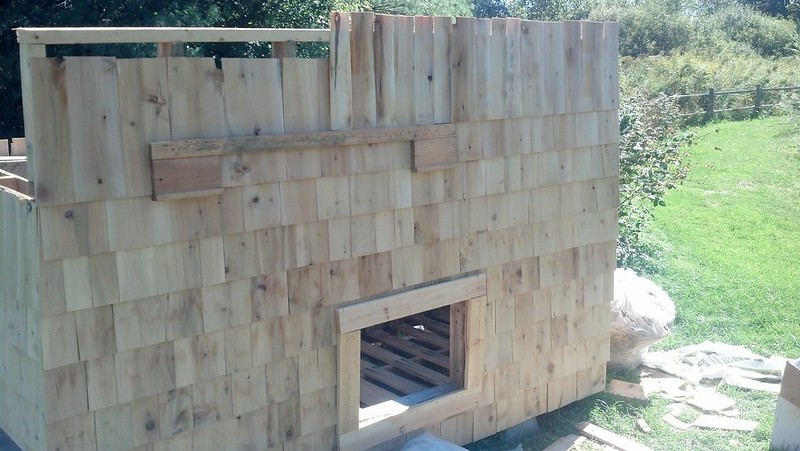
I grabbed some shingles
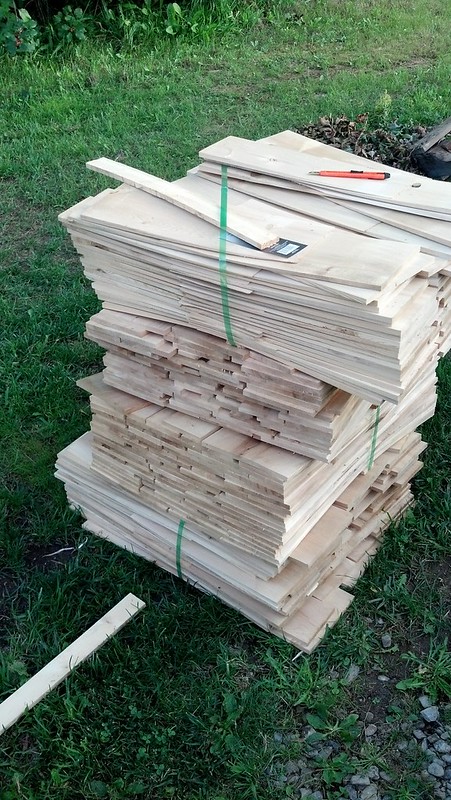
and nailed down my starter course
I grabbed my shingling jig we had used on the barn and shed, it’s just a couple scraps of T&G pine we had screwed onto a piece of 1″ material and screwed some lips on the bottom.

The lips on the bottom grabs the bottom of the course below and you just shingle right along the top of the jig, no measuring, no fuss, no muss.
That is until you drive a brad nail through your finger and your wife and daughter flip out like you just chopped your arm off, lol, my daughter is still convinced I’m gonna get tetanus.
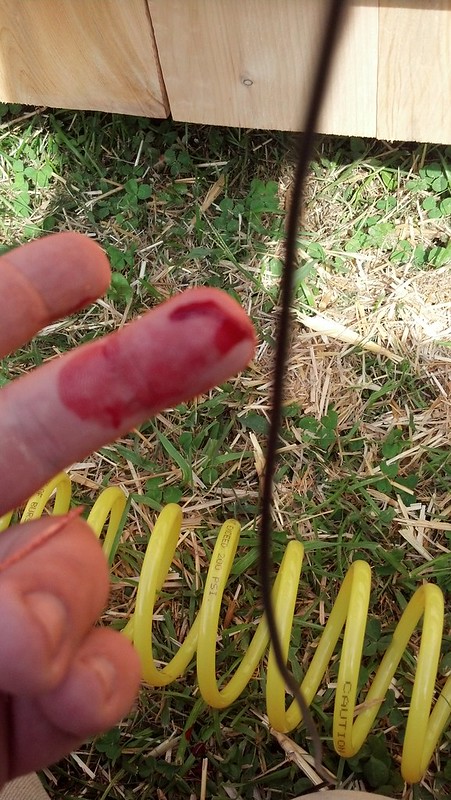
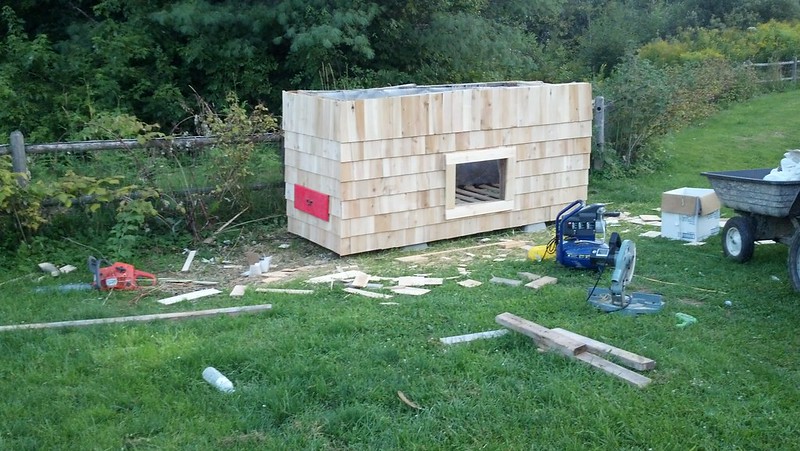
After cleaning up the blood and getting bandaged, I started back on my shingling.
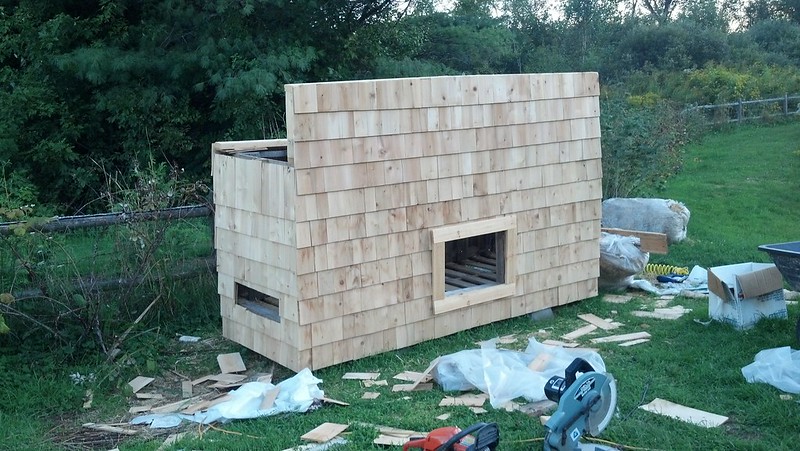
Not to shabby, when I’m done, you won’t even know it’s pallets.
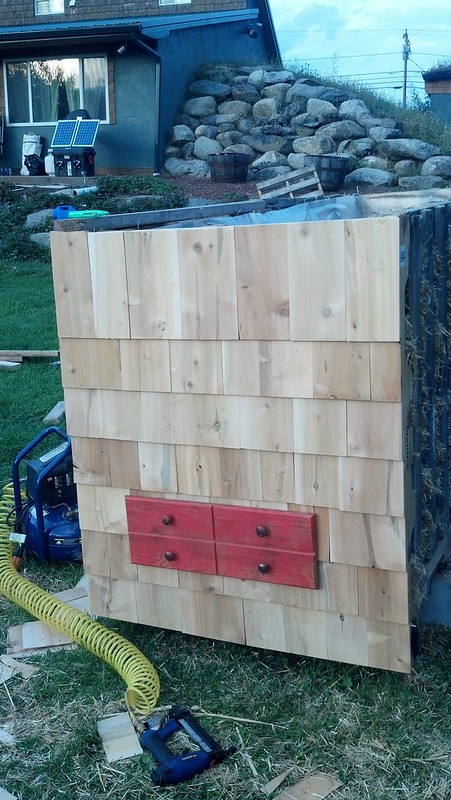
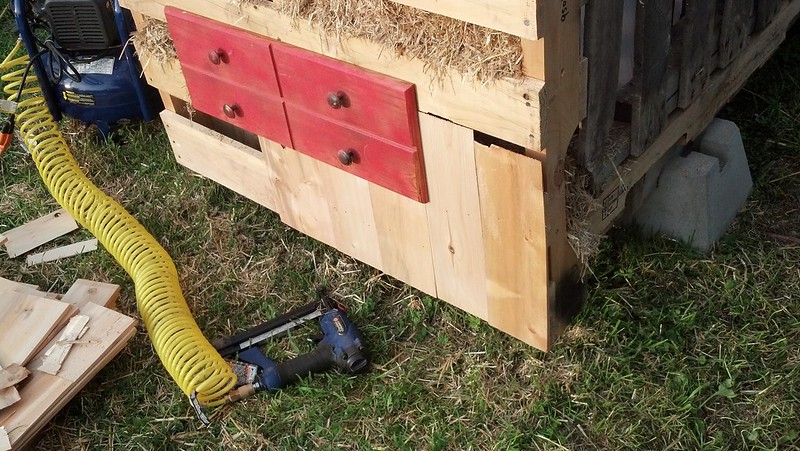
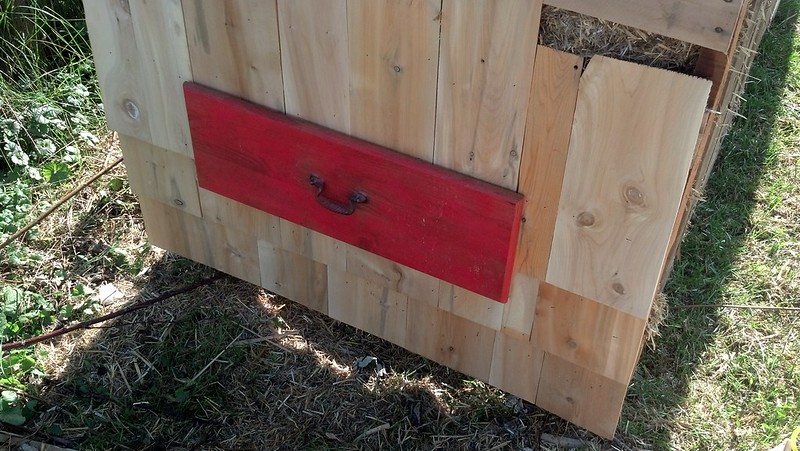
The egg drawer is ready to start collecting.
The next day I started on the other side, this drawer will be their poop clean out.

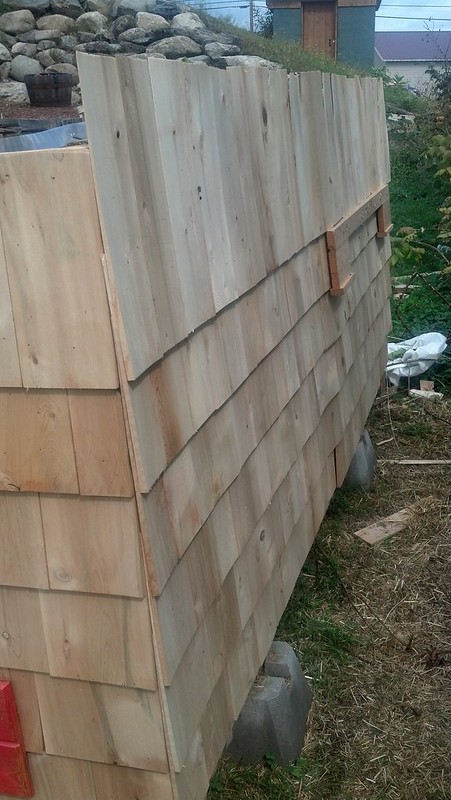
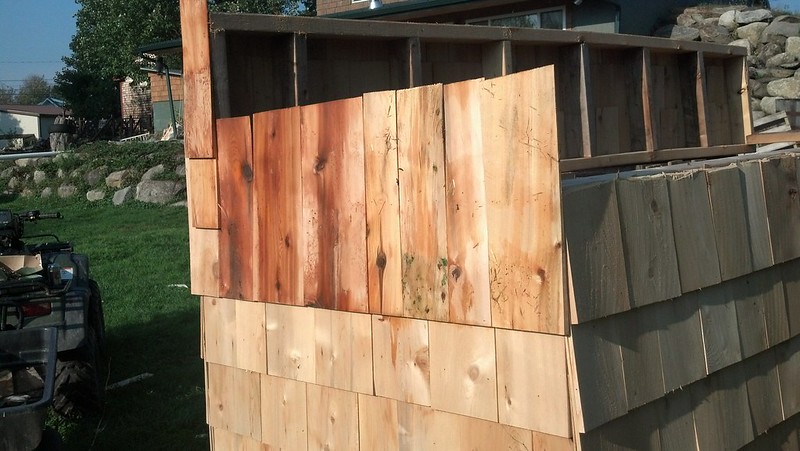
I stopped when I got to the top, I still wasn’t sure how I was going to finish off the ends yet.
So now I had both ends shingled, it is important to make it look visually level, there is a difference between looking right and actually being right as far as level. Perception truly influences what our mind thinks as correct, I didn’t use a level during any part of this, if I was building something that was structural I would be concerned about true level, but since this is just a simple chicken coop, here is how to make it look right.
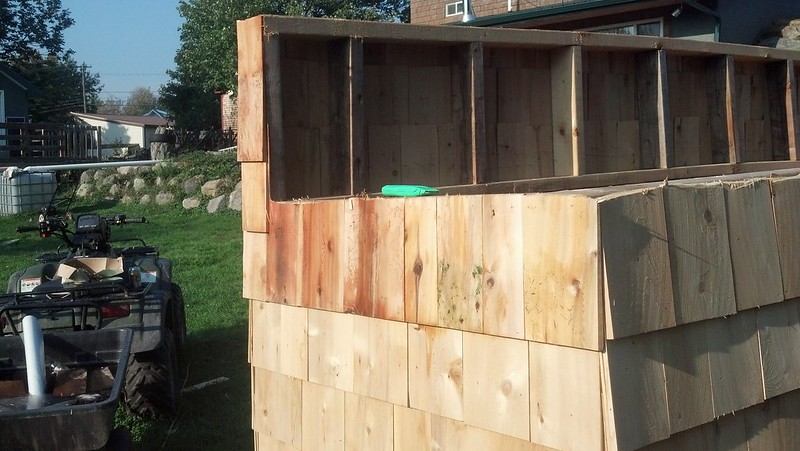
Take a push pin and stick it into the bottom of the shingles on one end and attach some string.
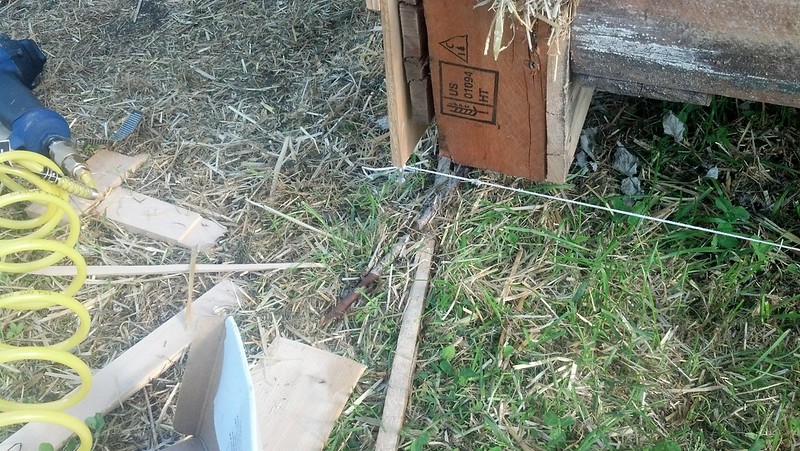
and do the same with the other side.
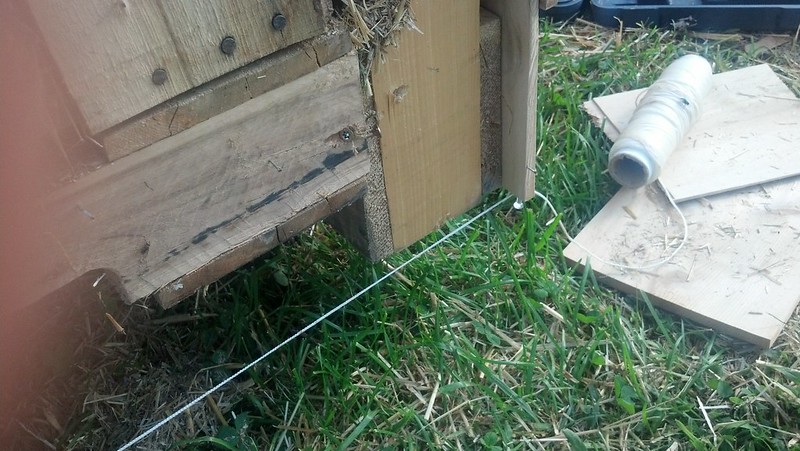
This is our “level” line, you can see how far the right side of the base is slanted downwards and how far off the string is from the pallets.
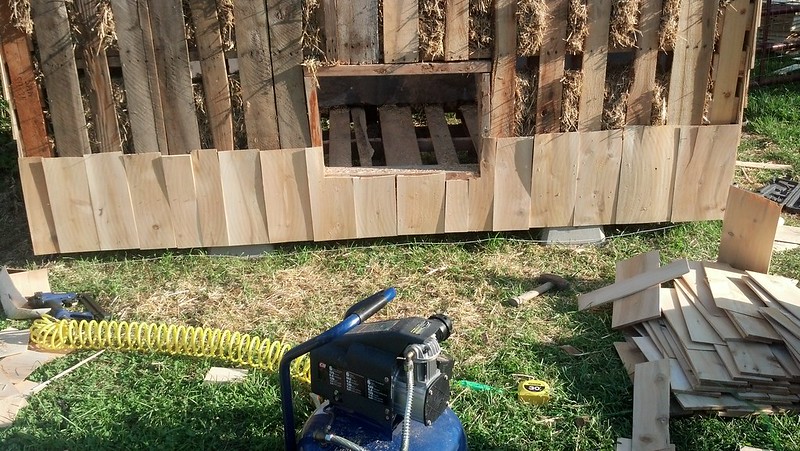
So I nailed down a starter course, you can see how much the doorway appears canted from the shingles.
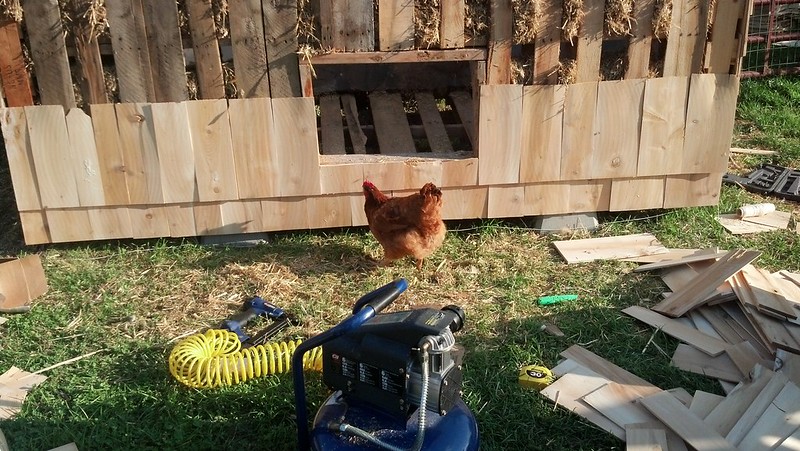
One of the girls was not impressed by my performance 🙁
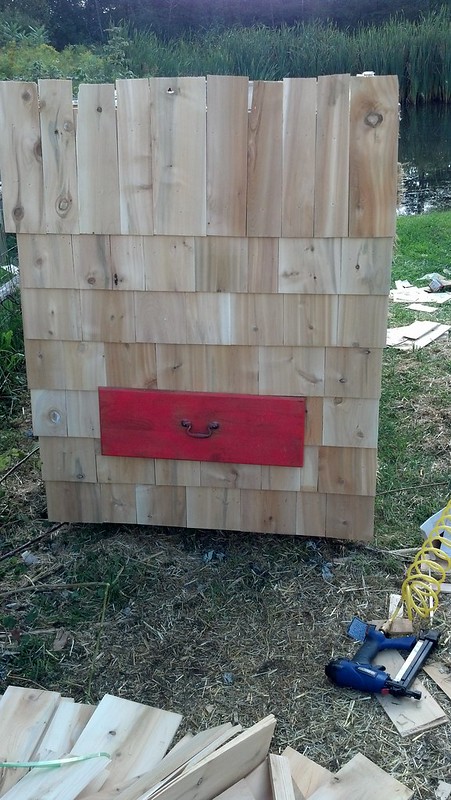
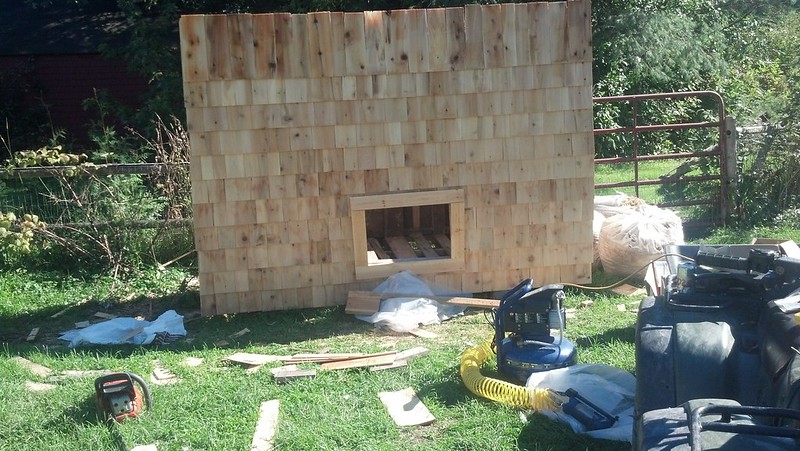
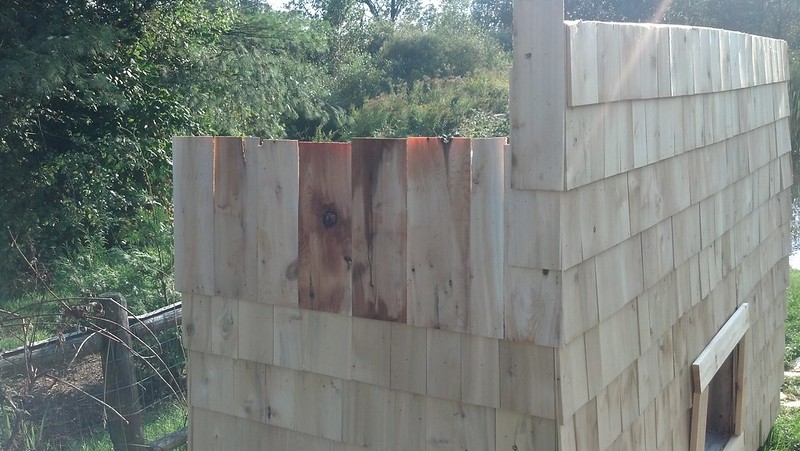
So I continued shingling away and the farther I get away from the bottom, it is starting to level out
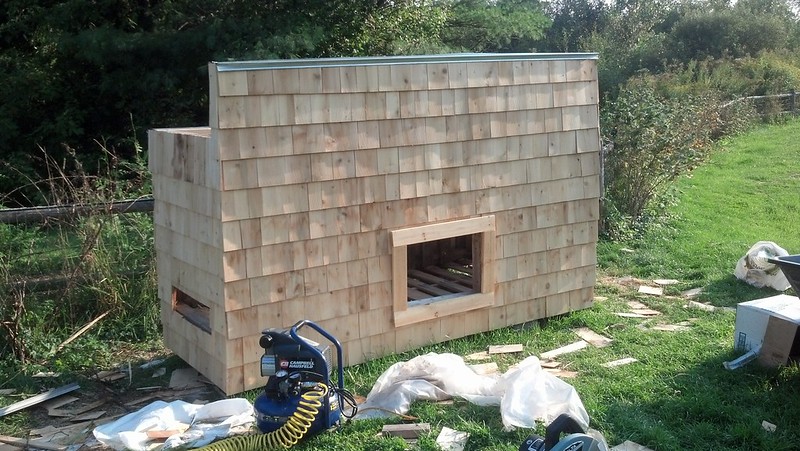
The doorway is still distracting to the eye, making the brain think, that doesn’t look right.
By trimming with pine and making that level with the shingles on the top and bottom makes up for that keeping everything in straight lines.
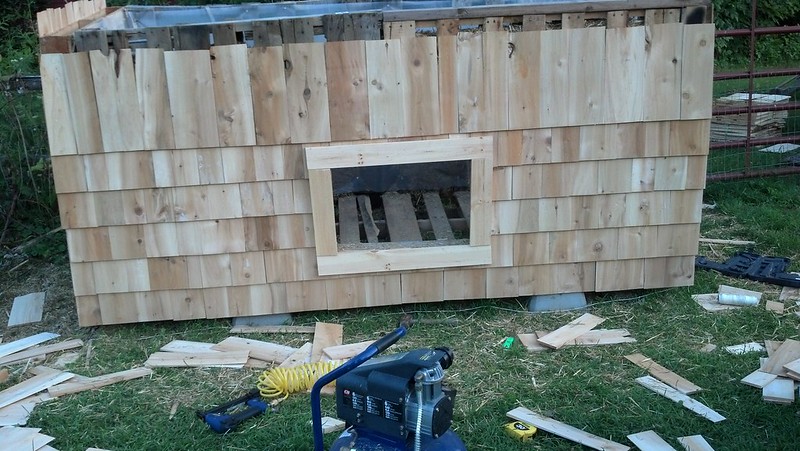
The courses on the ends and the front match up, completing the illusion that everything is fine.
I still needed to figure out what I was doing for a roof, not sure if I want to do a flat roof or a pitch like on the duck house.
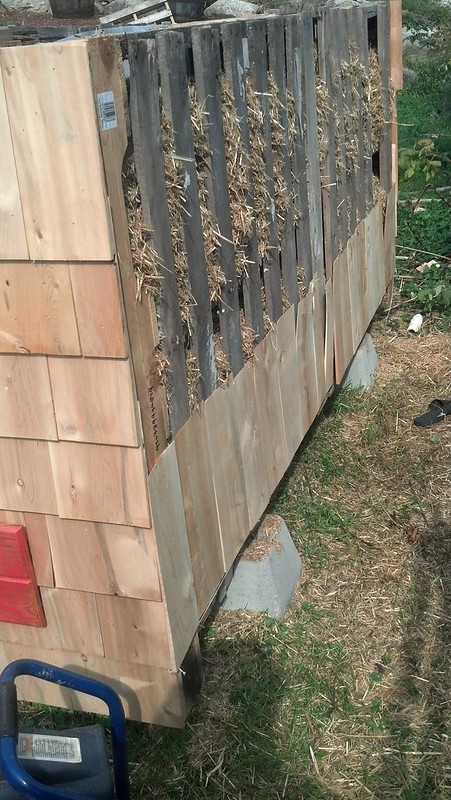
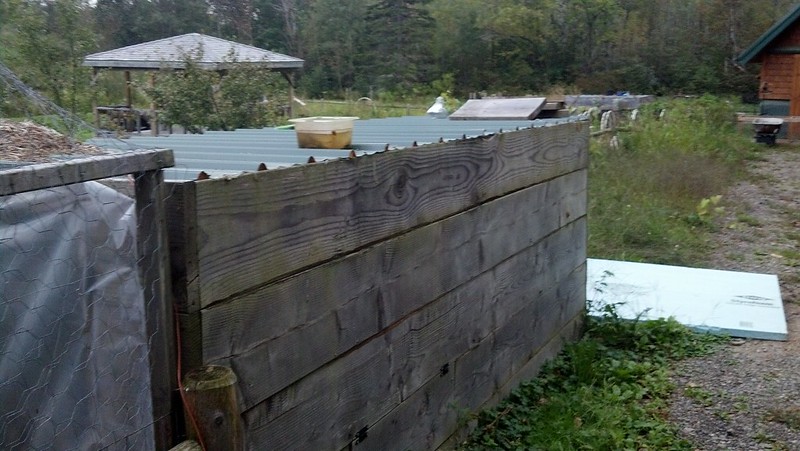
I started shingling the back side the next day, the way I had set the base on the cement piers, I couldn’t go all the way to the ground with the shingles, so the back is pretty open.
I had just about got it done and was going to start on the roof, when it started lightning and down pouring, so that wrapped up my day.
When the rain finally stopped I finished shingling up the back of the coop.
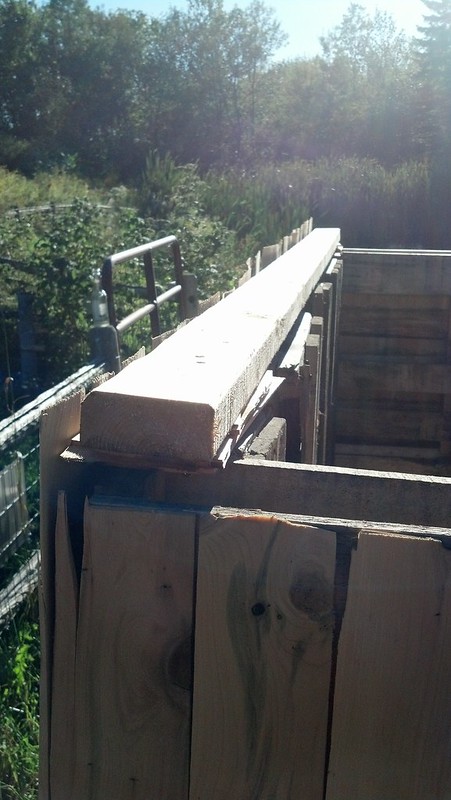
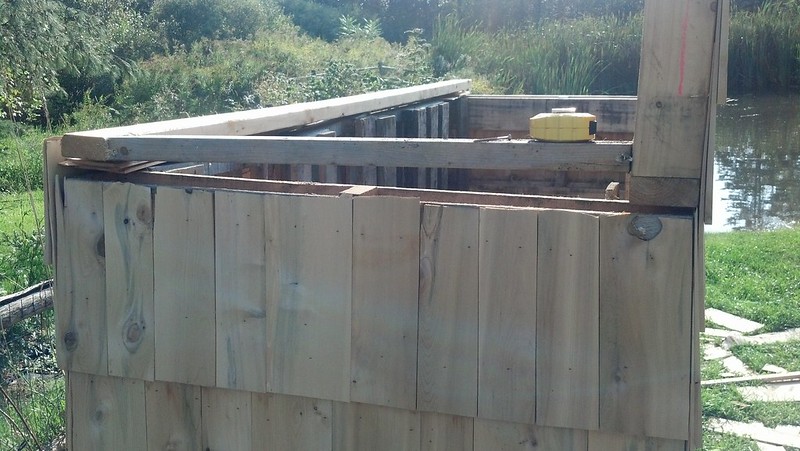
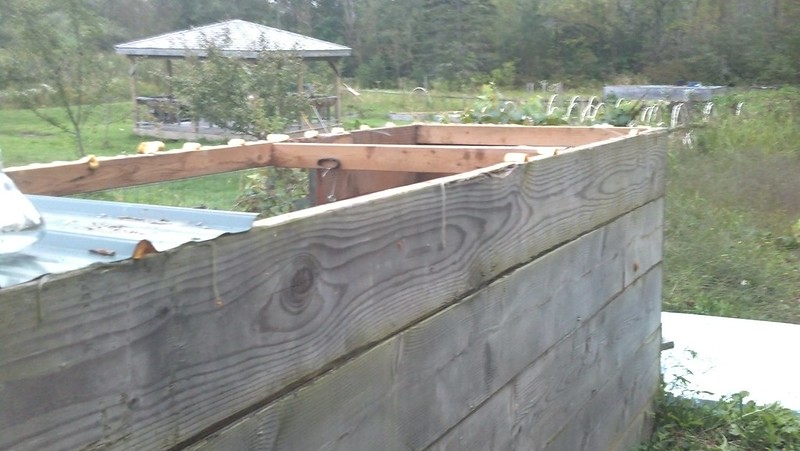
and grabbed some 2×4’s and made a little stub wall.
hmm, not sitting right
One of the pallets was warped a little.

so I grabbed my trim saw
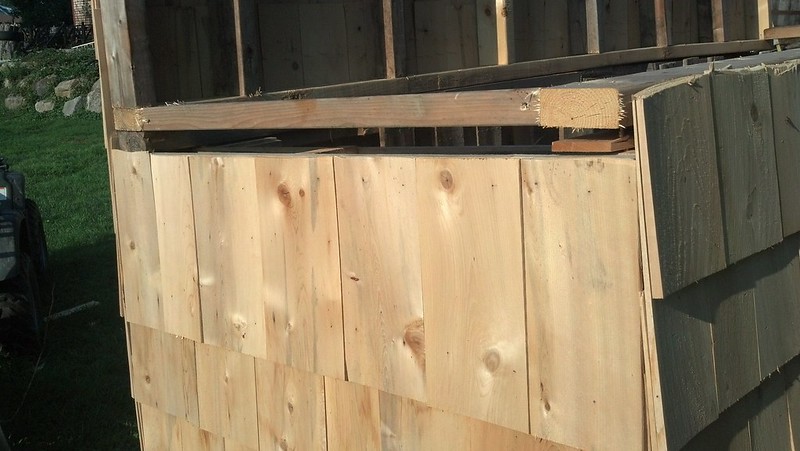
All set, you can see in the background the back pallets are even worse, I decided not to trim those because of several large nails in it, it would be a very bad day for me if I tried cutting that.
So I screwed it down and continued shingling.
For the back I used the high point in the middle as level and just shimmed the ends with scrap shingles and screwed the ends down to secure it.
and shingled it the rest of the way, the turkeys in the background were like, you done yet?
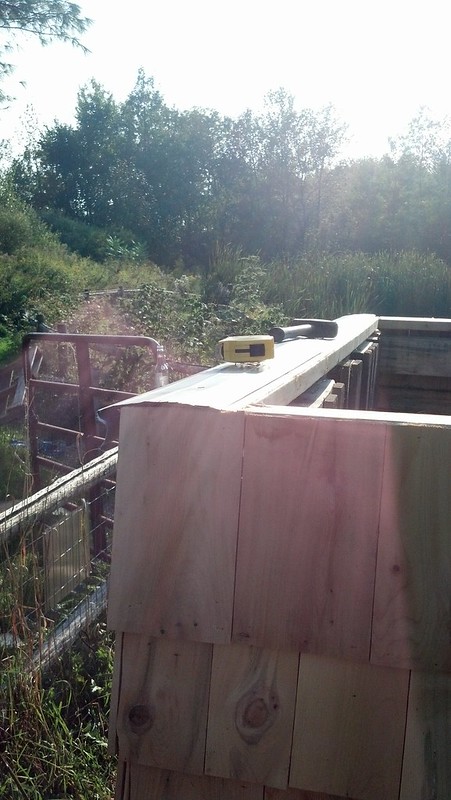
I then took my utility knife and trimmed the edges of the shingles.
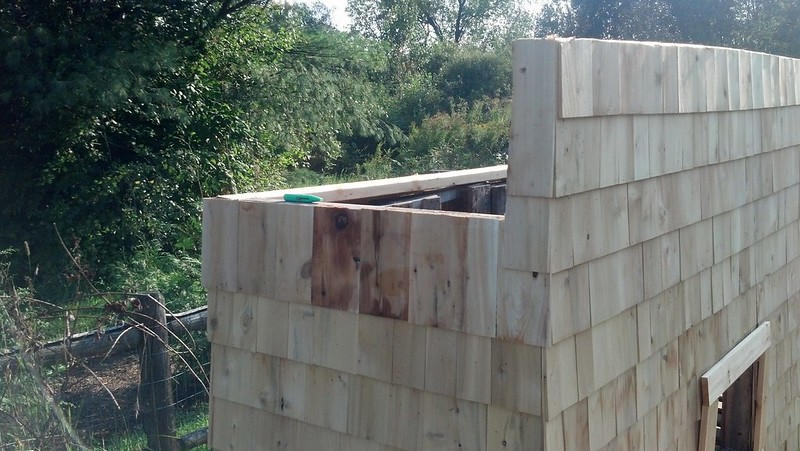
I put in a filler piece on the end, I measured up from the last row of shingles we had nailed down to make sure it visually looked right.
and did the same on the other side
and shingled them
I trimmed the extra
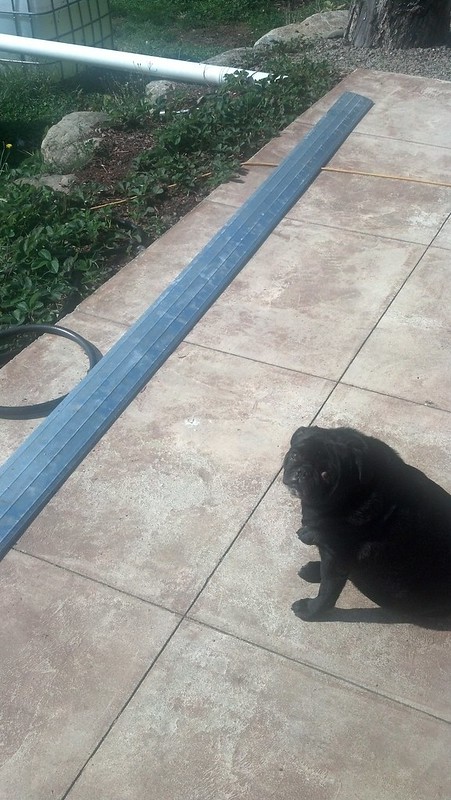
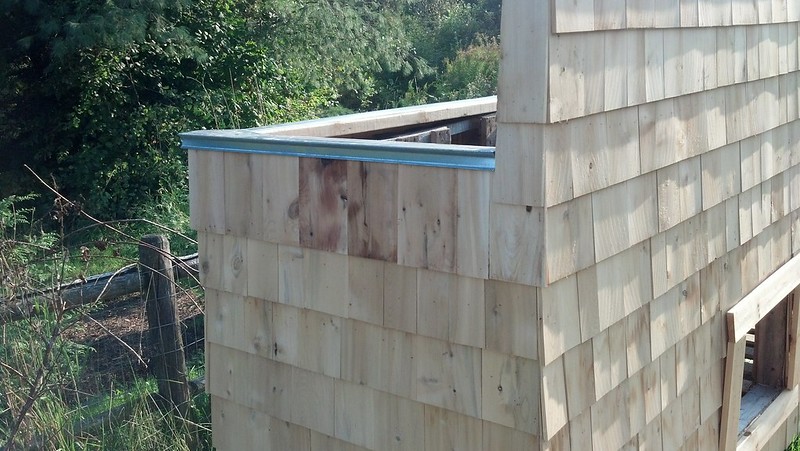
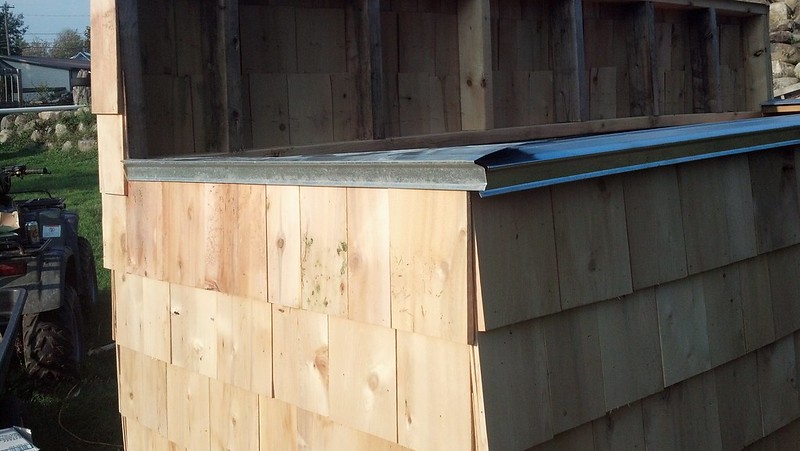
I had picked up some drip edge, ignore the pug, he’s a suck up and just wants some food.
and nailed it down on the front, back and sides
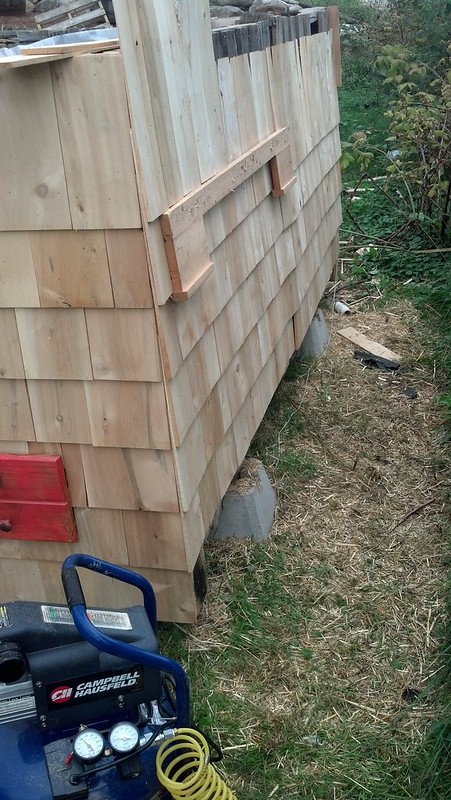
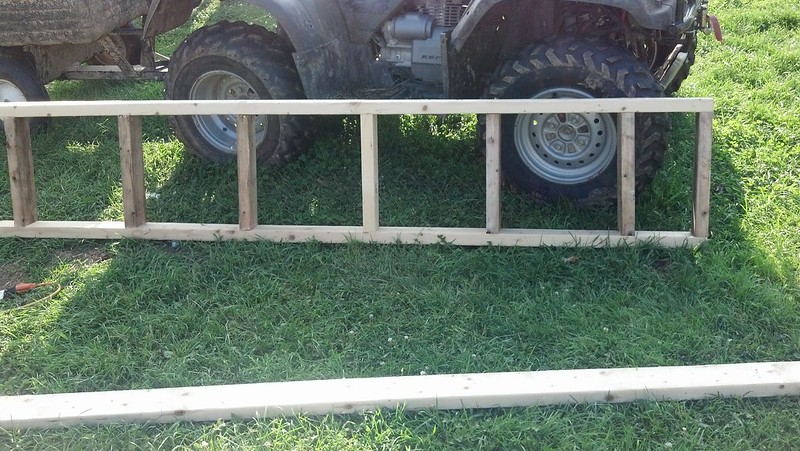
I framed out a small roost for them above the poop clean out drawer.
I needed to get some roofing,and decided to grab it off our old coop.
I quickly screwed down the metal roof, now just need to throw a door on and stain the whole thing, and then we are done!
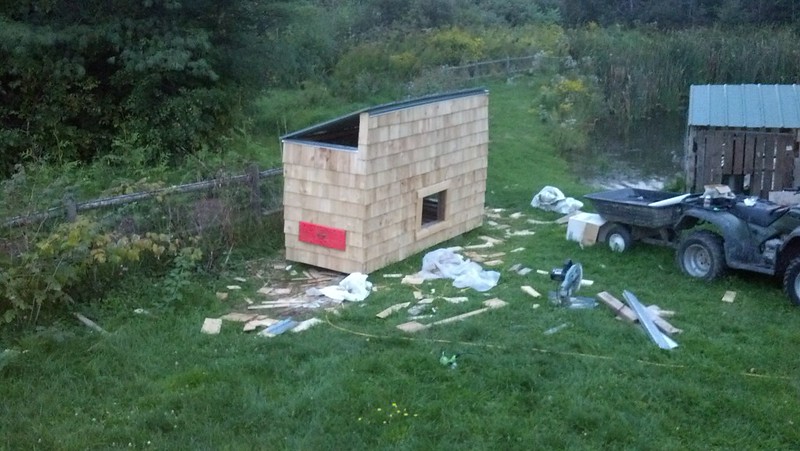
to be continued with a complete price break down.


Are YOU able to get into the coop at all? I don’t see a human size door. Not to criticize, but wondering… I would think that would be critical. if you had an ill bird, needed to put feed/water in the coop….
Yes, we can get into it very easily
Fun, did you build perches or other furniture inside the hen house? Would you consider a hinged door that allows you to gather eggs and clean the house? We had a hen house when we were kids and I doubt that it was insulated and I remember how cold it got during the winter. 🙂 Bart
did you put anything on the floor or just pallets? is the drawers where you collect the eggs?
Got my first egg this evening!
Congrats Jeremy!
Hi there!!! I am currently in the process of building my chicken coop and using your complete method! I am so very excited to get it finished..
Can you please tell me– I see that you used the old roofing from your previous coop… did you place any roofing flat along the top of the pallets UNDER the sloped roofing? Did you use any chicken wire or anything?
My main concern is just with moisture getting into the coop but I can understand leaving it open for ventilation etc.
Please let me know! I would greatly appreciate any response you give!
I did not, enough of a overhang should stop any issues for you, good luck jasmine!
Thank you so much for the detailed description and understanding why and how it ends up looking level!! It all made sence to me!! Thank you for such a fabulious post!
DCole
I copied KVR’s build also. One thing I added were a pair of 2×4 beams across the top under the roof to hang a waterer and feeder. I noticed the chickens use these as additional roosting space!
What did you use for the inside walls? I saw the plastic, but assume the chicken would peck through that.
We ended up taking it down and just stuffing the walls with straw, the chickens like to peck it out and use it for bedding
[…] Want to keep chickens? This tutorial will show you how to build an inexpensive home for them. Click here for tutorial. […]
how much did this end up costing you? just wondering
I’ll have to check my numbers, but it was under 150 dollars if I remember correctly
Did you put anything on the floor cause won’t their feet (the chickens) go through? I’m building this at my house and I was curious.
Hey Tod, I didn’t, I left the gaps so anything that falls through I can rake out from underneath in the back, a cheap piece of remnant laminate flooring would be helpful for cleaning if you decided to add something
Update, the chickens have been using the nesting drawers, wish they would have given us a heads up 🙁
[…] http://thehomesteadingboards.com/2013/09/pallet-chicken-coop/ […]
How do you keep the inside clean and disease free….???
I love your delicate trim work (with the chainsaw)! That is hilarious. I’m researching coops and you do make this look super easy. Would it be easier and/or cheaper to get plywood for the outside & then paint it? (I’m *very* inexperienced at building, btw, and certainly don’t have an air-powered nail gun!)
Also, do you ever have ducks wanting to use the chicken coop and vice versa?
I like this! I am stuck with 13 pullets and no new coop bc my help bailed on me. I have pallets and limited building experience. What are the interior dimensions? Do you have to replace the staw? I like this idea of eco-insulation, but does it not get wet and moldy? Did you already have the shingles or is that factored into your cost?
Hey Nina, interior dimensions are roughly 3×9, the chickens have decided they like picking the straw out of the walls so there isn’t much left
I would like to know how many chickens this was for and what did you do for ventilation.
we use it for 3 chickens and ends of the coop are open on the roof line which provides ventilation
Any issues with them laying eggs on the floor or removing the straw from the nesting drawer?
Not at all, now removing the straw from the walls is another story!
Ok good. I have 3 pullets and a brahma rooster so this should be enough room for them?
Yes, it should be, you would still need a run for them, we let ours free range
[…] a big fan of pallet construction as seen by some of our personal builds we have documented as well as projects of others that we have shared. Being able to re-purpose what […]
how big where your pallets?
Where did you get the shingles? I’m looking at making this as I have someone with plenty of pallets I can get.
[…] and easy can still look nice in your landscape when you follow these picture-heavy plans for building your own backyard hen house. No one will guess this hen house is made from recycled […]
[…] Build a Chicken Coop with Pallet […]
[…] Pallet Chicken Coop @thehomesteadingboards […]
[…] Pallet Chicken Coop […]
[…] Pallet Chicken Coop […]
[…] Build this chicken coop […]
[…] Tutorial: thehomesteadingboards […]
[…] then you need to gather all of the supplies that you will need for this project. Not only will you need plenty of pallets to use for the wood, but you also need screws, nails, insulation, plywood, 2x4s to frame out the […]
[…] Tutorial: thehomesteadingboards […]
[…] Tutorial: thehomesteadingboards […]
[…] Project details: thehomesteadingboards.com […]
[…] Project details: thehomesteadingboards.com […]