
Here is an inexpensive DIY rocket stove project that my brother put together a couple weeks ago. No special skills or tools are required and the materials cost less than sixteen dollars.
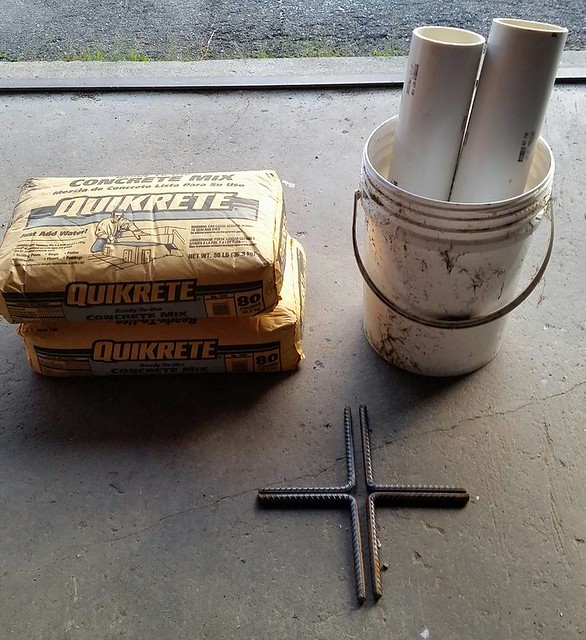
Materials:
- Two bags of quikrete $5.76
- Four feet of four inch pvc $6.00
- (4) One foot sections of rebar $4.00
- Two 5 Gallon Buckets (free at local bakery or restaurant)
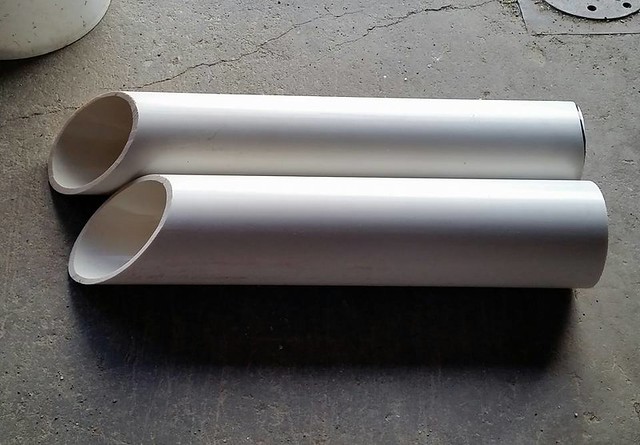
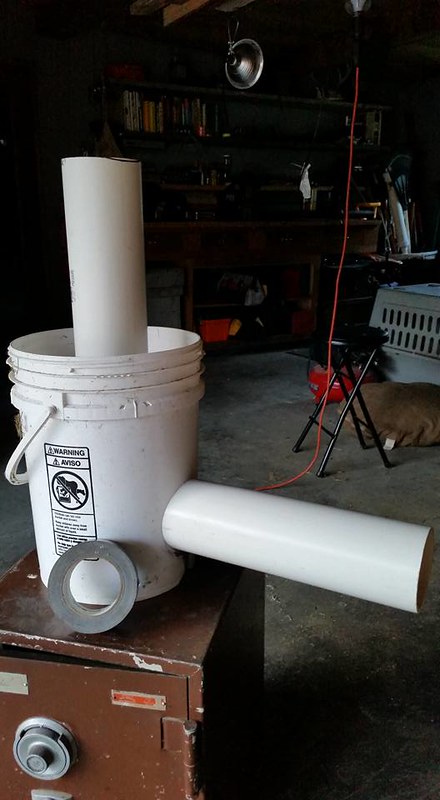
Cut the ends of the PVC at a 45 degree angle.
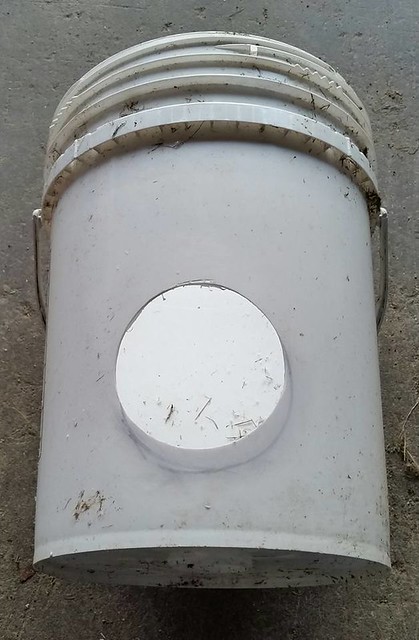
Cut an opening into the bucket 4.5 inches in diameter.
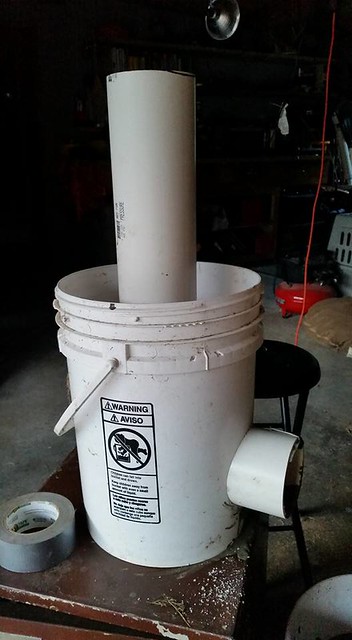
Insert horizontal piece of PVC pipe.
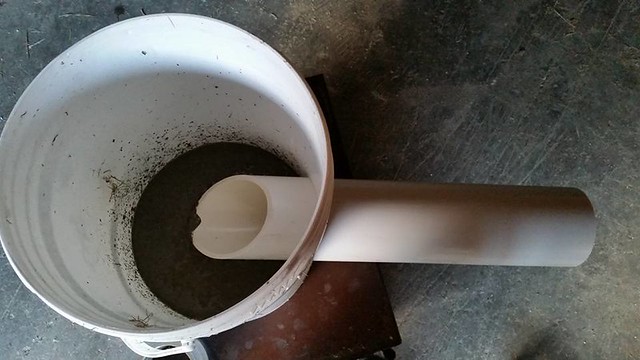
Line up the vertical piece and use duct tape to join the two pieces together on the interior surface of the PVC.
If your arms are stubby like my brothers cut the horizontal piece back so you can reach inside the pipe.
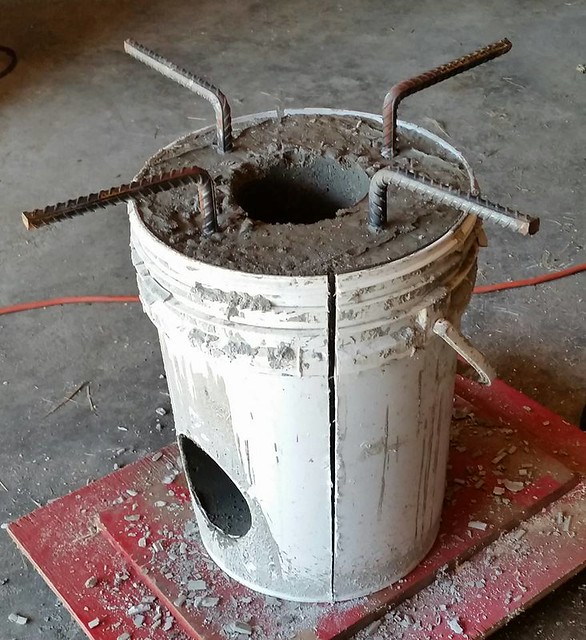
Mix up the cement and fill the bucket slowly, use some scrap wood to form a framework to insert the rebar sections.
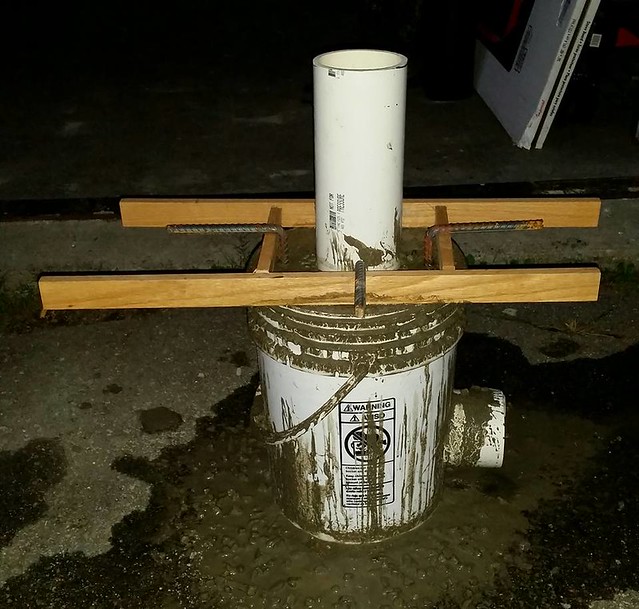
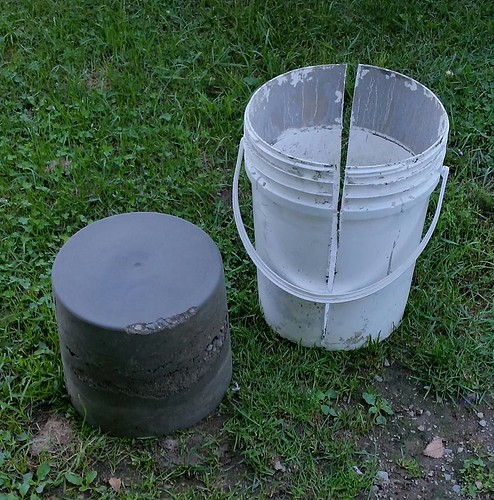
Use the leftover cement to fill the second bucket about 2/3rds full.

Let the cement set up overnight and remove the forms.
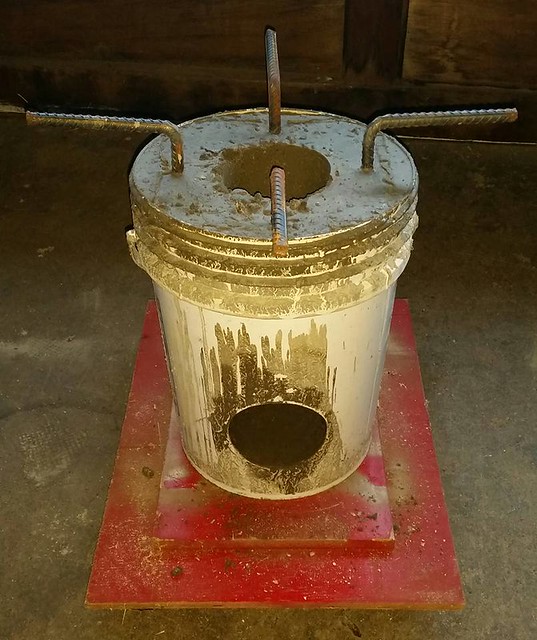
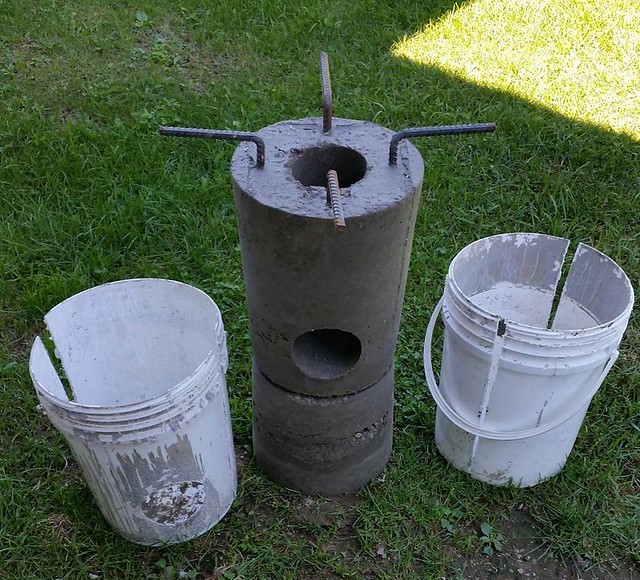
Cut the sides of the buckets and remove the cast pieces, the PVC pipe should slide right out.
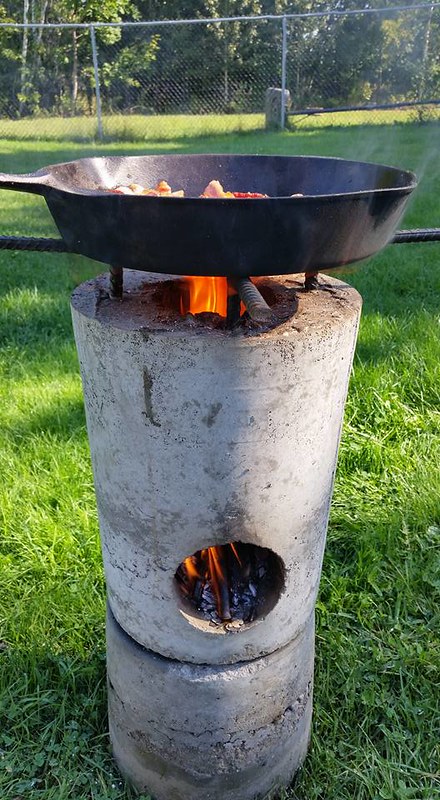
Set the rocket stove onto the inverted base.
To fire the rocket stove insert some paper and twigs down the chimney section to get a draft going. Do a short firing over several days to slowly cure the stove to prevent it from cracking.
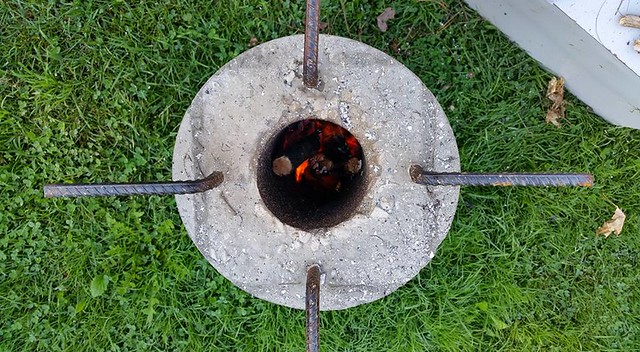
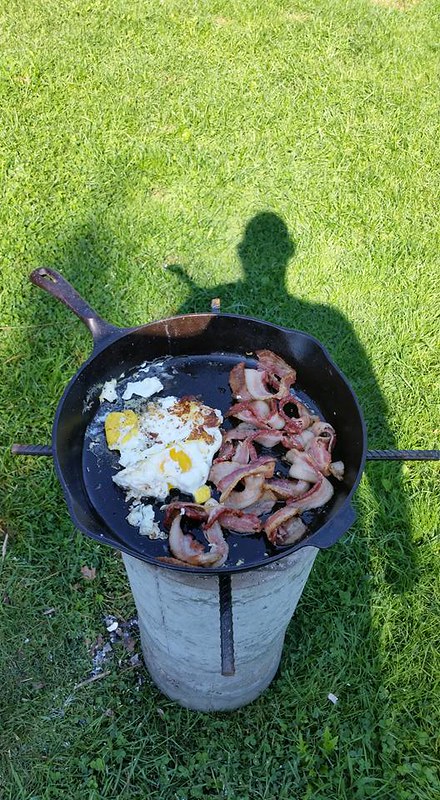
After several sessions of firing you can start cooking your breakfast. Once you have your draft going feed the fire from the horizontal opening in the bottom.
Time to eat!
Exterior temperature immediately after finished cooking.
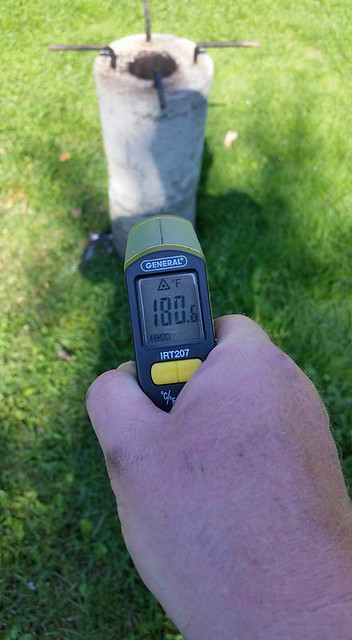
And a hour later.

I tried convincing my brother to add some perlite or vermiculite to his cement to help with expansion and contraction but he wanted to keep it as simple and inexpensive as possible. He has reported no issues with it after constant use for the last couple weeks; of course as a concerned brother I will report back if it fails miserably. 😉
 Join the forum discussion on this post


Seems to be holding up pretty well, they have been using it pretty regularly with no issues. They made some steak and potatoes last night.
Crazy the flame that thing produces.
Wow, that’s pretty bad-ass!
Ive never tried to bend rebar. is it easy to get it into a 90 degree angle?
It’s not too bad, I usually stick it into the pin hole on my vehicle ball hitch and use that to bend it.
THis is awesome.
I have a purchased rocket stove my made stove tec…i think it ran like a 100 and made overseas 🙁
This thing looks awesome…not only that but I could see some applications becuase of how long it heald heat where you could cook with outside and bring it in to warm tent / rustic shelter.
very cool… intrested in when it starts cracking apart.
I am interested in seeing how it performs this winter, I would imagine if there is going to be an issue it should happen then.
I was thinkiing about ordering the rocket stove from Silverfire.
I may have to hold off and give this one a shot.
Let me know how it goes for you groin.
You left the part about the pipe out lol.
I got my supplies today, I’ll see if I can start working on this tomorrow. Would love to have it done by the time my brother comes out from California next week. I may go with the perlite option. We’ll see.
oopsies 🙂
OK, so I put it together last night. I may have made a tactical error though. I think I put the rebar in way too close to the flu. We’ll see later when I pull the PVC out.
Hopefully I can fire it up real quick when I get home.
groinkick , how did it go?
Honestly, I havent had time to even disassemble the molds yet.
I used drainpipe instead of plain PVC when I was putting it together and I didnt notice that it has those small ridges in it.
I cant just pull it out of the stove, Im going to have to cut it out. So when I get some time I’ll get around to it. May not be until the spring though unless we lose power or something and I need it emergently.
Just put a little gasoline in there and burn it out.
I’m kidding, don’t do that.
….road flare????
Here, hold my beer. I’ll get it out
take a video
Hey K!
I see I am coming late to the party but I was wondering how the above heater your brother built is holding up?I am thinking about building something similar. I was thinking about using metal vent pipe so I don’t have to worry about removing the PVC and so I can hook it up to a chimney in my workshop.
It has held up well, he is still using it.
Post Awaiting Approval by Forum Administrator