Here is how we built our rainwater catchment system. When we built the house in 2009 we had a local guy come in and do our rough in for our plumbing for us. He asked me where I wanted to put the outside water spigot, he couldn't understand why I didn't want one. I had plans to build a catchment system off the roof, it's why we went with the metal roof in the first place. Besides with the pond as well we had all the outside water we would ever need.
The spring after our first year in the house we decided to get the system installed, we really made a push with the gardens that year and the extra water would be welcome. We have a local guy who sells the 275 gallon totes so we went and picked up 2 of them

man he looks so young and skinny, he wasn't really impressed by my performance

We played around with different layouts, we were thinking of putting one on each side of the house

man the yard looks empty

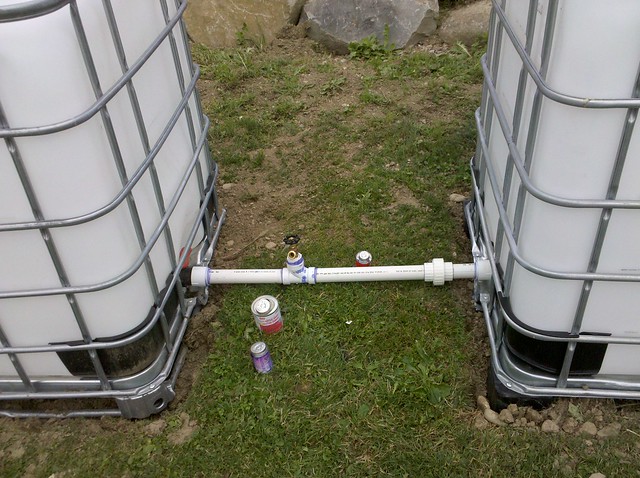
We finally decided on putting the totes side by side and piping them together, we threw a level on them to see where we were at
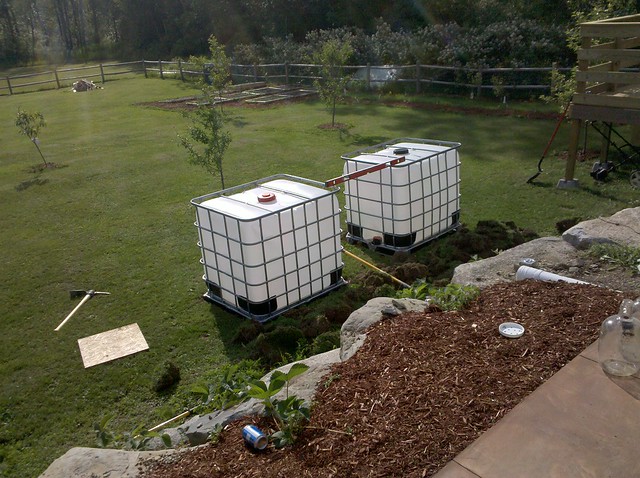
and excavated out the yard a bit to level them some
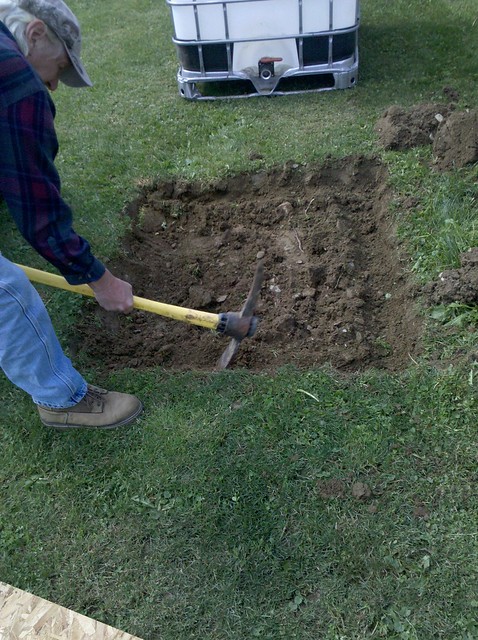
We threaded on pvc fittings and a quick disconnect so if we want to move them and drain them, quick note here some totes have different threading on their valves, we had to return one and swap it out because it was reverse threaded. You would think they are all the same, but they are not.
I ran a 4 inch pipe from my downspout into the one tank
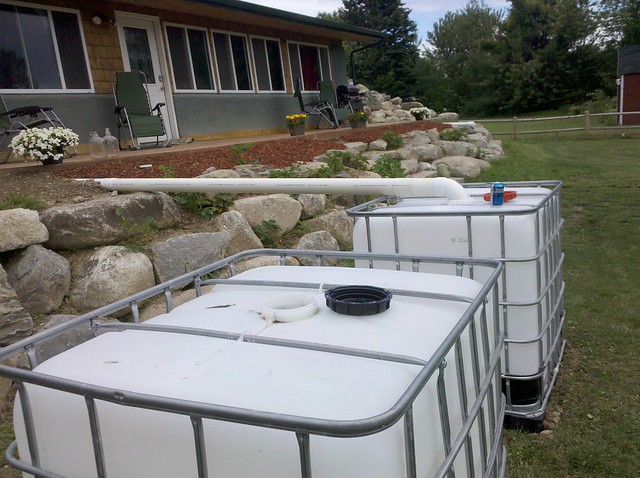
and out system was complete
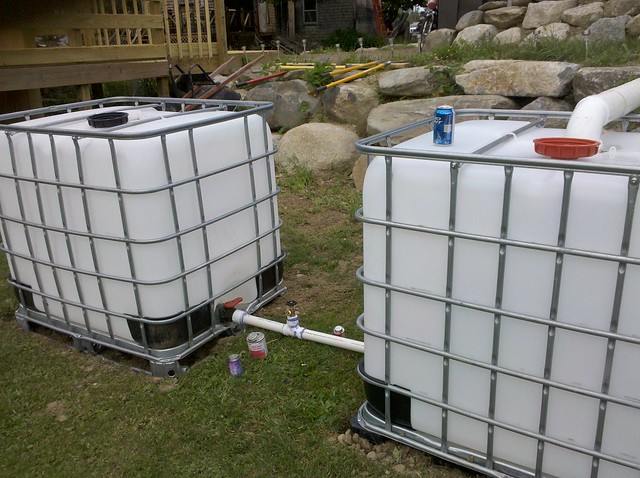
after a couple days of rain

I installed a hose reel and I was ready for watering the garden!
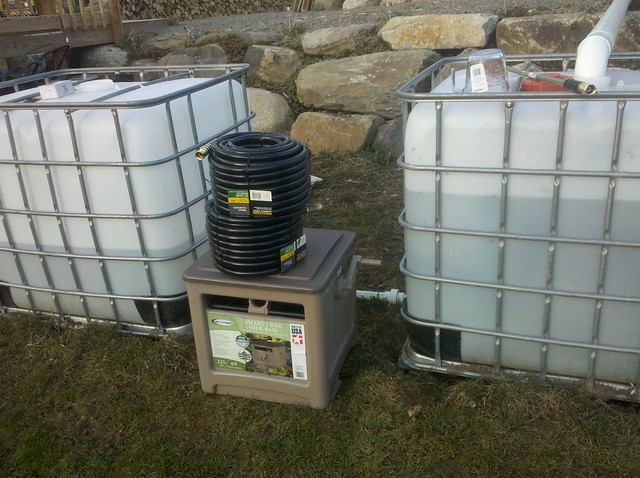
couple of thoughts, the totes need to be protected from uv or else they will start to yellow and turn brittle. My thought was to build a cedar and enclosure and make it look like a cedar planting bench. It is still on my to do list

also albinorhino asked how I keep mine clean, I just drain them in the fall and after their initial top off in the spring, I have heard of people putting bleach in them to keep the algae bloom down but we haven't had to do it at this time.
I hooked mine up the other day, time to fill them up
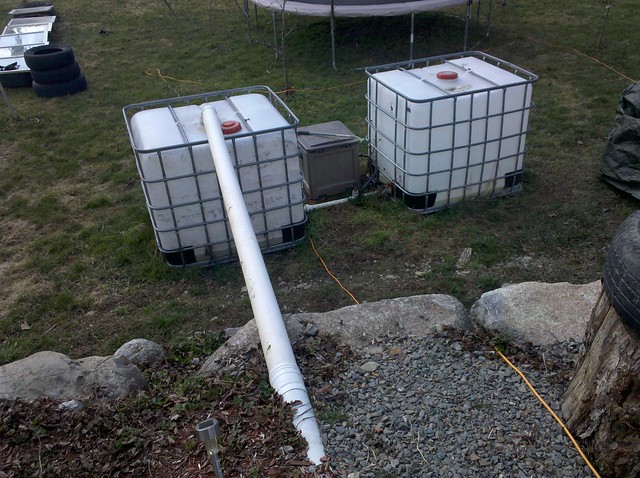
one last note if you are going with totes, double check what they were filled with. The man we bought ours from said they were all food grade but one of them had a chemical smell and had a white scum on top of the water. We had filled and drained it several times but could still not get rid of it. So we ended up taking it back and swapping it with a different one. Peace
19 Feb ’12
 Offline
Nicely done!
Don't know if you saw me ask on another thread about keeping tanks clean. I have the exact tank hooked to my gutter system. It gets morning sun till 11-12 probably. It is all green and nasty at the moment. I also hooked up a hose to mine and was disappointed to find that almost 400 gallons of water on a 14" high stand, was barely enough pressure to use a hose. How much water pressure do you get with a dual setup? I usually fill a watering jug with it which takes forever to water my whole garden.
Toying with a soaker hose at the moment.
lol, did you read the thread or just look at pretty pictures, I even mentioned you by name
with the way our yard slopes we get enough pressure down at the raised beds, build a higher stand for them if your pressure is to low, I have seen some people with them 3 feet in the air, also what about double stacking the totes? Have the outlets on the same side and connect them with pipe and put a hose bib on the bottom before the bottom outlet, top tank would fill the bottom first
Most Users Ever Online: 698
Currently Online:
67 Guest(s)
Currently Browsing this Page:
1 Guest(s)
Top Posters:
easytapper: 2149
DangerDuke: 2030
groinkick: 1667
PorkChopsMmm: 1515
Gravel Road: 1455
Newest Members:
Forum Stats:
Groups: 1
Forums: 12
Topics: 11482
Posts: 58640
Member Stats:
Guest Posters: 2
Members: 19842
Moderators: 0
Admins: 1
Administrators: K

 Log In
 Home
Home


