27 Aug ’14
 Offline
Thought I finished drilling the holes tonight (not very patient so I've burned some bits, some holes are 6" deep, some 2" deep, the majority lie somewhere in between).
Went to tap in the rebar and I couldn't get it to full depth. Instead of forcing it (difficult when pounding the whole 20' stick) I'm just going to go up one size and epoxy them in.
You can see the chairs that I got for them here. I figured it would be easier than tying all of the rebar and helps maintain the height while maximizing the amount of concrete around the joint.
Should I spray the ground before laying down the vapor barrier? Seems like it would defeat the purpose...
27 Aug ’14
 Offline
Alright, busy weekend. We managed to drill out the holes to 1/2", lay the plastic (double layered 4.5mil plastic), epoxy the rebar in place, and put the chairs in. I didn't really understand the "cat's meow" until I ran out of those. Absolutely recommended.
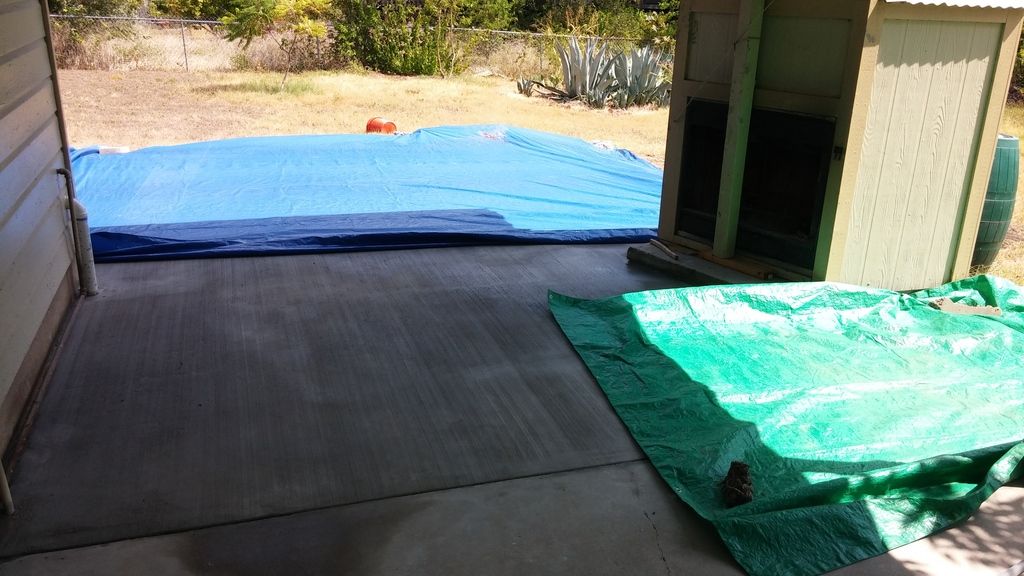
First up, we had to temporarily move a 4x4 that's holding up the porch roof. As you can see below, we jacked up the porch roof, dropped in another beam, and pulled the one that is currently sitting below grade. The previous post was actually somewhat buried.

Temporary beam in place:

Then we laid down the plastic, folded it over, and trimmed the edges:
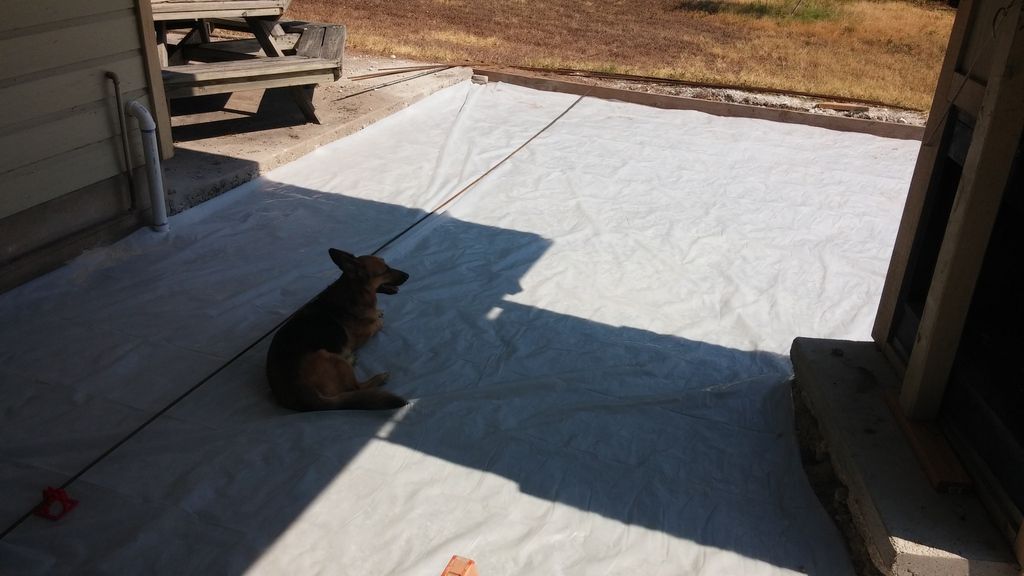
Epoxied in the rebar:

And laid it all out:
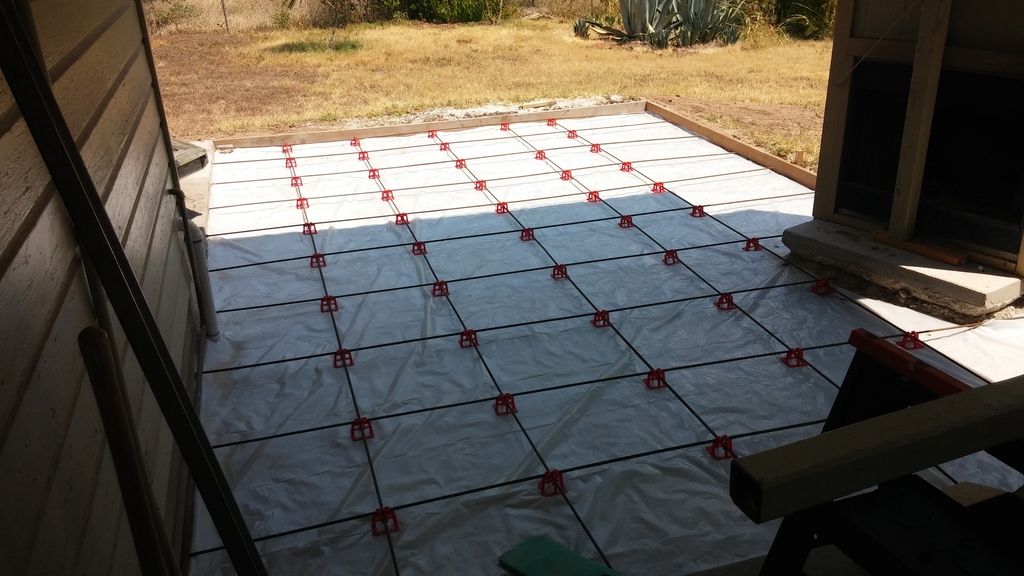
So we added a few more sticks after the last photo and I tied into the chimney to keep it from sliding down the hill eventually. Unfortunately, that slab was barely poured deep enough for me to tie into it so I drilled at an upward angle.
Should have the truck in next week. Can anyone confirm this process?
Pour & distribute - 15-20minutes
Screed & rake - 15-20minutes
Bull-float - 15-20minutes
Wait about 30 minutes
Start cleaning up with an aluminum float
At what time is the concrete strong enough to cut the stress relief gap and start finishing with aluminum trowels?
that's pretty accurate, I would expect more time for floating
as far as strength, you are going to have to keep checking it, get a 4x4 piece of two inch dow blue board and you can use that to distribute your weight if it is still a little green
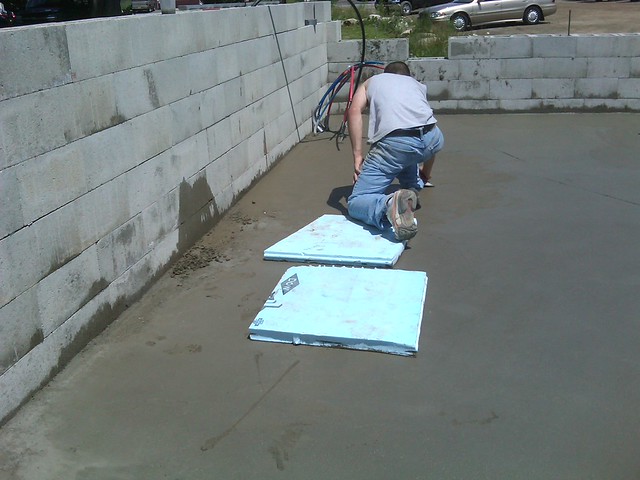
other option is to just wait till it sets up and use a diamond tipped blade and cut your joints, it's how we did our patio pour to give it a large tile look

we then just stained it
27 Aug ’14
 Offline
Alright. Concrete showed up bright and early yesterday morning and it's now curing.
Quick summary: concrete was waaaaay too watery, but we just kept pulling the water off the top so that it wouldn't crack and so that we wouldn't form what I've heard of as a "seal" on the top.
Here's how it sat before the concrete went in with the re-bar finalized. You can see how I tied in the fireplace. No real issues during the pour,except that it was really watery. Despite spending 45minutes at the box store looking for a straight piece of lumber, our screed still had some mild bow that we tried to take out in bull floating.
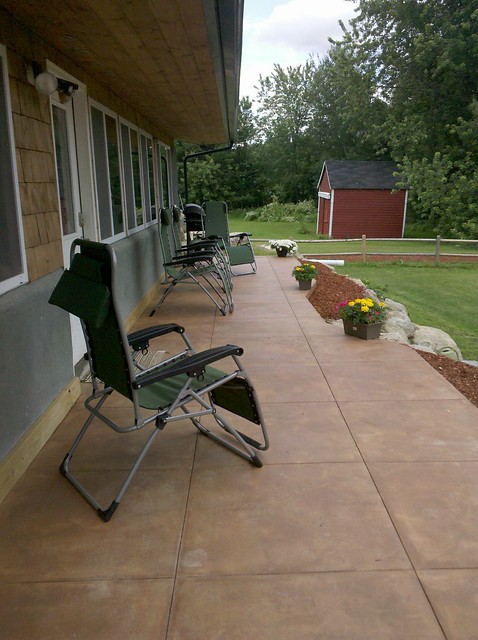
Here she is just after the brush finish. We weren't planning on a brushed finish but the tool marks were very visible so extra texture was welcome. Also, having washed it now, even the lightly brushed finish is slippery so I'm glad that we added it.
Bought a cheap tarp so that we could keep it out of direct sunlight for the hottest part of the day.
Aaaand because I bought a cheap tarp, the eyelets ripped out so I just laid it on top for day 2 (today)
Lessons learned: do a slump test on your concrete (ours would have failed), screed with your 2xlumber twice, multiple directions if possible. Set your tarp up first (we had uneven drying). Also, maybe buy a bag of concrete and just pour it into a bucket and play with it. Knowing how the stuff dries and what to expect is paramount. We winged it (3 people) and didn't have any issues but there were some times when we thought "Oh, oops, we should have started troweling sooner". For first timers (even if you've done smaller projects before), a "dry run" is recommended.
I am now spraying it twice a day (thorough soak) and leaving the tarp on while it's sunny out because we're hitting triple digits. From what I've read, you can even do a "pond cure" so I'm not too concerned about keeping it too moist. I pulled the form boards off this morning and everything popped off easily considering I didn't even spray them before the pour (no oil either as I'd read some people encounter staining). We did get a nice grain effect on the sides.
Any recommendations on backfill around the slab? I was just going to buy sand, small river rock, or topsoil (topsoil is cheapest).
Also, I will cut the stress relief marks in three weeks.
27 Aug ’14
 Offline
For those interested, I've totaled the expenses below:
4 cubic yards of concrete, delivered - $613.34
Bull float rental - $33
3x Wood floats - $17.25
Finish trowel - $37
Edger - $6
Two concrete rakes (Placers) - $ 46
Transfer shovel - $18
2x4x14 Screed - $6
3x Rubber boots - $54
3x 2"x2"x8' poles + tarp - $46
Jigsaw blades for cutting rebar - $16
Hammer drill - $150
Drill bit - $12
Plastic underlayment - $26
Rebar - $ 80
Rebar chairs - $33
Dremel - $108
Steel tamper - $28
PVC and PVC Cement - $24
Total = $1353
$1650 saved but about 25 hours into it (of my own time, probably an extra 10 if you add my wife and my friend). Comes to $47 an hour per person plus all of the knowledge learned in the process, and of course the tools.
Thanks everyone for your help! I'll let you know if I have any major updates.
Most Users Ever Online: 698
Currently Online:
63 Guest(s)
Currently Browsing this Page:
2 Guest(s)
Top Posters:
easytapper: 2149
DangerDuke: 2030
groinkick: 1667
PorkChopsMmm: 1515
Gravel Road: 1455
Newest Members:
Forum Stats:
Groups: 1
Forums: 12
Topics: 11482
Posts: 58640
Member Stats:
Guest Posters: 2
Members: 19842
Moderators: 0
Admins: 1
Administrators: K

 Log In
 Home
Home


