27 Aug ’14
 Offline
Just wanted to share with everyone photos from re-roofing a trailer this weekend. Not the prettiest job but it'll definitely do.
Backstory: I had resealed the roof previously but leaks were again starting so I decided to go for a long-term solution.
Materials came in about $950 and I had never done this before. Perhaps someone can recommend but my main issue I believe came from two things:
1) Getting the first panel square to the structure
2) I bent the panels one at a time - In hindsight, I should have done the middle two rows and then bent them after the fact
As a result of the two items above, the panels drifted over the length of the trailer (about 3"), enough for me to have to reset my fastener line, but fortunately I didn't pad drill the panels.
27 Aug ’14
 Offline
Here's the roof as we started. Fortunately, it had a slight bow to it so that we could keep to the contour.
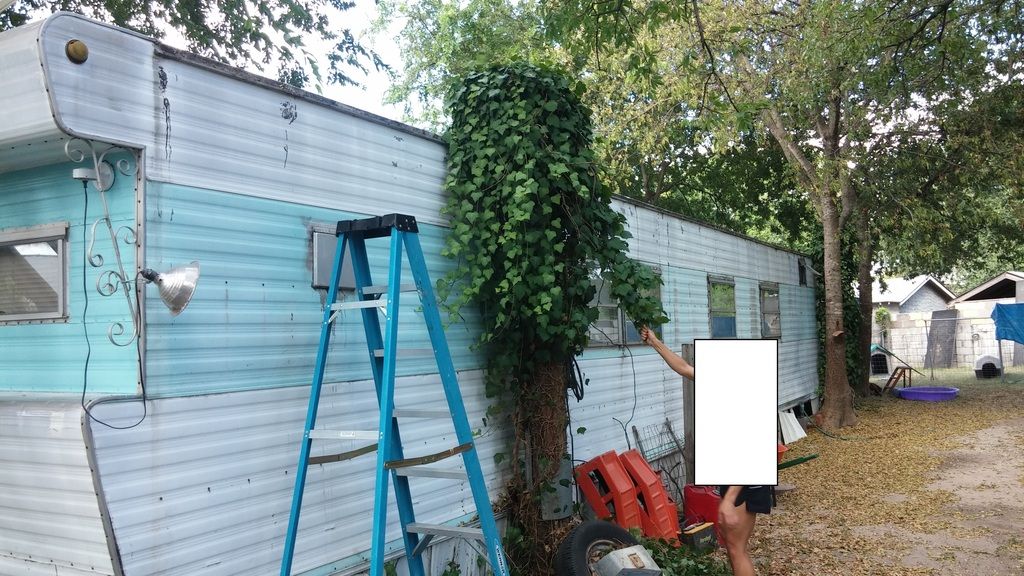
All the ivy had to come off of the tornado poles so that we could cut a mating contour in the sheet.
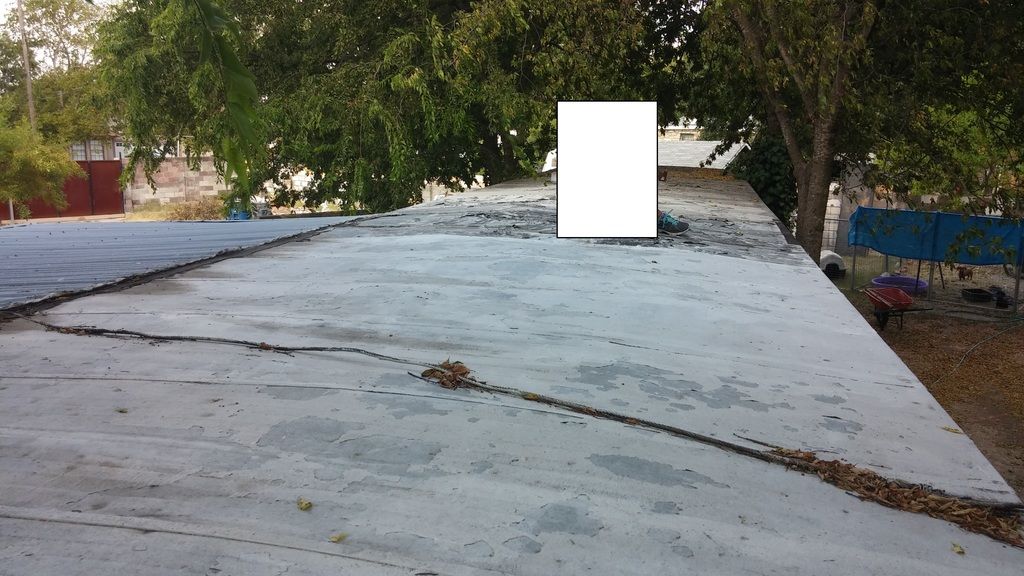
You can see the previous coat of paint, not nearly thick enough. You can also see the tornado strap
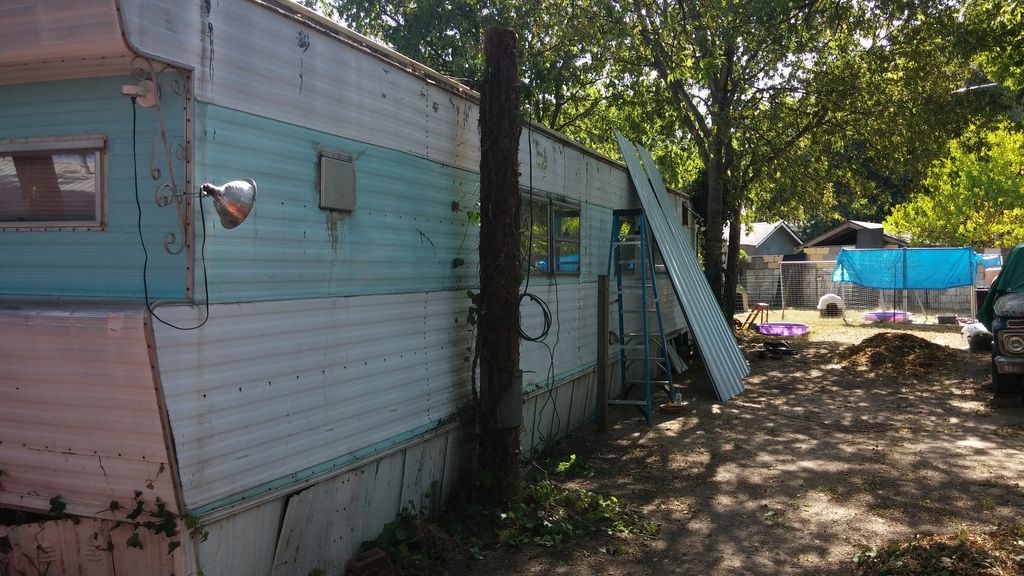
Poles cleaned up and staging the sheet. You can see along the ridge that I've started to lay the 2"x4"x16' PT lumber as purlins
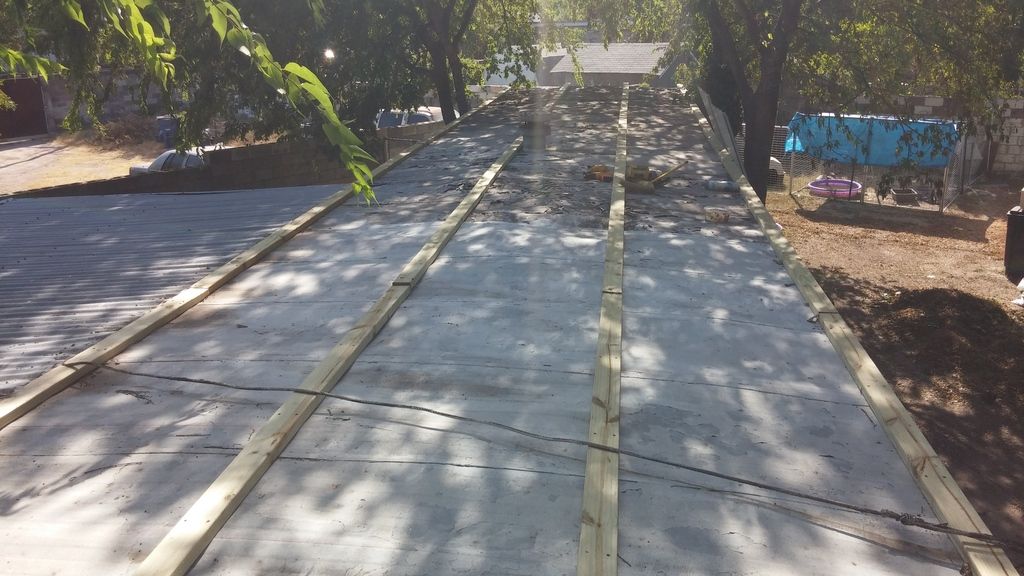
Purlins screwed in on all rafters after snapping a chalk line. I used 3" decking screws as I wasn't sure what the rafters were made of.
27 Aug ’14
 Offline
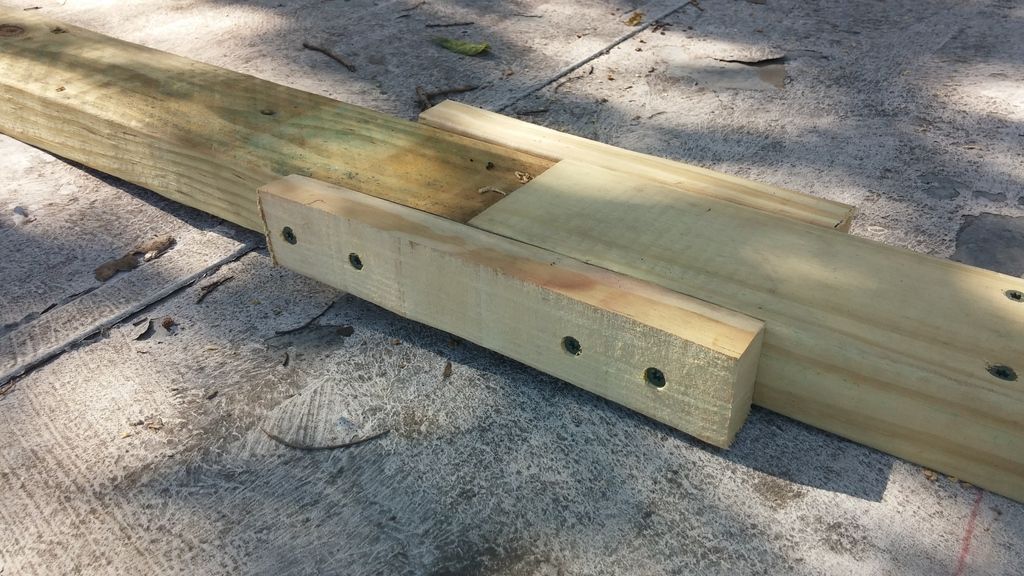
Where the 2x4x16s met up they were normally rigid, this one was slightly off. All of the other ones I just screwed in at a 45degree angle.

Laying on the first two sheets and trying desperately to get them square to the building without a solid reference point (trailer was built in 1976, I know I know, no excuses).
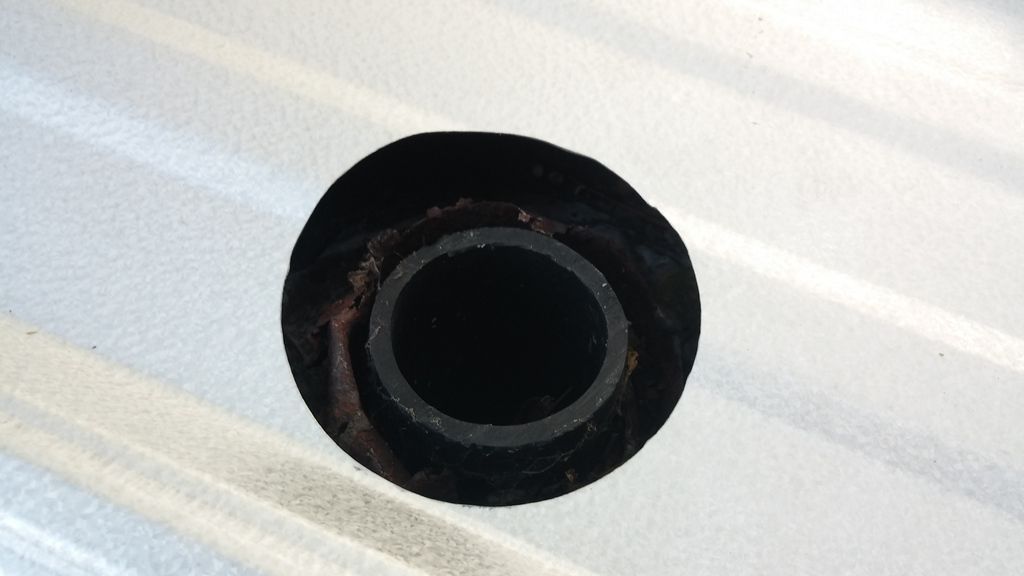
Measure twice, cut once. Made the cutouts for the two vents (bathroom and heater).
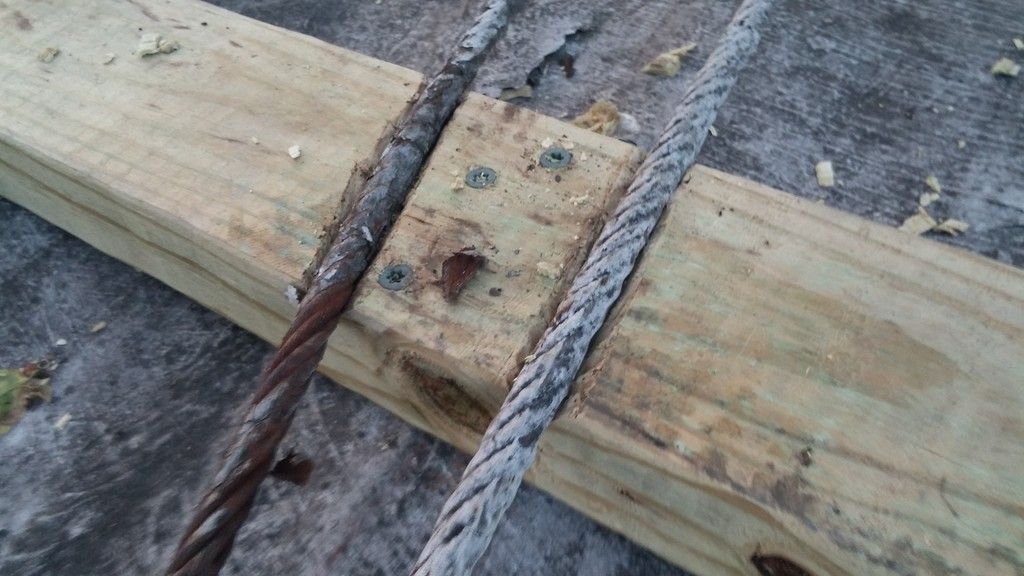
Had to cut out the 2x4s where the tornado ties laid across so that the metal would lay flush. I had two options here, either run the ties under the wood, on top of the wood, or on top of the metal. I was worried about galvanic corrosion with them being on top of the metal so I put them where they sit. Worst case, a tornado will rip the metal off but not the structure.
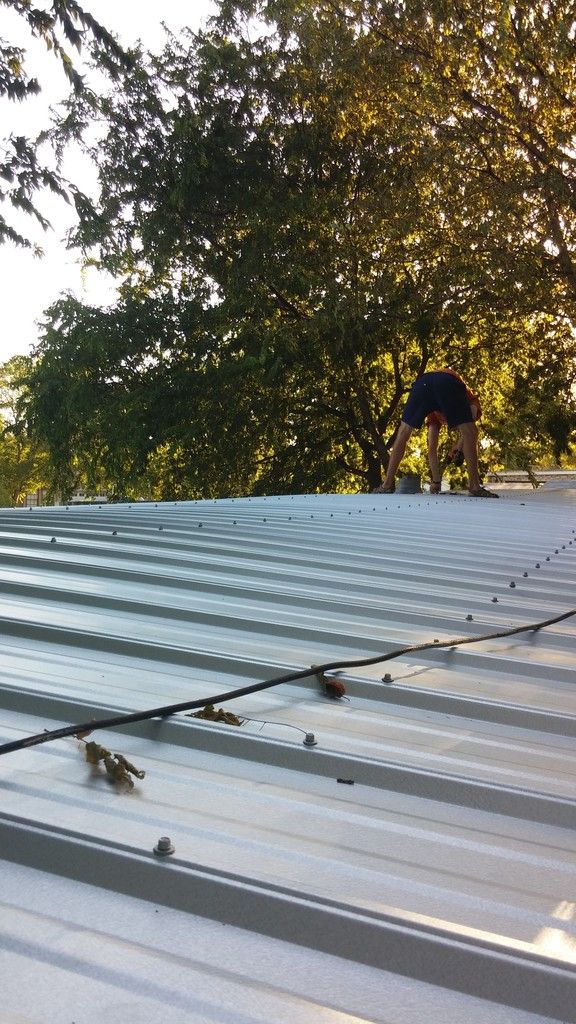
Everyone loves a butt shot. My wife got this one while I was finagling with the vent boot.
27 Aug ’14
 Offline
All done. Shitty lines, sorry guys, but she'll hold.
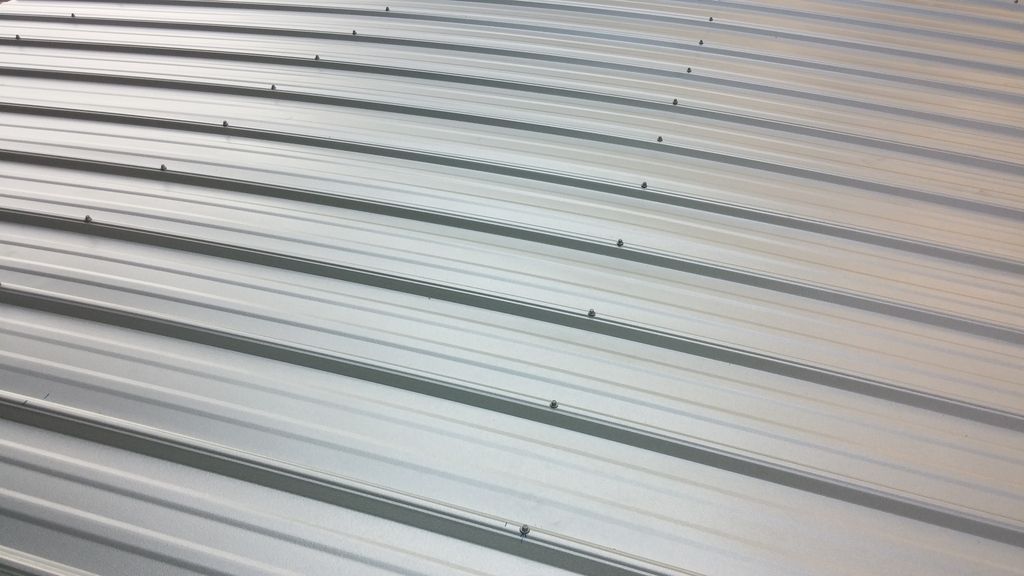
That's just an artsy shot.
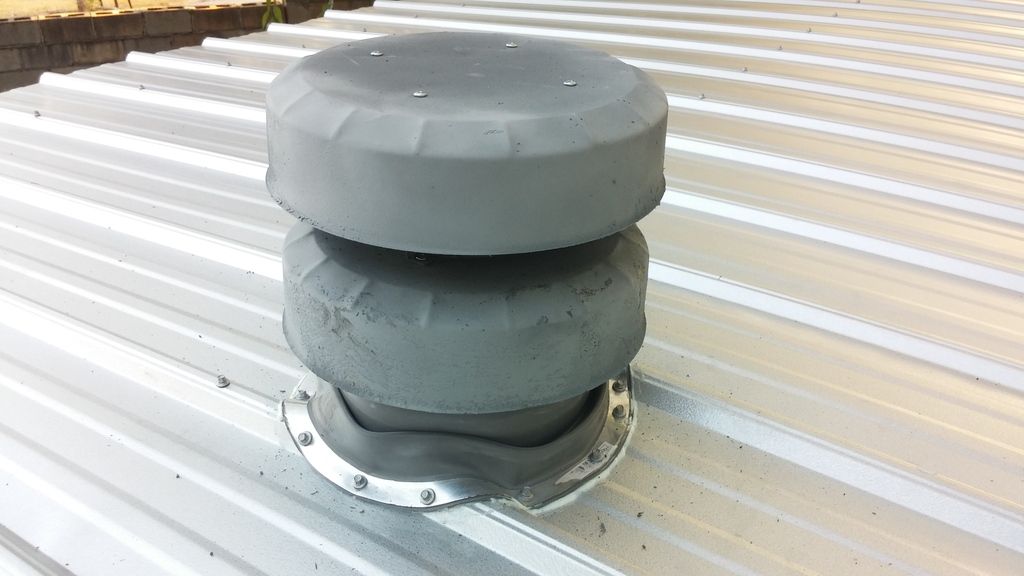
Repainted the old hood and re-used it. The boot was a pain but I finally figured it out (I think).

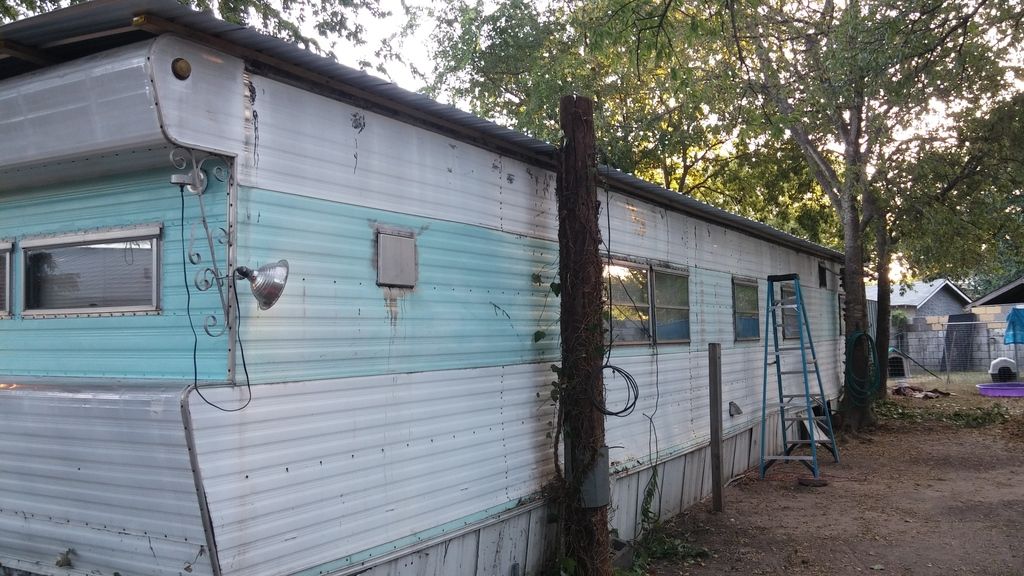
Nothing fancy, but she'll probably outlast the trailer. Next I need to relevel it and get a nice planter going on around the edge to prevent drainage issues in flash floods and to keep pests at bay.
Most Users Ever Online: 698
Currently Online:
162 Guest(s)
Currently Browsing this Page:
1 Guest(s)
Top Posters:
easytapper: 2149
DangerDuke: 2030
groinkick: 1667
PorkChopsMmm: 1515
Gravel Road: 1455
Newest Members:
Forum Stats:
Groups: 1
Forums: 12
Topics: 11482
Posts: 58640
Member Stats:
Guest Posters: 2
Members: 19842
Moderators: 0
Admins: 1
Administrators: K

 Log In
 Home
Home


