26 Nov ’15
 Offline
My first solar cooker was a reflector made from cardboard and aluminum foil -
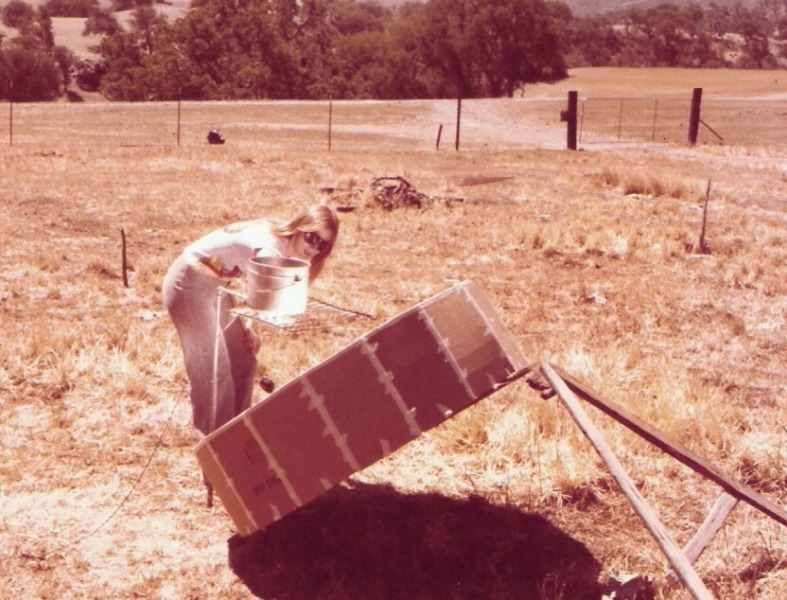
It really worked - could fry bacon nicely, but was a pain to constantly adjust focal point. Not disappointed when it fell apart due to moisture/weather.
I made my first solar oven for our last place (circa 1980s) -
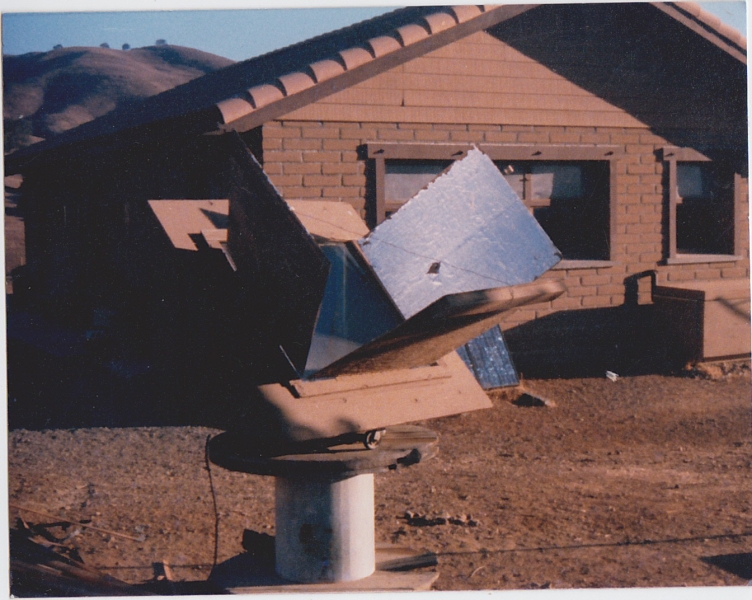
That cooked our meals while we worked on our place and heated the dish water too. It was made from plywood with aluminum sheets (painted black) lining the inside. Averaged about 250 - 275 degrees which was like a slow cooker so no burning of food and didn't overcook food while we worked away for hours. Weather eventually ruined the plywood so it was torn apart.
I really missed it so I made a Heavens Flame inspired cheapie version using 'stacked' cardboard boxes and to thrift store picture frames with glass for top/door -
It was smaller than I really would have liked and the cardboard just wasn't going to last. Iand didn't want to make another built-to-fall-apart version so I eventually figured out that 'backer board' for tile surfaces would be much like fiber cement siding and 3' X 5' sheets weren't all that expensive either.
I started with a 'recycled' BBQ base -
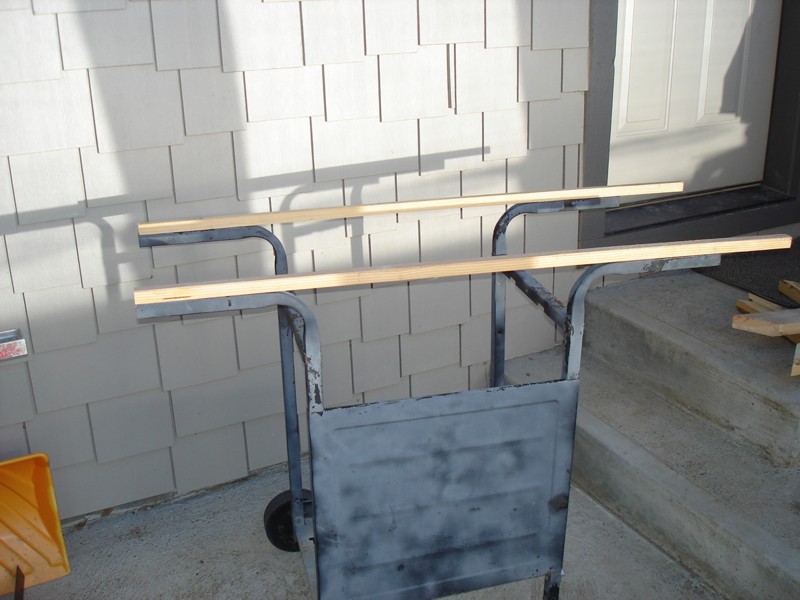
added a base of 5/8" thick backer board -
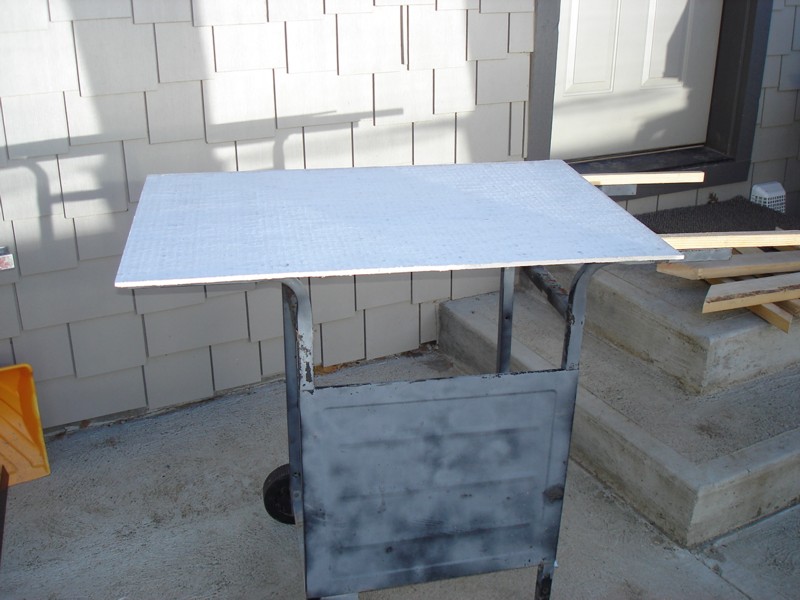
then mounted (scrap from other project) split 2X4s to make a frame base to build oven onto -
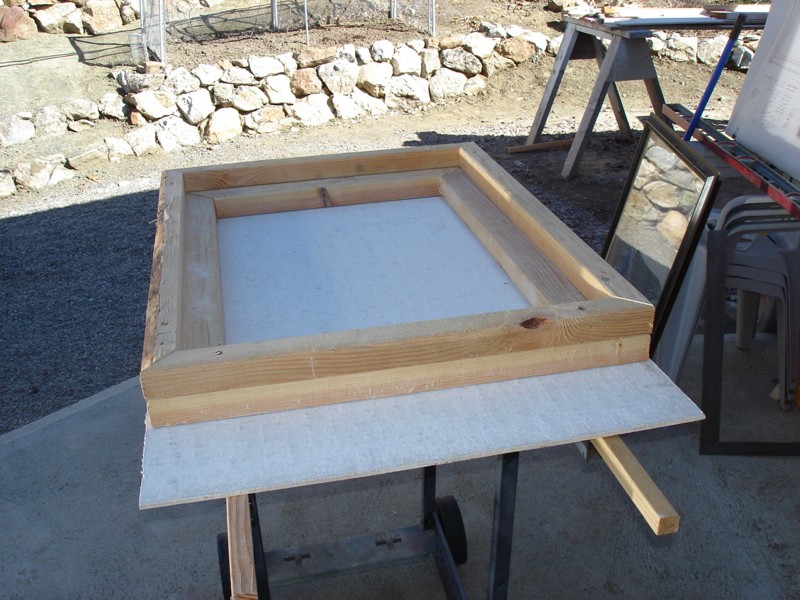
Sides and front/back got added inserting cardboard and foil as insulation in between -
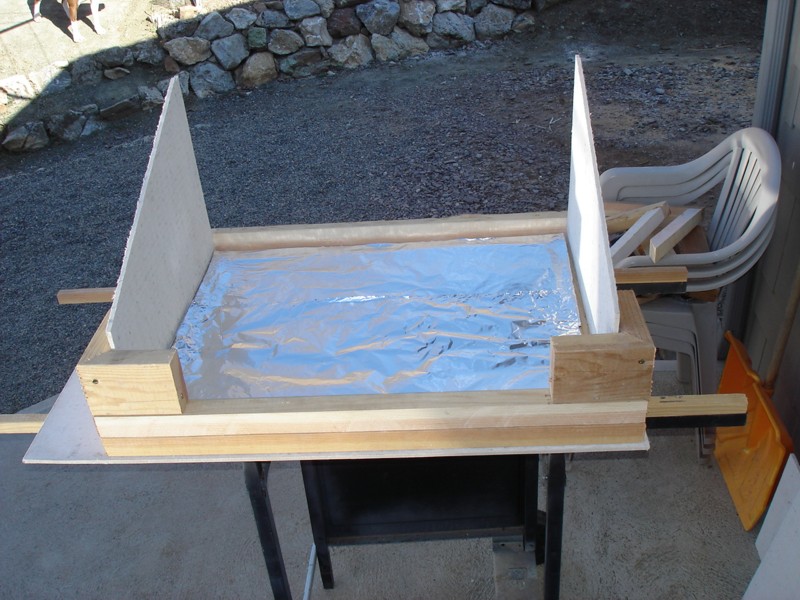
and so on -
until the finished shell was done -
I added 1/2" aluminum channel strips as stand offs for aluminum sheets that would make up heat gathering walls. These sheets were cut 1 inch smaller all the way around to allow convection within the oven.
The oven was finished using 2 wooden picture frames insulated and screwed together to make the top which is hinged to the high back wall for easy opening as well as holding in place during use. I made this cooker wider than my first oven so that I could have several items cooking at once. Its served me well for a couple of years now and even doubled as a drier for fruit leather making.
It BBQ base is wonderful for moving around on the patio - into place in use, adjusting for sun and back to its corner when not being used. And while it is weather proof, we do store it in the garage during the winter. Its just too useful to not take care of!
My personal motto - The Home, a peace worth fighting for.
26 Nov ’15
 Offline
KVR said
those are outstanding, what is the wheelbase on the wire spool one?
I'm assuming you are asking about physical measurement size? I think the spool was about 3 foot in diameter. The wheels came off of come discarded item AND I added a pipe mounting flange with short 'tail' of (2") pipe to the center underneath bottom of the cooker so that it would remain in place when turned and not roll off the spool top.
I did not re-use the total 'wedge' design again because it seems to stratify heat too much. Plus a rear opening door let out too much heat each time it was opened.
There are MANY (free) solar oven designs to consider at - http://solarcooking.org/plans/
My personal motto - The Home, a peace worth fighting for.
Most Users Ever Online: 698
Currently Online:
41 Guest(s)
Currently Browsing this Page:
1 Guest(s)
Top Posters:
easytapper: 2149
DangerDuke: 2030
groinkick: 1667
PorkChopsMmm: 1515
Gravel Road: 1455
Newest Members:
Forum Stats:
Groups: 1
Forums: 12
Topics: 11482
Posts: 58640
Member Stats:
Guest Posters: 2
Members: 19842
Moderators: 0
Admins: 1
Administrators: K

 Log In
 Home
Home


