
 Register
 Log In
 Home
Home
15 Feb ’12
 Offline


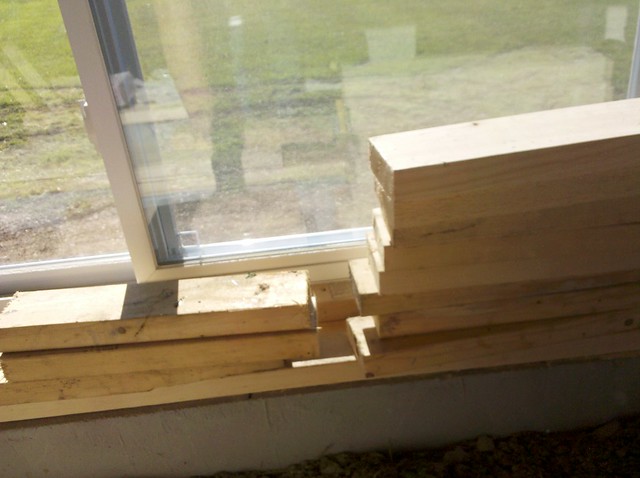
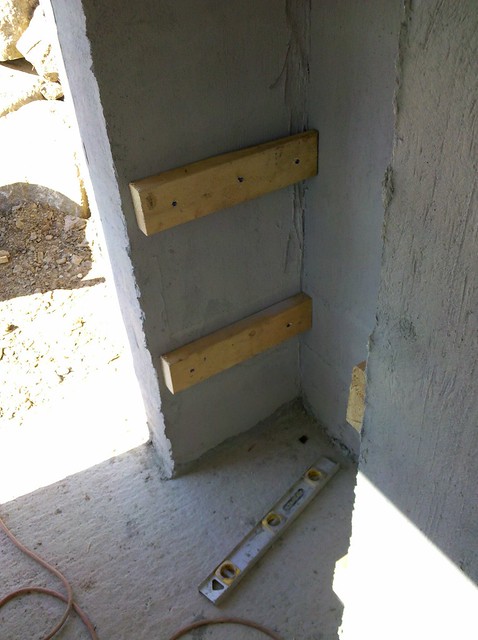
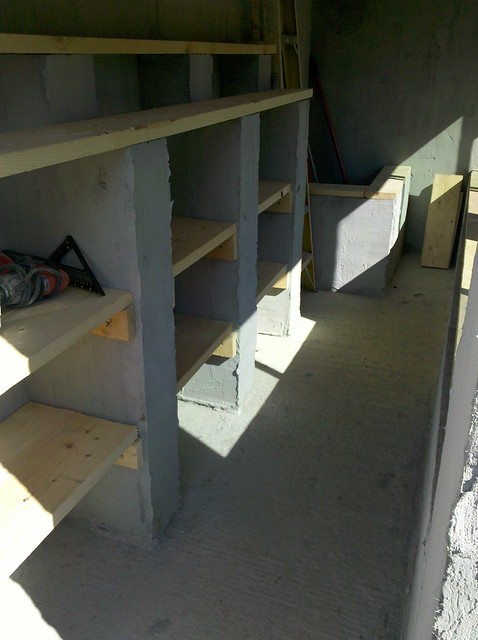
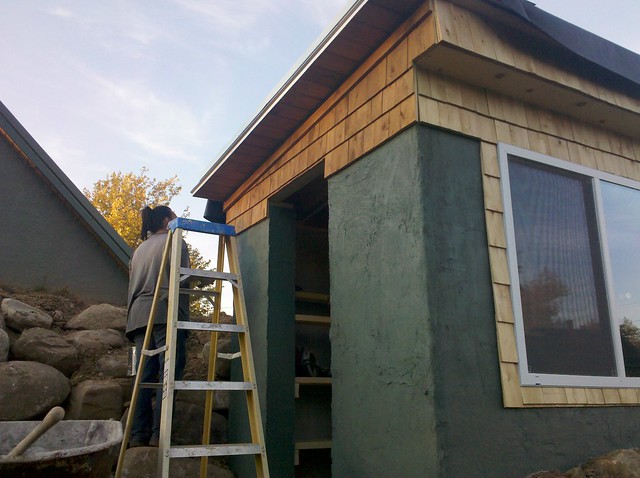
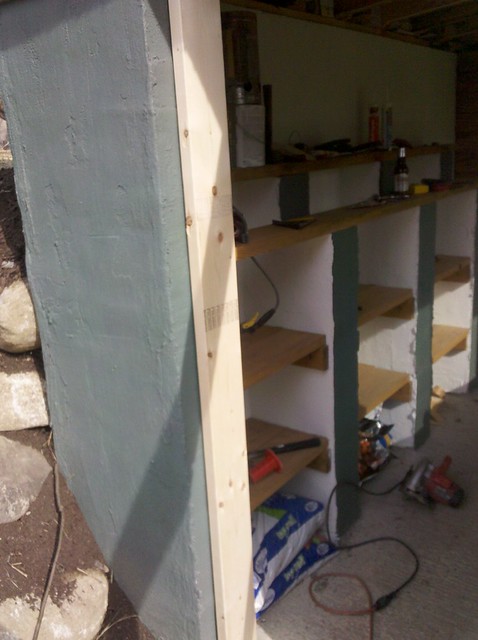
so I decided to move onto the shelving
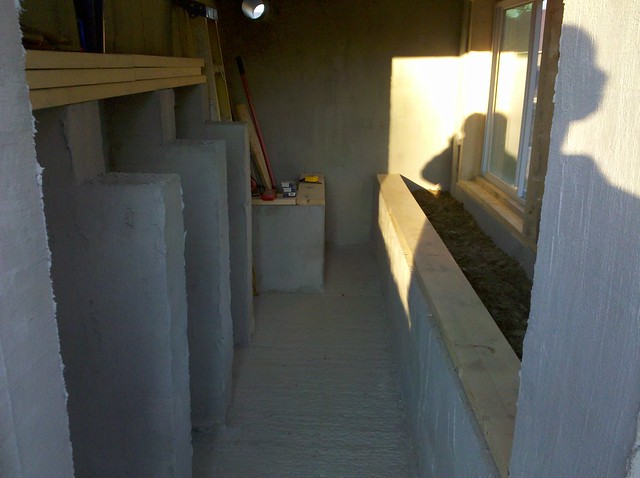
I picked up some 2x8's for shelves and bolted the down
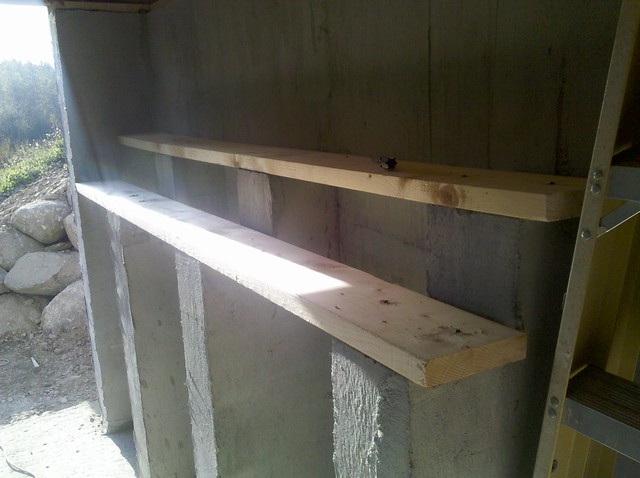
I cut some 2x6's for shelf supports
and bolted them onto the walls
and cut some more 2x8's for the shelves
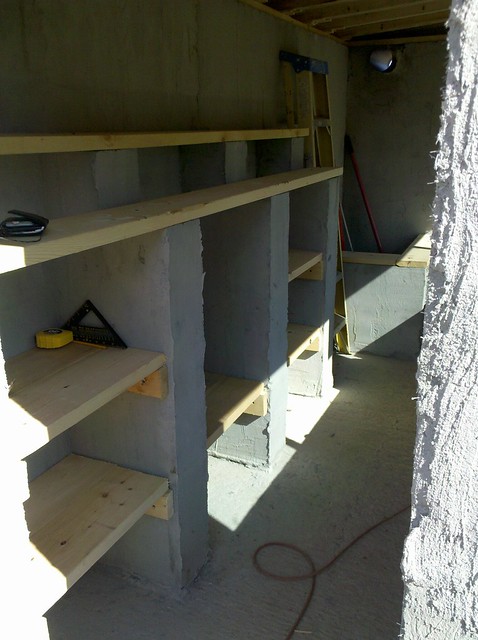
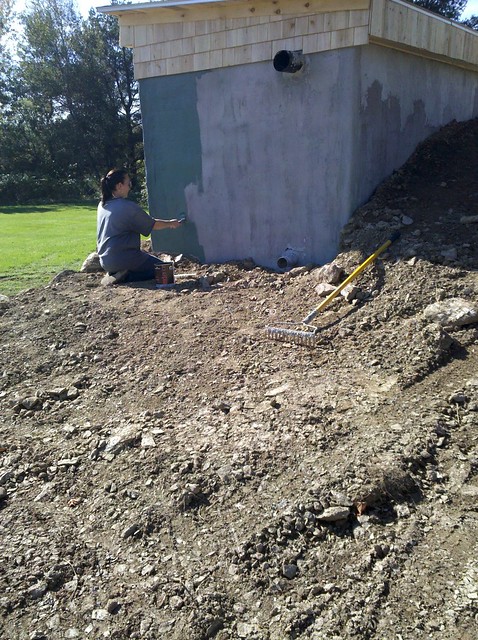
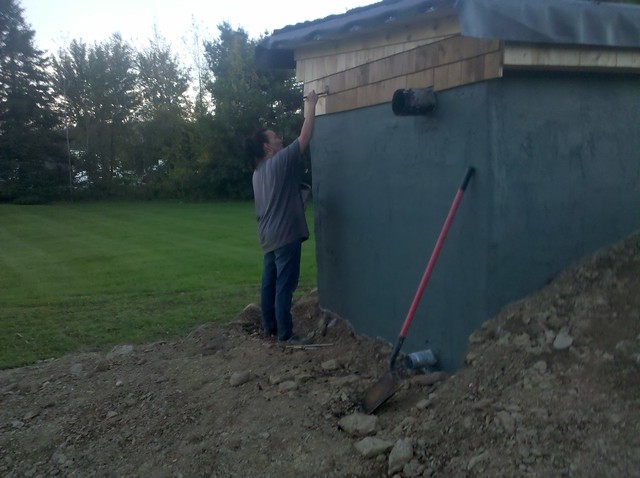
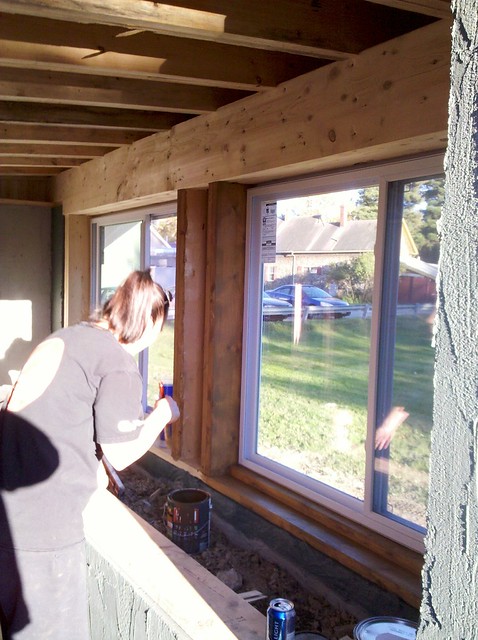
while I was doing this my wife was painting the outside

15 Feb ’12
Offline
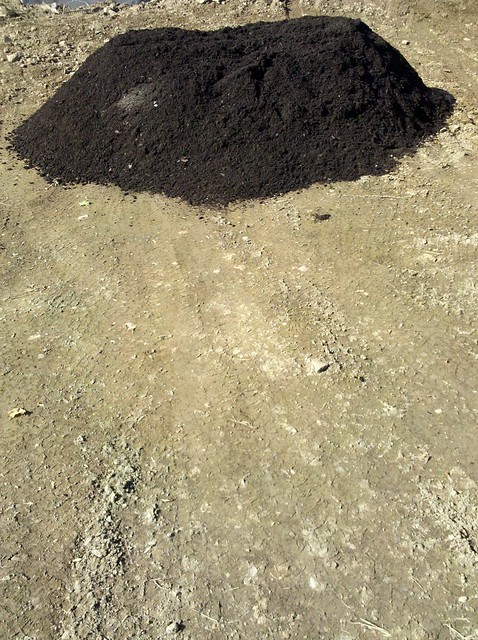
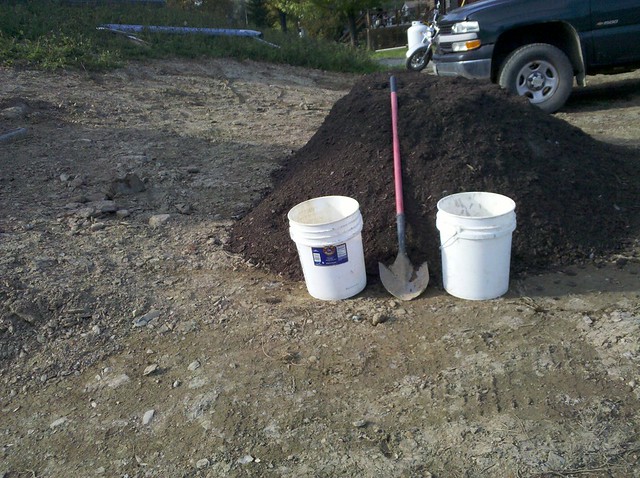
I had some mulch delivered to start the roof
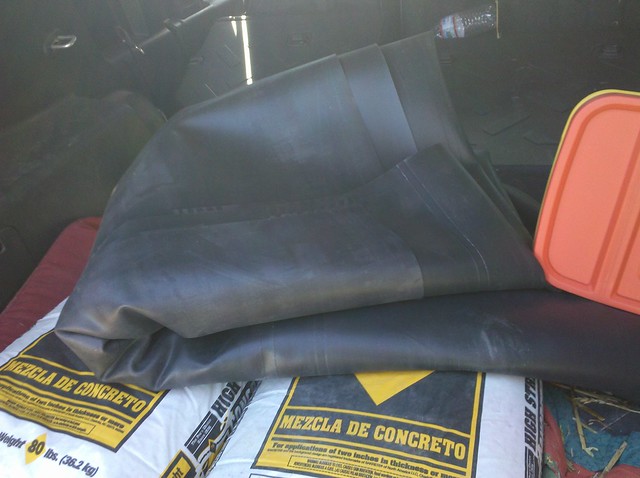
I also went and picked up a sheet of rubber roofing for a base
15 Feb ’12
Offline
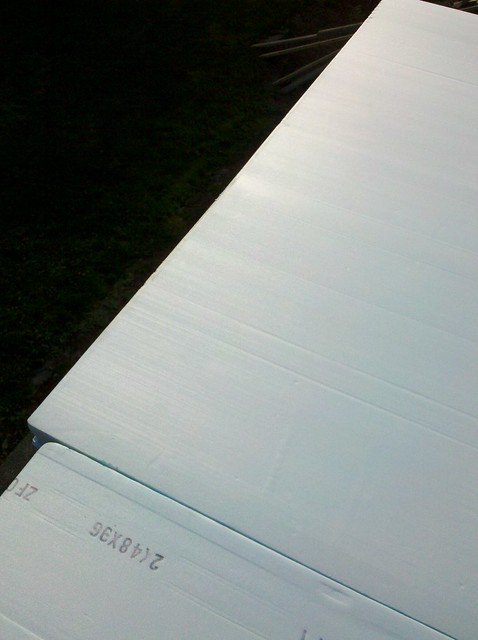
and grabbed some 2 inch blueboard
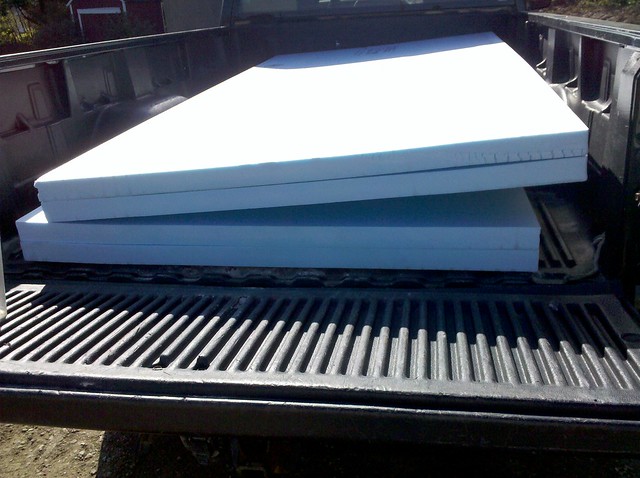
we already had laid the ice and water on the deck so we just laid the insulation right on top of that
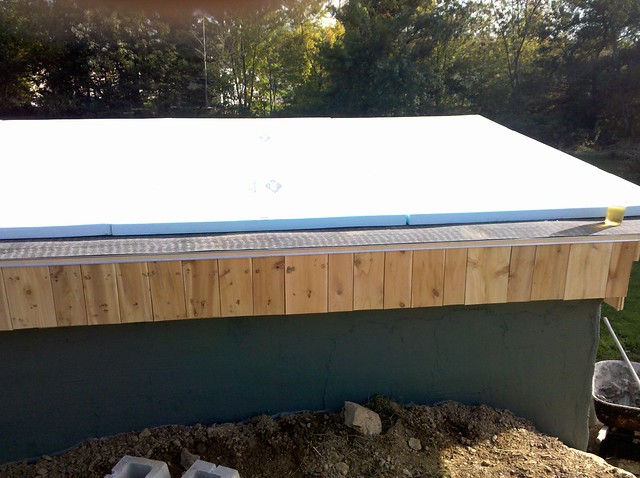
I unrolled the rubber sheet over the insulation
and proceeded to bucket the mulch onto the rubber roof
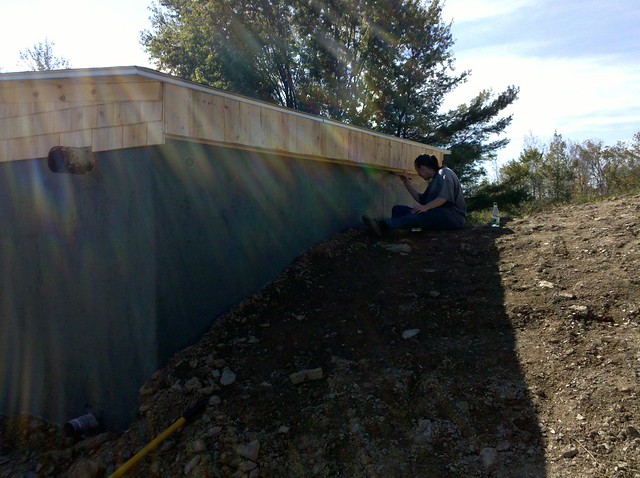
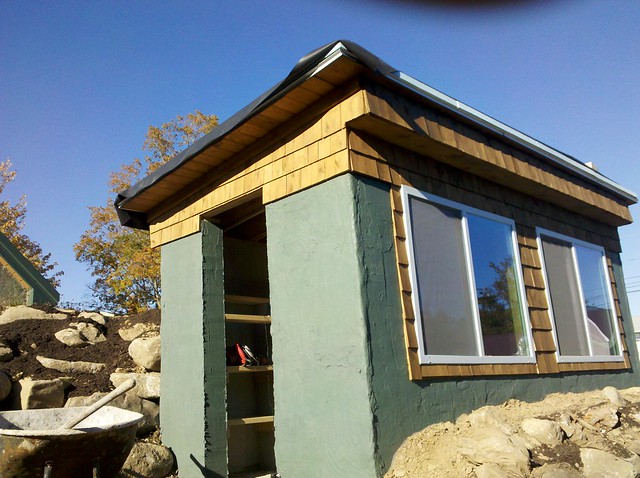
while I was doing this my wife finished painting the outside and started staining the wood

15 Feb ’12
Offline
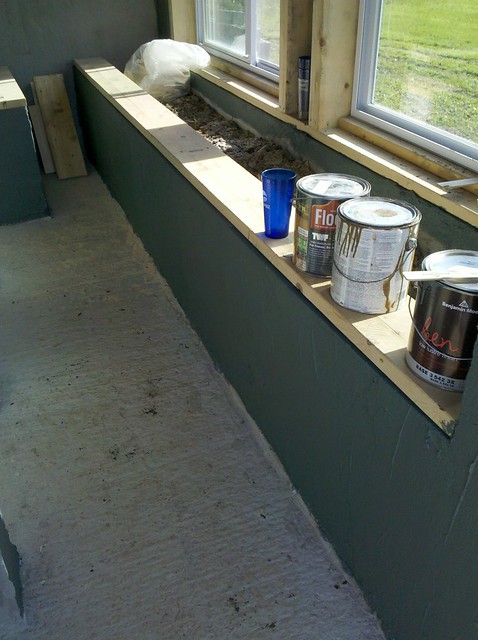
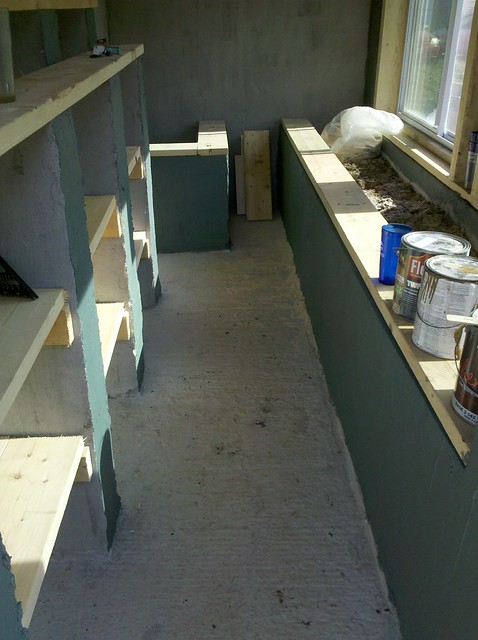
she proceeded to move onto the interior
I needed to get the roof finished
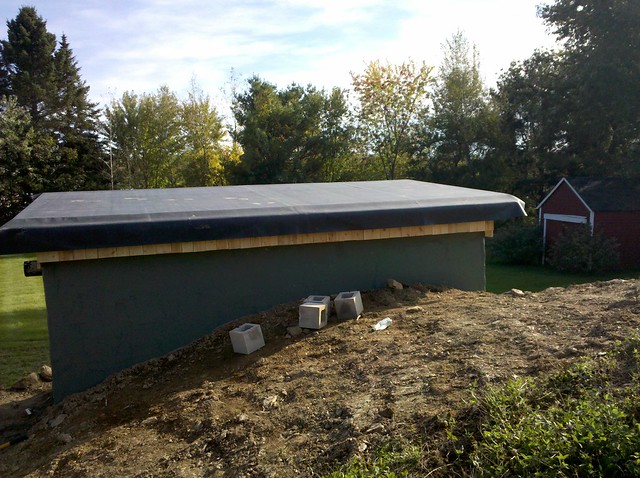
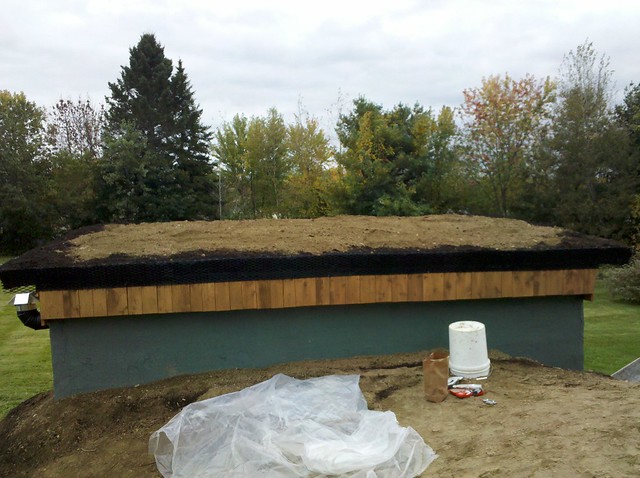
I raked out the mulch which was basically a drainage layer

15 Feb ’12
Offline
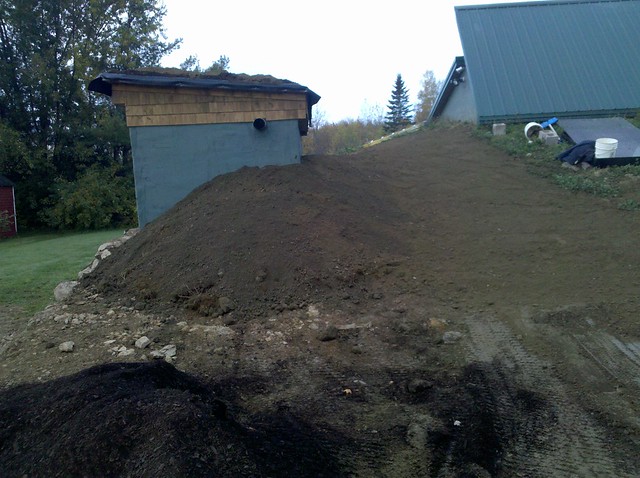
I had topsoil delivered and finished backfilling around the building
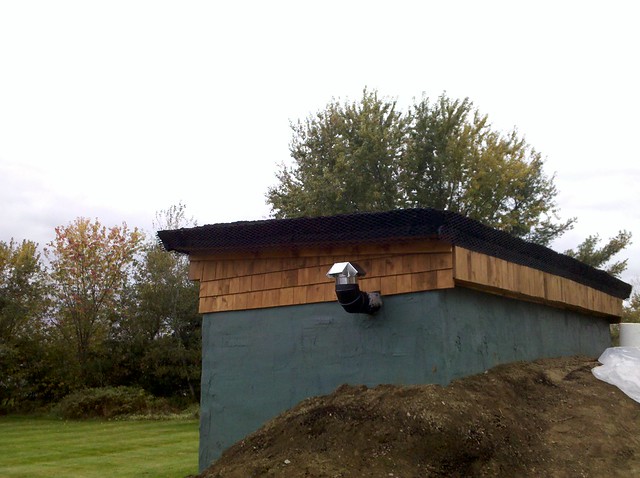
I had picked up a sheet of expanded metal
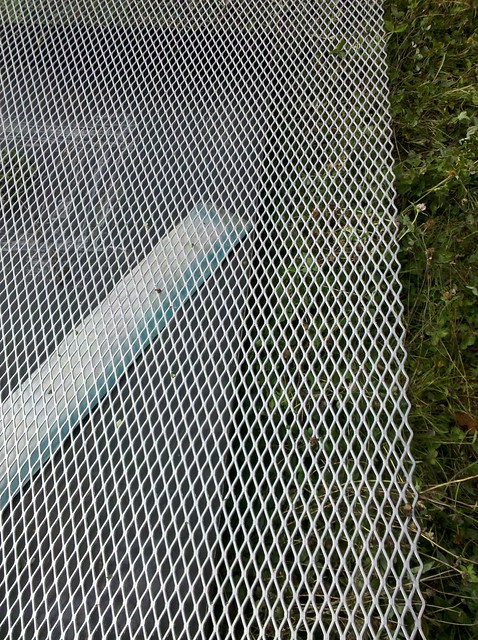
and cut it into 8 inch strips
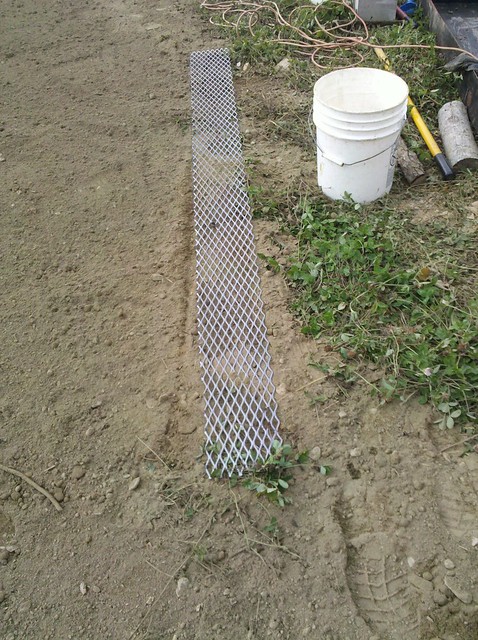
I hauled up top soil and trimmed off the edge of the rubber roof
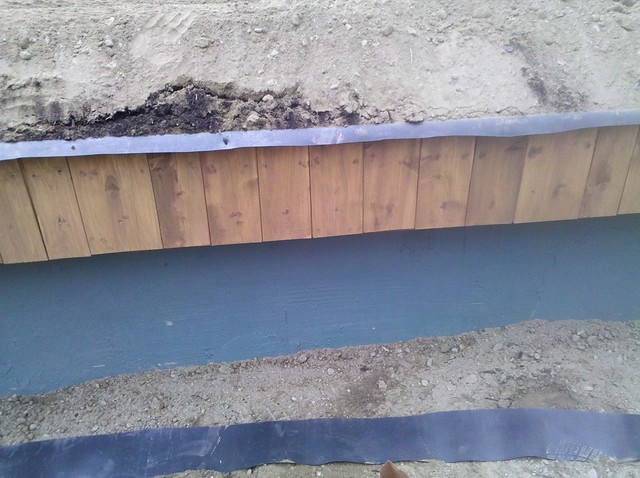
and bolted down the metal to act as a retaining wall for the soil and mulch
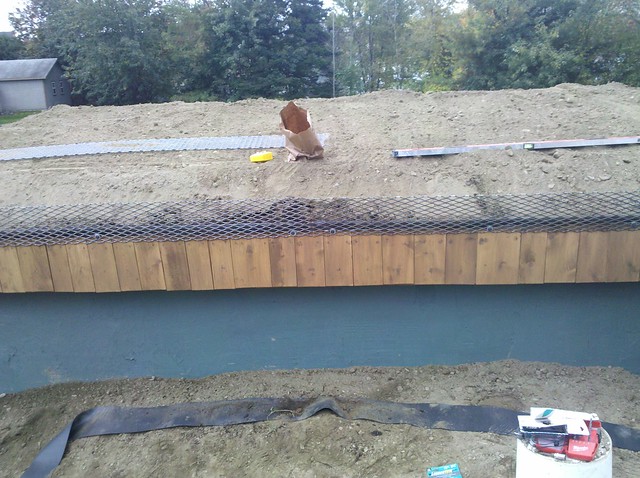
and went around placing mulch around the outer 12 inches to act as a drainage layer
I then went around and spray painted the metal, I waited until it was installed because I also wanted to put a layer of paint on any exposed rubber roofing to keep the sun from hitting it. The rubber roofing will last forever as long as it stays out of sunlight
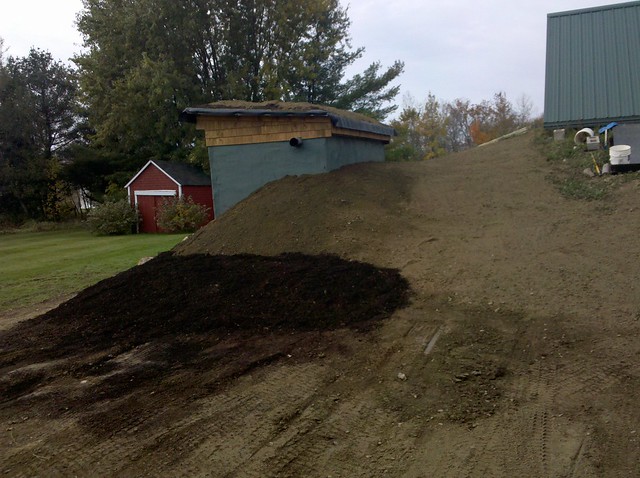
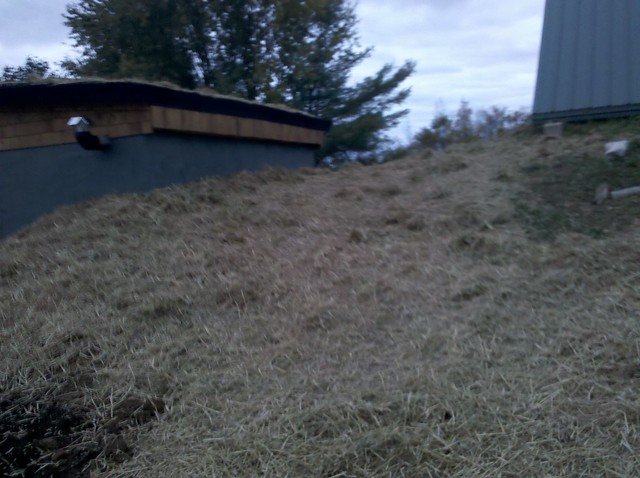
I seeded and hayed the roof
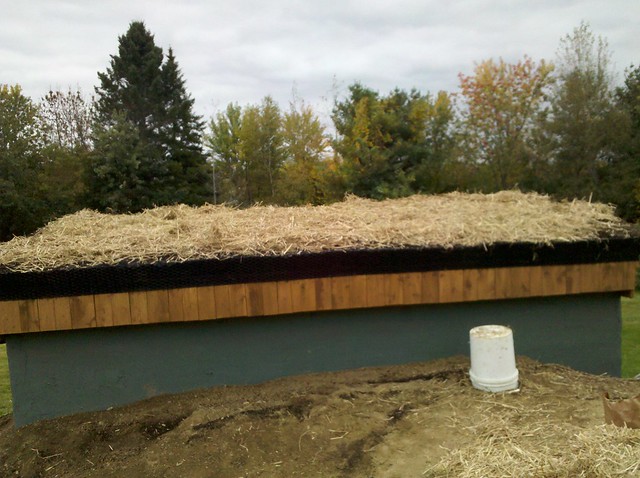
and the berm
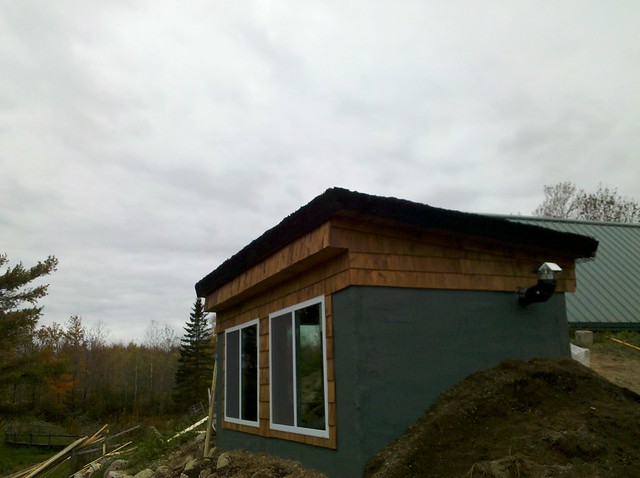
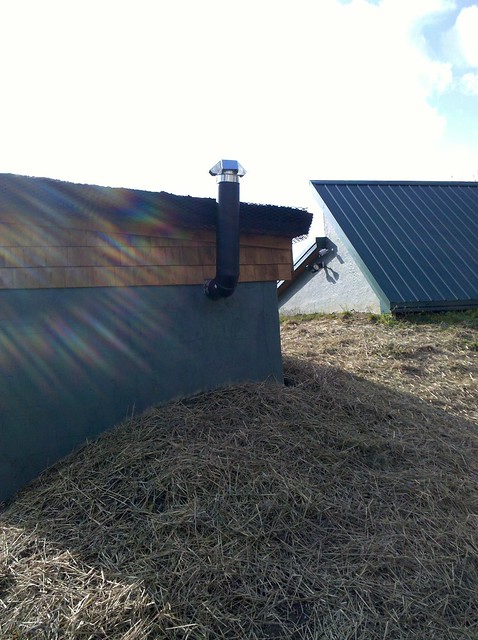
I extended the smokestack above the roofline
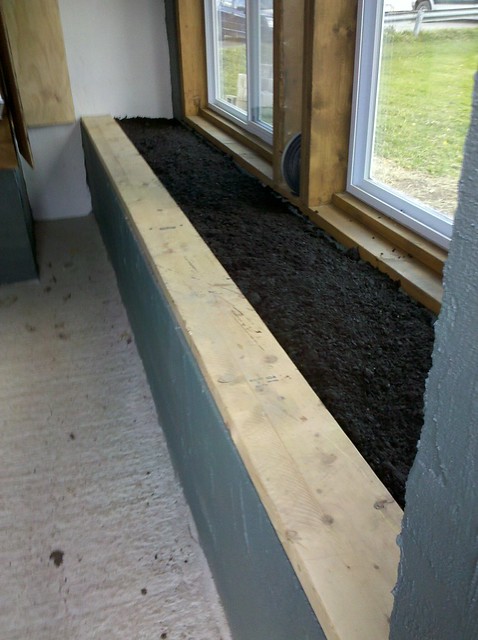
and picked up some end of season potting soil
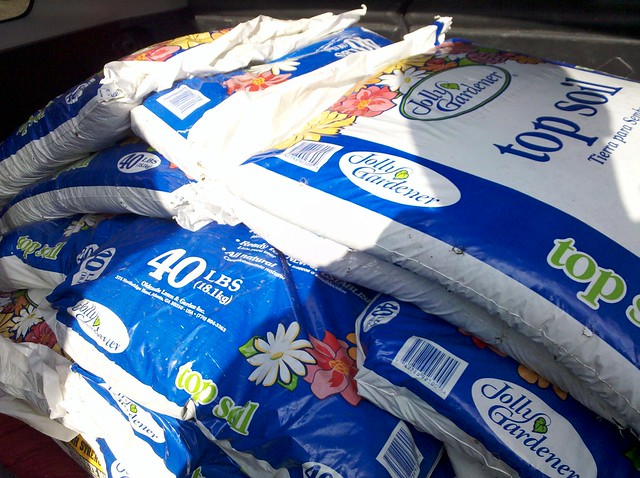
and topped off the beds
15 Feb ’12
Offline
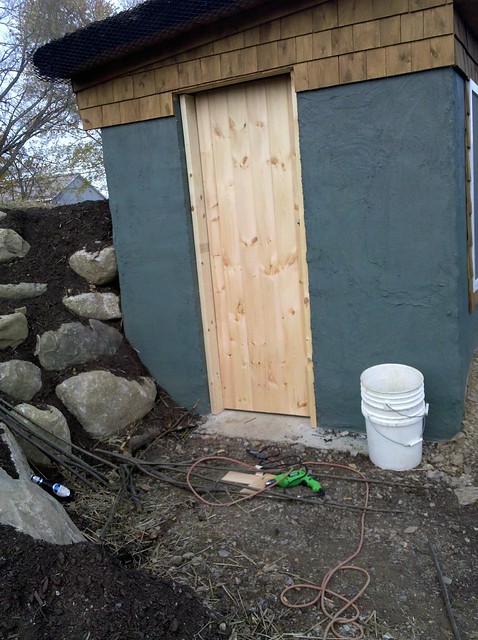
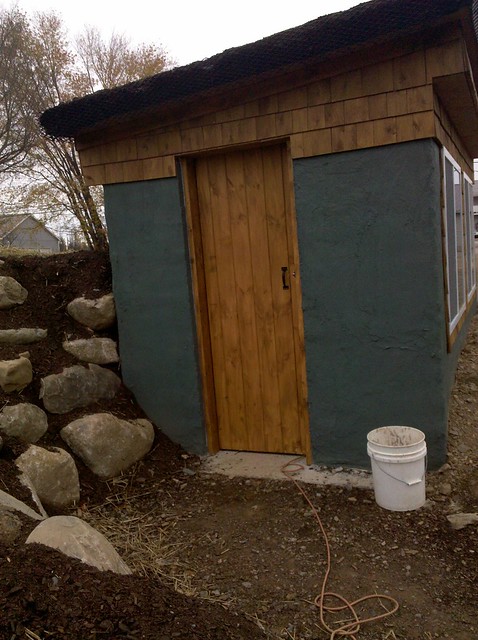
the last thing to tackle was a door. Since I built this thing from plans in my mind it wasn't like I could just go a pick a door off the shelf and expect it to fit. My friend luke who helped with framing the roof on our house said he would build me one. So he did.
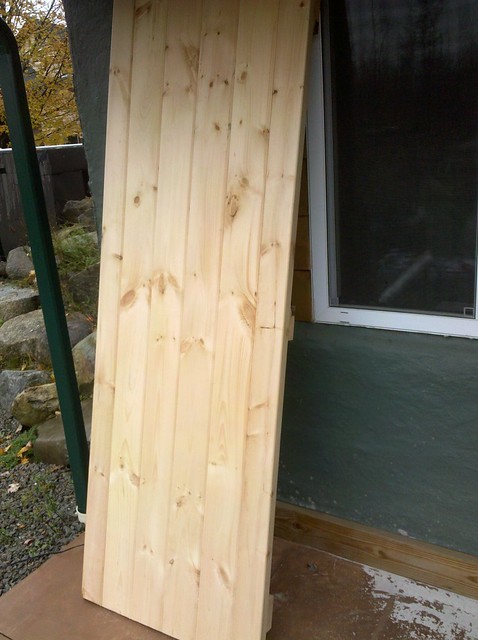
I bolted down a 2x6 to act as a frame for the door
and mounted some simple hinges to hang the door

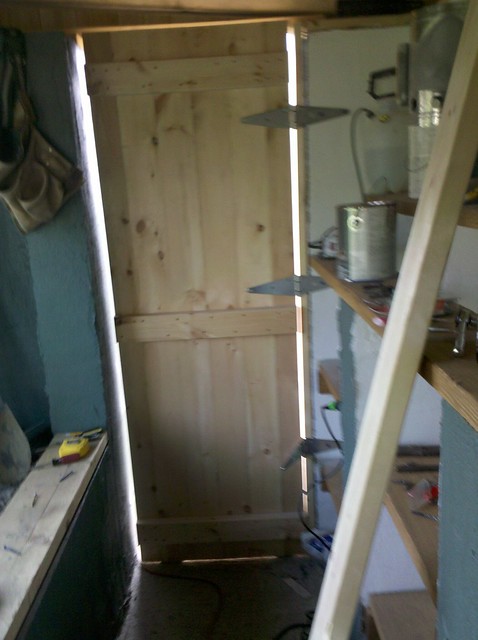
I bolted another 2x6 on the other side to act as a stop
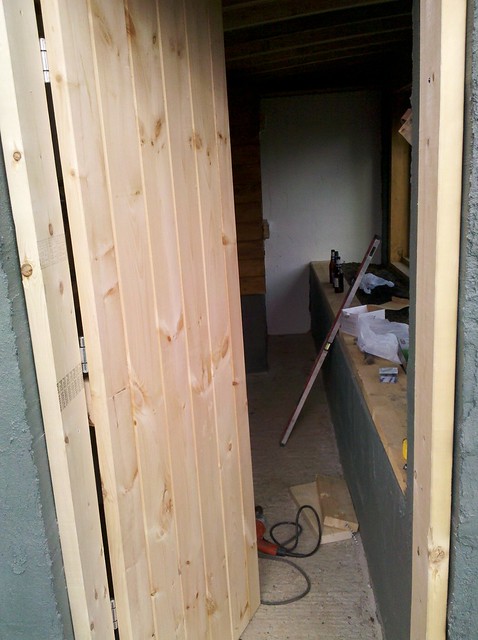
and screwed down a simple clasp
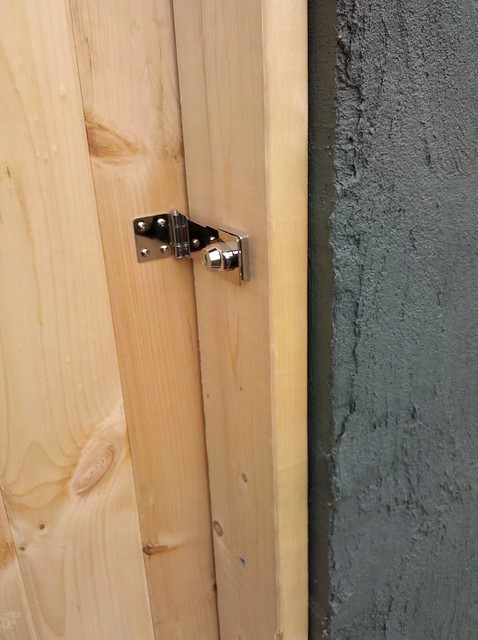
all installed
I applied a quick coat of stain
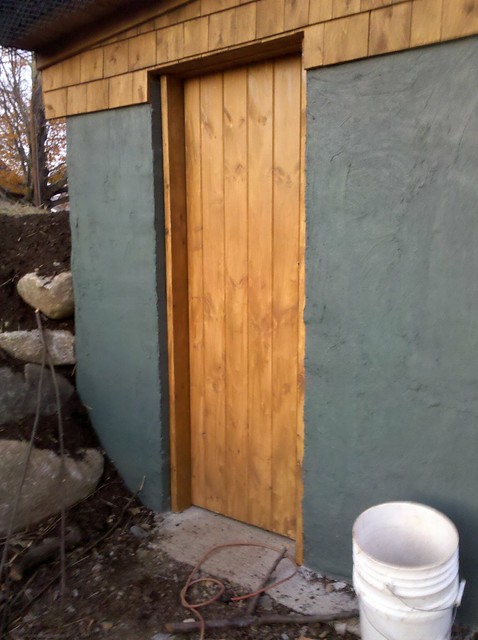
and caulked all the seams

and applied weather stripping all around the door
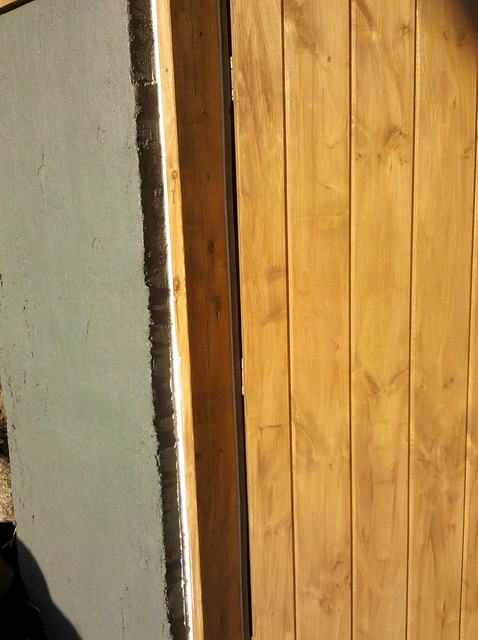
installed a handle
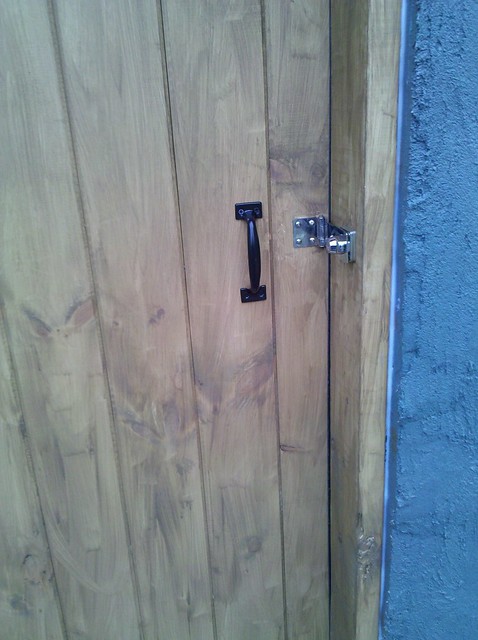
and the building was done

20 Feb ’12
Offline
Really awesome stuff. Were you in construction at some point or are you completely self taught?
15 Feb ’12
Offline
never in construction, just loved this old house growing up and every house or trailer we have ever owned has been a fixer upper, I'm also lucky where I learn very easy by reading, so I have a tone of construction books


Most Users Ever Online: 698
Currently Online:
28 Guest(s)
Currently Browsing this Page:
1 Guest(s)
Top Posters:
easytapper: 2149
DangerDuke: 2030
groinkick: 1667
PorkChopsMmm: 1515
Gravel Road: 1455
Newest Members:
elizaramsden232
MartinWap
marianaq87
abdulamaya951
deliahoinville
Forum Stats:
Groups: 1
Forums: 12
Topics: 11479
Posts: 58674
Member Stats:
Guest Posters: 2
Members: 3633
Moderators: 0
Admins: 1
Administrators: K

