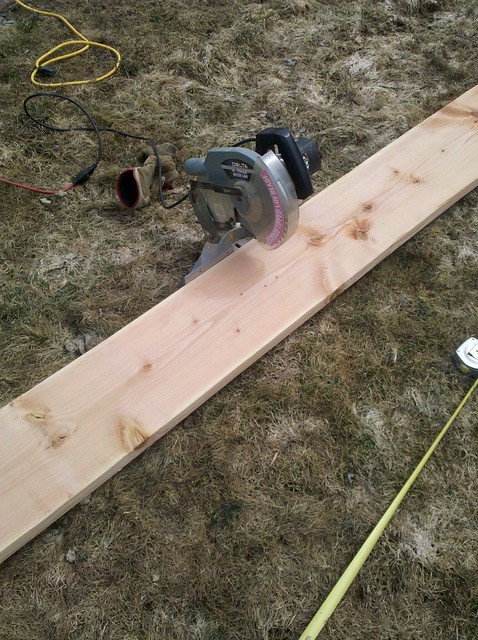
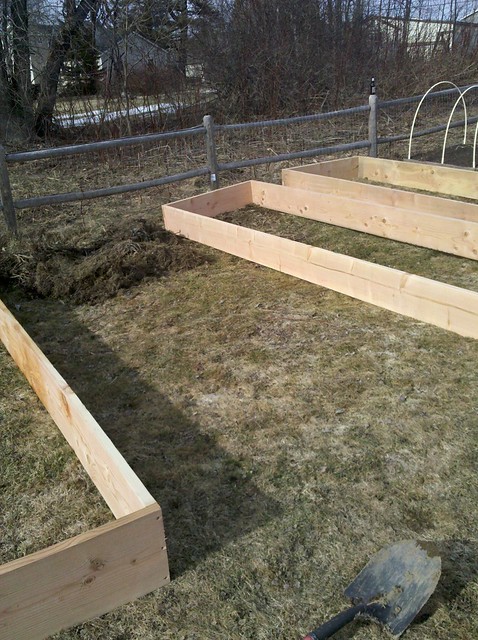
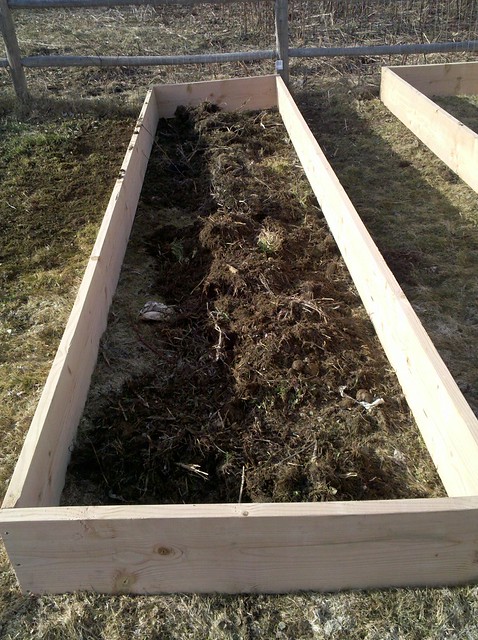
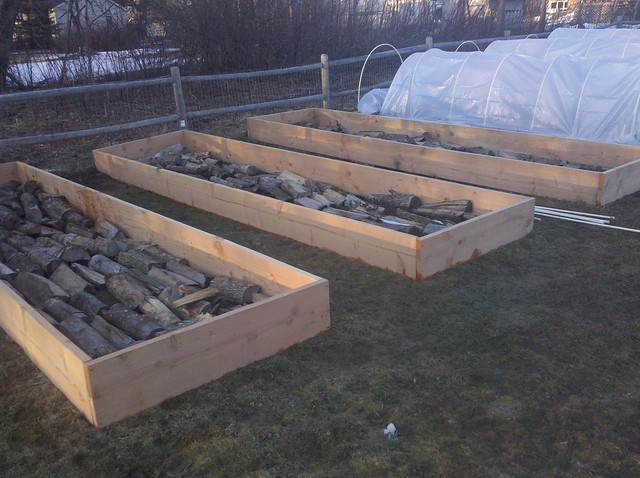
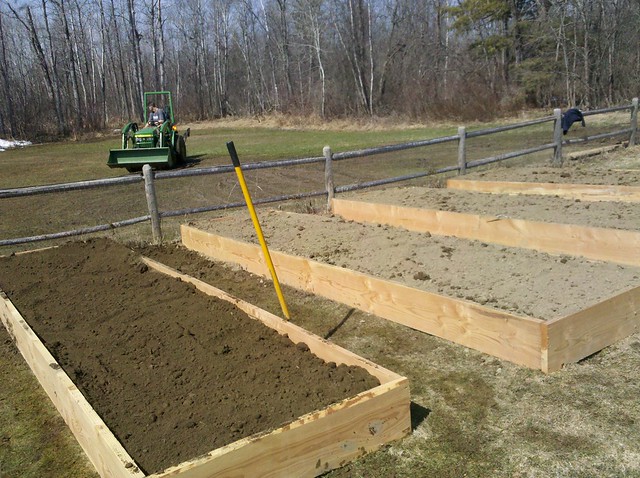
It was time to finish the raised beds, I had a few other projects to to around the house, so I had a pile of 2×12’s delivered. They were 16 footers so I cut some into 4 feet sections, so I could make a 4×16 foot bed.

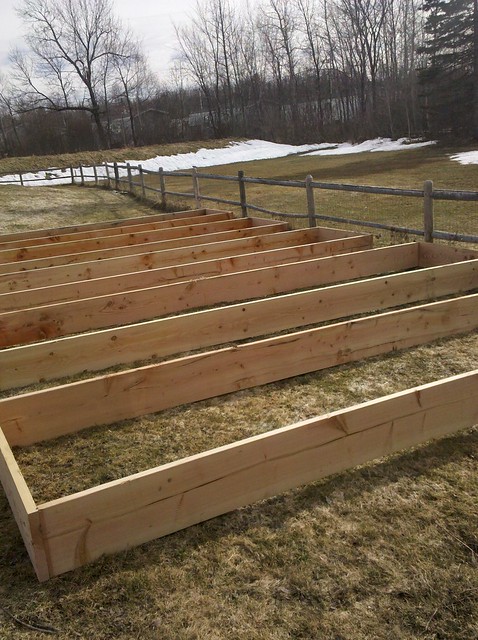
I deck screwed the boards together to form the frames and continued them around the perimeter of our fence
I took everything I had left over in the compost and threw it into the bottom of one of the beds
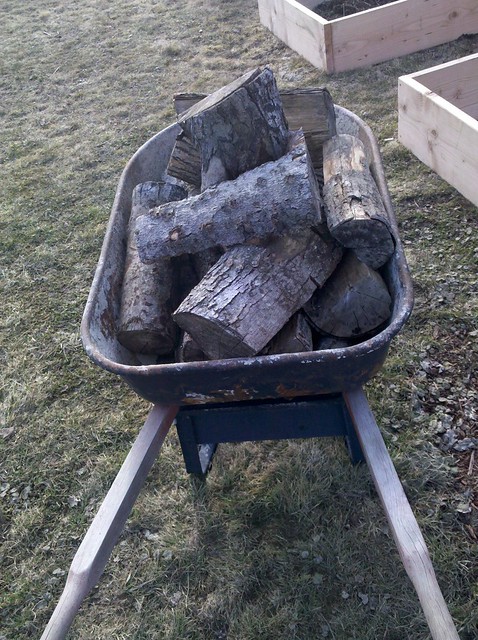
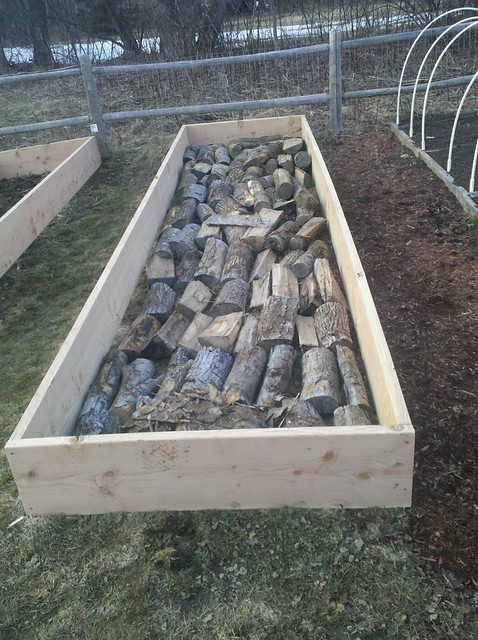
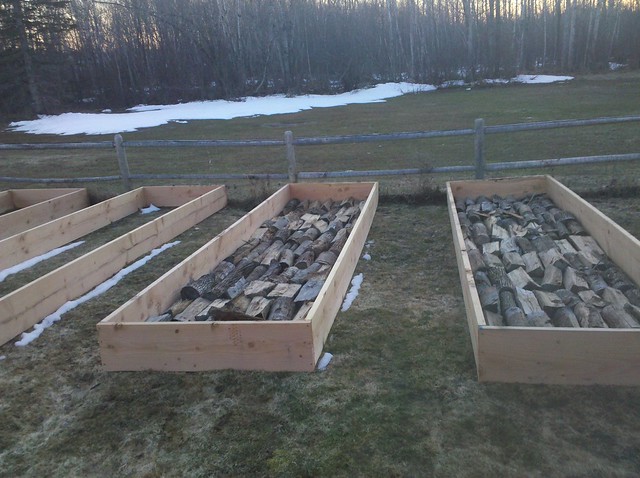
I started hauling some old firewood I had to try out hand at hugelkultur, there is a thread on here called sepp holzer which goes more into detail
and started filling the beds

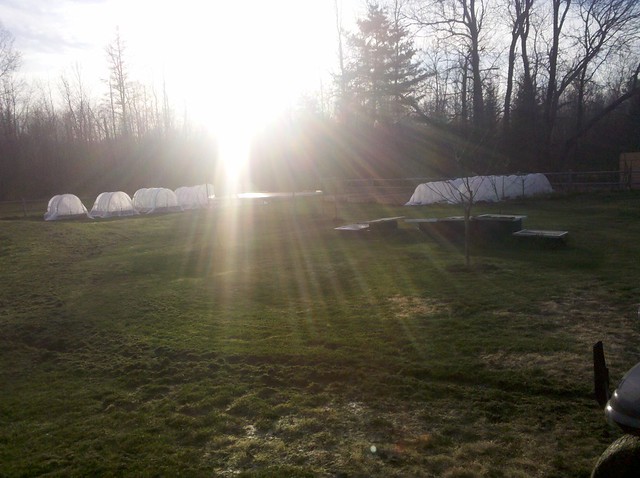
It was a good days work, the garden area was starting to come together, I was excited to start the garden
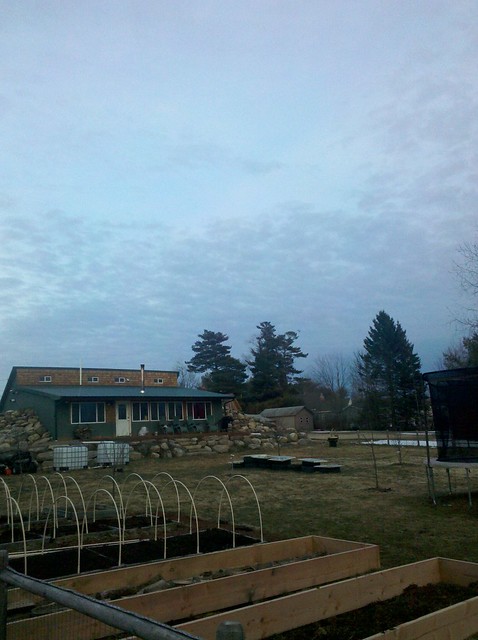
and the next day I got slapped back to reality lol
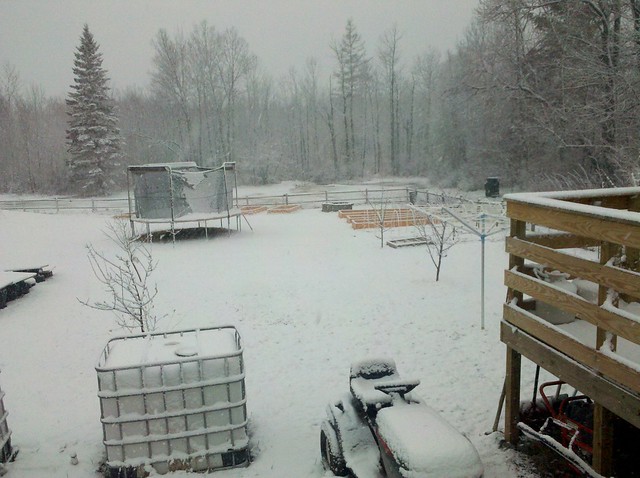
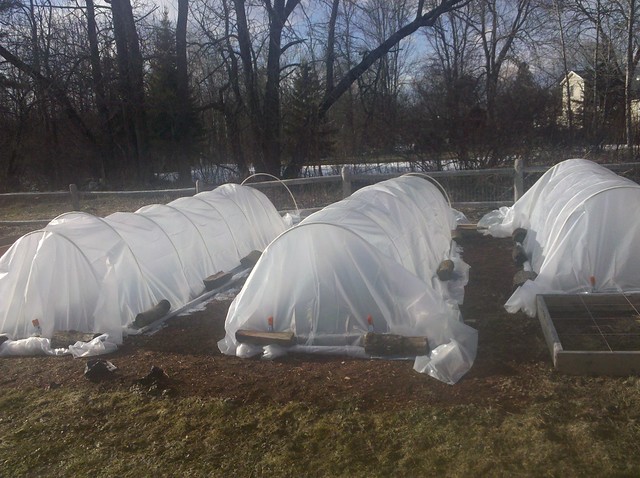
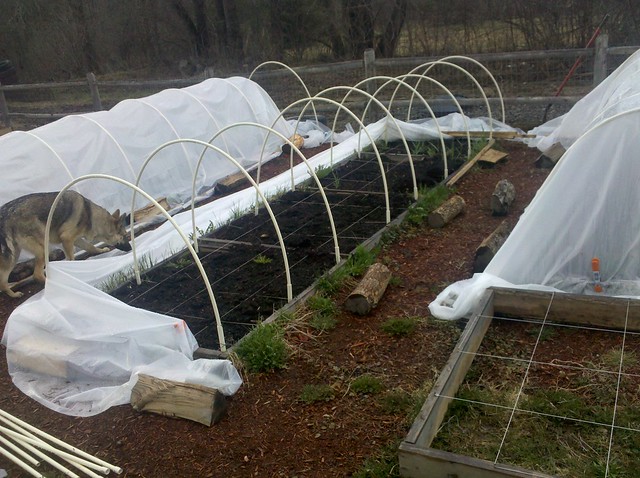
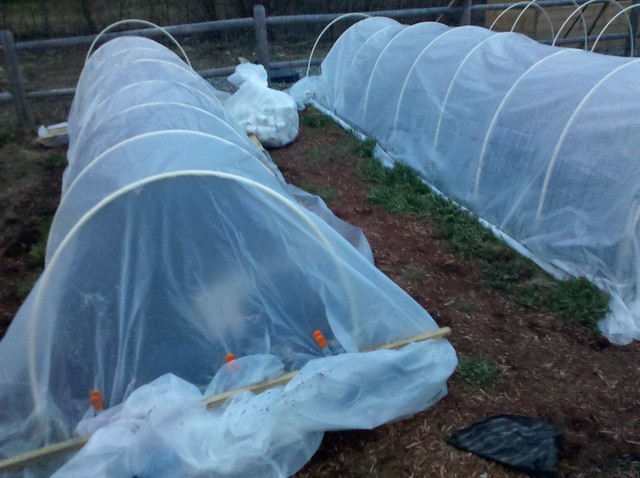
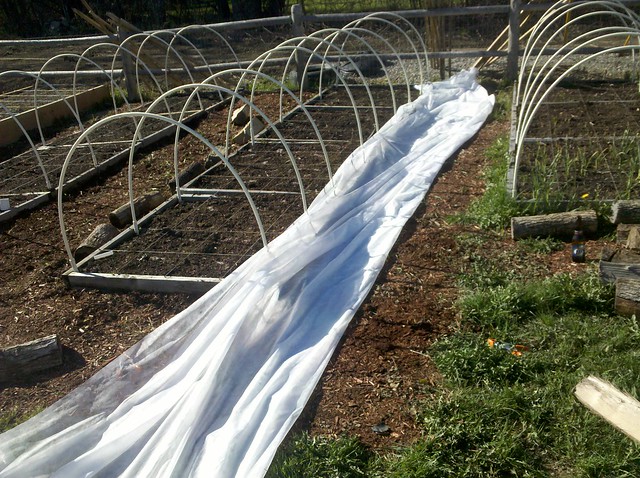
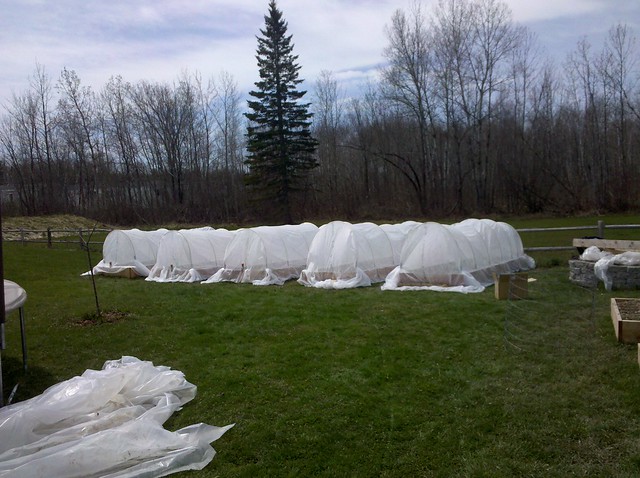
So the saying in Maine goes, if you don’t like the weather, wait an hour. Two days later it was 50 degrees out and the snow had all melted. I broke out the rolled plastic I had bought and rolled it out to get a rough length.

I draped it over the hoop houses and used some spare grade stakes to hold down the loose end.
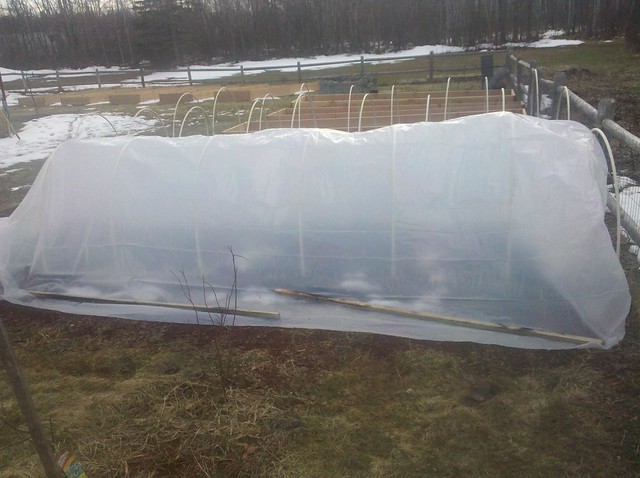
I rolled the grade stakes up in the loose end of plastic to help temporarily hold the sheet from blowing away
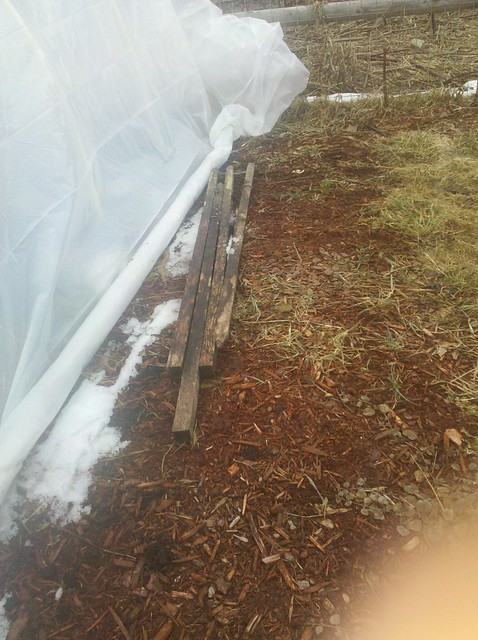
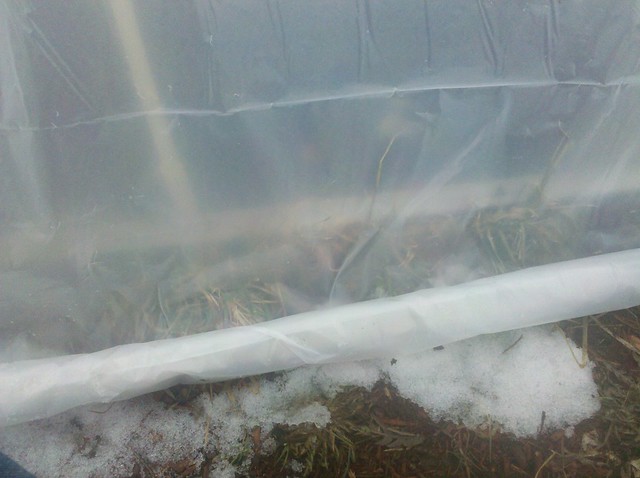
I had some spring clamps so I used them to secure the ends.
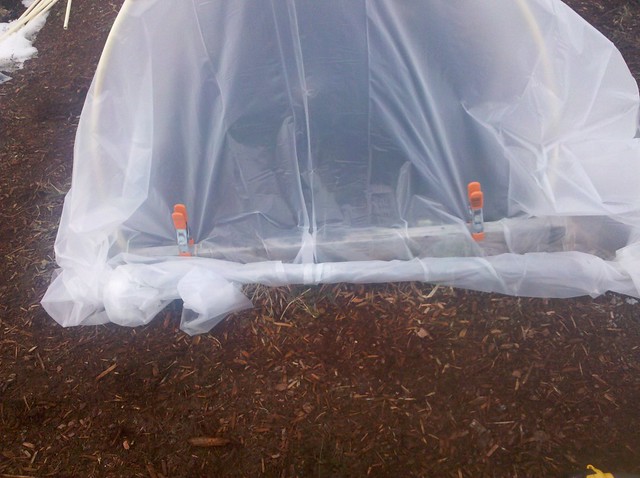
I used some chunks of firewood to lay around them to hold the rest of the plastic down.
I then proceeded to haul some more firewood to finish filling the bottom of the beds.
So I had learned my lessons from the previous year and ordered 8 yards of top soil instead to save some money
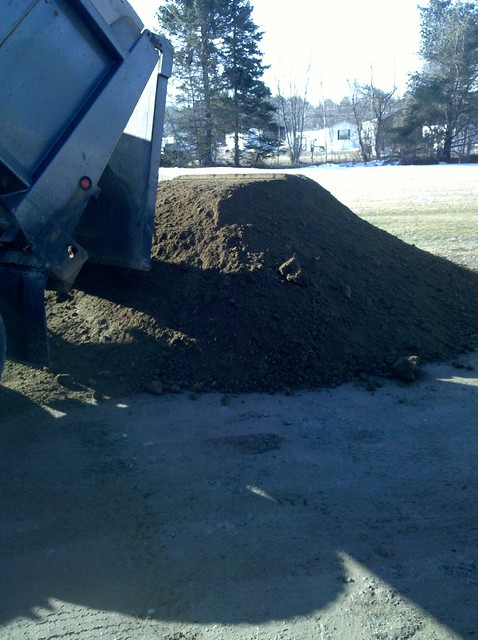
There was no way in heck I was going to wheelbarrow all that around so I had my friend bring down his tractor.

and we started hauling dirt
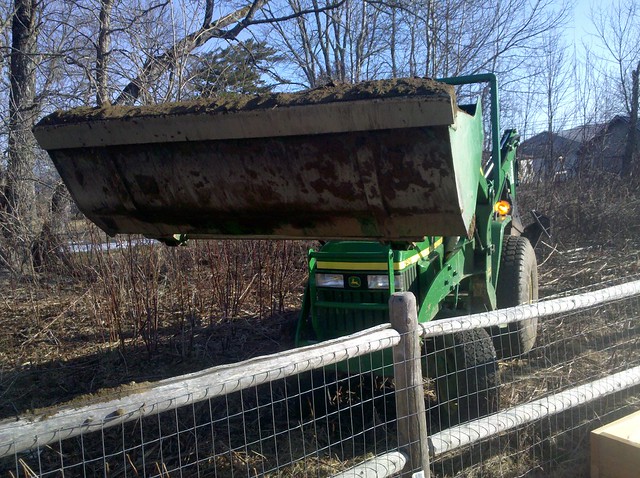
Since we couldn’t get the tractor through out get in the fence, we just started dumping it over the fence and raking it out
It was going quick
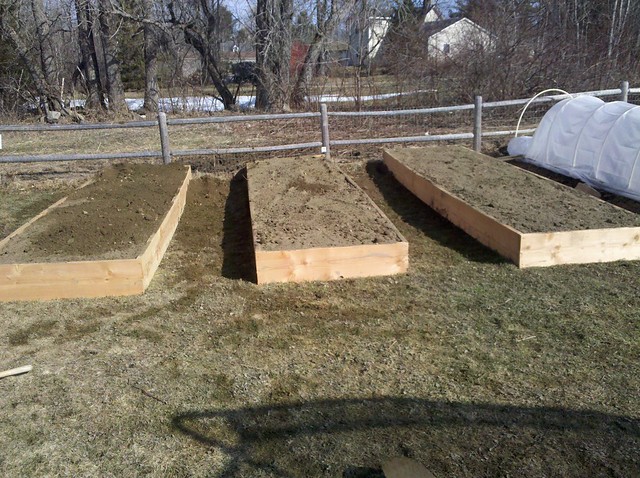

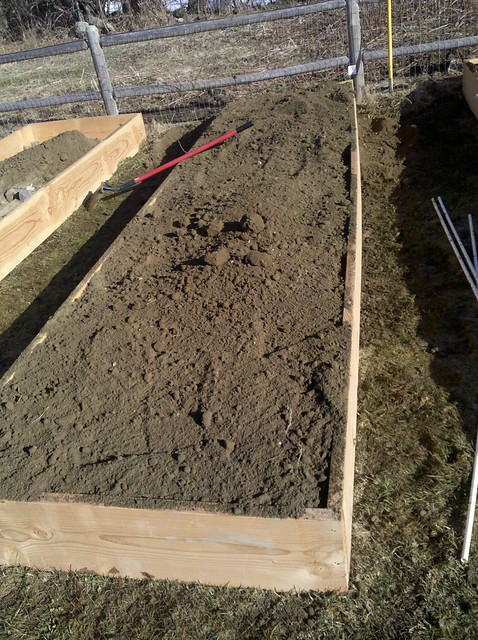
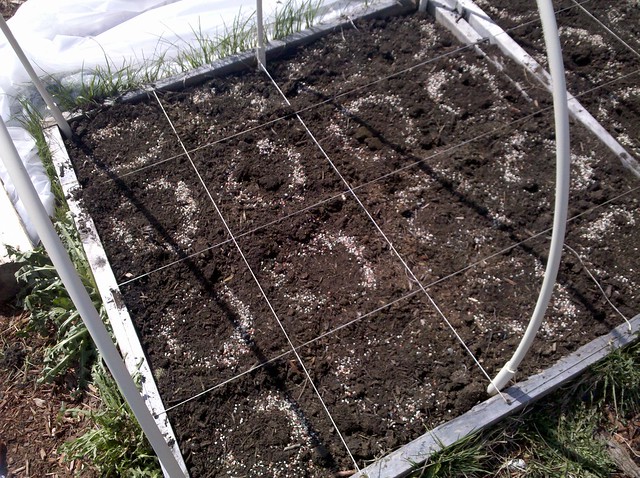
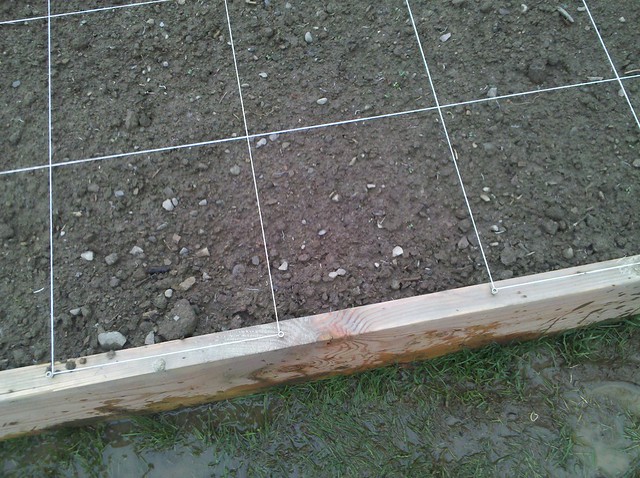
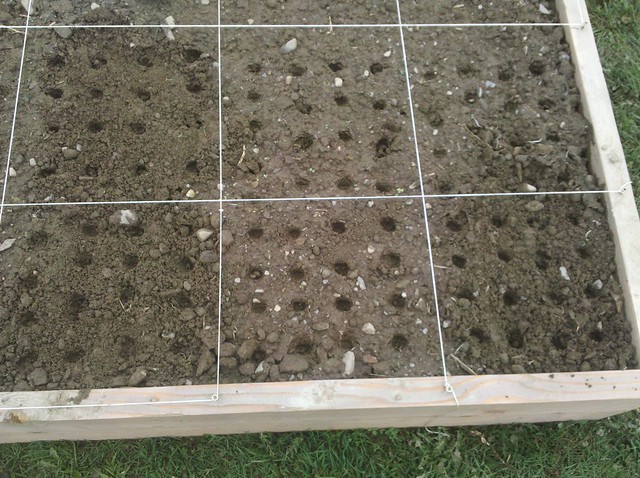
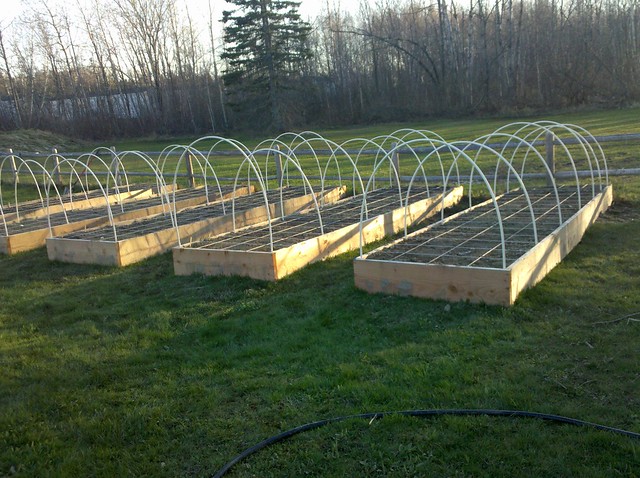
A couple of days later I was able to get the beds totally filled and used some screws and some twine and laid out a quick grid
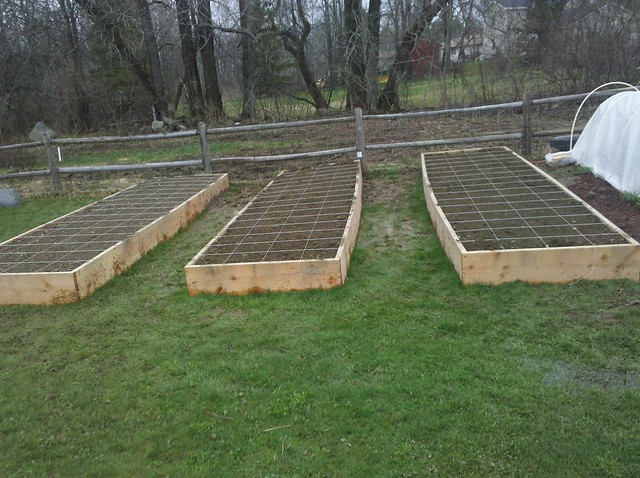
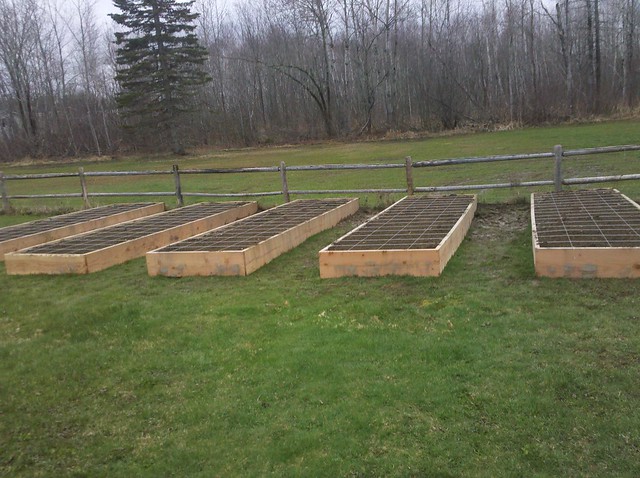
I had been monitoring the temp in my year old beds and was quite happy with the temps we were holding
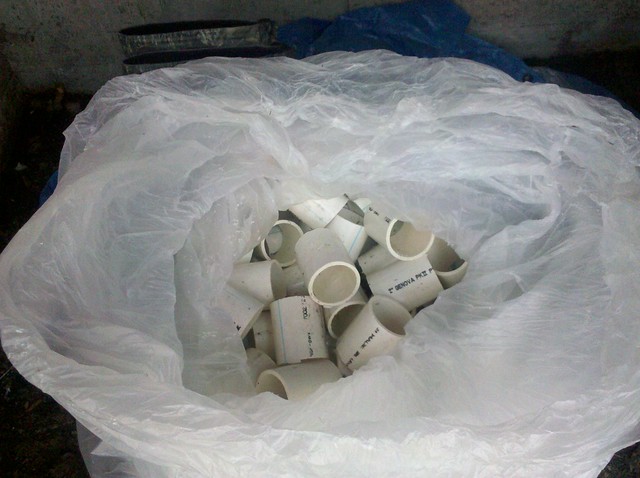
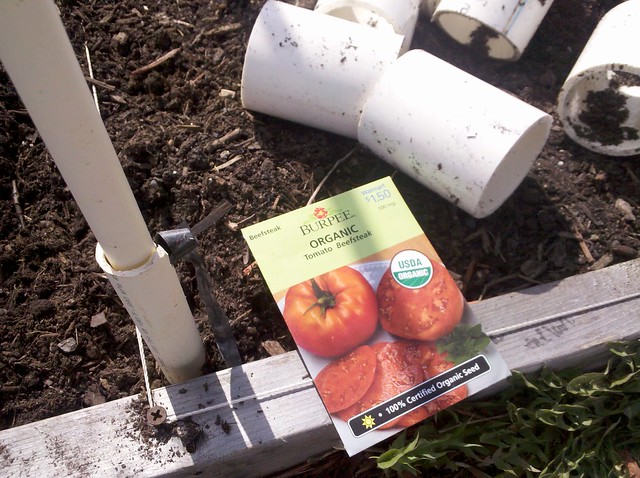
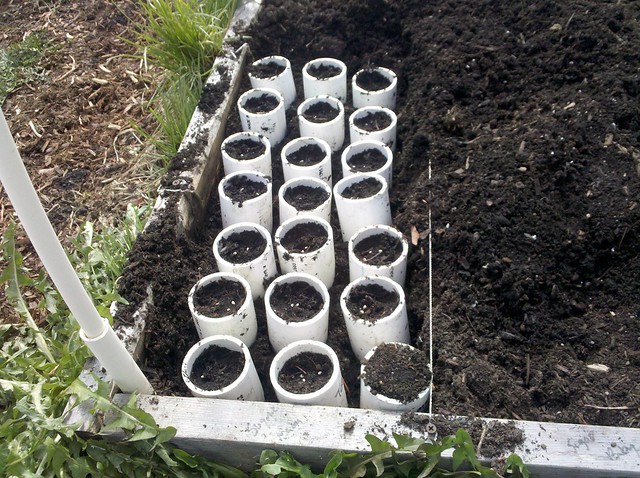
I decided that since I essentially had a mini greenhouse, not only would I start the beds in the hoop houses, I would start some seedlings for the other beds. So I went and grabbed some pvc pipe
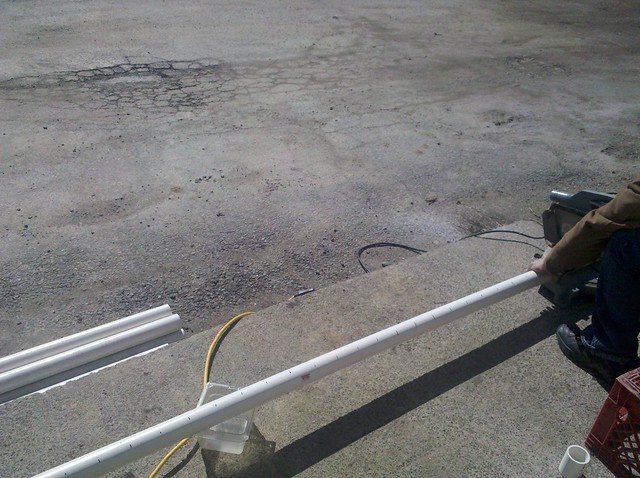
and proceeded to cut 3 inch pieces, I was going to use these as my seedling starters
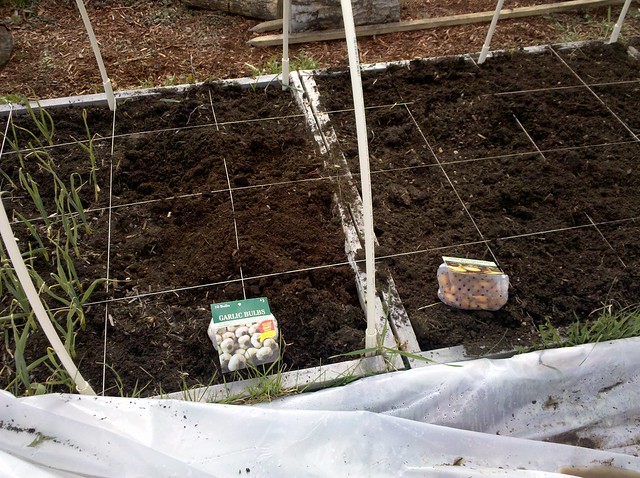
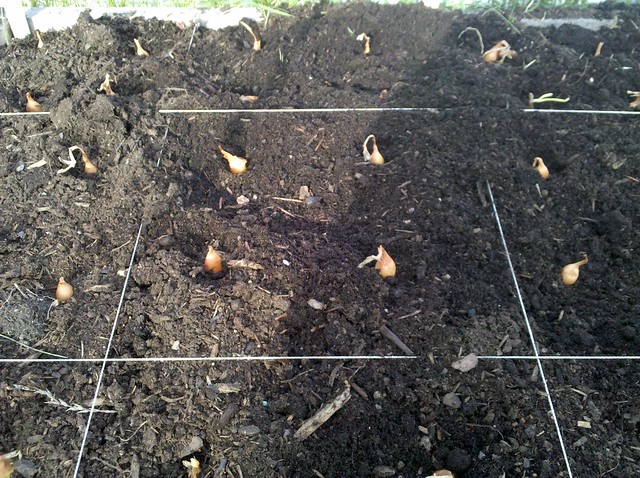
I started out by picking up some garlic and onion sets for this years planting
garlic can’t be any easier, just grab some bulbs

break them up into the individual sections
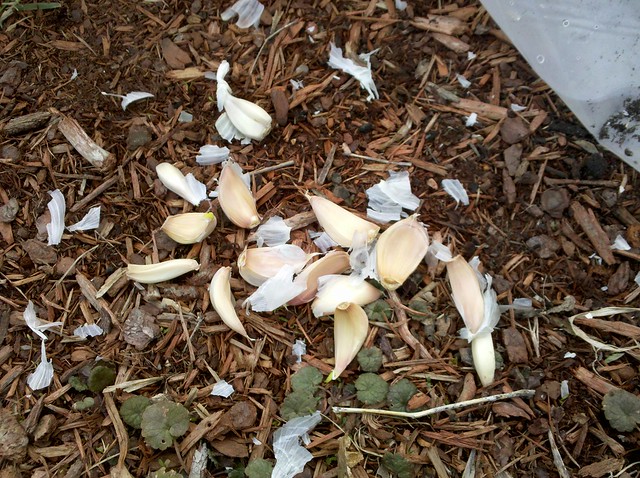
and them plant them flat end down and pointed side up
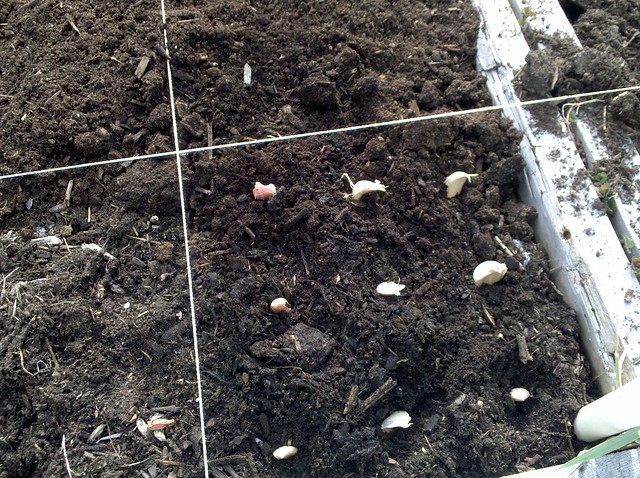
onions just set and cover
I had sketched out a basic layout for the garden
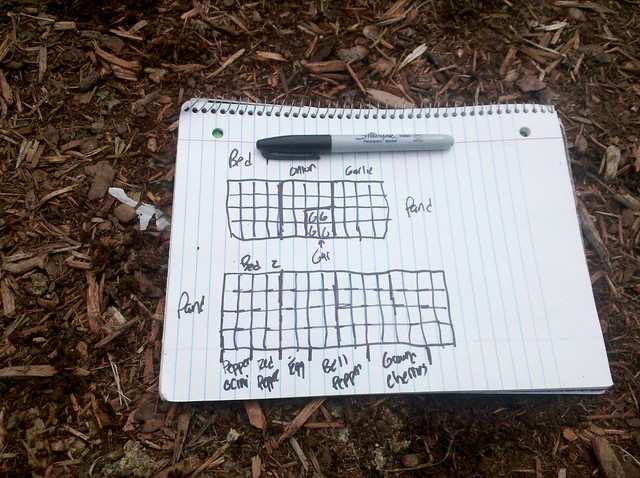
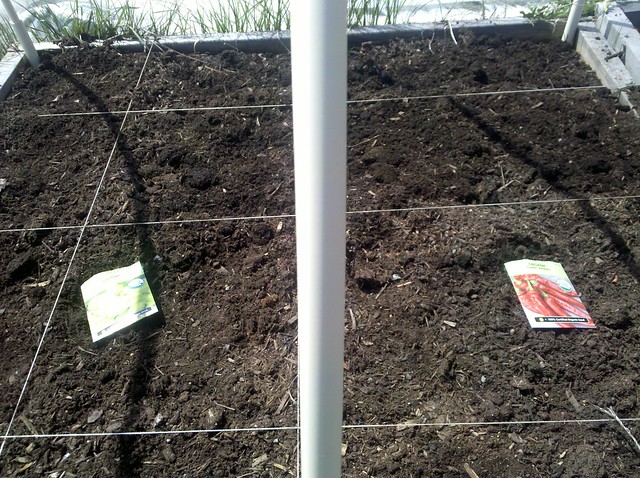
and placed the seed packets according to my sketch (there are websites out there that you can use to do the layout with)
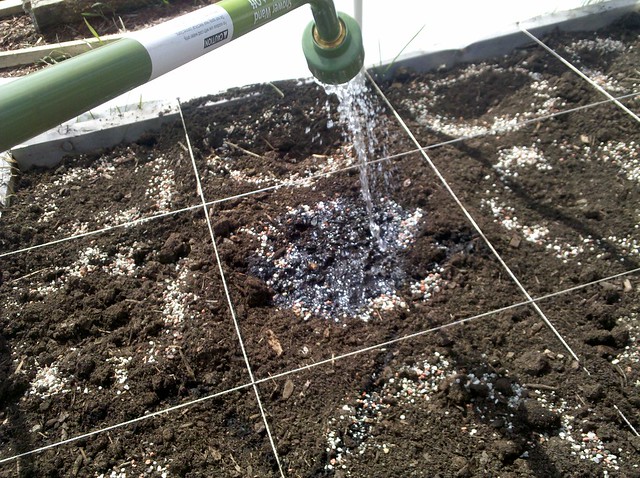
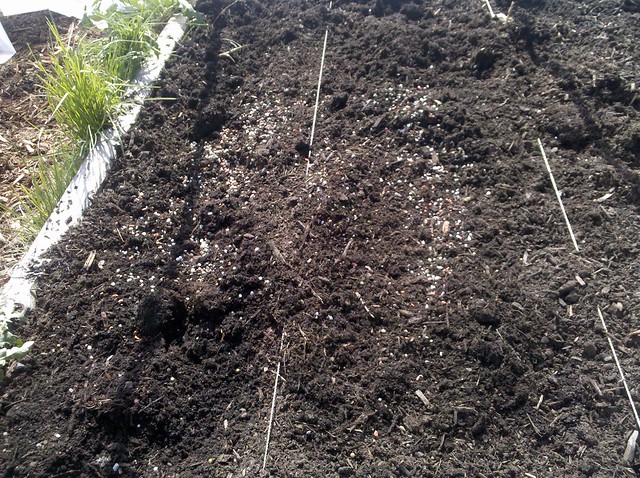
after planting the seeds, I sprinkled a little 10-10-10 around the square foot
and watered them well and wrapped the hoops back up

To get the seedlings started for the other beds I left a corner of one of the hoop houses unplanted and threw some 10-10-10 into the soil
I mixed it in well incorporating the two together
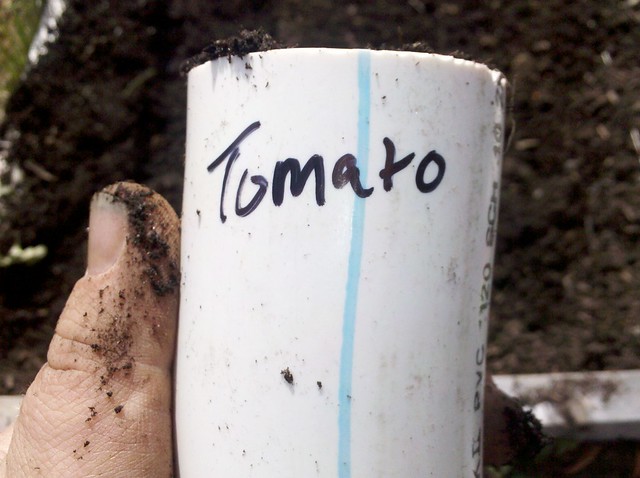
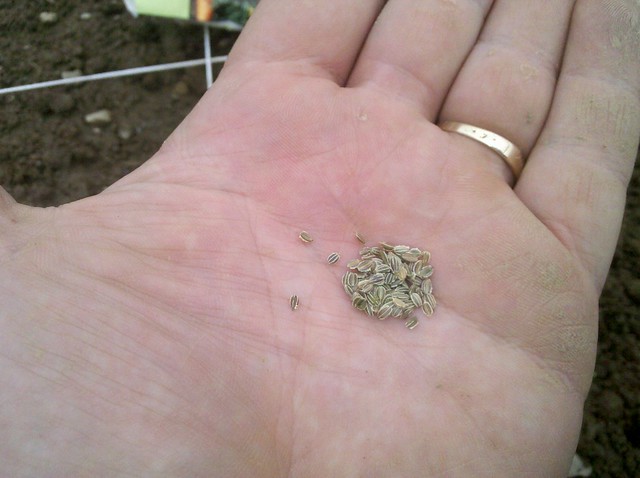
I grabbed a packet of seeds and some of my pvc pipes
I lightly packed in some of the fertilized soil into the pipe and a couple of seeds
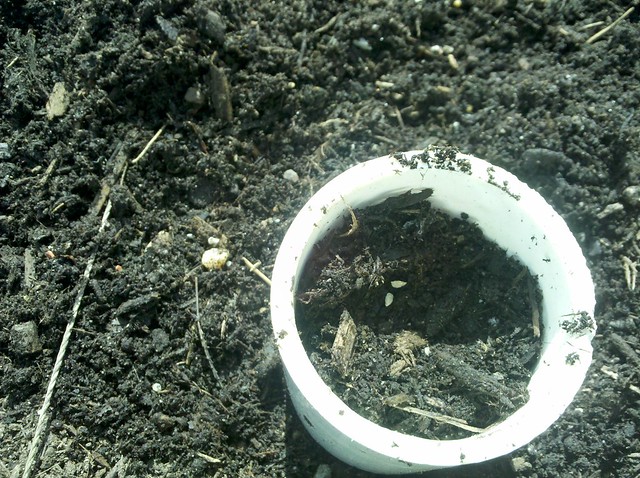
I lightly covered the seeds and labeled the pipes so I knew what was what
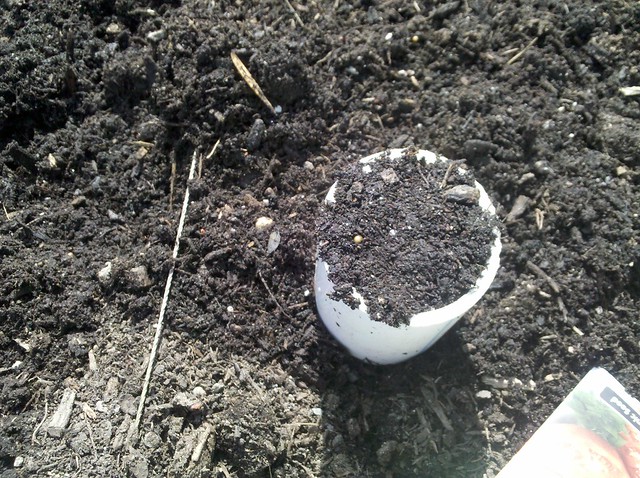
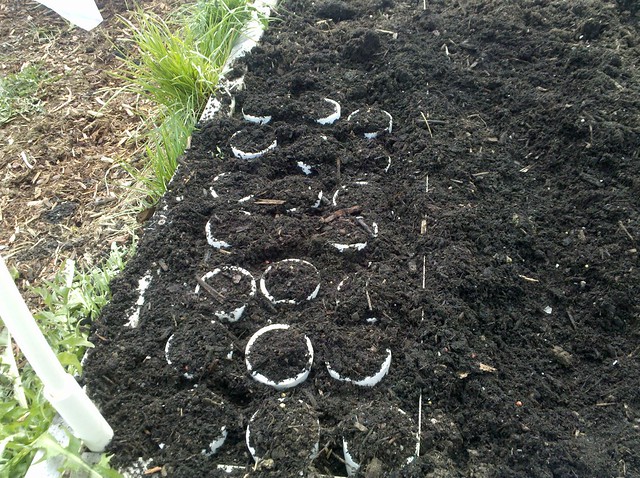
after I had a bunch set up I set them in the corner of the bed and covered them with a light top coat
and covered all the beds for the night
a couple of days later I decided to get some of my hardier plants going in the new beds
I usually use a pen or pencil to make holes into the soil, I usually swirl the soil rather than pressing into the soil so I don’t compact the soil under the seed
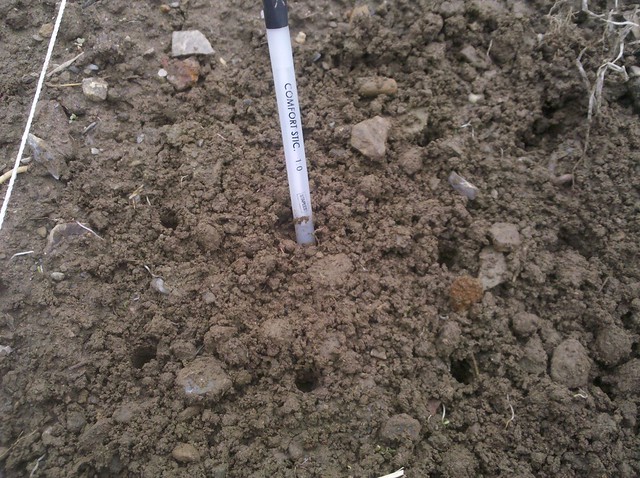
these squares were for my carrots
someone needs to make a bigger carrot seed!
after fumbling to get 3 seeds into the holes, I lightly cover them with loose soil and water

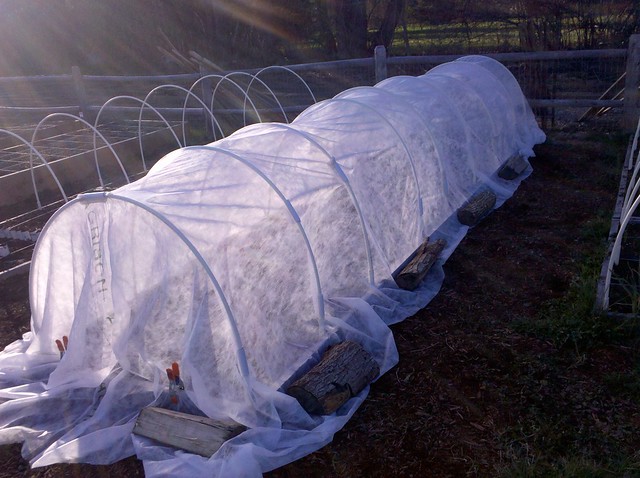
A couple of weeks later as the weather outside was getting better I stuck a thermometer in one of the hoop houses and was shocked to see it was 110 degrees in there, I had to run down to johnny’s seeds later that day to see if they had any horseradish sets and I noticed they had some Agribon on sale because the corner of the roll was damaged
Agribon is good stuff, it allows 90 percent of lights through, is breathable and protects the clothe
Provides frost protection down to 28°F/-2°C. Great overwinter protection for strawberries, lettuce, spinach, etc. Use with hoop supports over plants such as peppers whose growing points project against the fabric. 85% light transmission. 0.55 oz./sq.yd.
http://www.johnnyseeds.com/p-6836-agribon-ag-19-row-cover-10-x-500.aspx
I was able to get a 500 foot roll for 45 dollars.

I also picked up some bags of shade cloth clips, they snap over the cloth onto the cpvc pipes holding the cloth down, the only down side is they actual size for 1/2 inch conduit not 1/2 inch cpvc which has a slightly smaller exterior diameter, so I ended up cutting little pieces of cloth and doubled it up under the clips so they held tight

I removed the plastic from the hoop houses
And rolled out the Agribon to cut the proper length
I draped the Agribon over the hoops
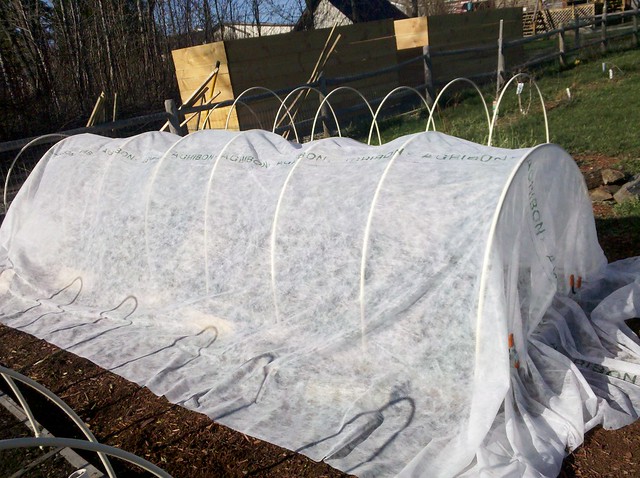
and reset the firewood and spring clips to hold down the base
the seedlings were starting to sprout so I spread them out a little before I covered the bed

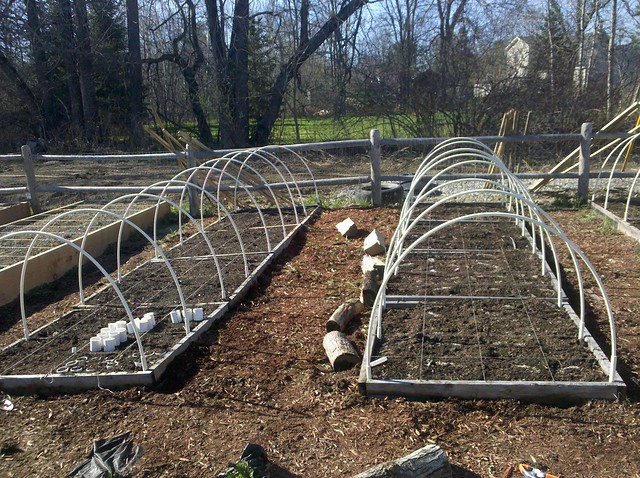
Since I had so much Agribon I made the new beds into hoop houses as well, so I could get the planted as well
the next day I planted and covered the beds, it was may 3rd, almost a full month before normal planting time for our zone
my father says it looks like a wagon train heading out west