I’ve been going over some of my older posts and have decided to pick certain parts of the projects and post them individually. Someone might be searching for just a certain part of a build and not want to sift through Five hundred pictures just to find a small percentage of the actual build.
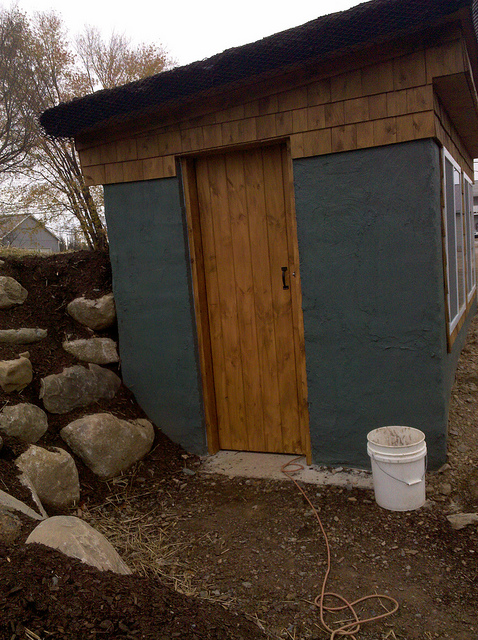
One project a lot of people are interested in is living earth roofs. Our original goal with our house was to build a earth roof for it, but unfortunately our choice of living in town included the choice of having a local code enforcement officer. When I approached him about my plans, let’s just say he was less than impressed. When we built our greenhouse though, we didn’t need a building permit due to the size of the structure. It was on!
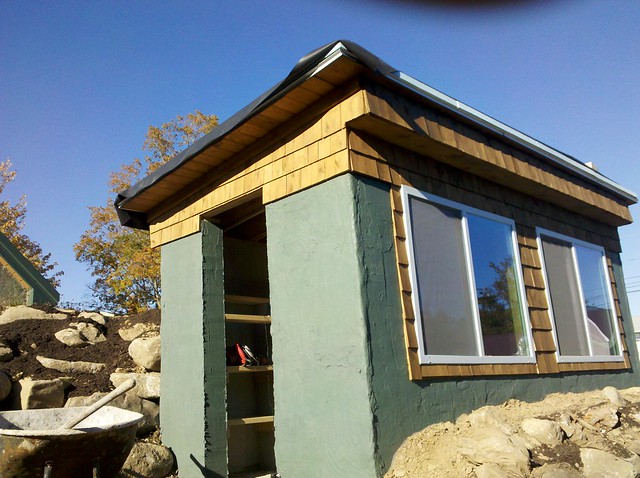
So after building up the shell of our structure, it was time to move on to the living roof.
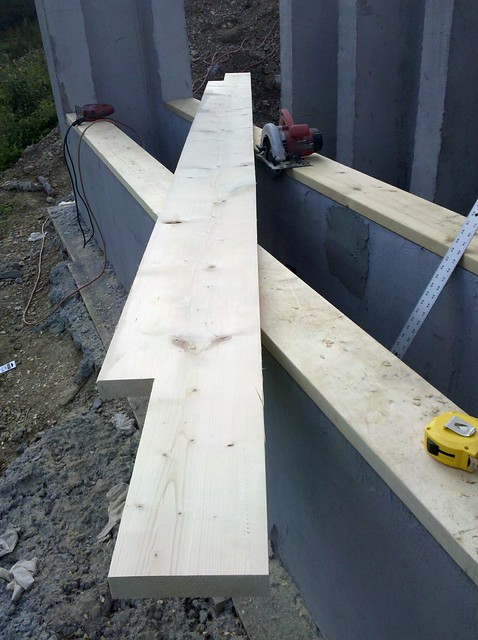
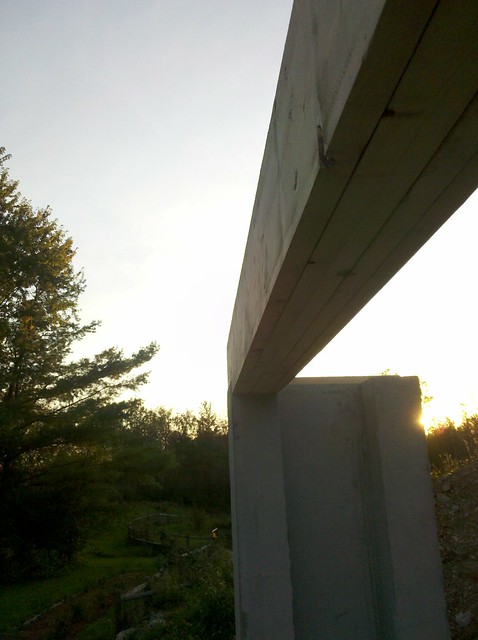
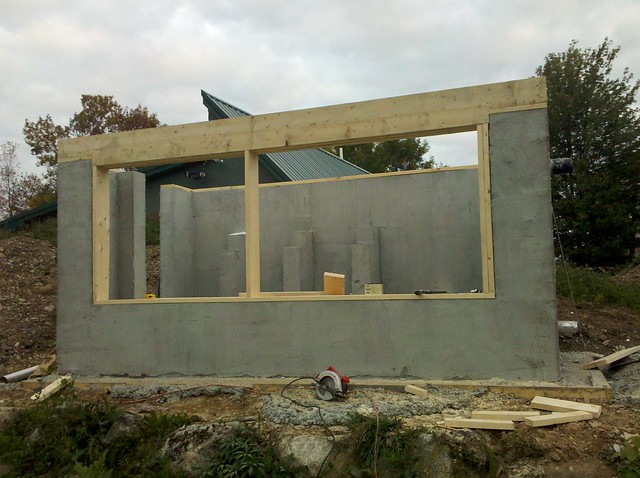
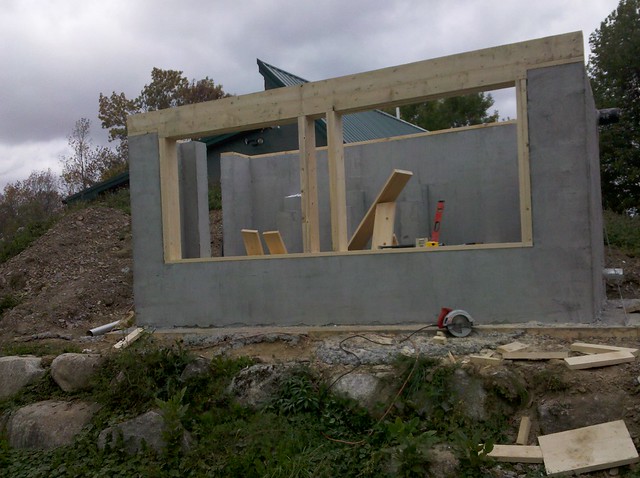
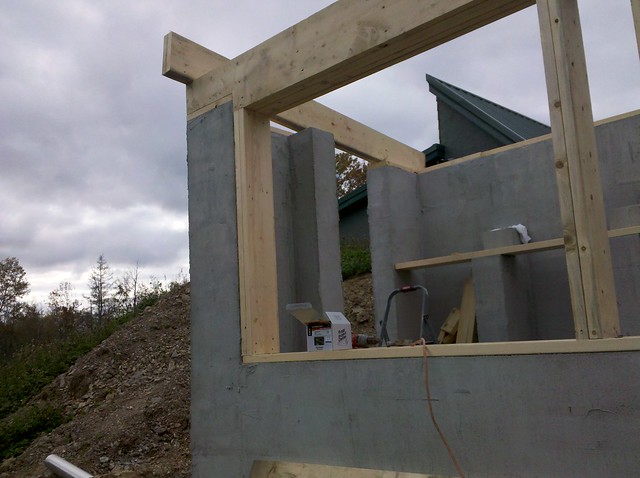
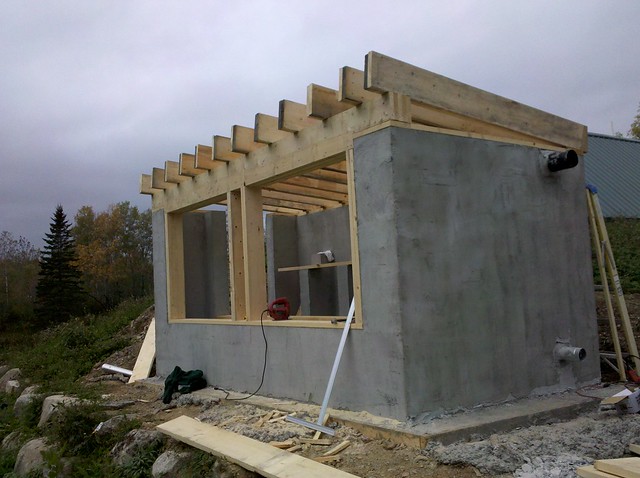
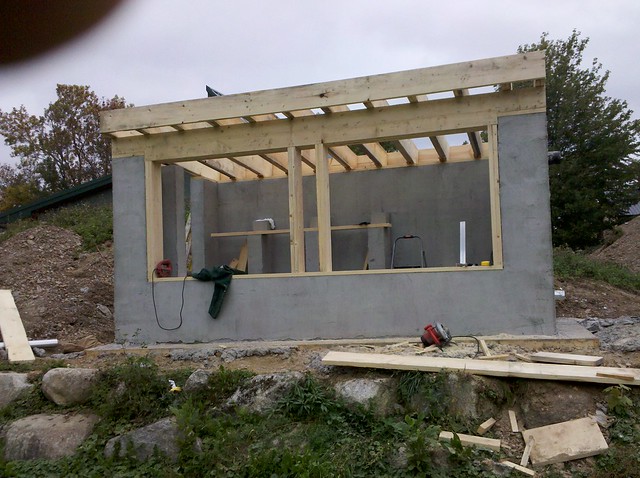
I took some 2×12′s and notched them so they would rest on top of the plates and frame out the proper opening for the windows.
I nailed five of them together since they were going to be spanning the 12 foot opening and carrying the weight of the roof. I wanted these nice and beefy.
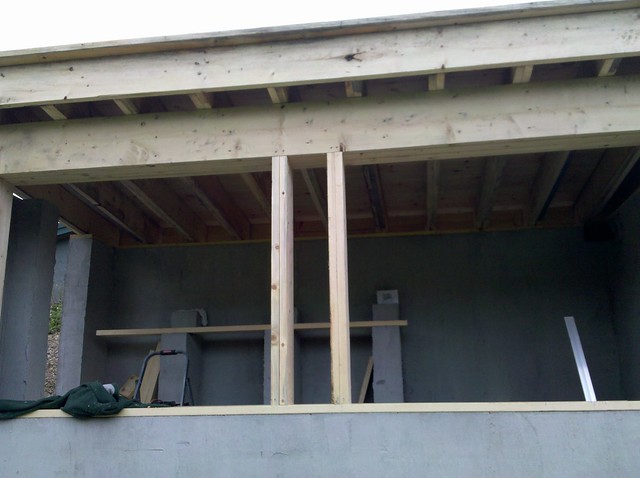
I cut out studs from 2×6′s to break up the span and frame out the windows
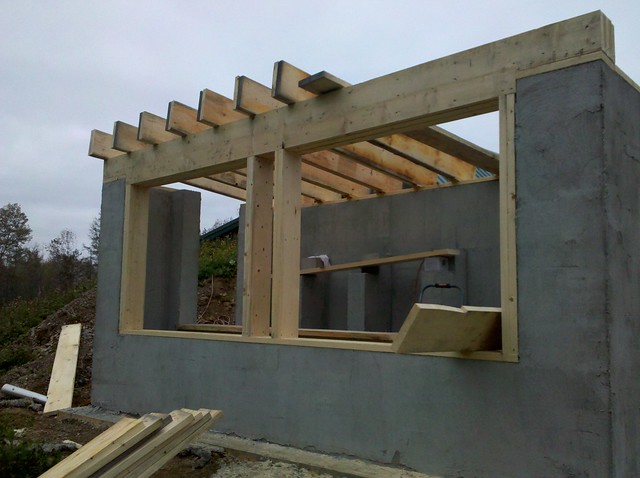
For rafters I doubled up the 2×10′s and put them 16 on center. Again the goal was to overbuild.
The last rafter was set in place. Yep, it’s beefy.
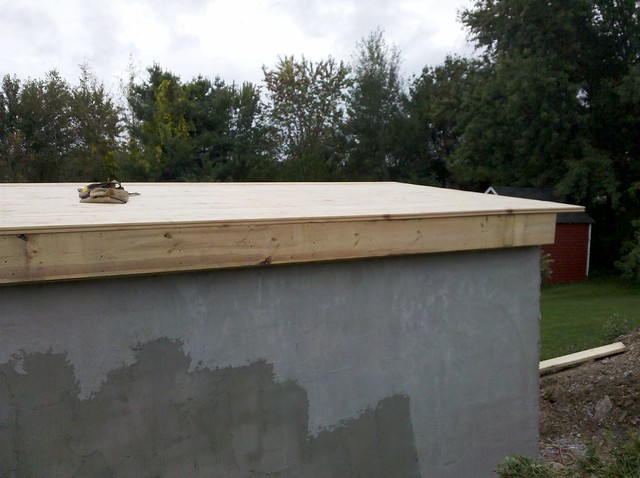
I nailed up a 2×10 for a fascia board across the front.
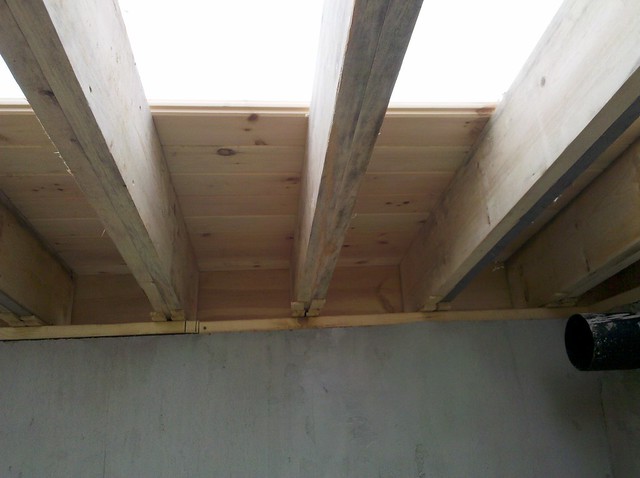
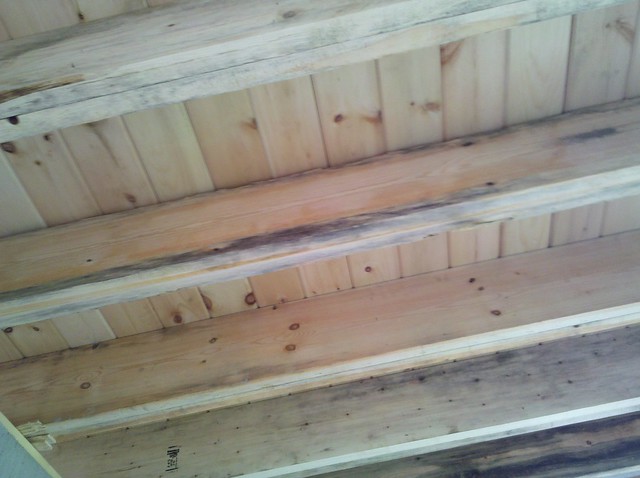
I started nailing down the 2×6 T&G decking, you can see on the rafter I didn’t notch them, I just used shims to make wood to wood contact. For strength purposes I didn’t want to cut birds mouths into the wood.
It went into place pretty fast.
I used a 2×10 on the back as well for a fascia
The T&G decking creates a nice finished look inside the building.
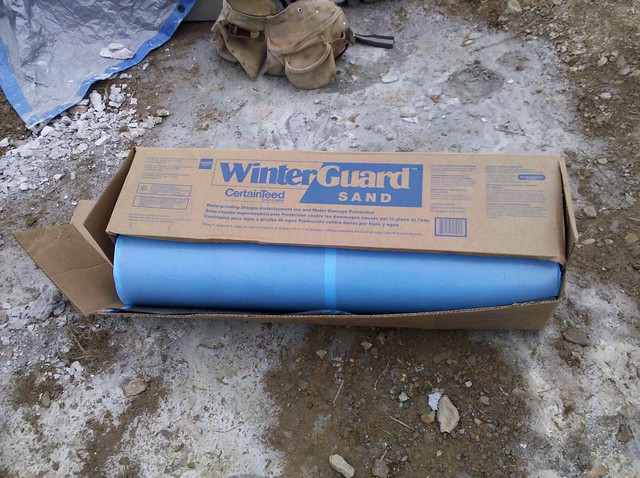
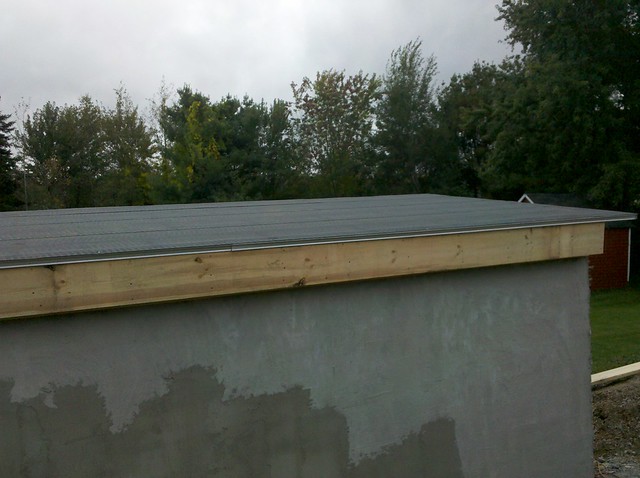
To protect the decking for the short term I went and grabbed a roll of ice and water shield, this was going to be our base layer for our cold roof.
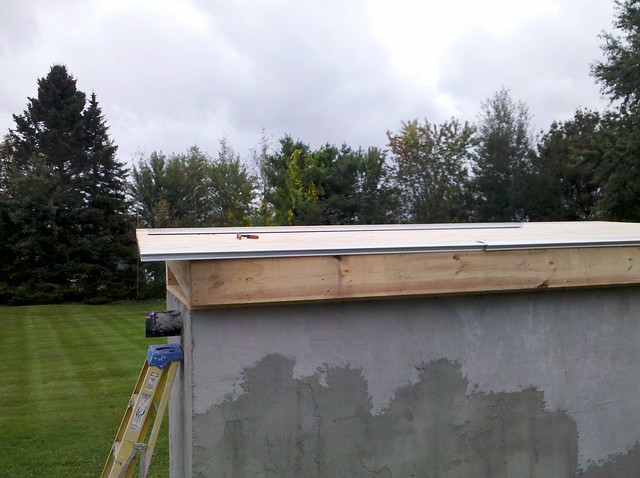
We nailed down drip edge around the perimeter first.
and rolled the ice and water overlapping by a good 8 inches since the pitch was so low.
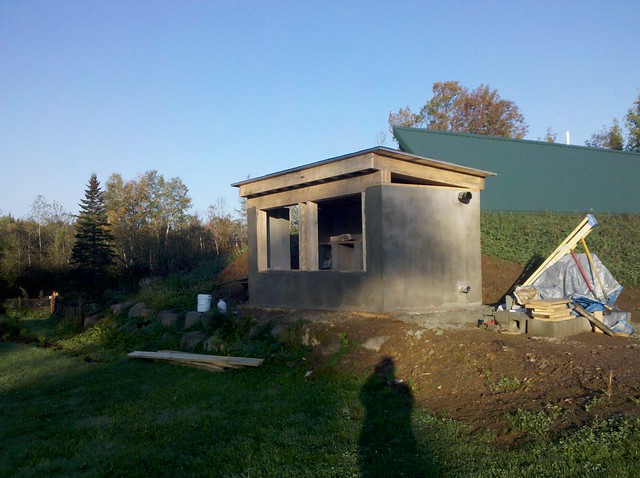
It was starting to take shape and was finally looking like something.
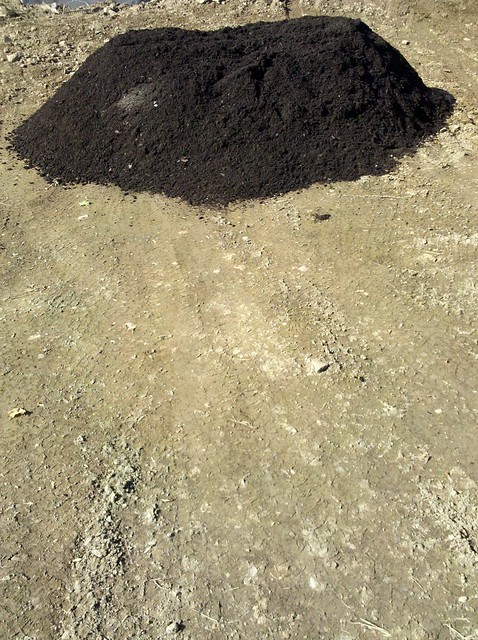
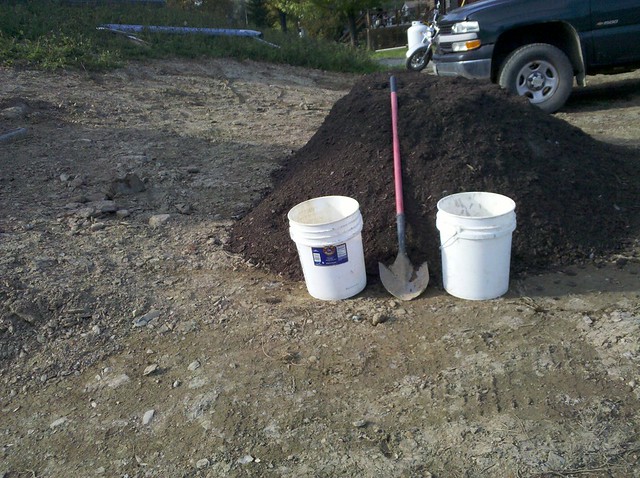
I had some mulch delivered to start the roof.
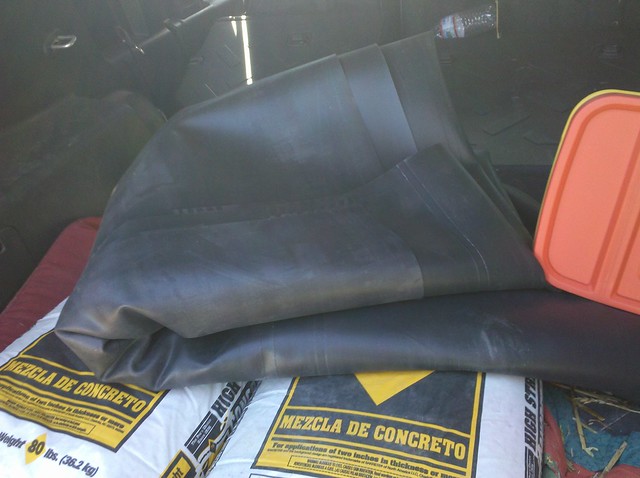
I also went and picked up a sheet of rubber roofing for a base.
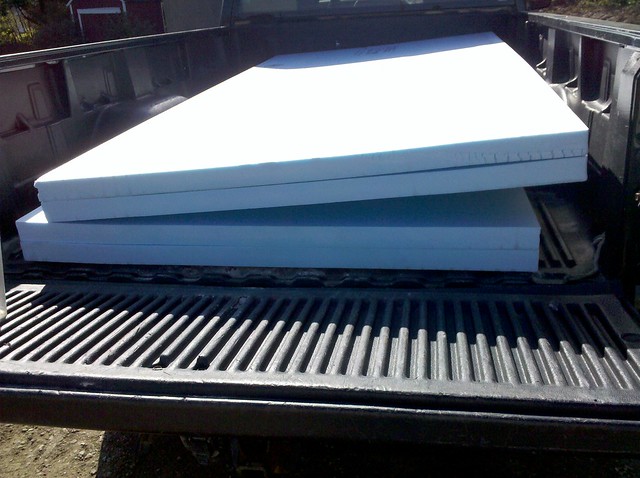
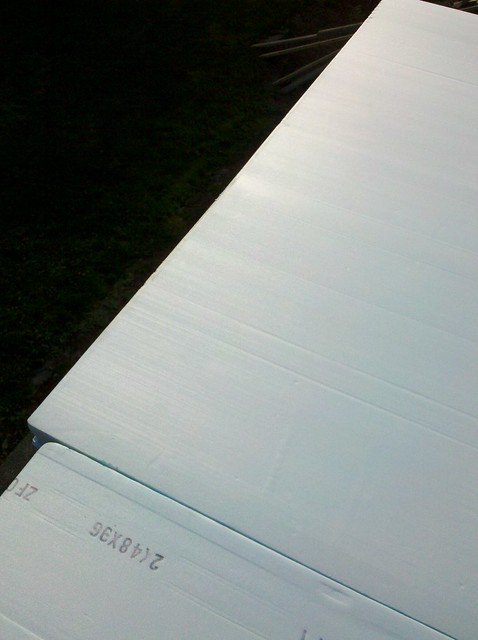
and grabbed some 2 inch blue board for the insulation layer.
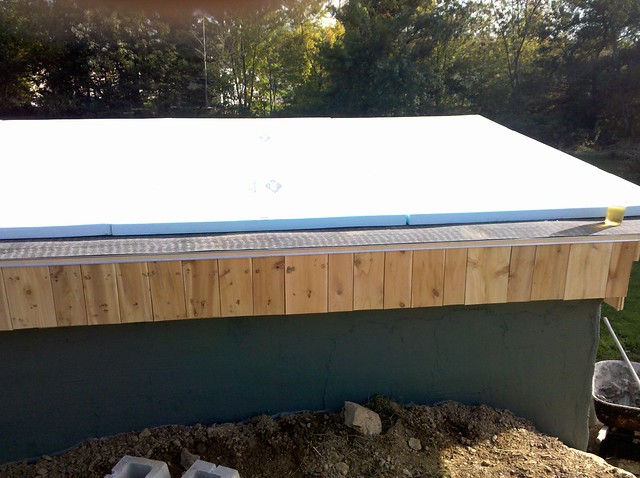
We already had laid the ice and water on the deck so we just placed the insulation right on top of that.
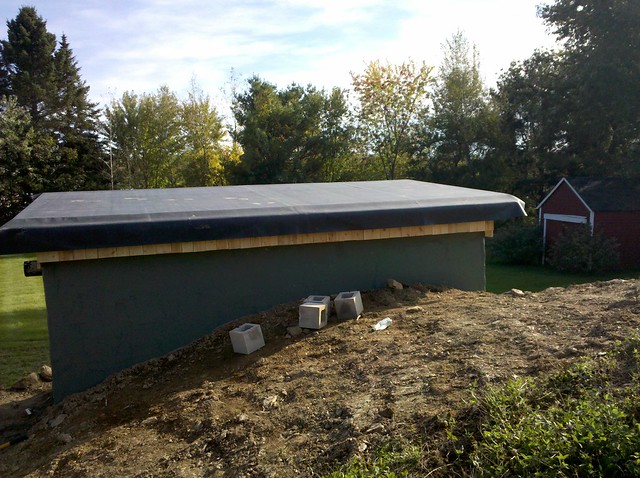
I unrolled the rubber sheet over the insulation which held the insulation in place pretty well.
I then proceeded to bucket the mulch on top of the rubber roof, this was going to act as a base drainage layer. A lot of people will use gravel or crushed stone, but I was trying to keep the weight down.
The next morning after working late into the night, I raked out the mulch.
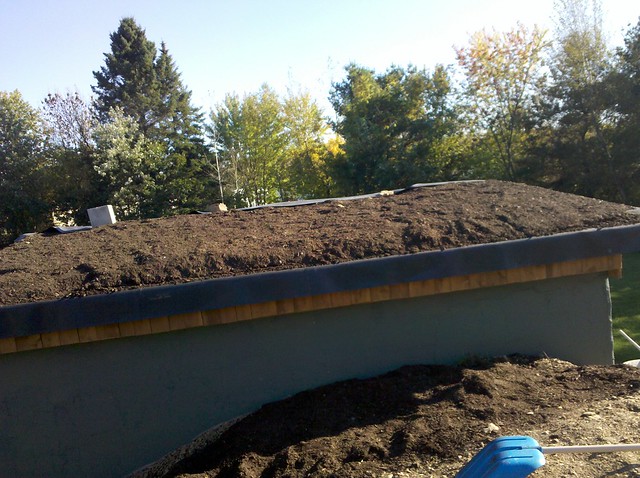
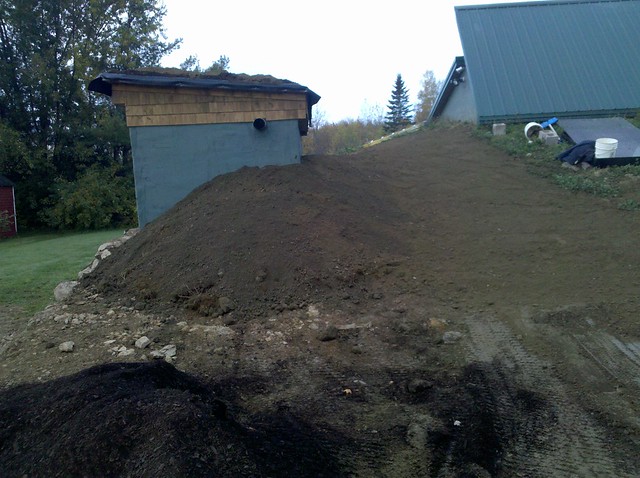
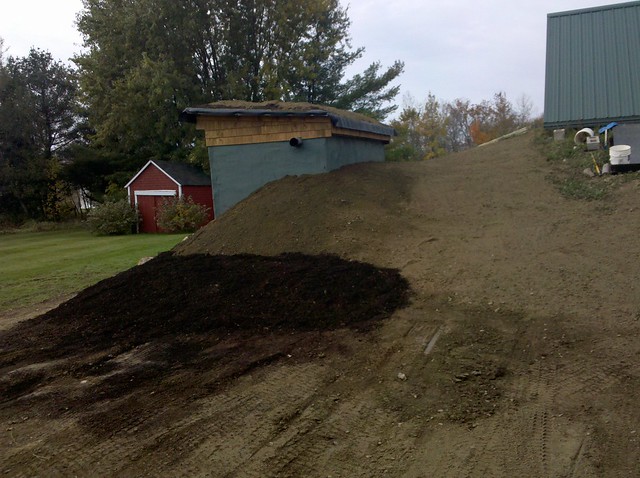
I had topsoil delivered and finished back filling around the building.
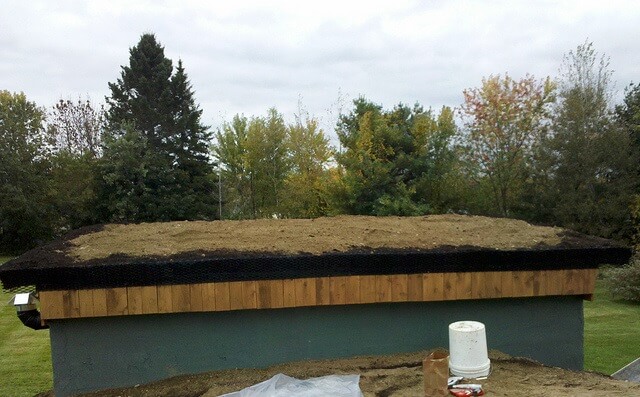
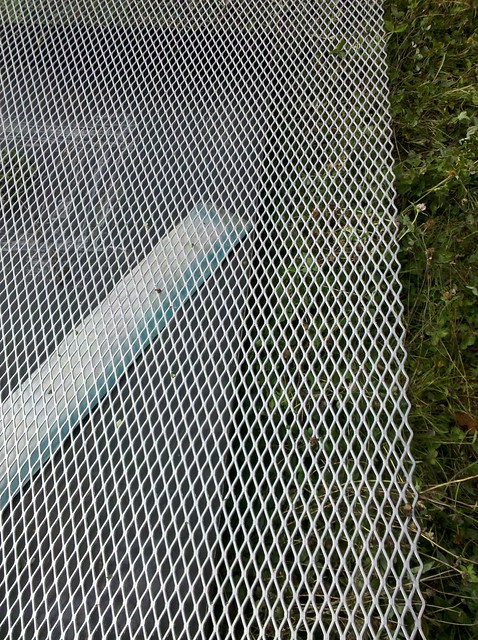
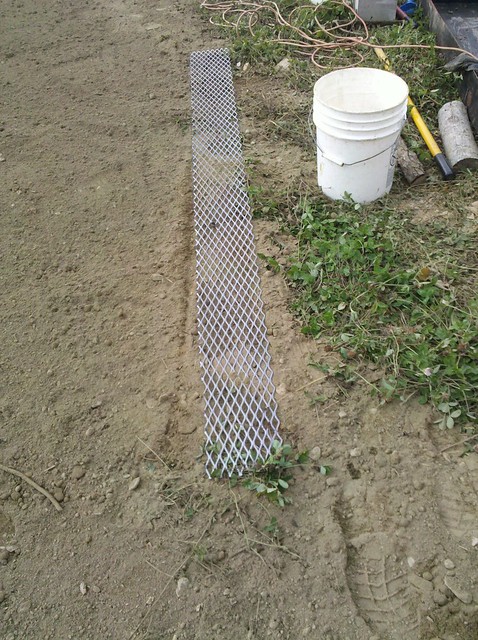
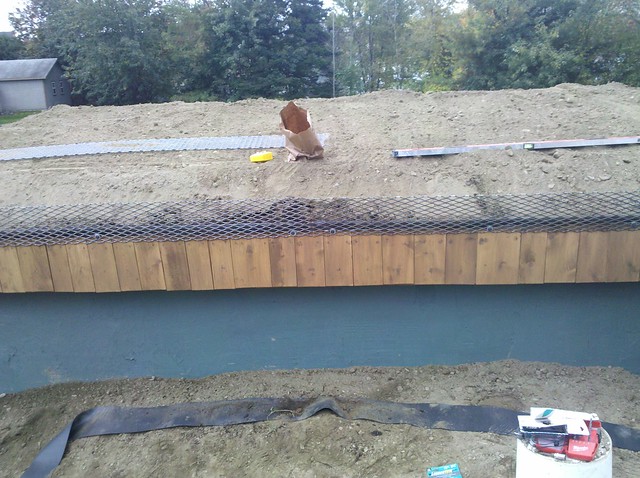
I had picked up a sheet of expanded metal to help retain the soil and mulch onto the roof until the seed started to take.
So I cut it into 8 inch strips.
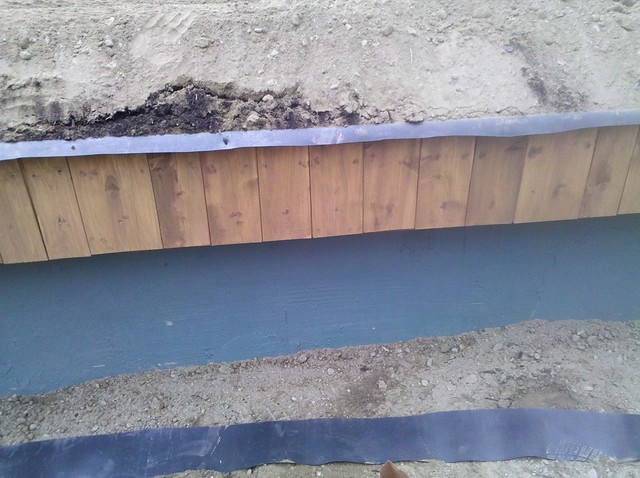
Before I installed I hauled up buckets of top soil and trimmed off the edge of the rubber roof. When that was all complete I bolted down the metal pieces.
I kept the soil around the edges pretty thin so I placed mulch around the outer 12 inches to act as a drainage layer.
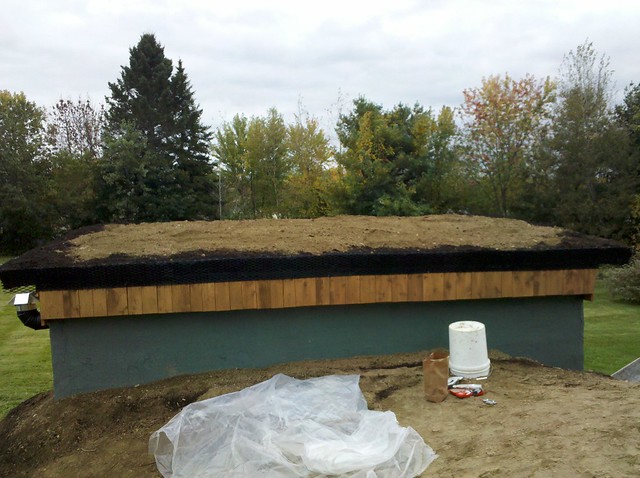
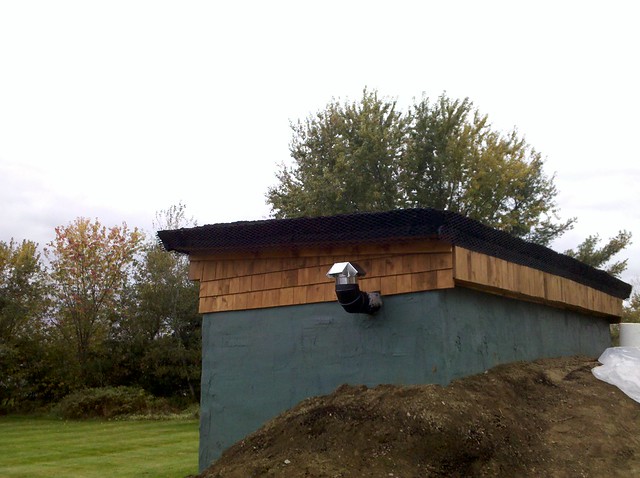
I then went around and spray painted the metal, I waited until it was installed because I also wanted to put a layer of paint on any exposed rubber roofing to keep the sun from hitting it. The rubber roofing will last forever as long as it stays out of sunlight. I also had laid some scrap pieces of rubber along the edge to double up the layers, that way if any sun does get to it, the top layer degrades, not the layer below.
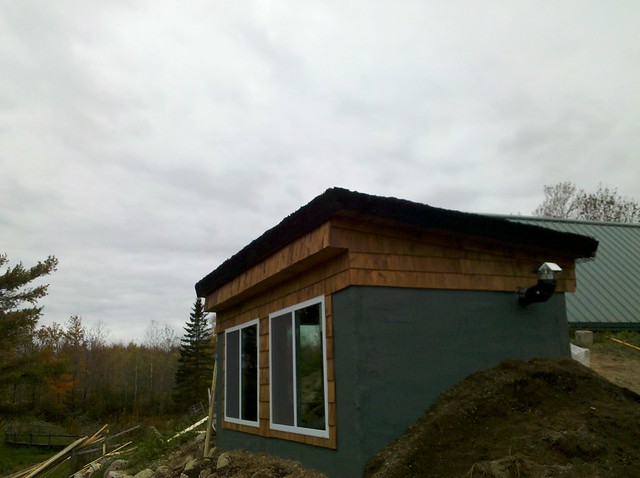
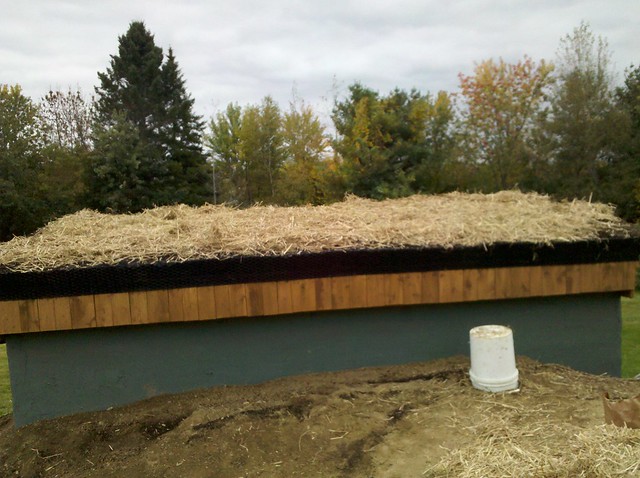
I seeded and hayed the roof
and the building was done
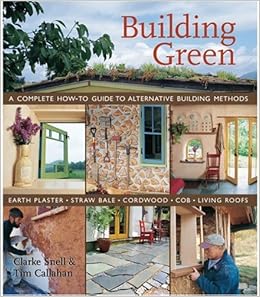
Here is a pretty excellent book that I have in my library that covers a large range of alternative construction methods, including a much more involved method of building a green roof. Thanks for reading!
If you would like to see the rest of our build, you can see it here.
http://thehomesteadingboards.com/2012/03/our-earth-sheltered-greenhouse/




hmmm…this might be awesome for my chicken coop. I’ve noticed theres a lot of heat loss through the roof in the winter. The additional insulation used and the living roof might help me get them through the winter without freezing. Do you think I would need to rip up the asphalt shingles or could I go right over them with the additional layers?
I’d go over, but I would add a membrane, you can get it pretty cheap