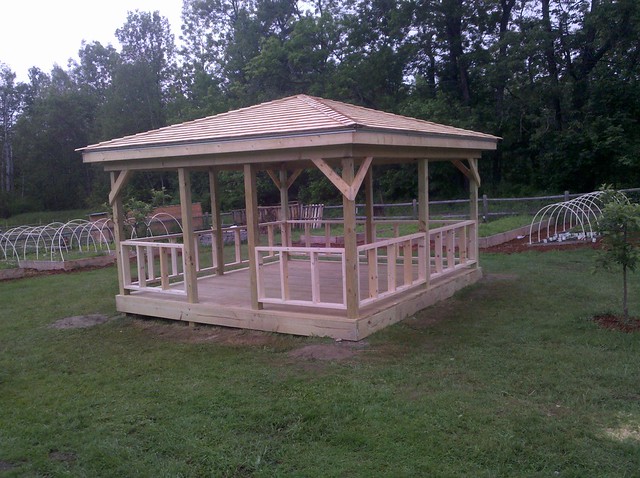
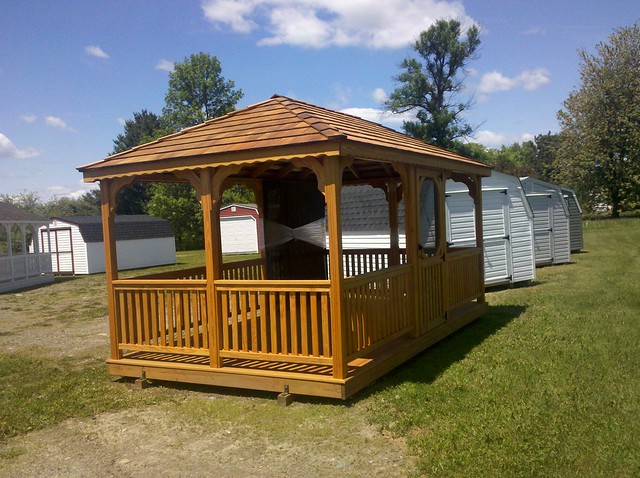
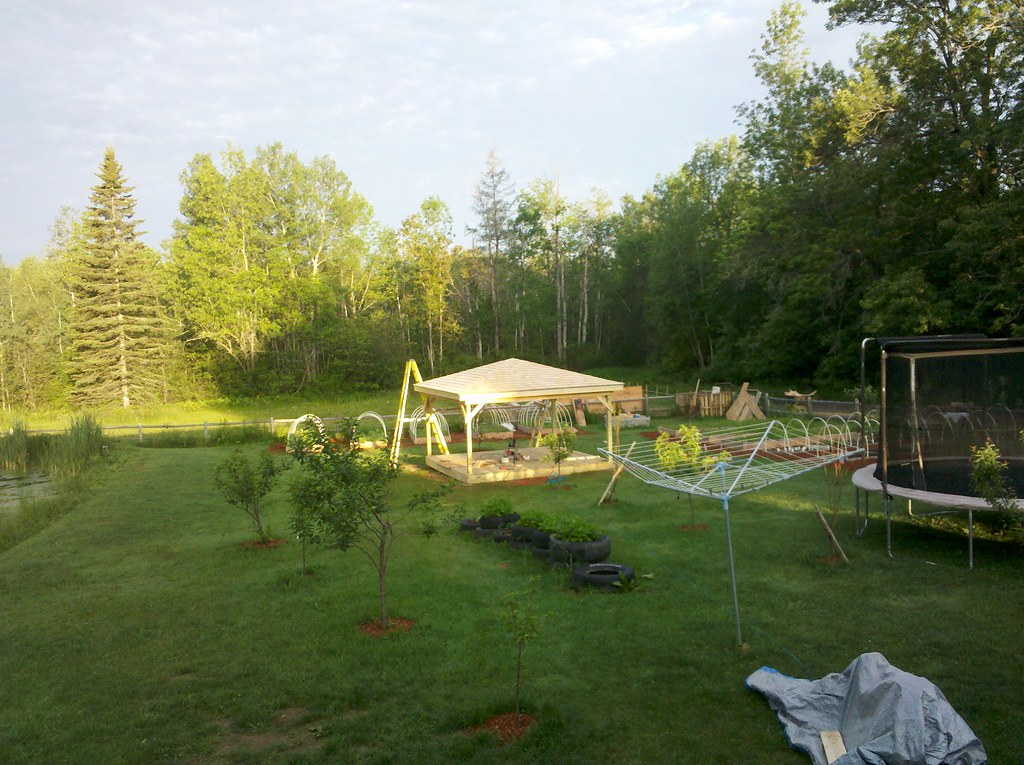
Here is our DIY gazebo project we tackled a couple of years ago.
So my wife had always wanted a gazebo and we only had a couple things planned that summer so when her father came and stayed with us a couple of weeks in June she decided it was a good project for her father and I to work on.
We had been looking at pre built ones but they were around 6000 dollars and there was no way we would have been able to get it in the backyard
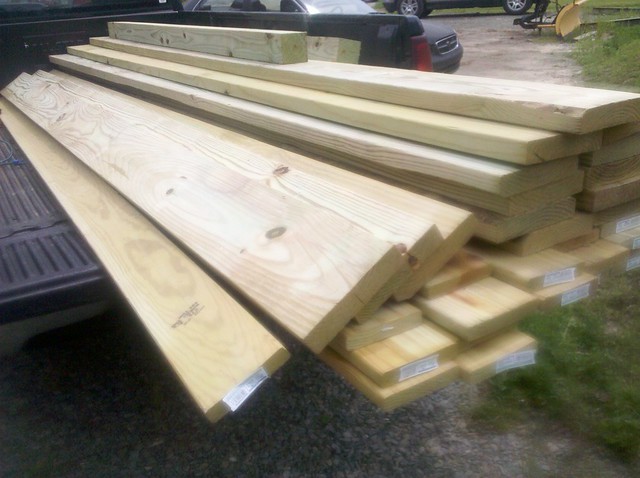
so we went and picked up some lumber
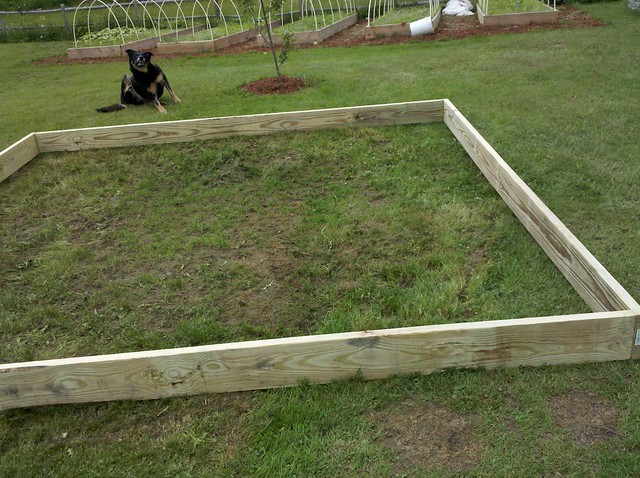
we laid out the floor frame and nailed it together
after squaring up the frame we used a post hole digger and dug out the corners
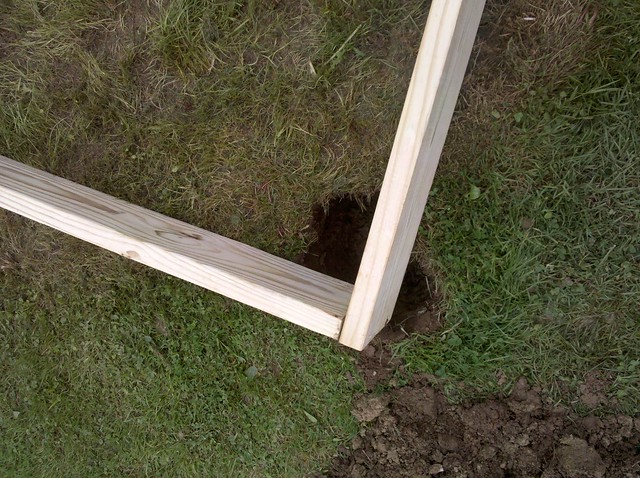
we stood a 4×4 post up and leveled it and screwed it to the frame
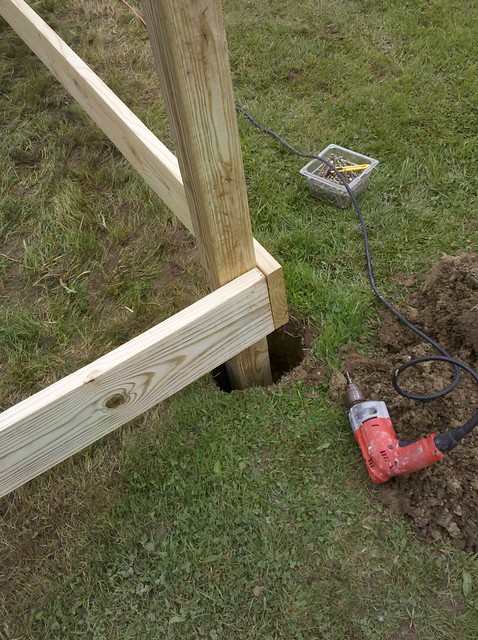
after they were all stood and squared we dumped in a bag of cement, the soil is a high clay and held a lot of water so we just put it in dry
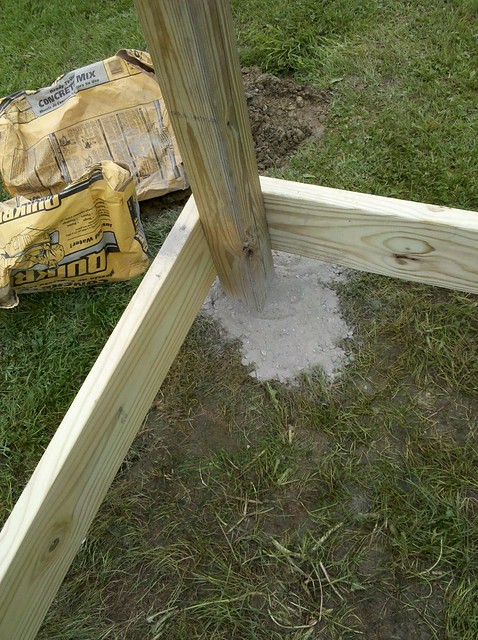
we proceeded to wet down the top and used a breaker bar and mixed it right in ground
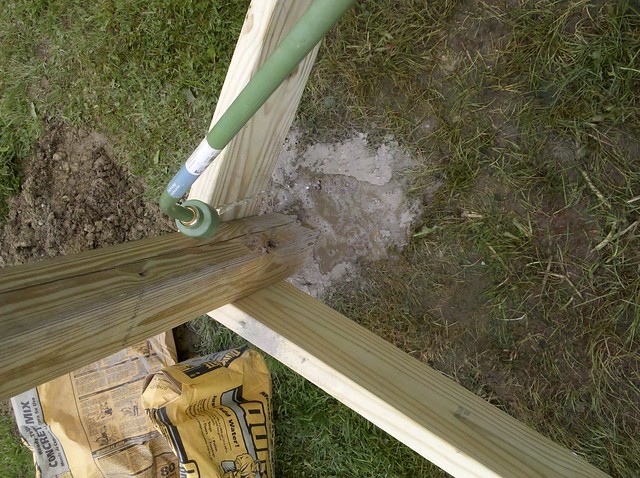
after letting it set up over night we hung the floor joists in the frame making sure everything was level
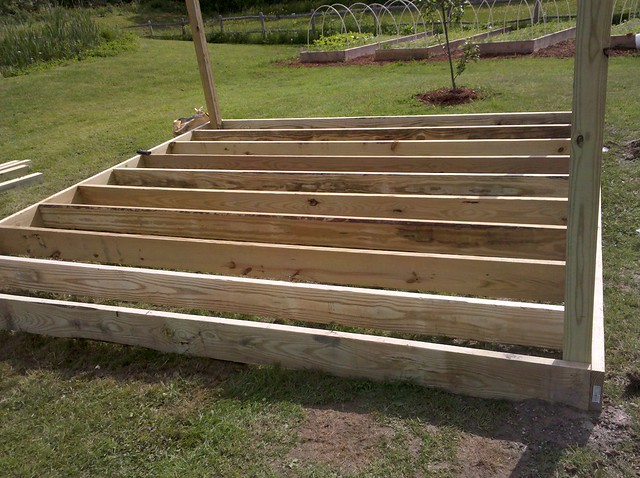
I used some blocks and nailed them on the inside of the posts for a nailer
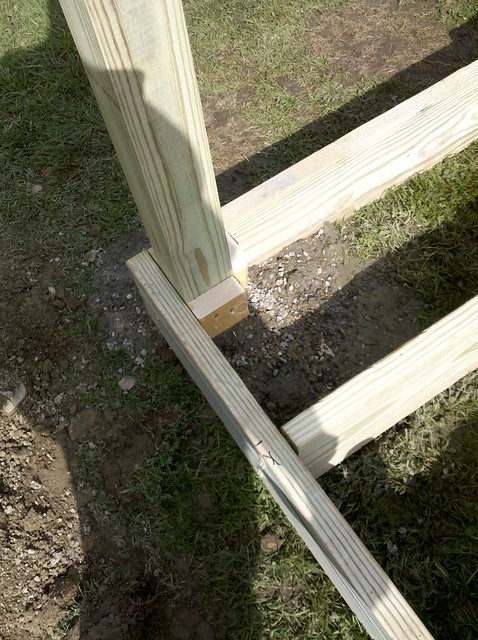
and proceeded to screw down the decking
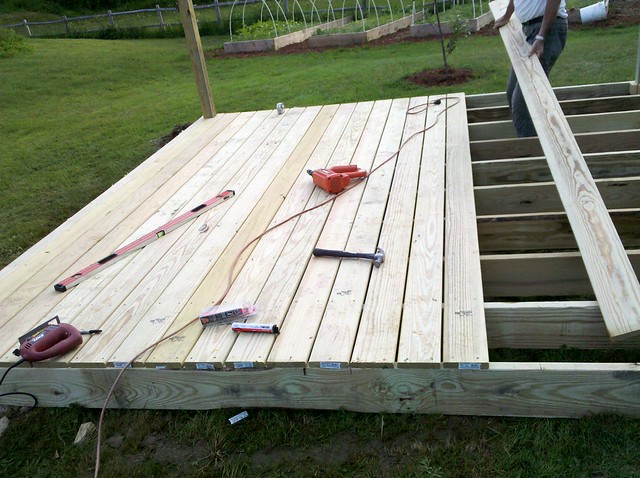
we had finished up when my father got home from work, perfect timing dad
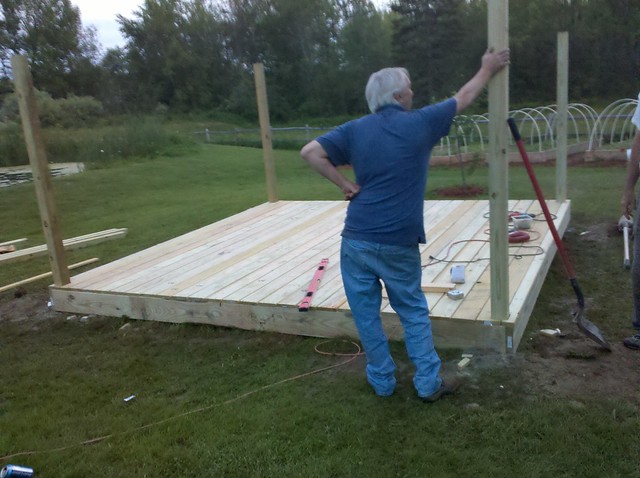
the next morning we had to make the posts level, so we measured from the level floor deck and found our lowest spot and went and marked all the other posts
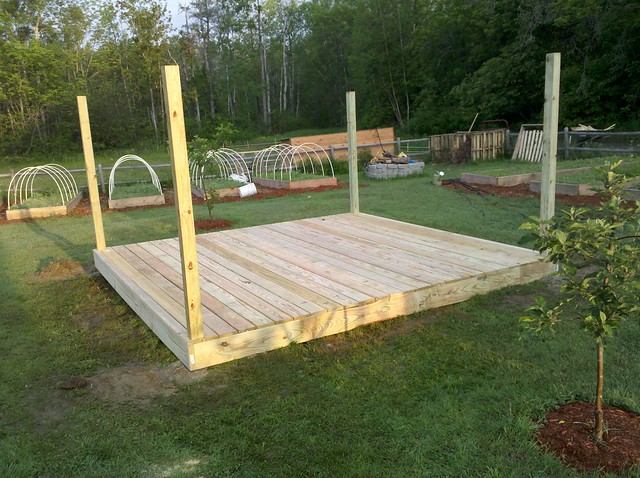
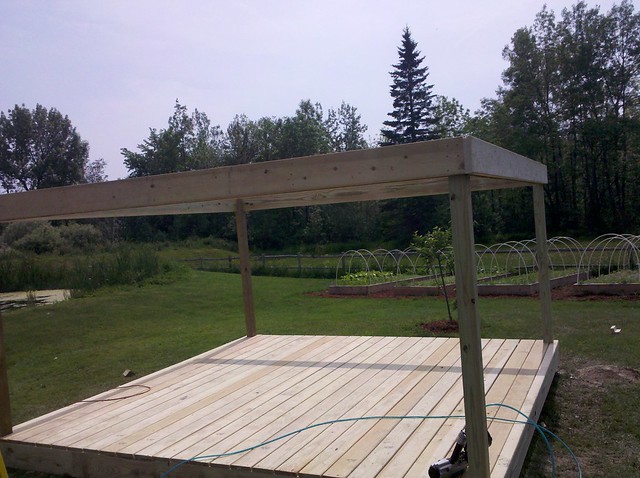
after cutting them level we notched out the posts to carry the beams
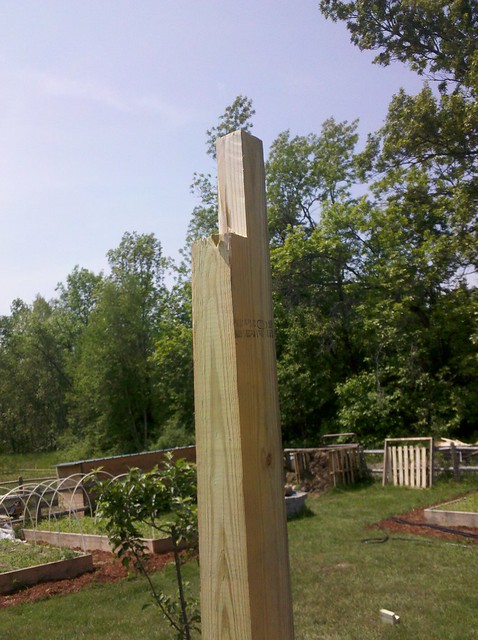
we then set the beams in place and nailed them down making sure the posts were still level
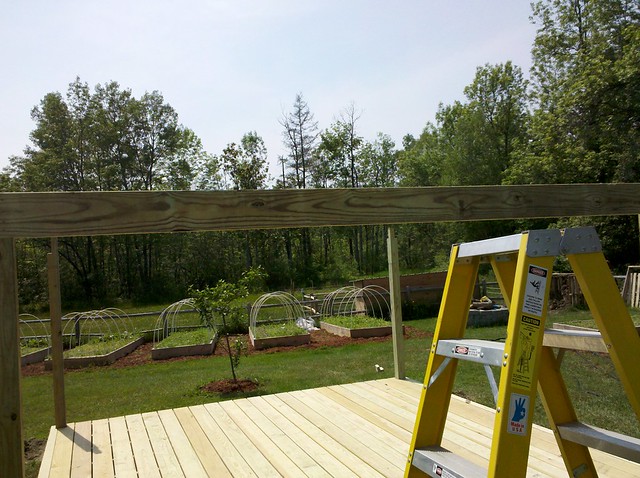
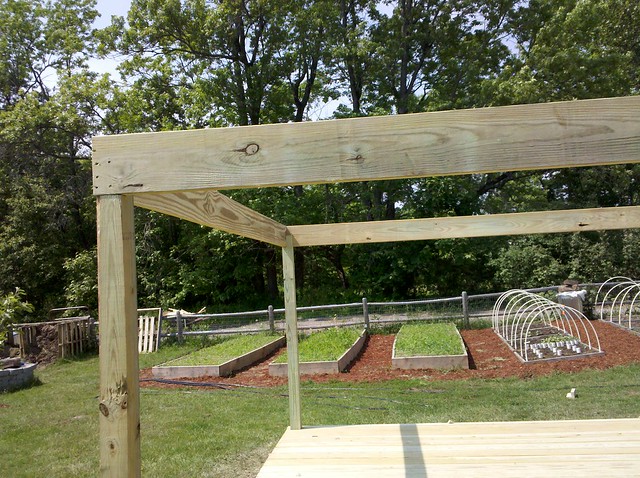
we nailed a regular 2x over the pt staggering the joints over the corners for extra stabilty
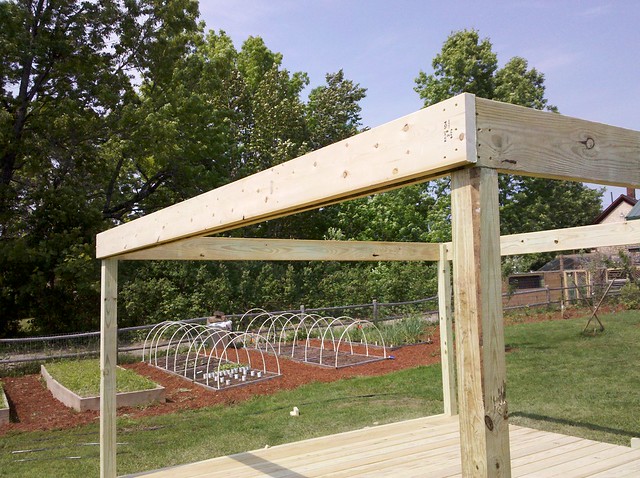
all ready for a roof
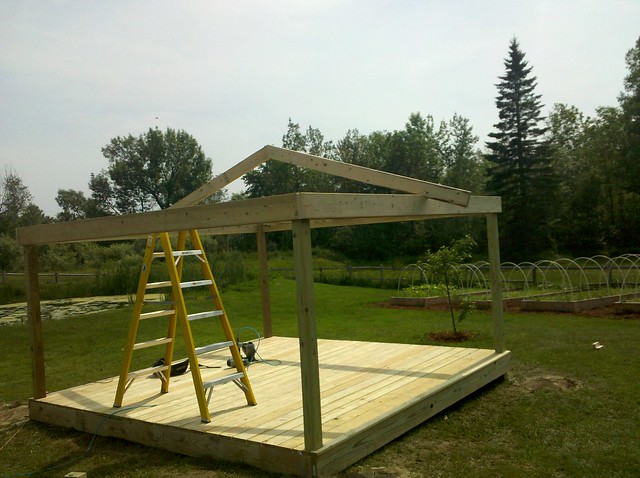
at this point I had my buddy come over and frame up the roof for me, it’s what he does and he is much faster and better than me, he started by putting in a center rafter
and started cutting and filling the hips
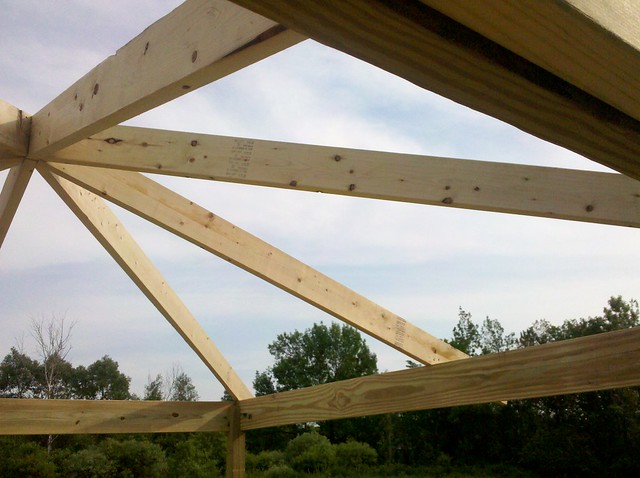
and then started popping in the rafters
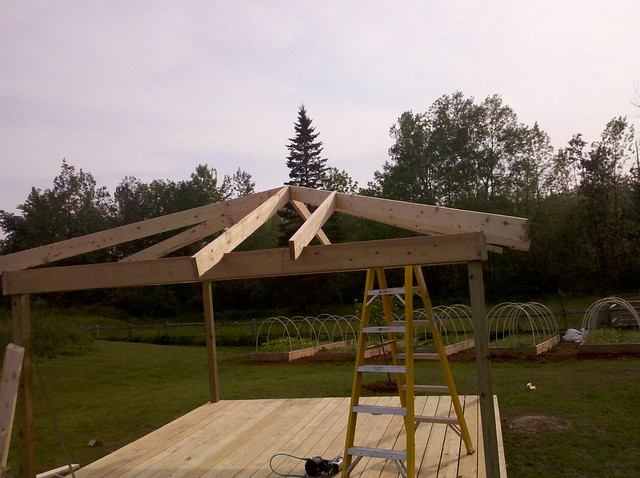
I think it took him like two hours and he was done
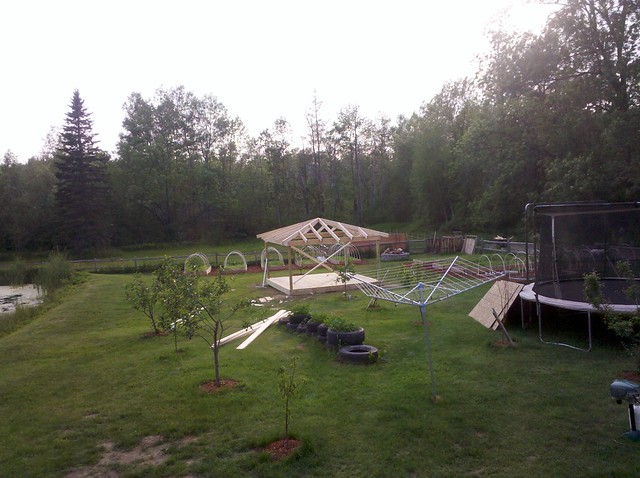
we put in some collar ties to add stability to the gazebo
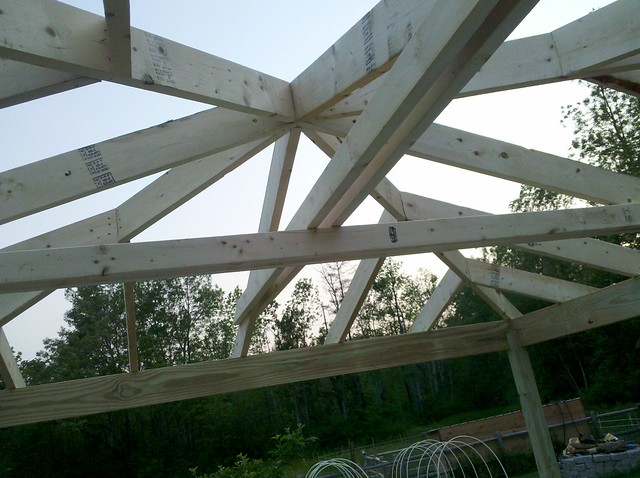
and went and marked our rafter tails on each end and snapped a chalk line
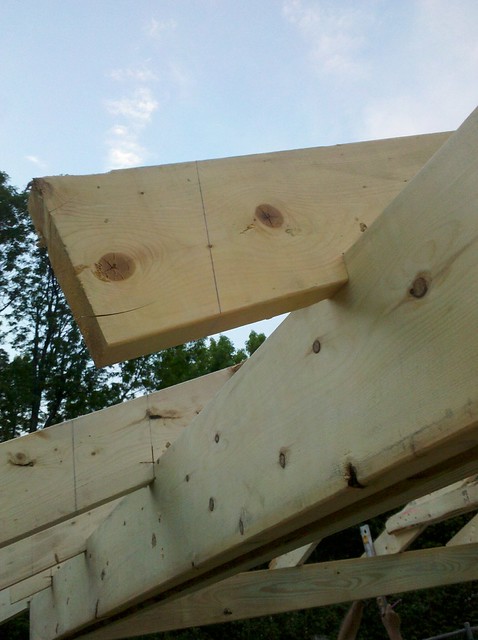
we cut them flush
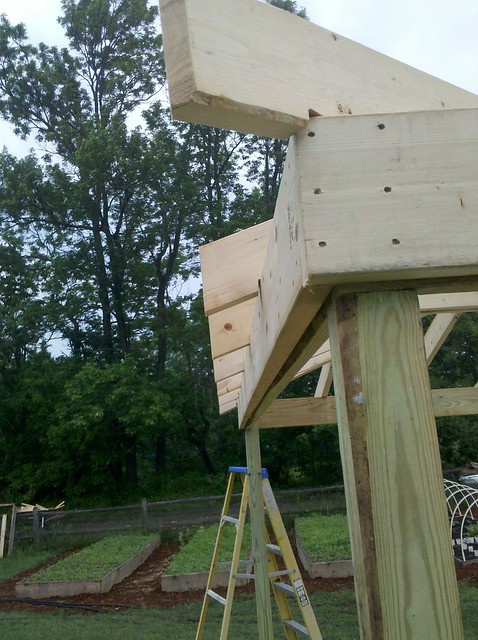
and angled the hip rafters so the fascia board would be straight all the way across
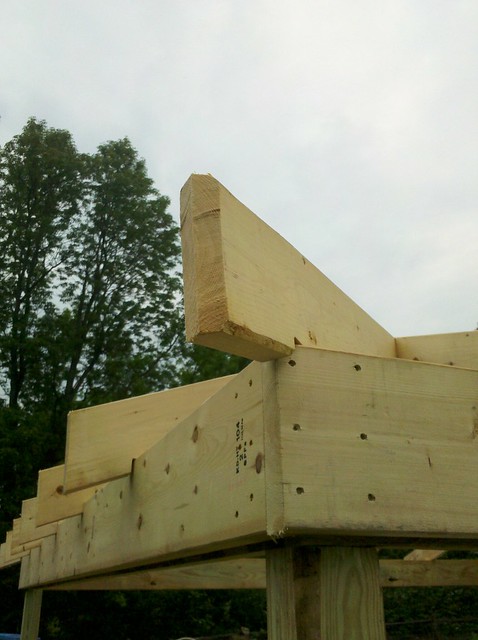
the next morning we finished up the other sides
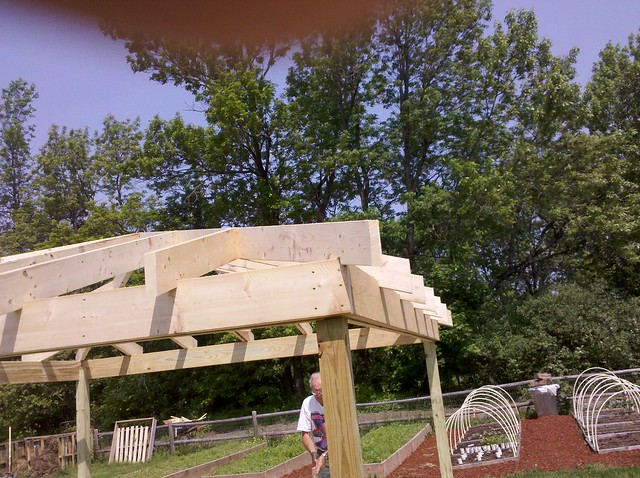
and nailed down a 2×6 for a fascia board
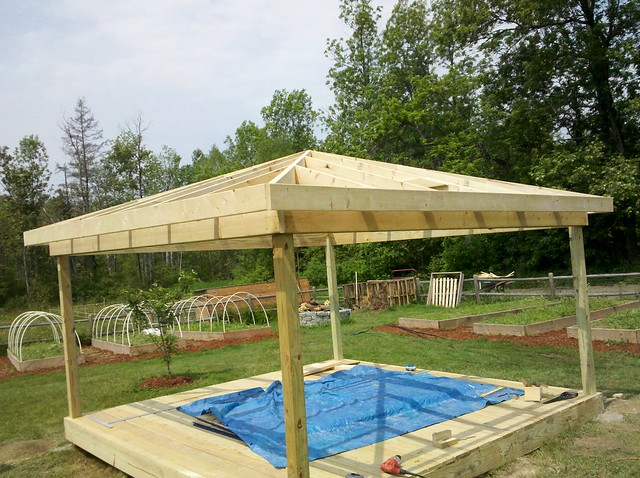
we were ready to put the roof deck on
we cut some osb to fill in the rafters, this was kind of a pain with all the angles
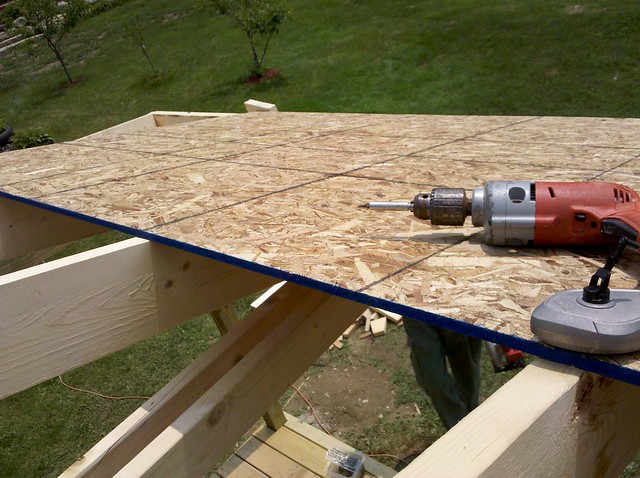
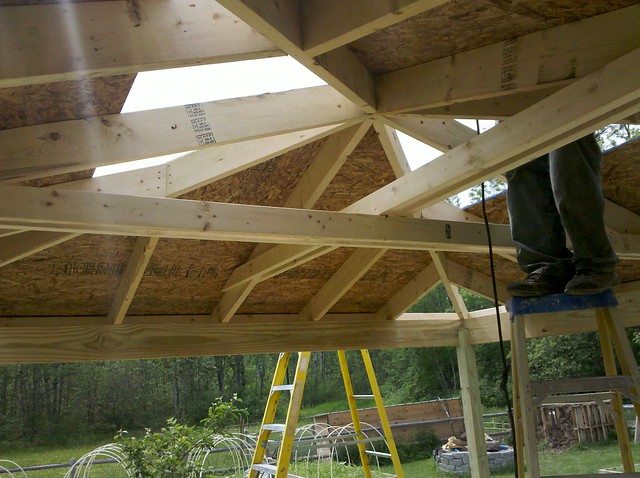
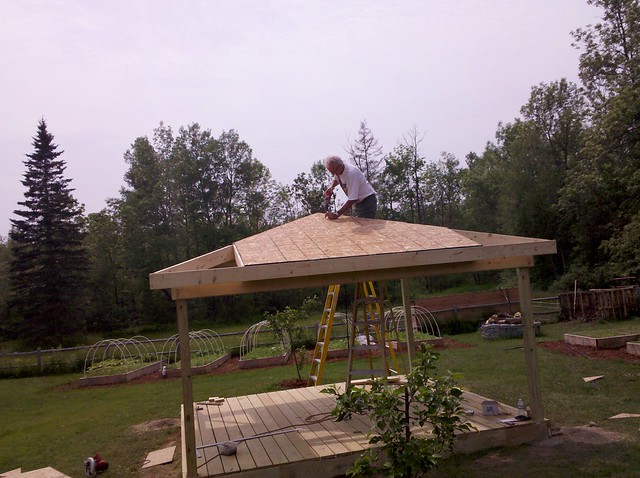
only one corner left to fill
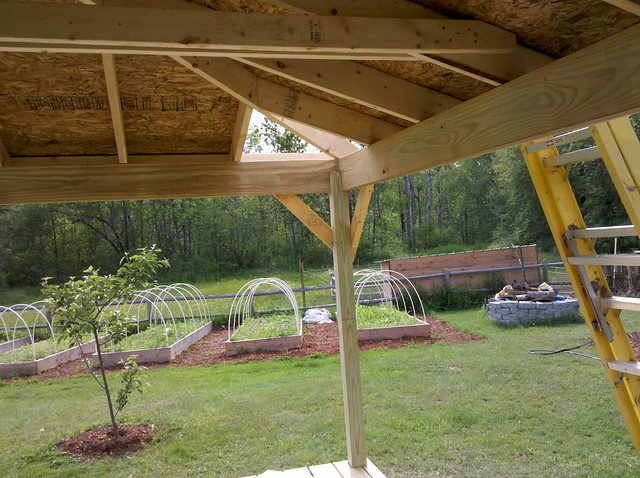
and it was sheathed

I went and picked some drip edge

and threw it upon the roof, nailing it all around the bottom

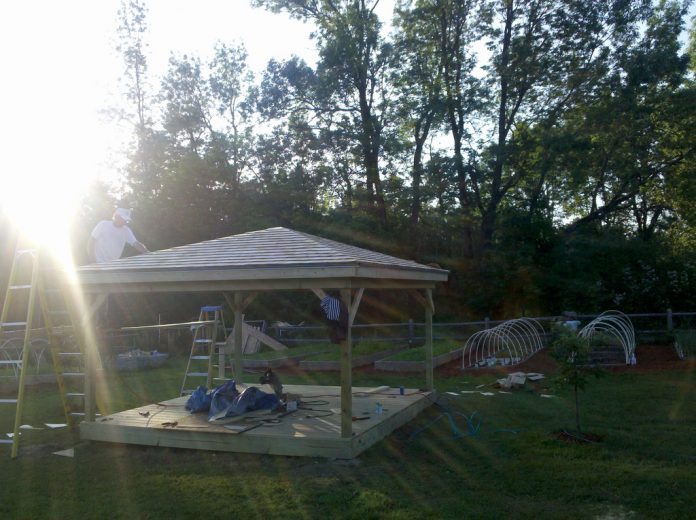
we decided to cedar shingle the roof, so we nailed down a starter course and went over it a second time, we then measured out a 5.5 inch reveal, snapped a chalk line

and started knocking it out
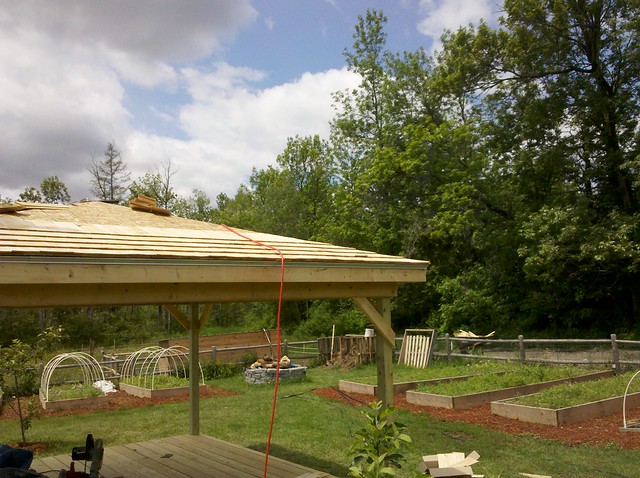
it went quick on the straight runs until you had to cut the angles
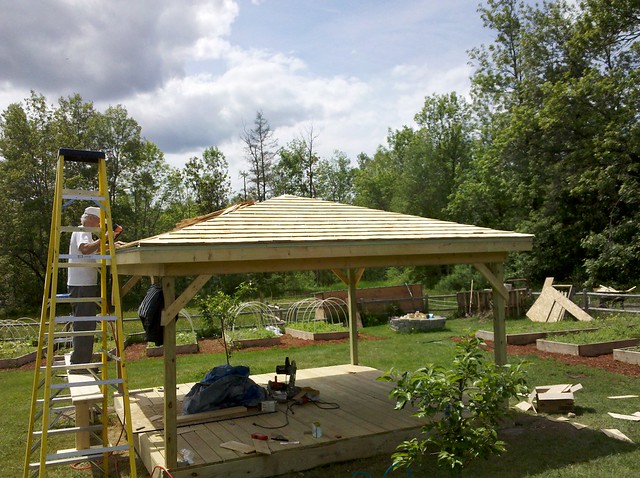
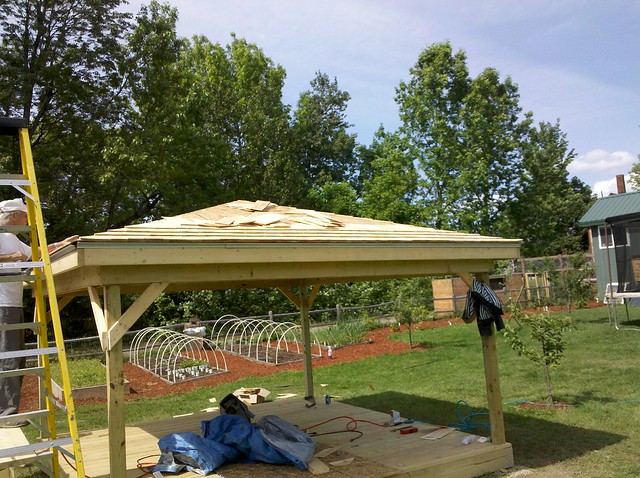
it made me nervous with him on the scaffolding
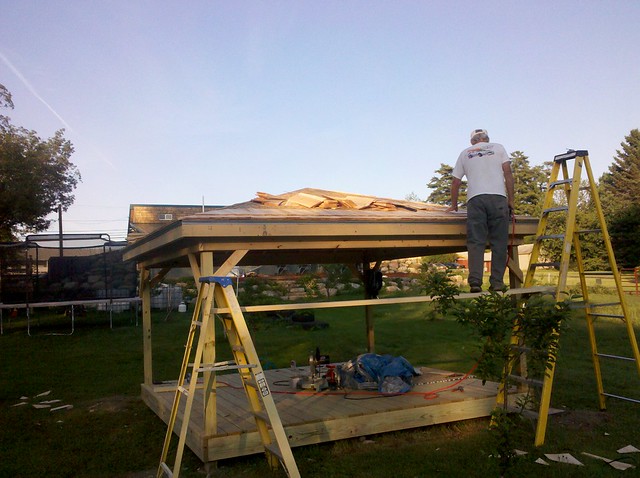
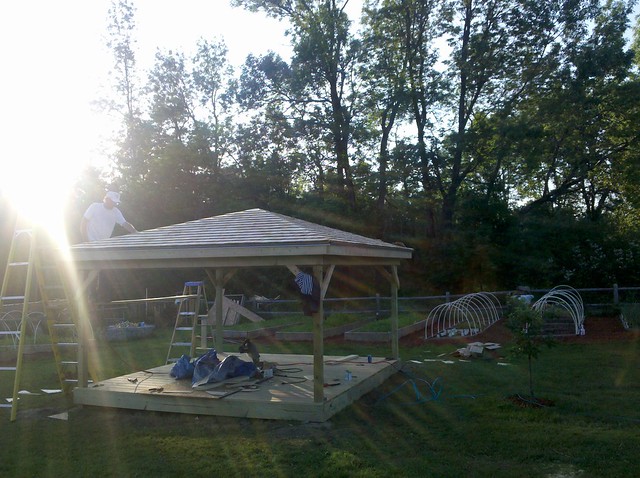
the next morning we had to shingle the roof hips
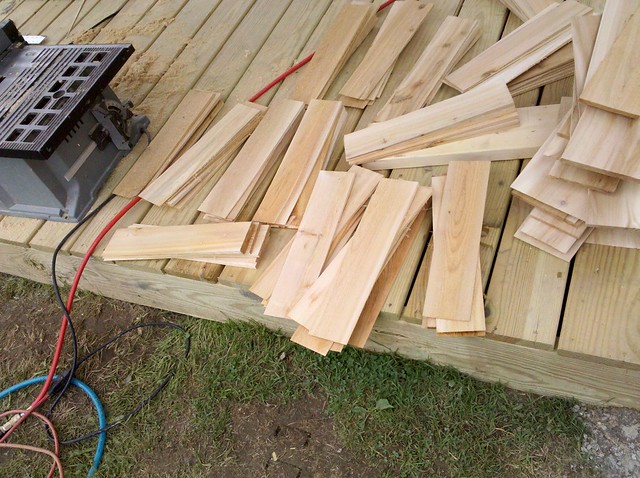
we set up the table saw and started ripping 3 inch wide pieces of cedar so the trim was equal all around
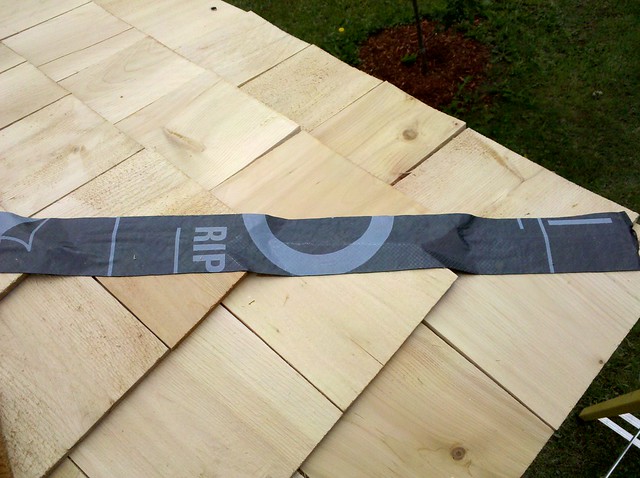
we used some scrap ice and water I had to cover the seam on the hips
and started on the bottom and butted the shakes together working our way up
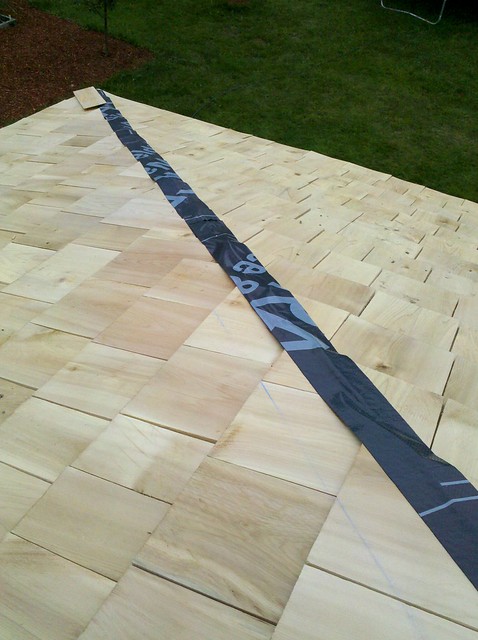
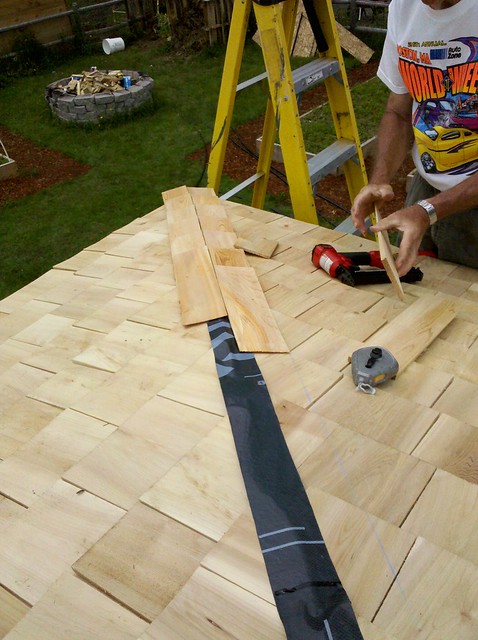
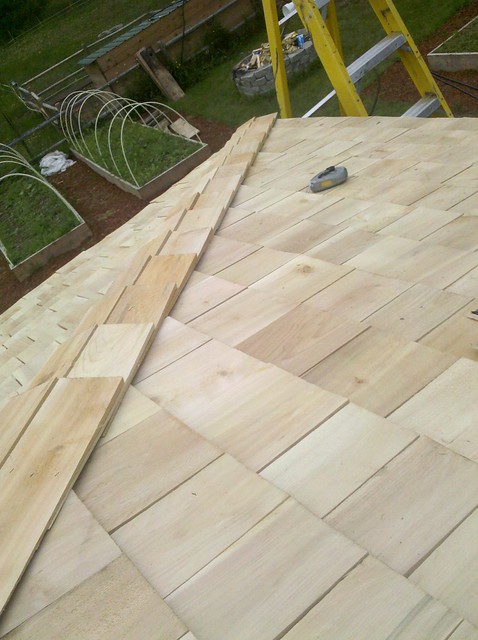
we stopped short at the peak so I could do it all in one shot
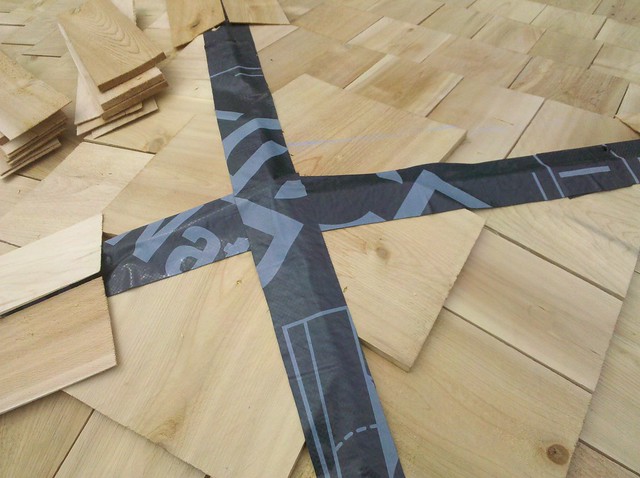
and finished off the rest of the hips
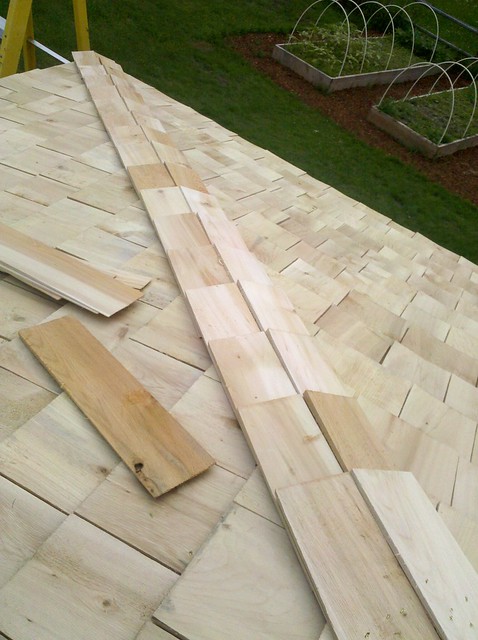
after all were done, I knocked out the top staggering the overlaps to create a weather tight seal

looks almost professional
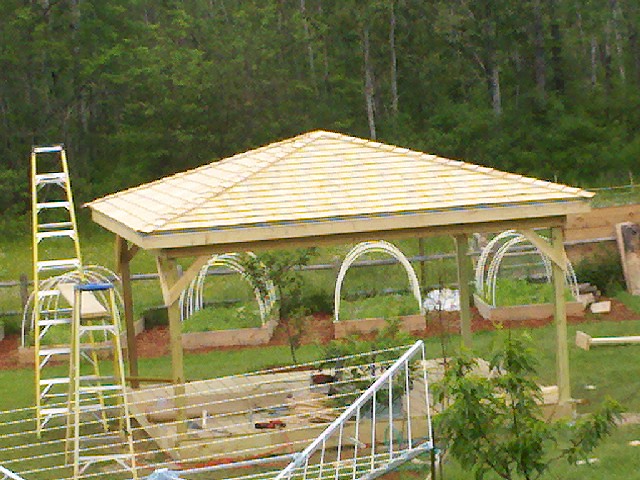
the next day we decided to add some center posts to help break up the railing

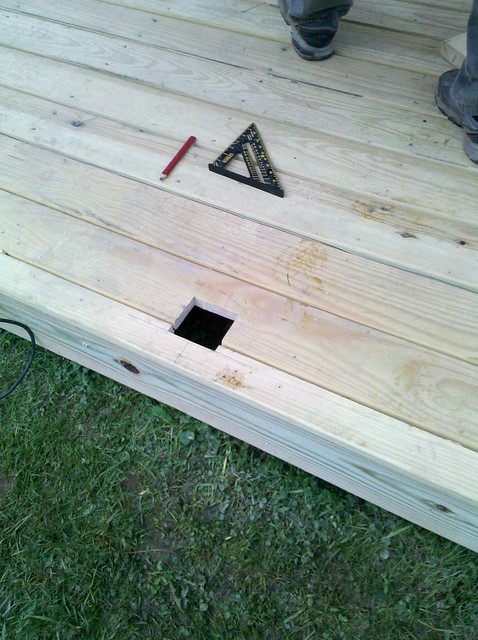
we trimmed and notched the top of the post
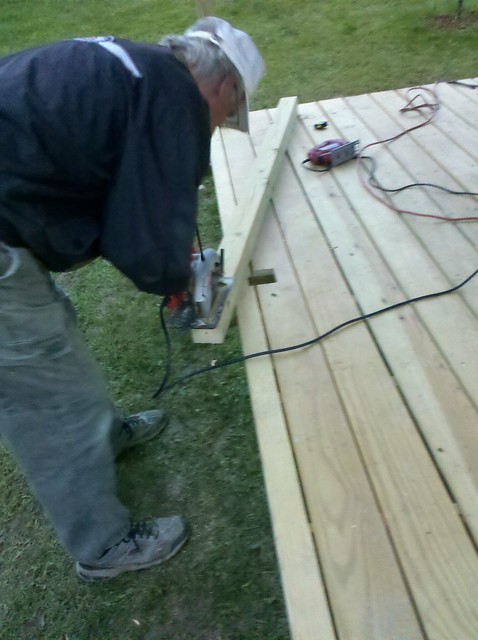
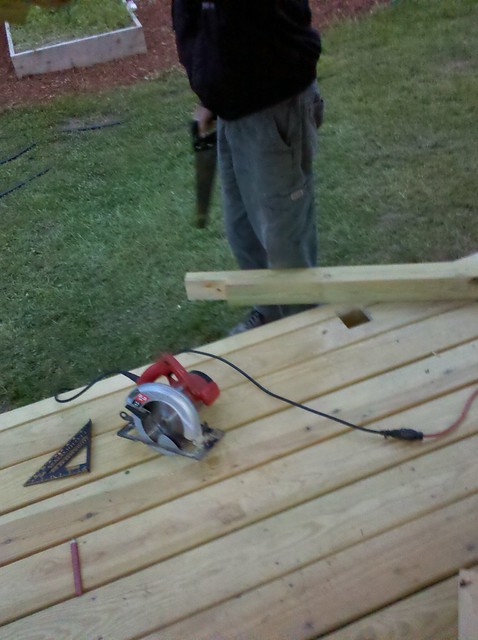
and stood it up in place
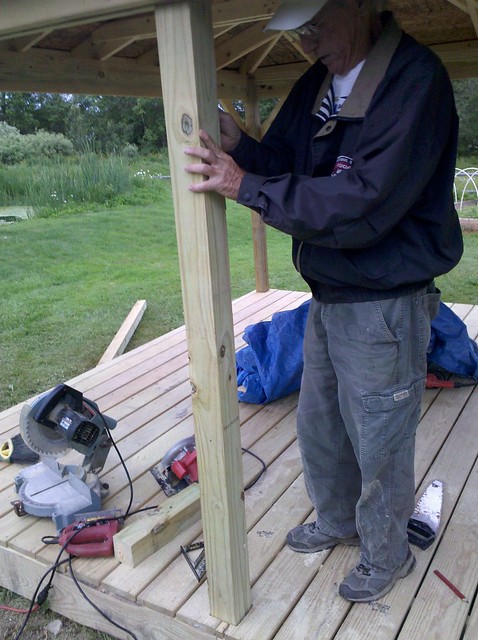
and leveled it up
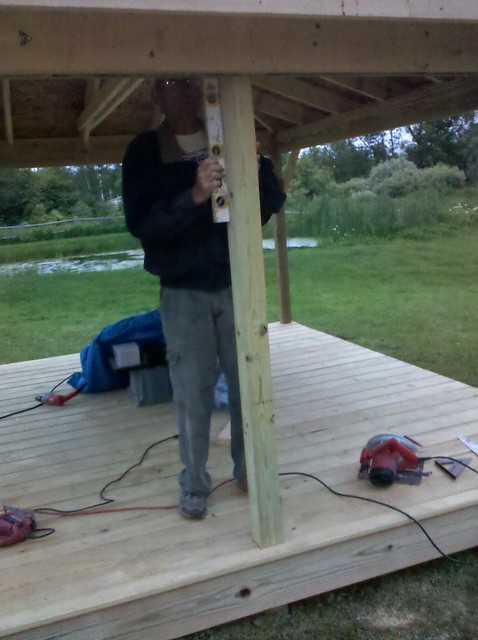
and bolted it down
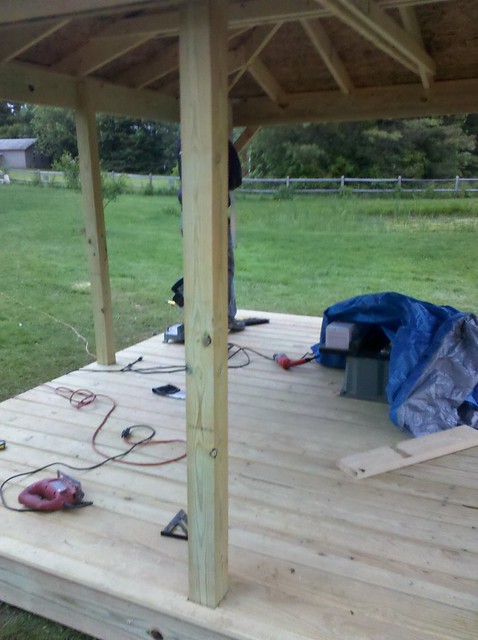
we went and picked up some 2×4’s for the railing
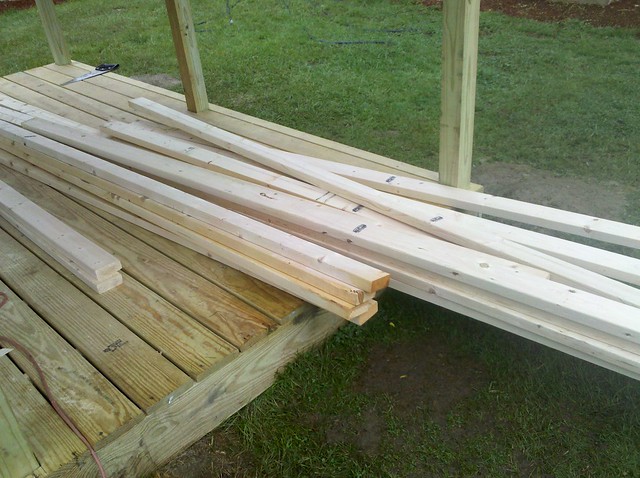
and cut some short pieces for corner braces
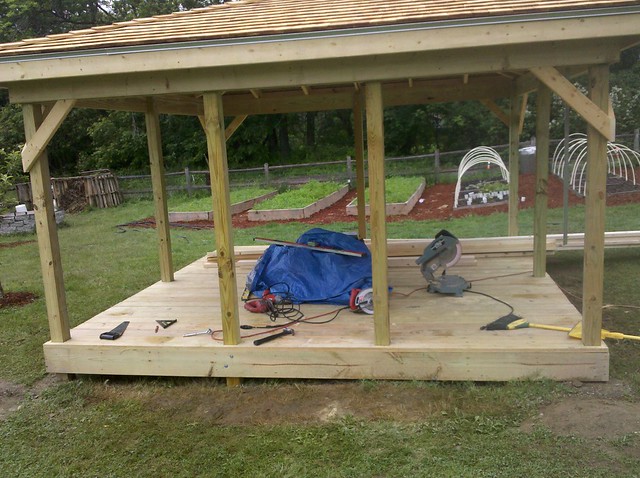
we nailed down a top and bottom rail
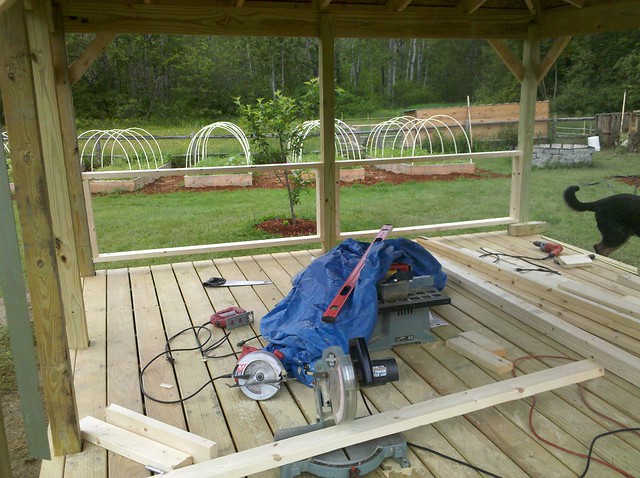
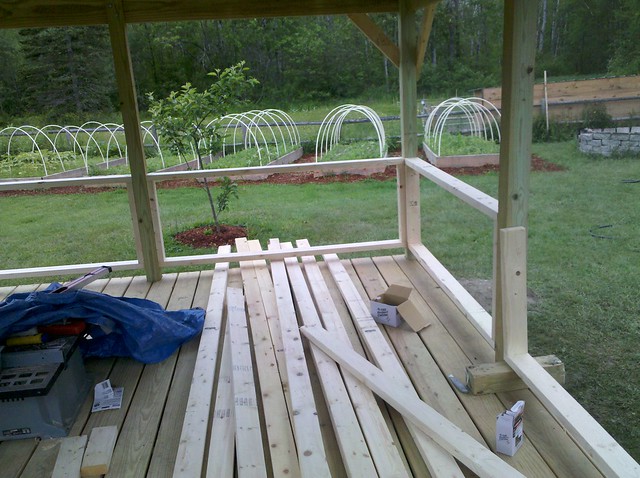
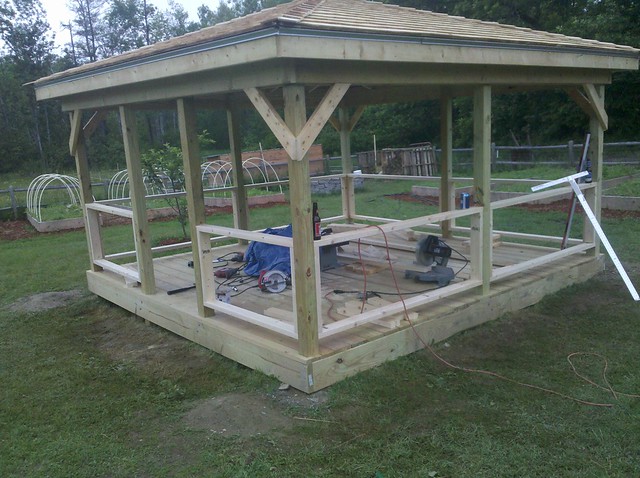
and cut short pieces for spindles
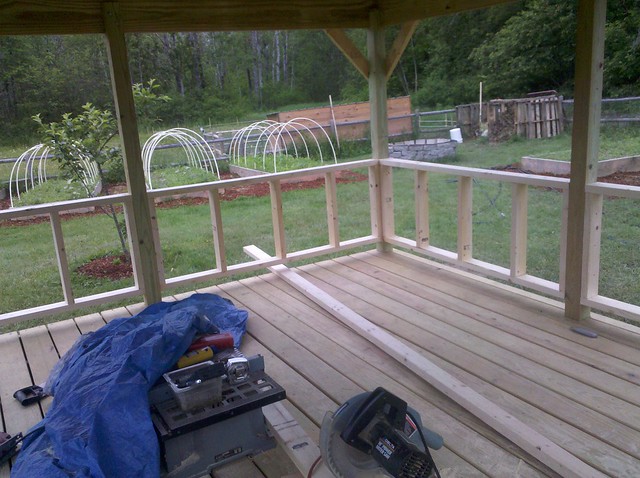
a quick clean up and the gazebo was done
