
One of the projects I have been working on is building a mud oven. It is fast, easy and costs nothing to make if you use materials that you can find right in your backyard. Plus you also have these great benefits of building one.
- Environmentally Friendly.
- Zero Material Costs.
- Is A Social Event When Building.
- Is A Social Event When Cooking.
- Allows For Artistic Expression.
- Easy To Build.
- The Food Just Tastes Better.
- Uses A Renewable Energy Source.
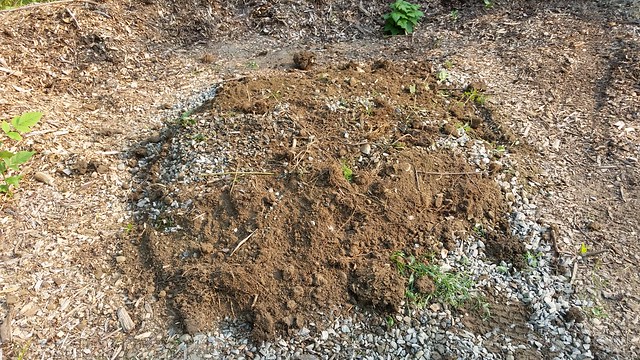
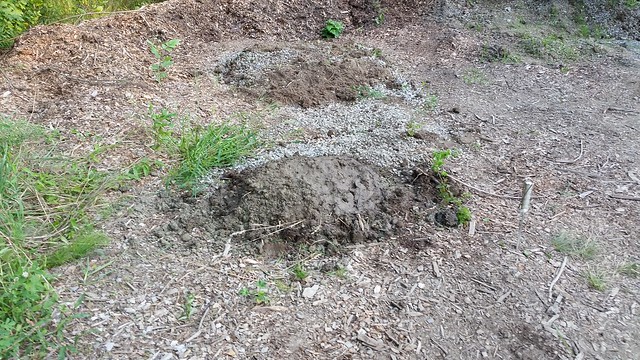
Start by picking a flat area in your yard and build a base of material that drains well; we used some gravel and crushed stone from our driveway.
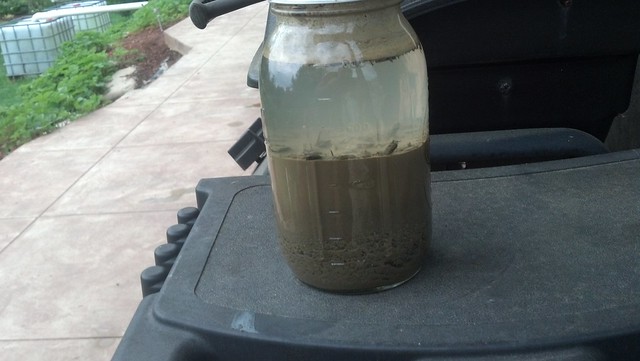
Clay is an important additive for a strong oven that lasts. When we built our earthbag barn I did some jar tests on our soil and found we have very high clay content. It is a very simple process; just add some water and soil to a mason jar and shake it up; the layers will quickly settle out.
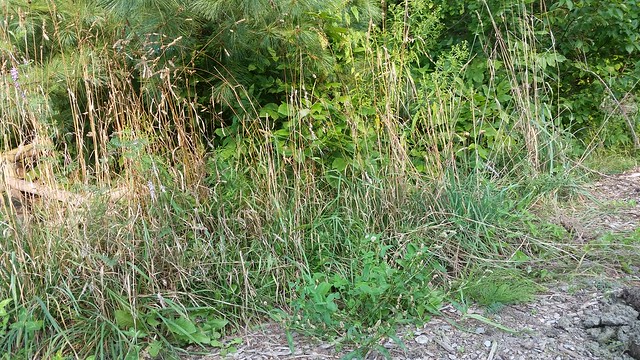
An easy way to find some clay soil is too look around your yard for any areas that are wet and don’t drain well. If it hasn’t recently rained then there is a good chance that you have clay there; or your septic tank is leaking. Proceed with caution if the latter.

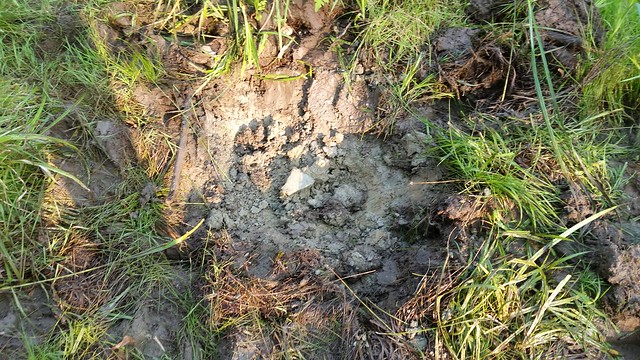
Time to start digging.
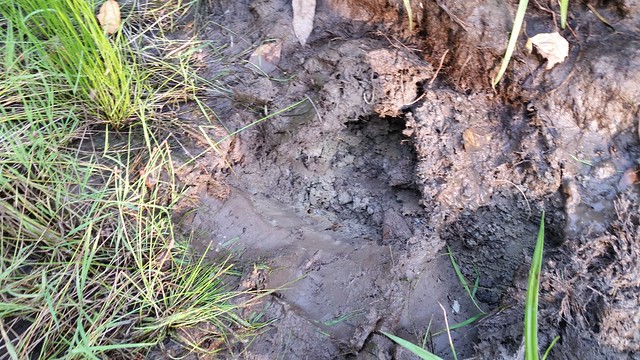
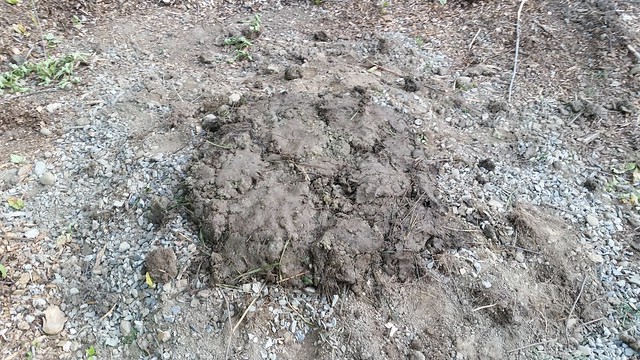
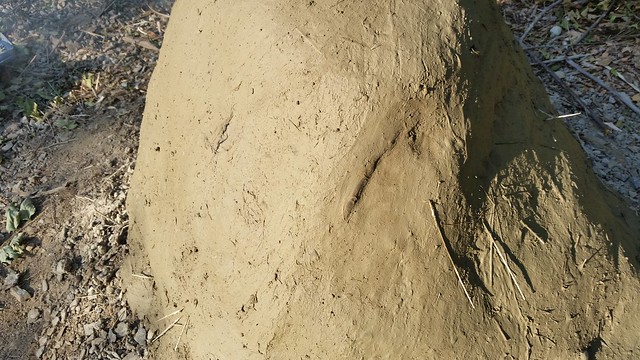
Depending on your location and geology clay can be many different colors; ours is a grey as seen below.
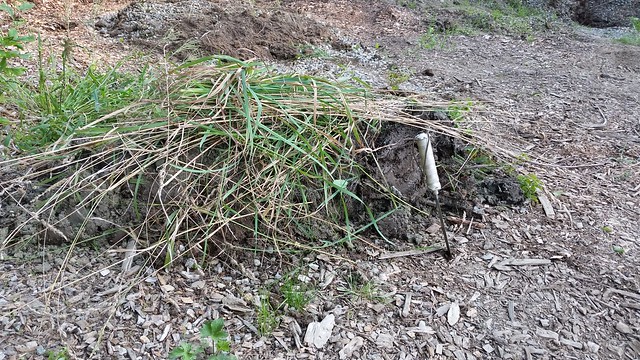
Now we need a binder to add to the soil to help hold it all together; grass is a perfect choice.
I try to keep a 3:2 ratio of clay to soil and cover it with grass.
Since this is the base I just use my feet and hands to mix the three ingredients together.
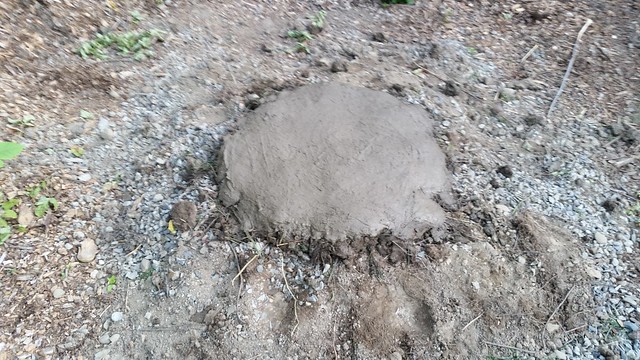
Once you have everything incorporated well form your base for the oven.
Use some water and smooth out the top.
Start harvesting saplings that bend easily and sharpen the ends to points.
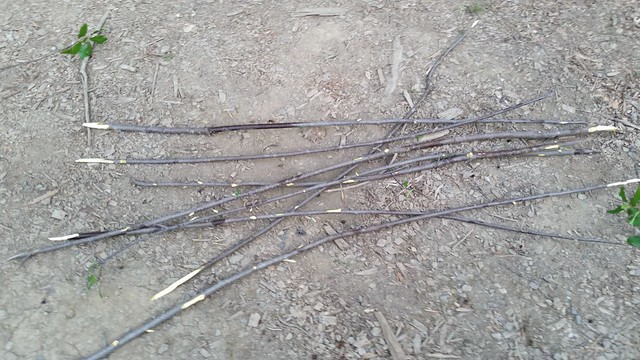
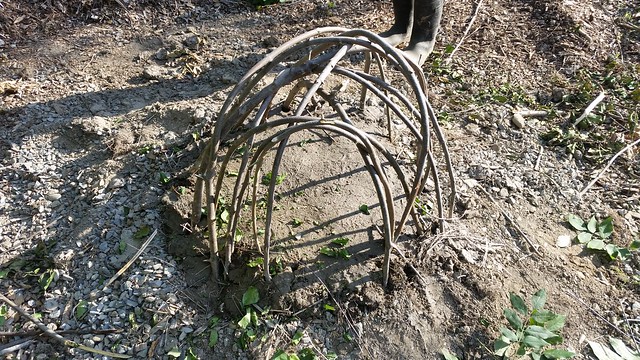
Time to start using the knowledge learned in basket weaving 101 in college. The saplings just act as a support frame for shaping the mud oven; once it is fired they will burn away over time; so you don’t have to get too fancy.
Once you are comfortable with your frame it is time to mix some mud. I do it on a tarp to make it easier to handle.
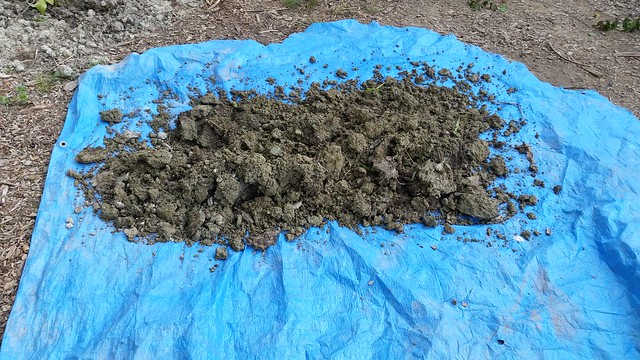
Use the same 3:2 ratio along with some grass.
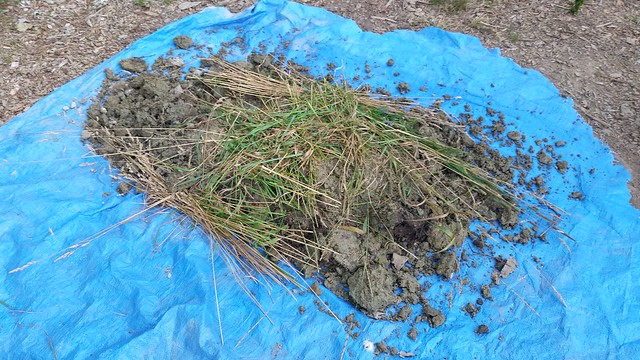
Start stepping on the ingredients to mix them together.
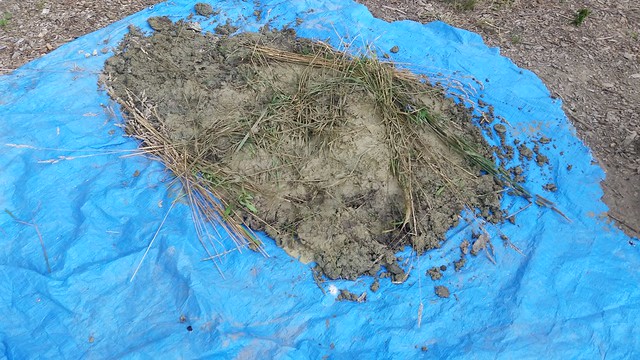
Flip the mud over with the tarp and continue.
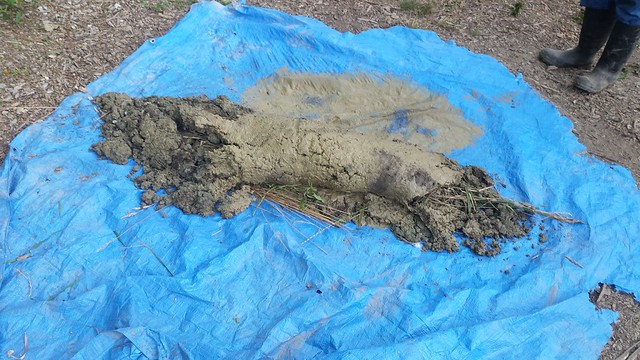
It only takes a few minutes.
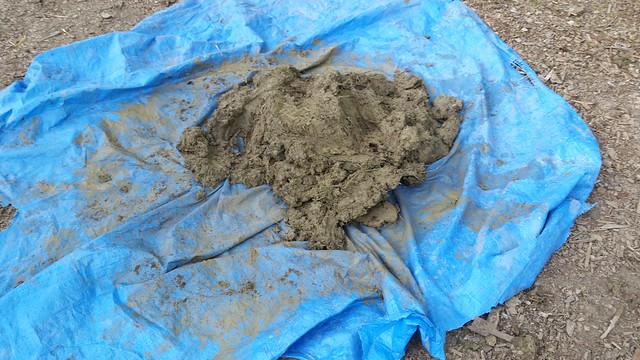
Start at the base and begin enclosing the framework.
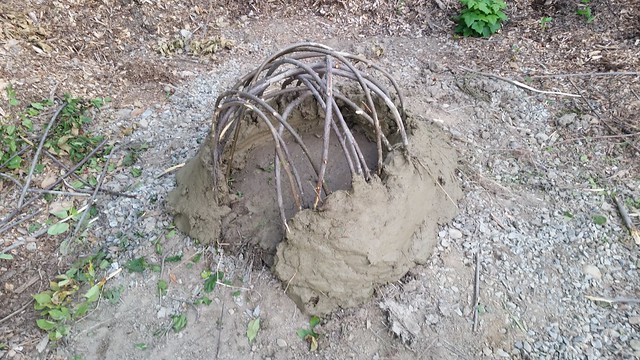
You may find some holes that are a little too big to support the mud.

Just grab some saplings and add more framework.
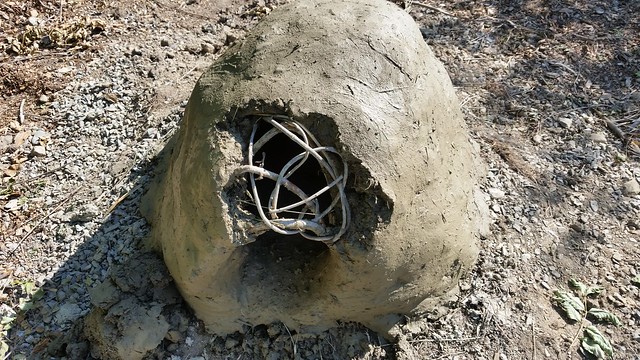
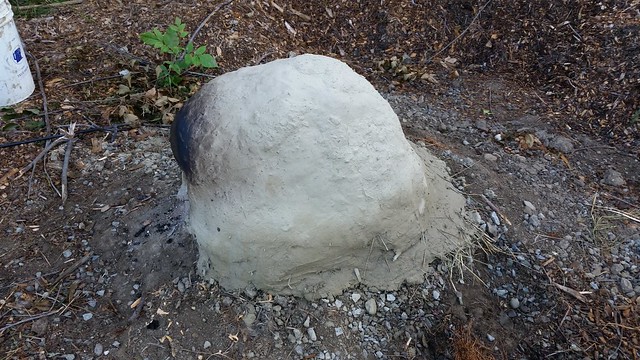
Once you have it completely enclosed use water to smooth out the surface.
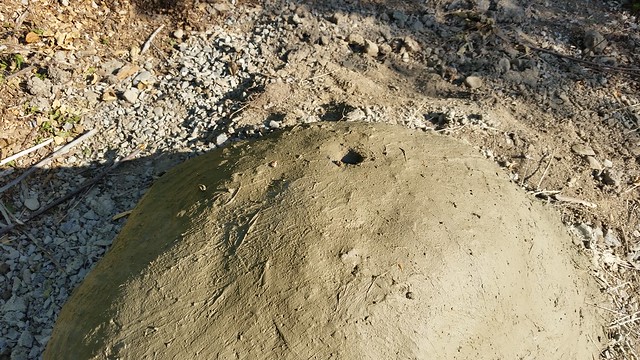
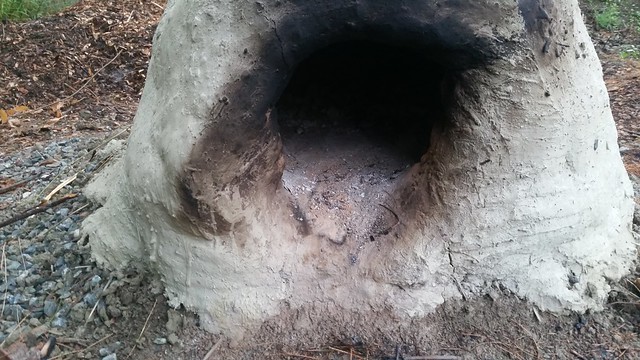
A traditional mud oven would be allowed to cure for a few weeks or even months at this point but I don’t want to wait that long. So I poked a hole into the top to help vent.
I then proceeded to light fire to do a fast cure.
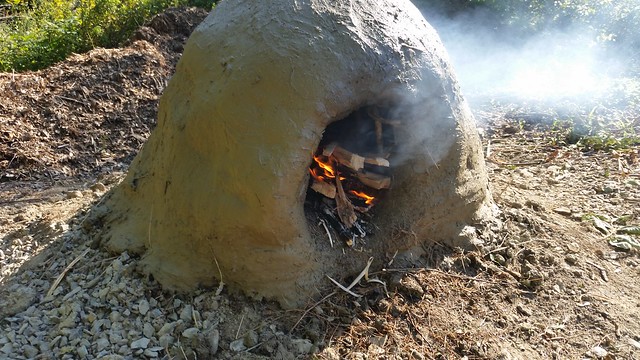
Now doing it this way you will run into some cracking; which is to be expected.
After letting it fire overnight you can really see the cracking.
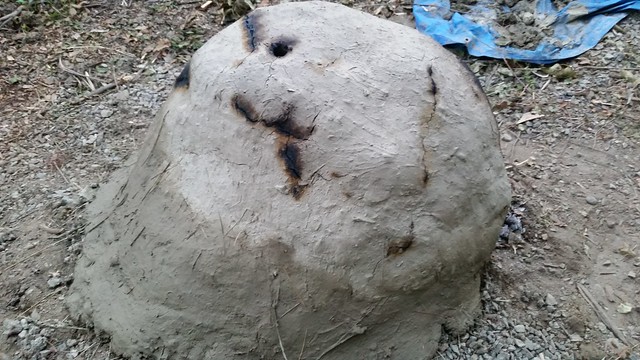
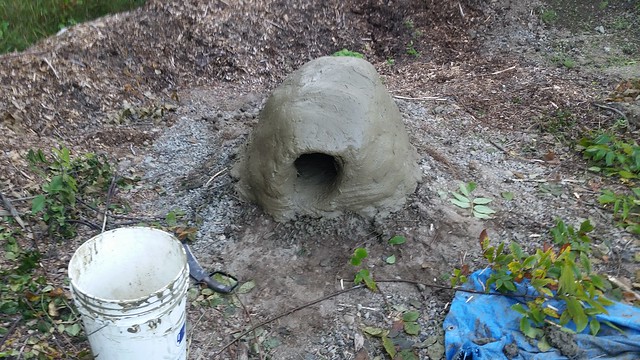
Don’t be alarmed though; it is only mud. Wet down the exterior to help form a bond and mix up some more mud to give it another thin coat to cover the cracks and vent hole.
Start a second fire and cure it for another day.
That is all there is to making a mud oven.
Now I just need to figure out the temperature control on this particular one!
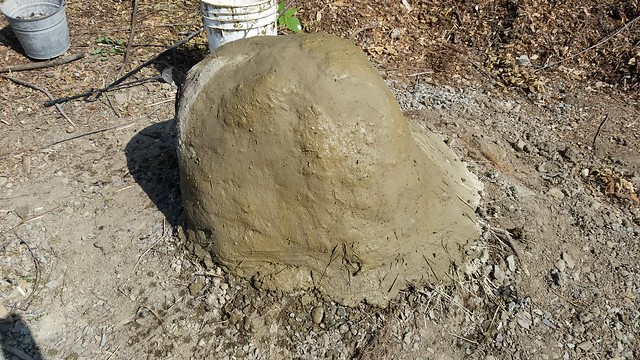
Some people will build a roof over their mud oven to help protect it from the elements; I prefer the K.I.S.S method. I find it much easier to just add another thin coat of mud to the exterior as needed.
There is zero cost to build this mud oven besides a few hours of labor; so if you are looking for an easy and inexpensive project; give this a try.
 Join the forum discussion on this post


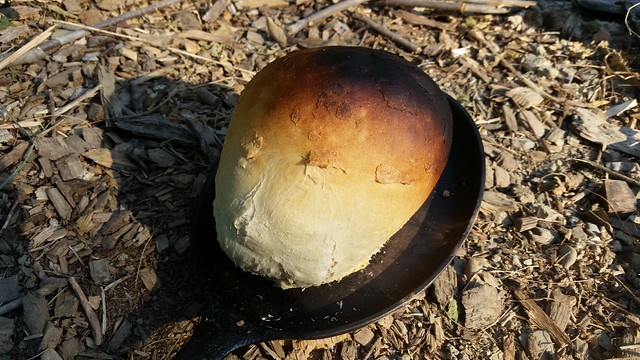
I almost forgot, a cast iron skillet works great for this
we have had some serious rain over the last 4 days, went down to fire it up to make some bread and it is still holding strong, some cracking but I will fix that in the am
had 8-9 inches of rain within 24 hours a couple nights ago, had some of the top coat wear off but still holding strong.