Barn Project | Page 6 | Construction and DIY projects | Forums

A A A
Avatar
Search

— Forum Scope —


— Match —


— Forum Options —


Minimum search word length is 3 characters - maximum search word length is 84 characters

Lost password?
sp_Feed F-Construction-and-DIY
Barn Project
Avatar
DangerDuke
Rancher
Members
Forum Posts: 2030
Member Since:
21 Feb ’12
sp_UserOfflineSmall Offline
41
22 Aug ’12 - 12:35 pm
sp_Permalink sp_Print

Looks great bro!

Avatar
simthefarmer
Rancher
Members
Forum Posts: 1072
Member Since:
28 Feb ’12
sp_UserOfflineSmall Offline
42
22 Aug ’12 - 1:05 pm
sp_Permalink sp_Print

what are the advantages of using this technique?

costs?

doesn't require special skills and/or equipment?

Avatar
Naderhood
Farm Hand
Members
Forum Posts: 343
Member Since:
17 Feb ’12
sp_UserOfflineSmall Offline
43
22 Aug ’12 - 2:30 pm
sp_Permalink sp_Print

That looks awesome, K!

Avatar
K
Admin
Forum Posts: 31782
Member Since:
15 Feb ’12
sp_UserOfflineSmall Offline
44
23 Aug ’12 - 8:25 am
sp_Permalink sp_Print
Quote:
Quote from simthefarmer on August 22, 2012, 13:05

what are the advantages of using this technique?

costs?

doesn't require special skills and/or equipment?

not really sure, I just wanted to try something different than what I had been doing over the years, I don't think the cost savings will be significant the way I am doing it, I think the building Danger is building will be much cheaper. If I would have gone with a shallow frost footing and used earthen plaster the cost would be next to nothing

Avatar
K
Admin
Forum Posts: 31782
Member Since:
15 Feb ’12
sp_UserOfflineSmall Offline
45
25 Aug ’12 - 10:38 am
sp_Permalink sp_Print

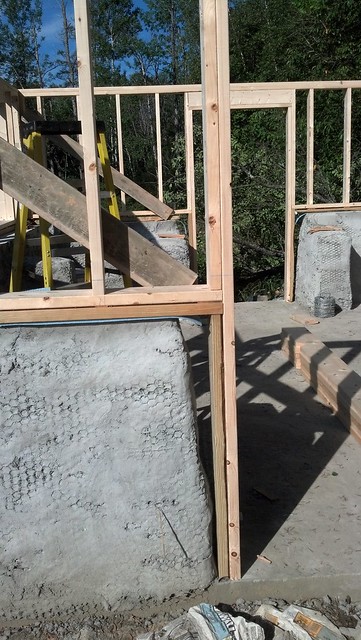
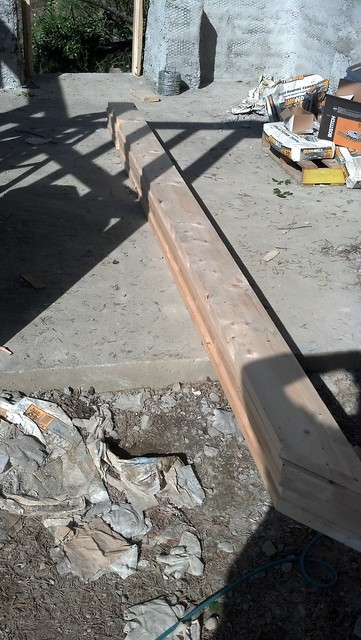
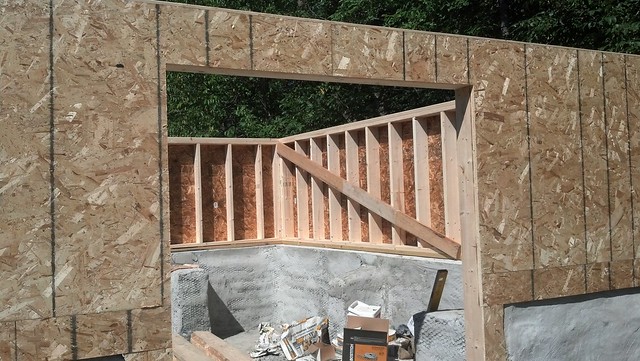
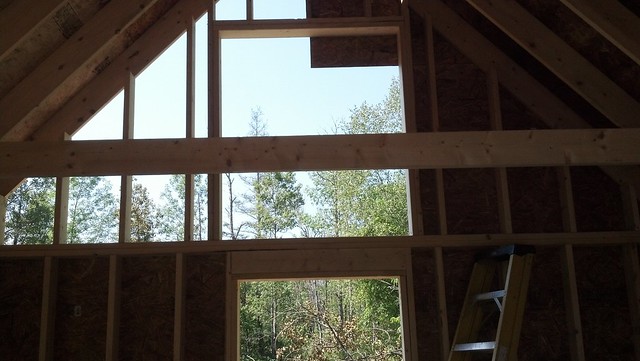
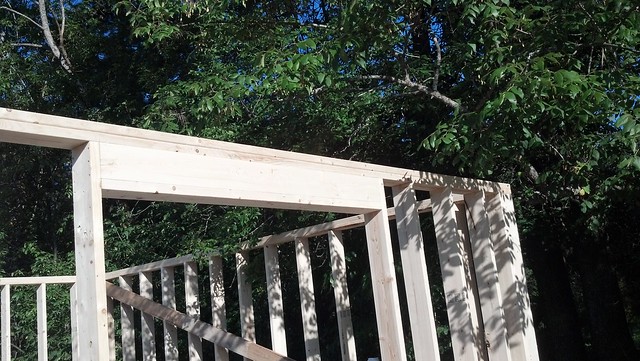
so the other day we framed out the doors and installed headers
7850200360_51191d0b47_z.jpg

7850206456_77b3fa53ba_z.jpg

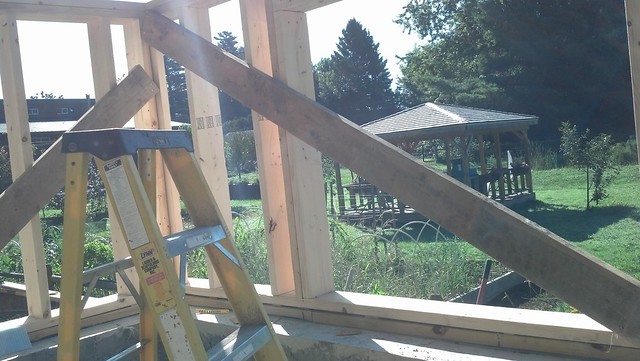
and installed some cross bracing

7850202346_584e287ae9_z.jpg

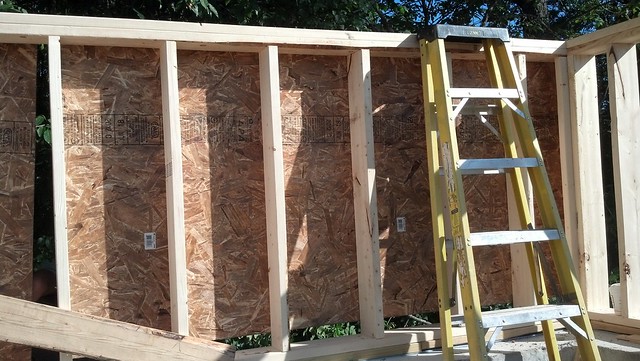
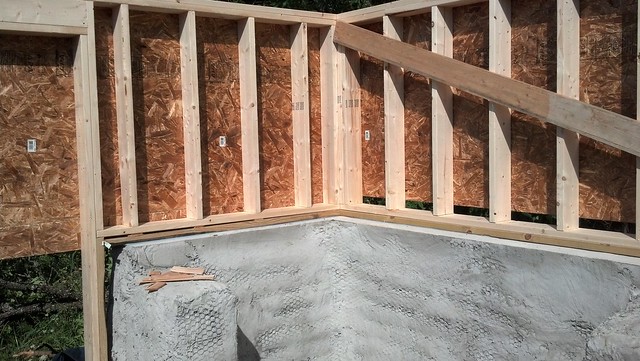
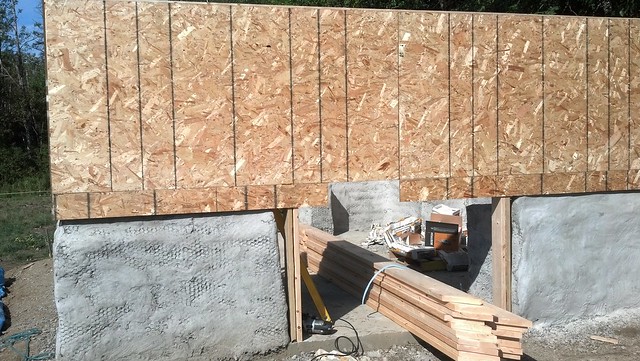
after that we started sheathing

7850204354_93a8b14efe_z.jpg

7850212892_ea5c0bcc3d_z.jpg

and cutting some rafters

7850208436_6719b32982_z.jpg

the door is a little low

7850210804_35a40a5da1_z.jpg

we cut out the door opening

7850217258_26c254c7a5_z.jpg

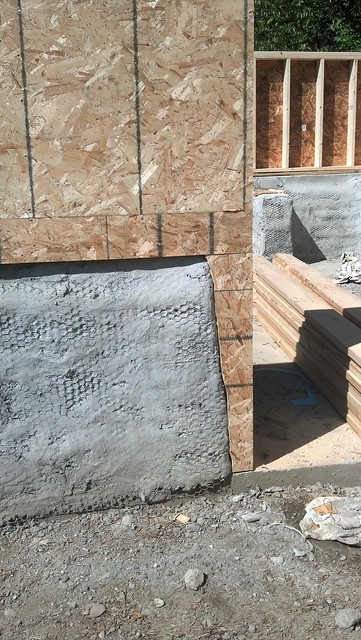
and filled in the gap around the door frame, I will back fill it with surface bonding cement
7850215390_80f812e023_z.jpg

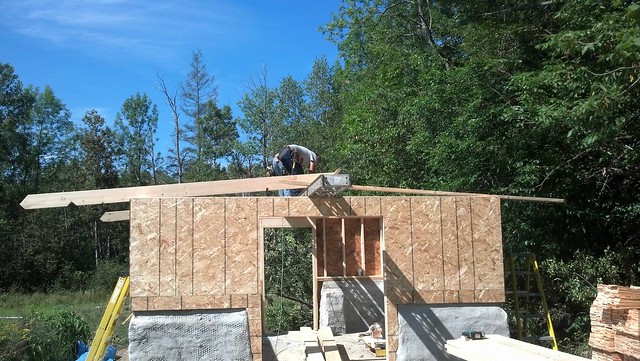
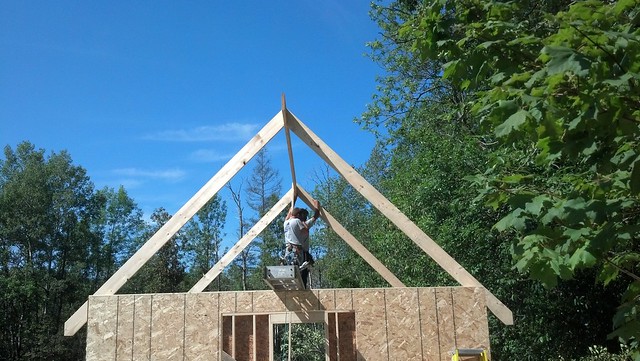
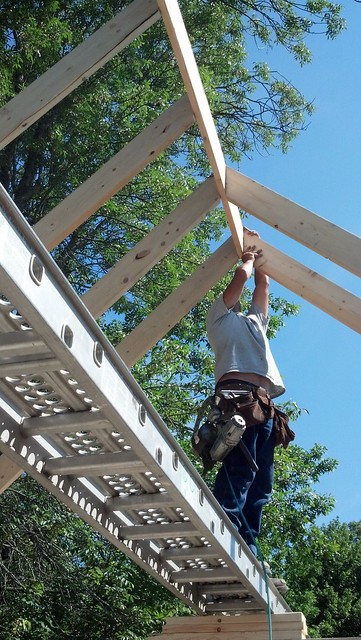
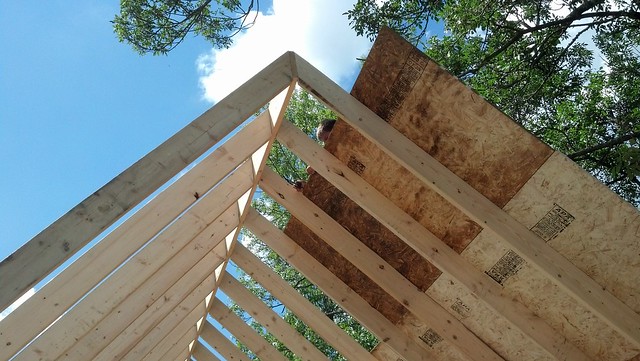
and we started throwing up the rafters
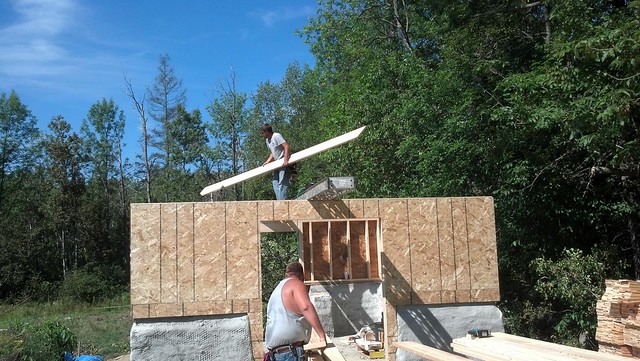
7850219878_fda4fec4c5_z.jpg

7850222252_7c4f397dcf_z.jpg

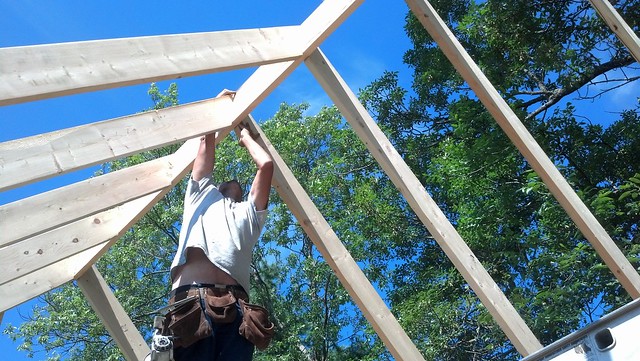
started by pinning each tail and toe nailing on the ridge
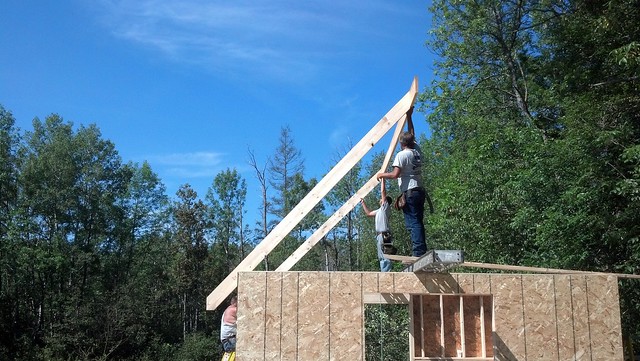
7850224594_7b36b46bb6_z.jpg

put in the other side

7850229506_2e89e7f5eb_z.jpg

and nailed down a 2x6 to keep it somewhat stable
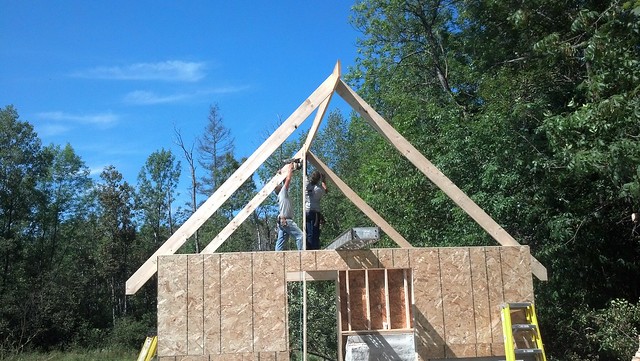
7850231992_c5344a7b36_z.jpg

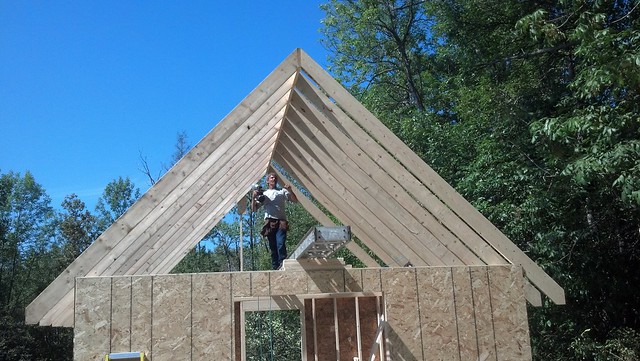
and started filling in the middle

7850234234_015f351ea1_z.jpg

7850236592_f0d8bdfbf6_z.jpg

last one going in

7850238778_304c6b87a6_z.jpg

we decided to leave a long overhang to help shed water away from the building
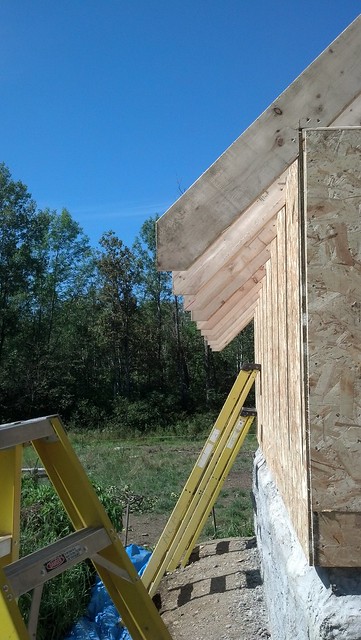
7850241102_ac6d599513_z.jpg

only issue with that is it overhanged the window openings which we are just going to have barn style shutters on which would get in the way of opening, so we lowered them
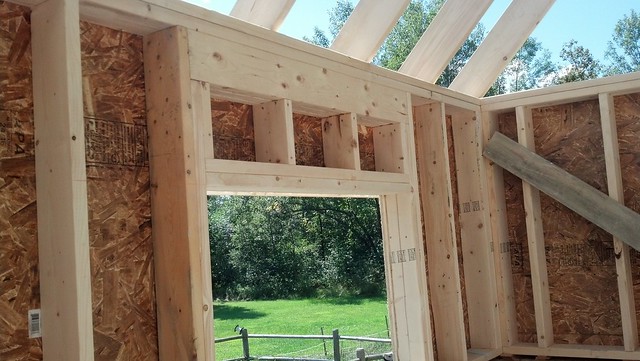
7850246066_32fca6c2ef_z.jpg

starting to look like something

7850243878_922a1f69b3_z.jpg

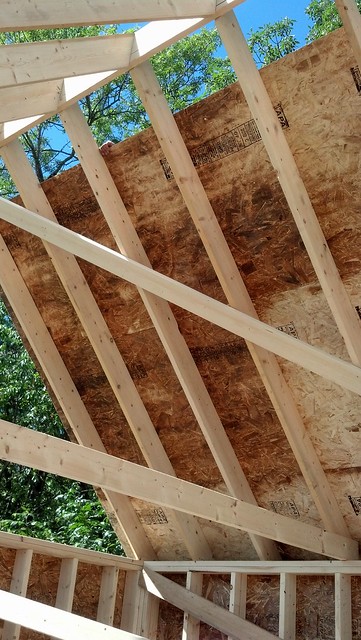
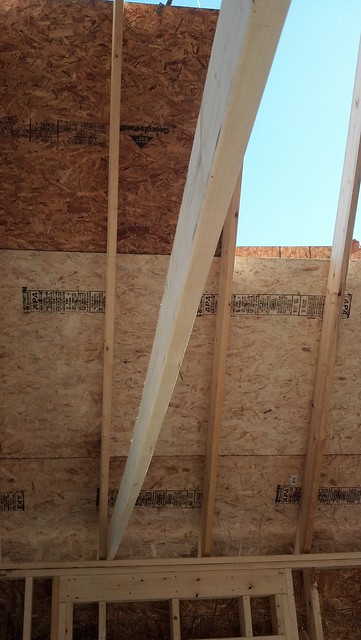
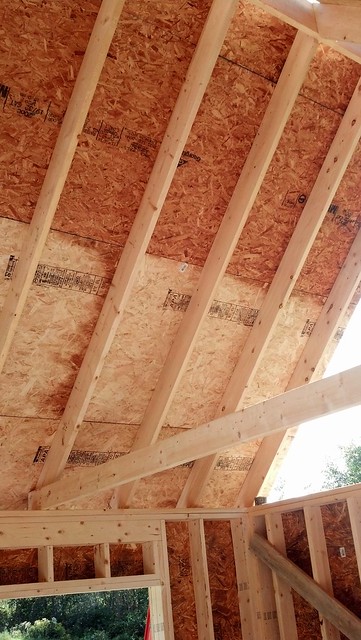
before starting the sheathing we put in some collar ties and cross braced the walls some more to level the rafters out
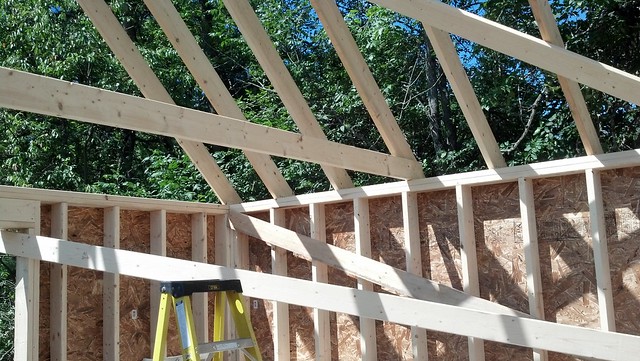
7850248034_5dcd9ca904_z.jpg

and started throwing up the sheathing
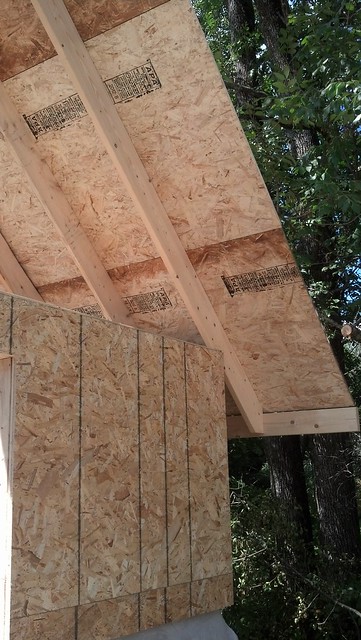
7850251724_75c2f5040d_z.jpg

7850253316_ceef73be36_z.jpg

7850255308_4520798da7_z.jpg

7850256942_148883c822_z.jpg

last sheet

7850258944_67c57704f2_z.jpg

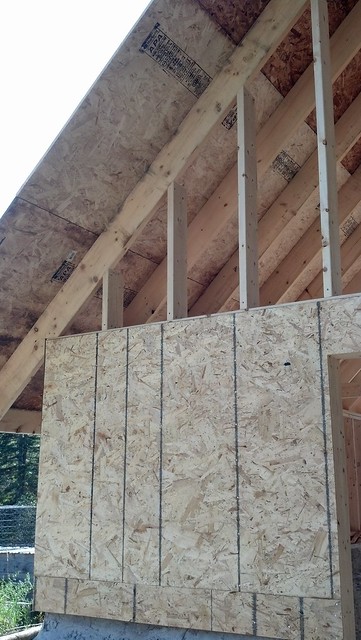
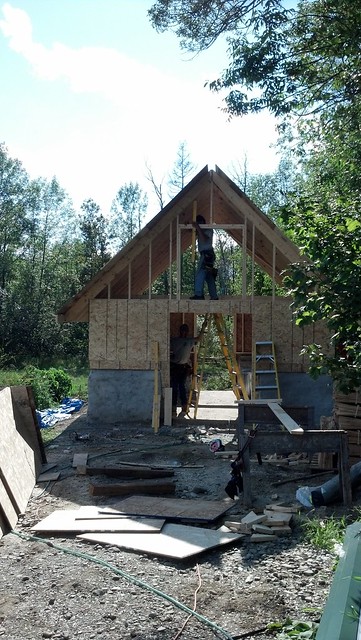
we started filling in the gable ends

7850260904_f4a7377a9b_z.jpg

and framed out a doorway to the loft

7850263072_8f66027072_z.jpg

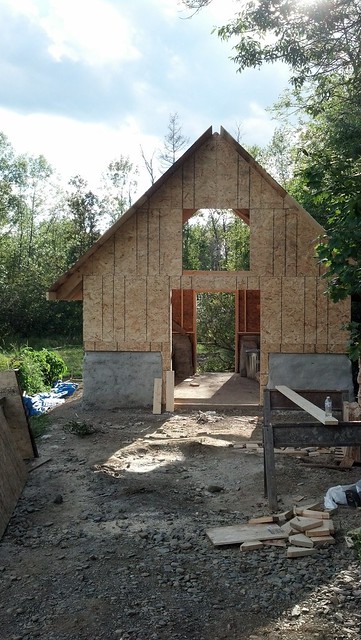
and sheathed over it

7850269270_0491cdbbd1_z.jpg

and did the same on the other side

7850271214_8c0990e432_z.jpg

since we are shingling the outside I knocked out the last finish coat to butt the shingles down to the cement
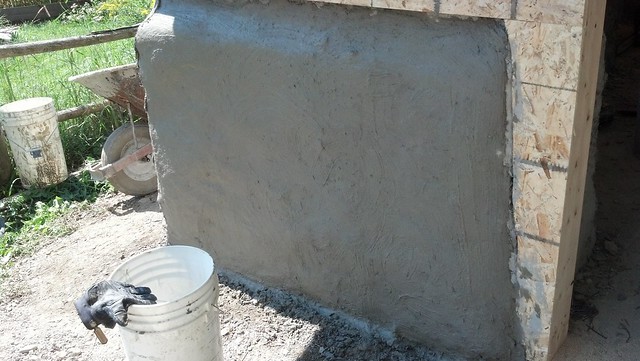
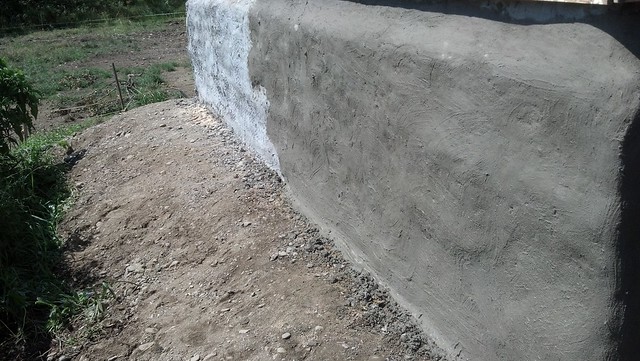
7850273050_b1bbc87f66_z.jpg

7850275124_d49f7d782b_z.jpg

we replaced the temporary collar ties with 2x8's to better support the floor of the loft
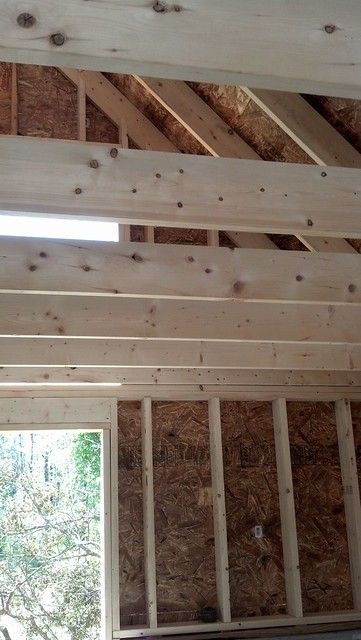
7850277008_a610a2bacc_z.jpg

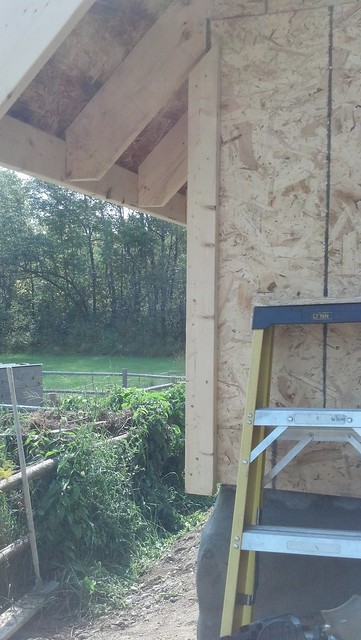
we built out the eaves and installed a fascia board
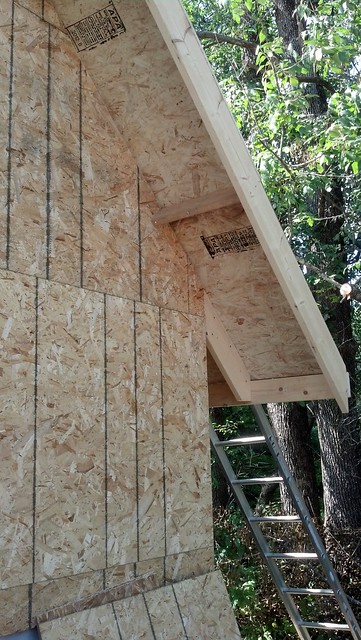
7850279192_a38dec1145_z.jpg

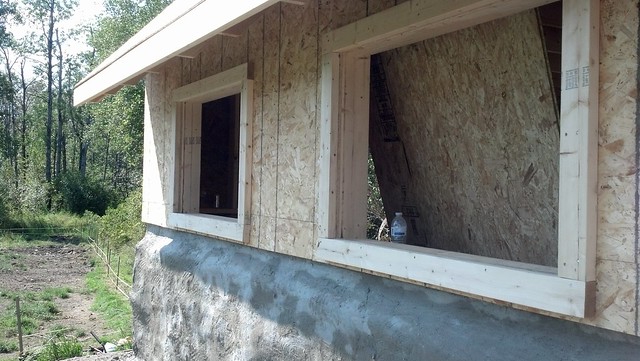
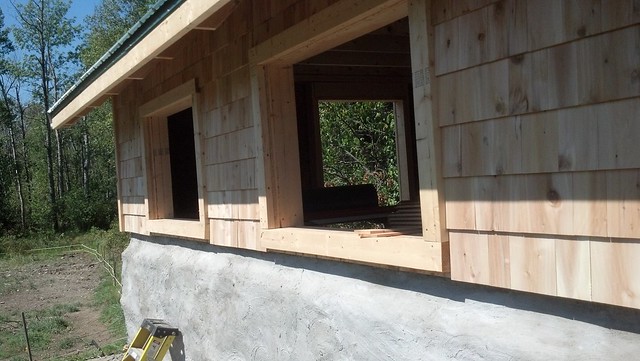
and used a 2x4 to trim out the door openings, windows and corners
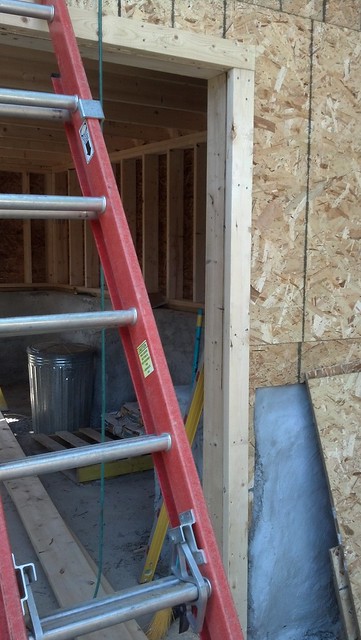
7850280938_72484fc741_z.jpg

7850282728_997fd994c7_z.jpg

7850284596_a4119f0b68_z.jpg

we added a 2x6 above the door to install the track to hang the barn door off of
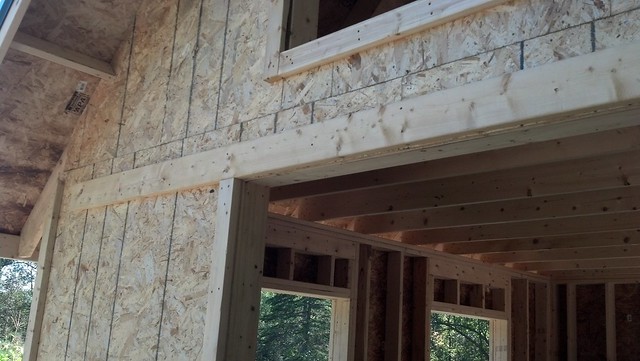
7857275524_3d6c1bc982_z.jpg

and started installing the metal roof
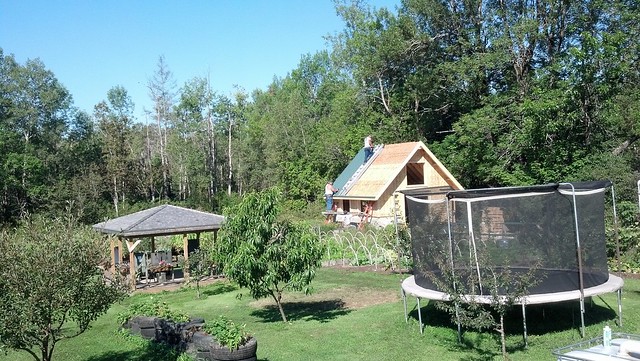
7857268212_bacf59444e_z.jpg

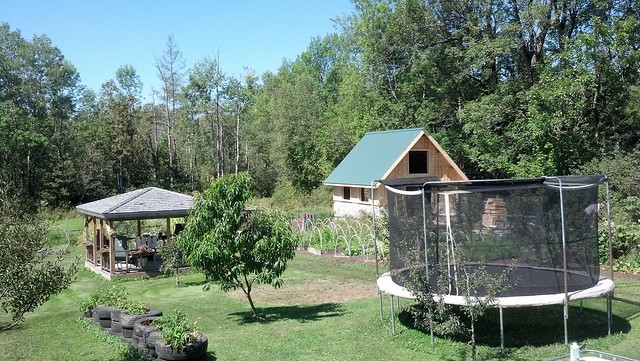
all done

7857272720_6fdeb4576b_z.jpg

since we were generating scrap, we decided to try and utilize it and finally finish off the shed on the side so we ripped off the roof
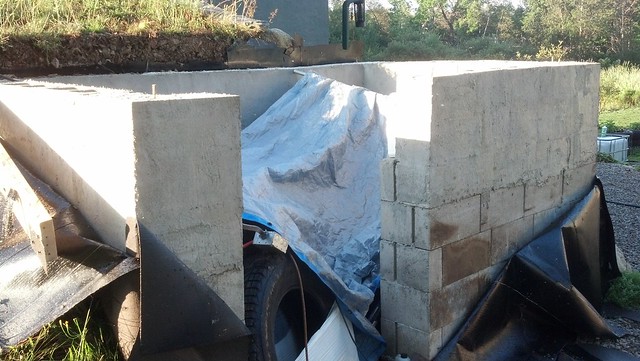
7850286426_c6ca536317_z.jpg

Avatar
PorkChopsMmm
Rancher
Members
Forum Posts: 1515
Member Since:
5 Mar ’12
sp_UserOfflineSmall Offline
46
27 Aug ’12 - 9:05 am
sp_Permalink sp_Print

Wow, good work. I am building a small fort for the kids and couldn't get as much done on a 4x4 structure in a day as you have on the whole barn.

I am interested to see what comes of the stacked block shed.

Avatar
K
Admin
Forum Posts: 31782
Member Since:
15 Feb ’12
sp_UserOfflineSmall Offline
47
29 Aug ’12 - 8:47 am
sp_Permalink sp_Print

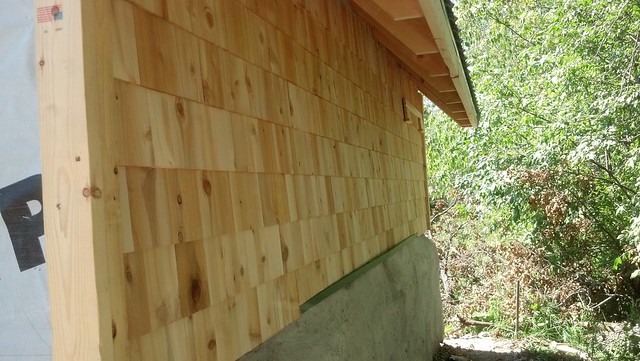
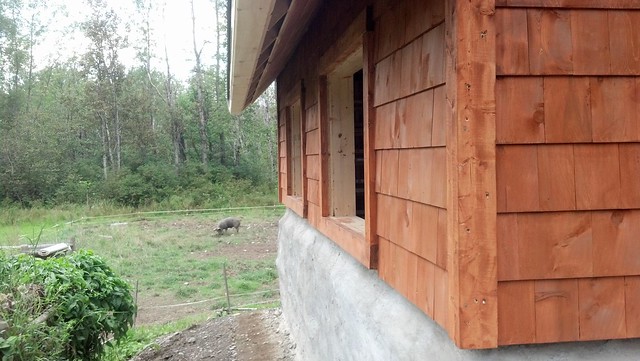
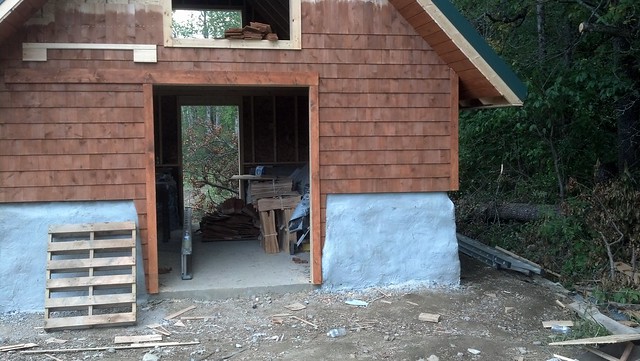
We decided to cedar shingle the outside of the barn to match the rest of the property
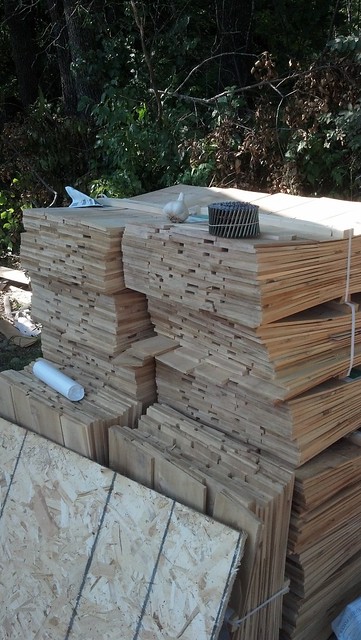
7886771250_f44e7655f4_z.jpg

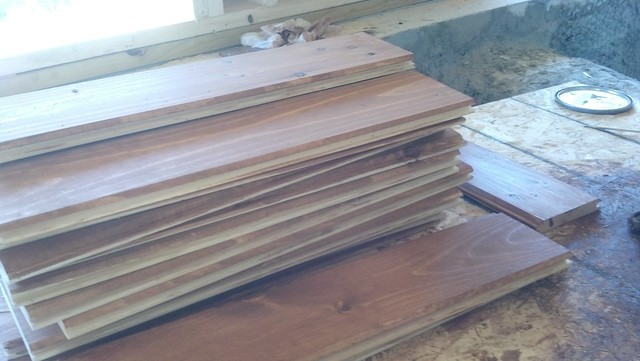
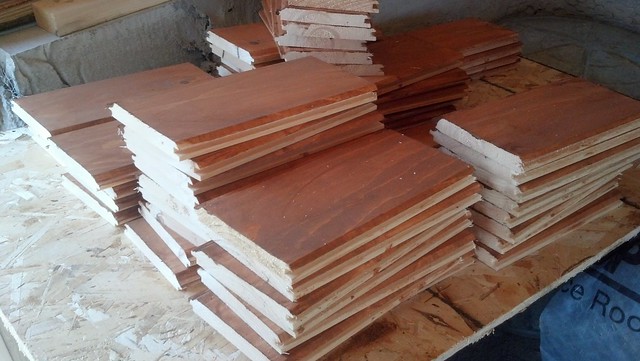
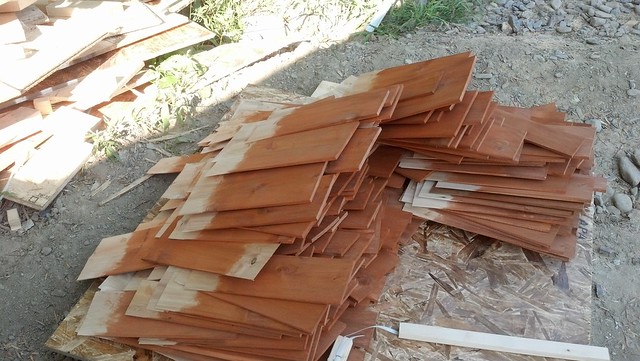
We started staining a couple square so we could nail them up on the peaks and be done with it
7886773528_0010ee5530_z.jpg

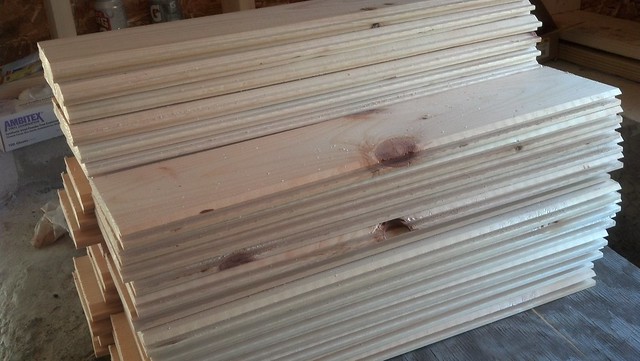
We did the same with T&G Pine for the soffit on the gables
7886775322_7ef23f8ee4_z.jpg

7886777226_8f94ca3a6b_z.jpg

7886779326_9b7d80af72_z.jpg

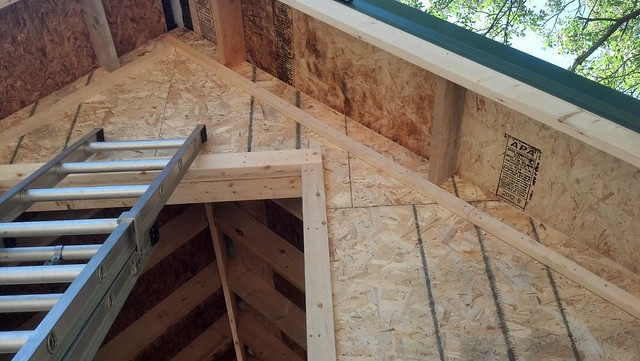
we installed a nailer strip for the gables
7886786160_d5290a2d8c_z.jpg

and started nailing down the cedar

7886781556_97f092cf83_z.jpg

7886783812_454da1371c_z.jpg

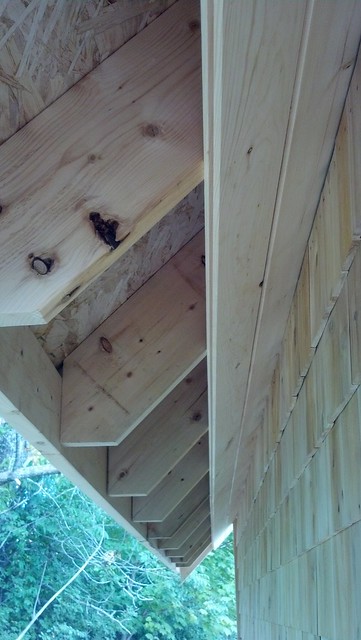
we nailed down some pine under the eves
7886790046_88871bcdc5_z.jpg

and started trimming out around the door
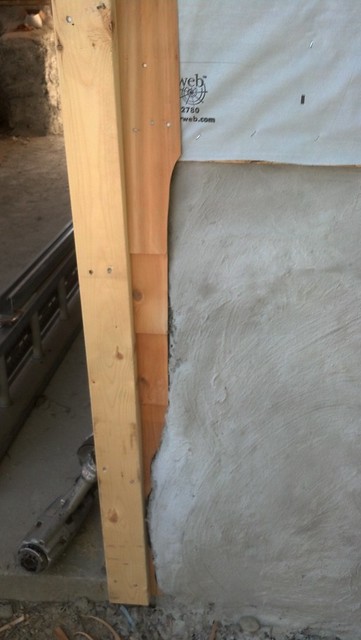
7886788150_1fe8cf7e2f_z.jpg

we worked our way up and switched over to the stained at head height
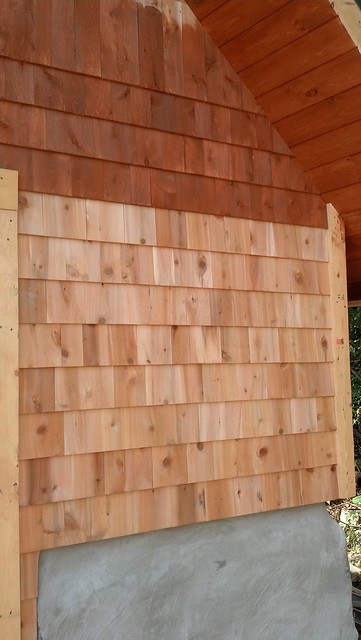
7886795396_6f1d9d3691_z.jpg

and installed the pine under the gables as well
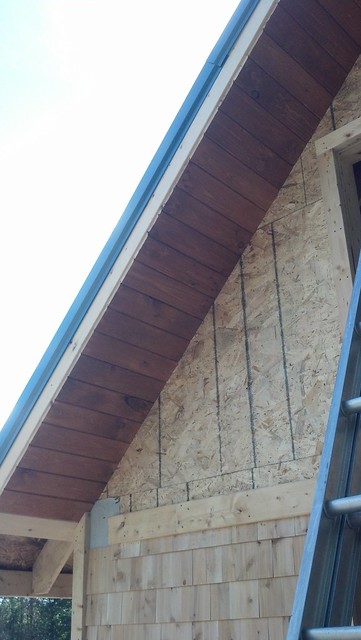
7886791858_3bf7d2b111_z.jpg

my buddy came up with a good idea, we made a jig so that once we had the starter course set, we could move the jig up as we went and got proper spacing
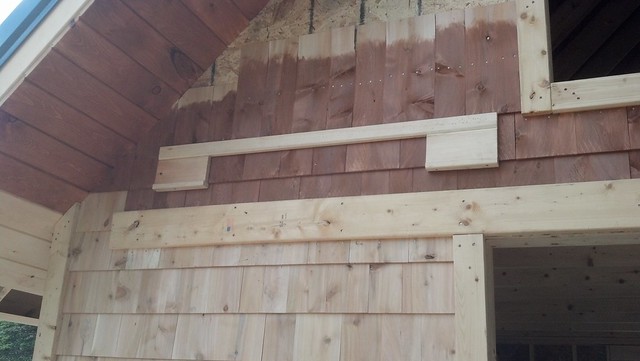
7886796966_e3c7fe587b_z.jpg

before calling it a day yesterday we stained up everything we had installed at this point
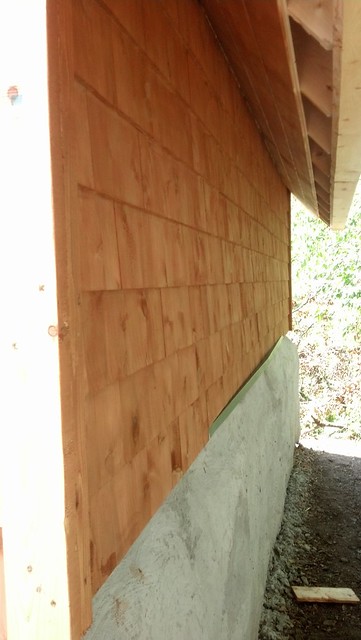
7886793414_d92cb8a6f9_z.jpg

7886801092_d0741ab2b8_z.jpg

7886799070_0833b61787_z.jpg

hopefully a couple more days we should be done

Avatar
Naderhood
Farm Hand
Members
Forum Posts: 343
Member Since:
17 Feb ’12
sp_UserOfflineSmall Offline
48
29 Aug ’12 - 12:09 pm
sp_Permalink sp_Print

Looks great, K.

Forum Timezone: America/New_York

Most Users Ever Online: 698

Currently Online:
78 Guest(s)

Currently Browsing this Page:
1 Guest(s)

Top Posters:

easytapper: 2149

DangerDuke: 2030

groinkick: 1667

PorkChopsMmm: 1515

Gravel Road: 1455

Newest Members:

Forum Stats:

Groups: 1

Forums: 12

Topics: 11482

Posts: 58640


Member Stats:

Guest Posters: 2

Members: 19842

Moderators: 0

Admins: 1

Administrators: K