
This is our DIY guest house. When we built our home we had only planned on two bedrooms for our family. My father was married at the time but things were not totally Kosher between him and his wife. I asked him if everything was going to work out and if I should add a third bedroom for him. He said no things would be fine. So we built the house and settled in for our first winter. The following Easter my father stopped by and said he was getting divorced that things weren’t working out. My father had lived with us for 6 years before he got married and there was no way I wasn’t going to have him live somewhere else besides with us. I needed to figure out how to add a bedroom to a earth sheltered cement home. The only thing I could come up with was a guest cabin.
The concern was my father had surgery the year before and it left him with some nerve damage in his leg, I didn’t want him walking up and down our granite steps, so we decided to balloon frame it and build him a little deck and bridge to our berm so he wouldn’t have to navigate steps.
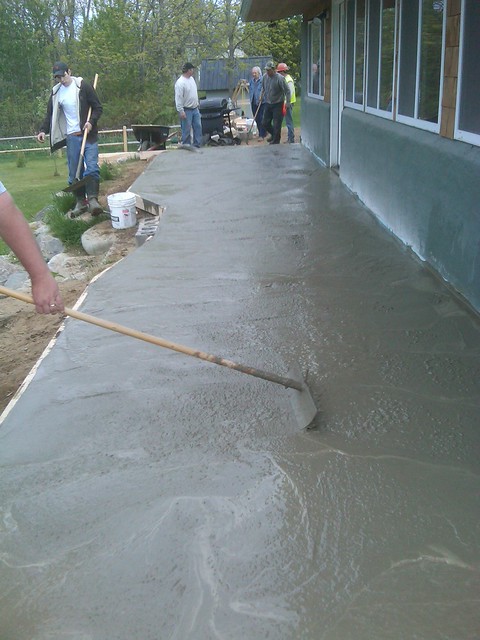
A week later we were pouring our patio and had to rent a pump truck to bring the cement around the building. The recommendation is to order a extra yard for clean out of the hose which would be just enough to pour a small 8×12 slab for his cabin
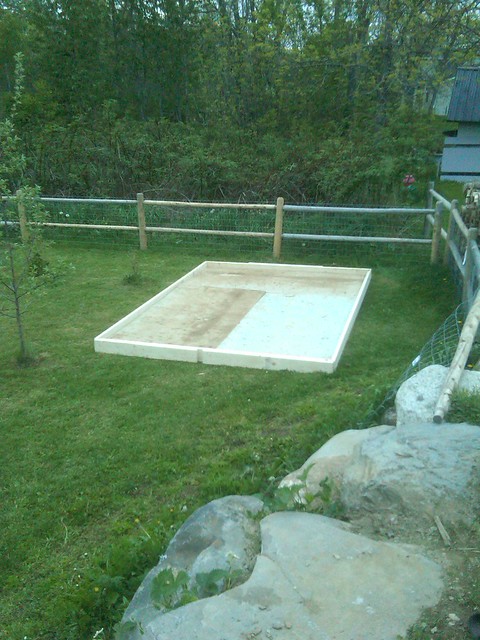
we laid out some 2 inch blueboard I had laying around
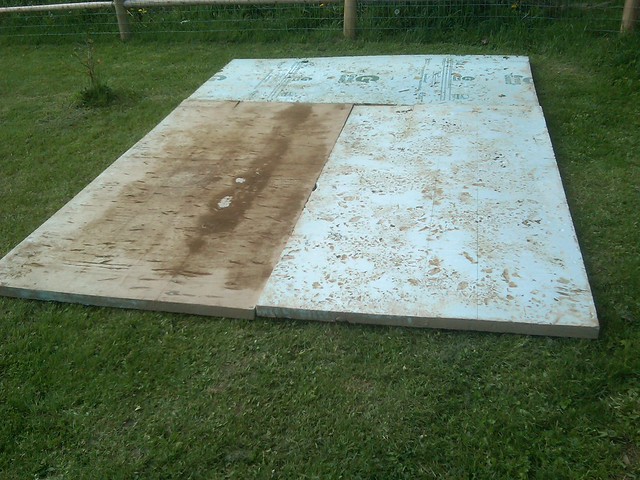
and threw together a quick frame
we laid wire mesh inside the frame and dumped the extra cement into the frame, unfortunately there wasn’t quite enough so we had to run and get 20 bags of quick-crete to mix by hand and finish it off
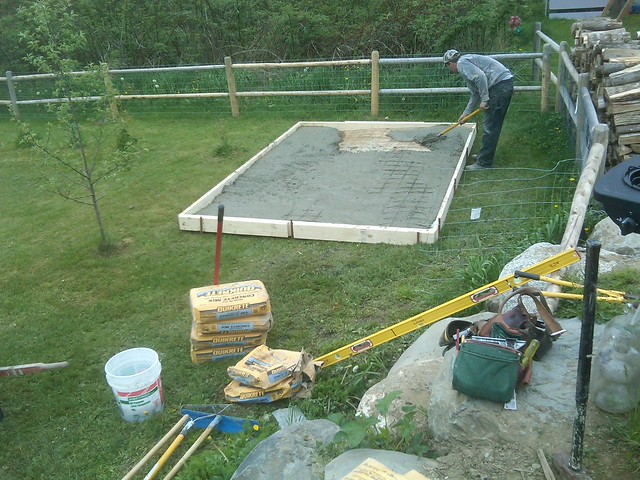
all screeded and ready to go

After letting the slab cure for a few days I had some lumber delivered
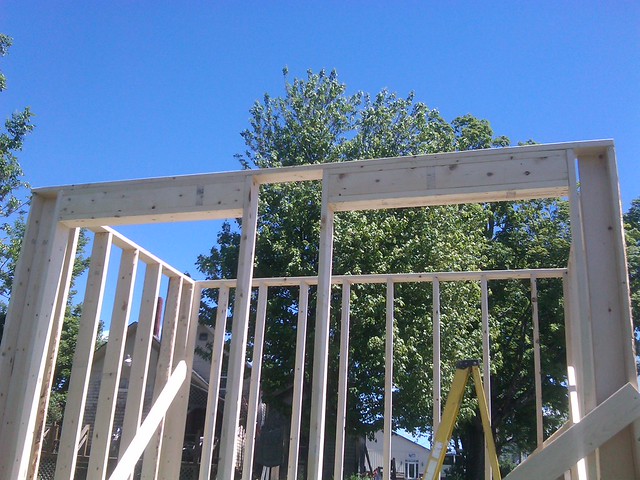
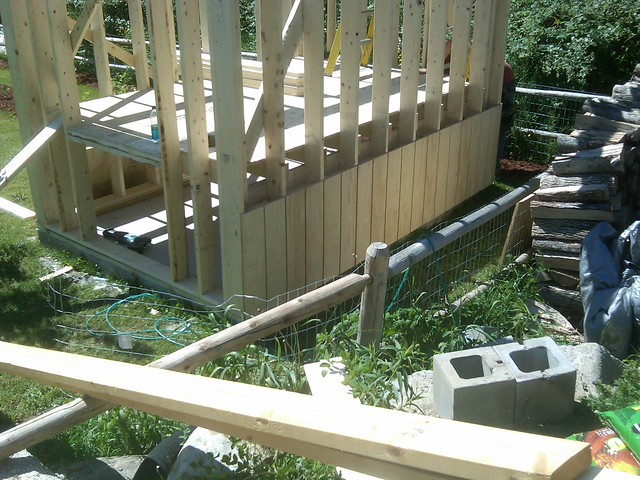
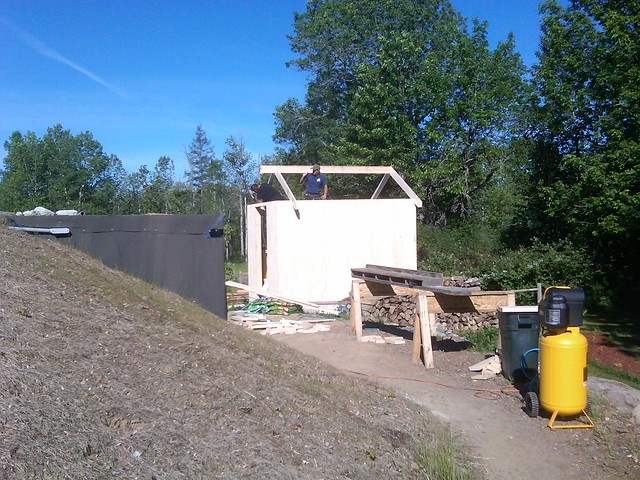
we started by framing one wall and standing it in place, we leveled it and cross braced it to secure it
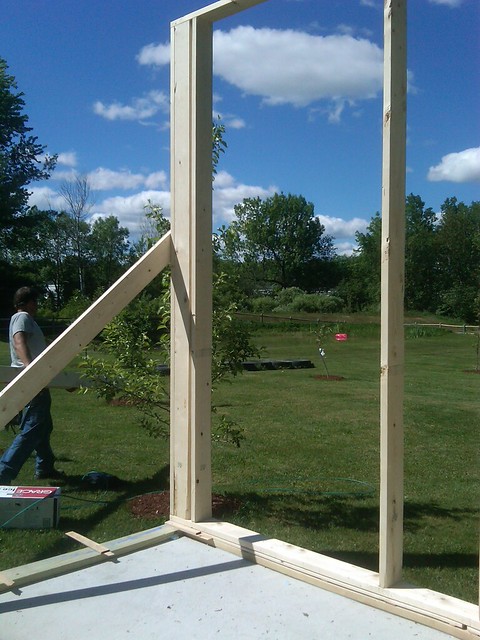
And did the same with the other wall, those things were heavy!
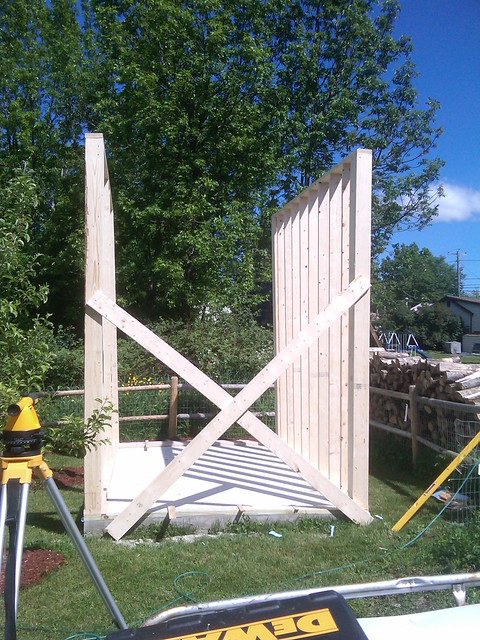
the back and front went up fast
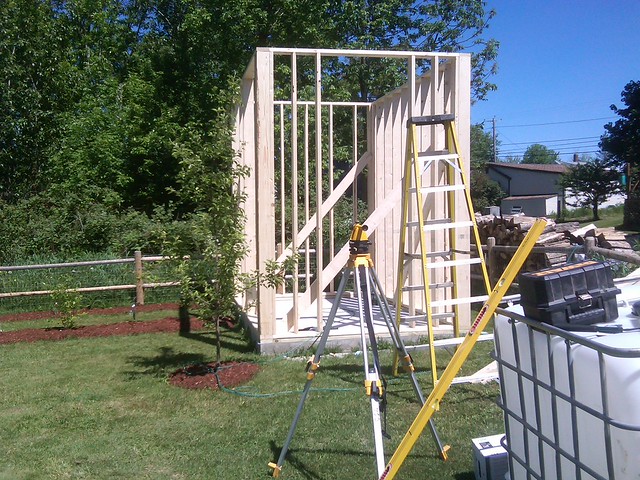
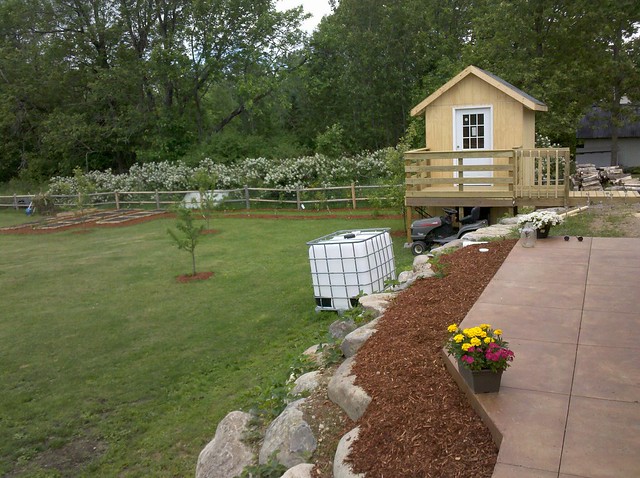
we installed the headers for the double windows, it would give him a good view of the gardens
we nailed down the ledger board to help support his floor
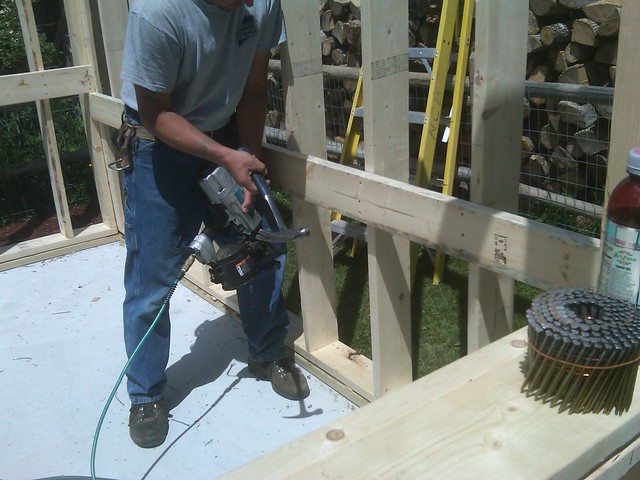
and nailed the floor joists down, we were left with a 3 foot crawlspace under his room which we use for storage and where we eventually put his battery bank for his battery bank for his solar panels
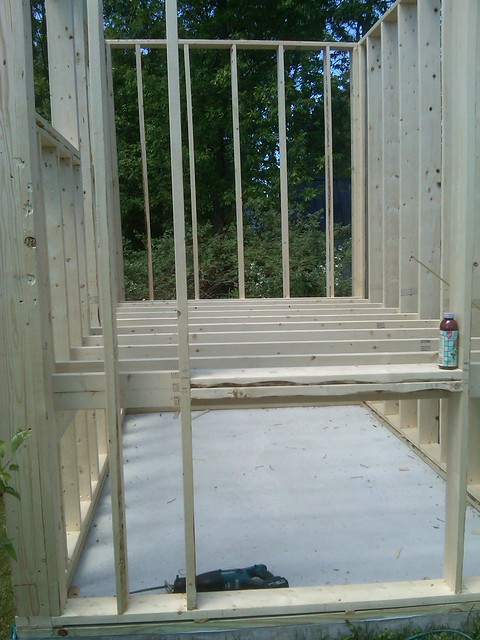
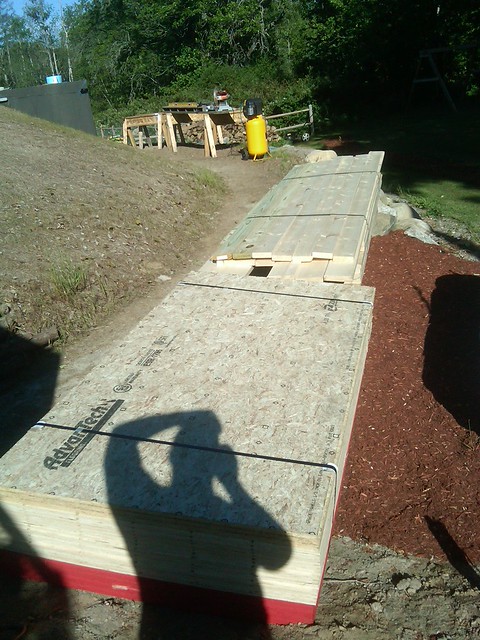
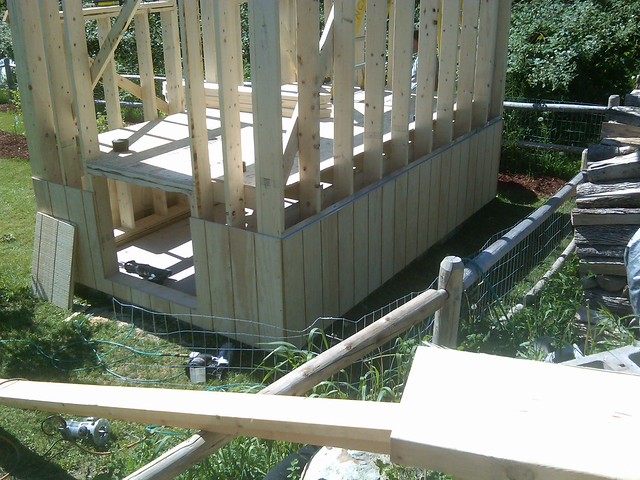
the sheathing went in and gave us a floor to work off of
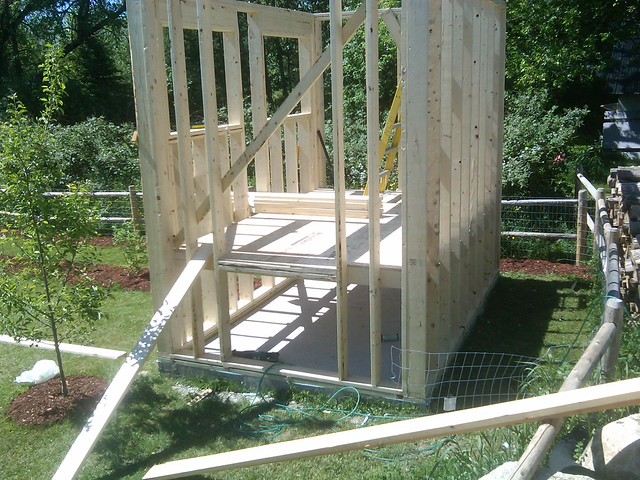
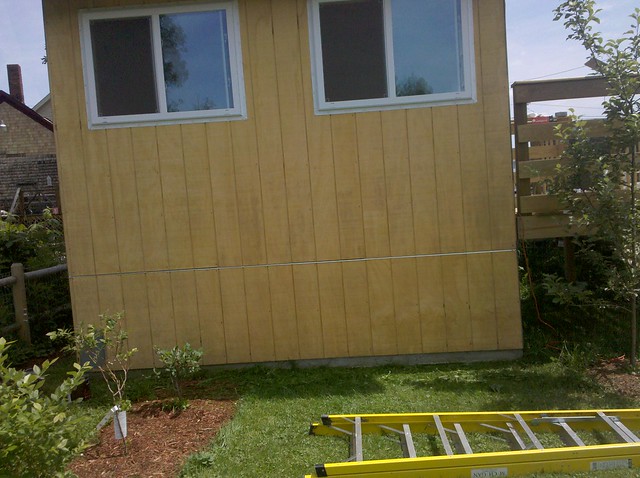
we started sheathing the bottom with T-111
and installed a drip edge on top
we then proceeded to go to town hanging the rest
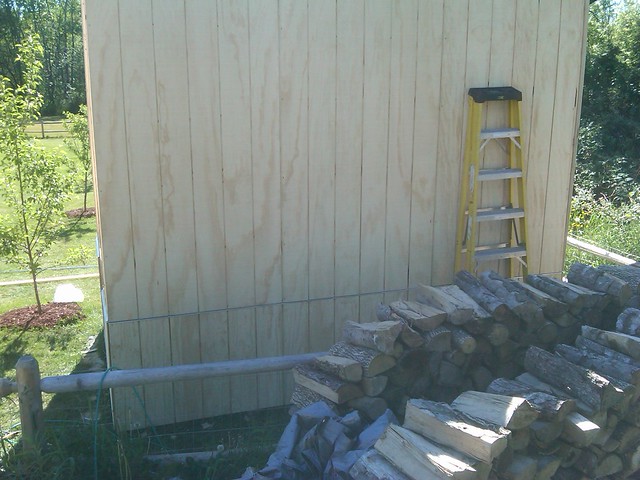
we sheathed over the window openings
and used a router to cut out the openings
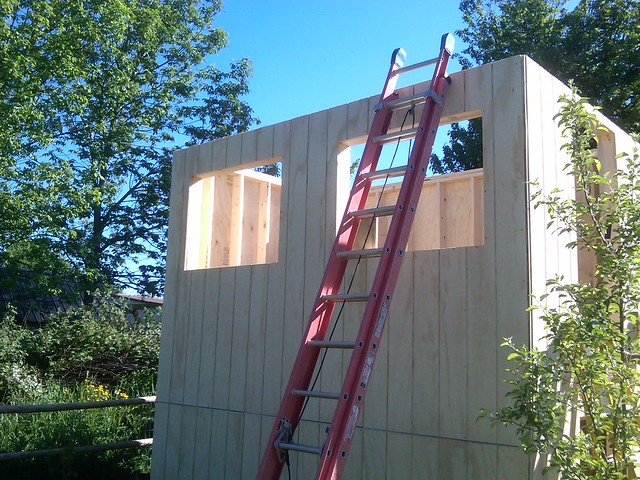
the next day we started framing out the roof
it went pretty quick
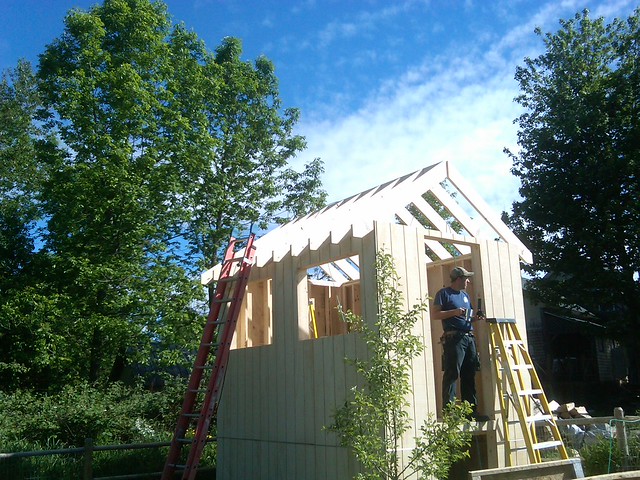
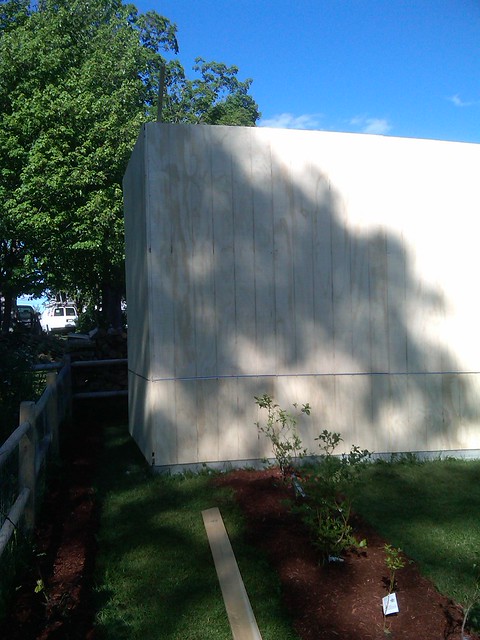
we finished sheathing the walls and roof and applied Ice and water

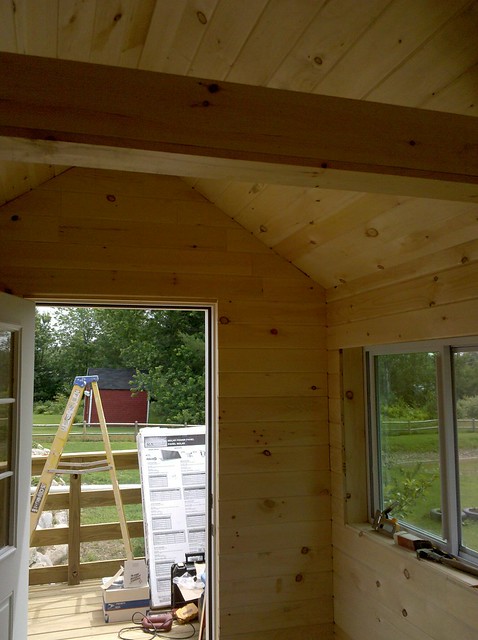
before calling it a day we popped in the windows and door, that’s a heck of a first step!
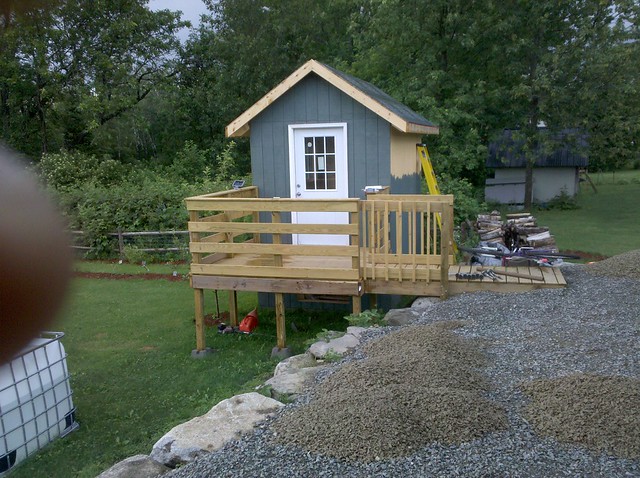
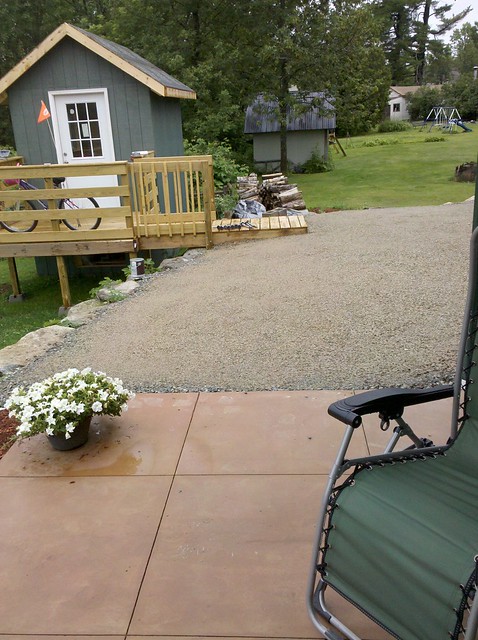
over the weekend I started building a deck
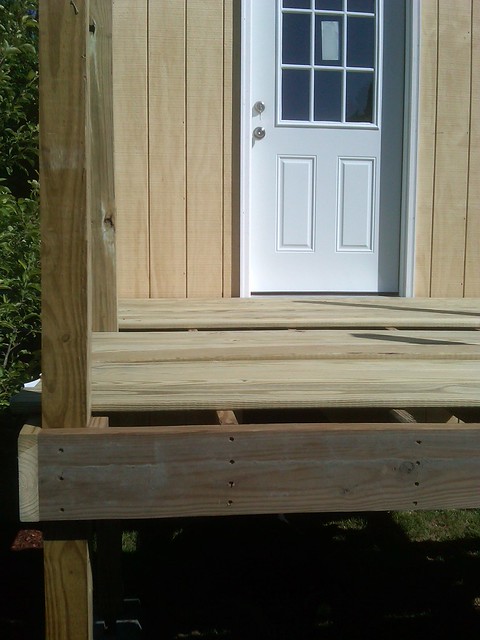
I didn’t take a lot of pictures of this for some reason, usually I’m like a japanese tourist, but the deck is complete
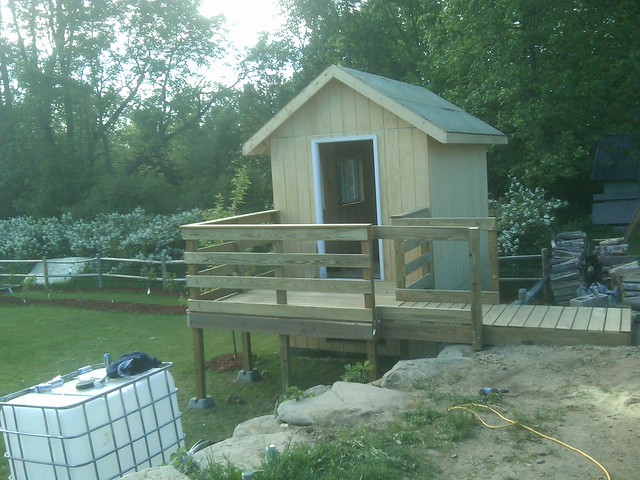
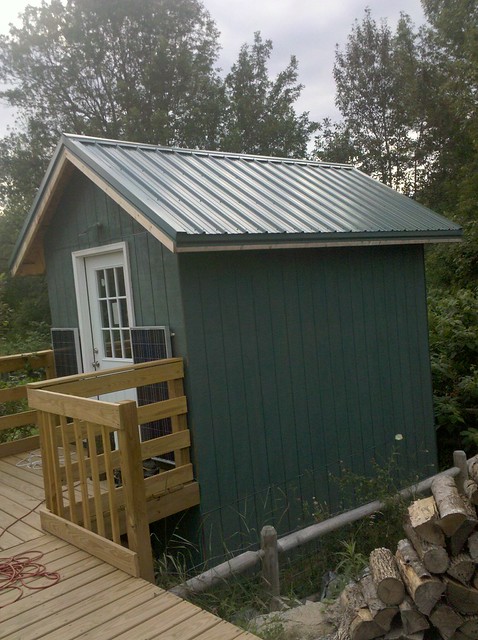
I think it ties in well with the house
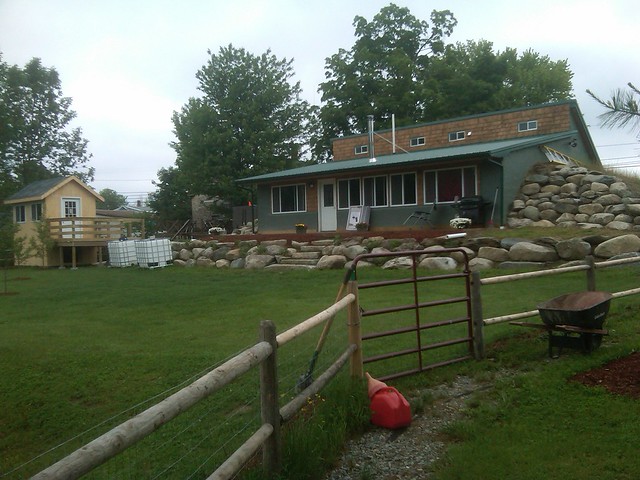
it gives him his own private space while being close
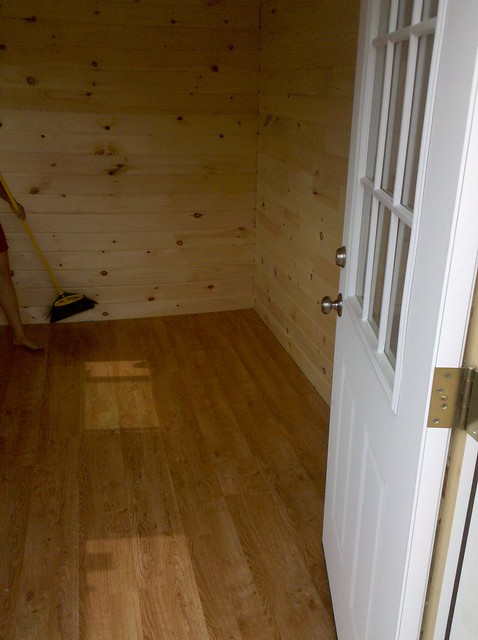
I went and picked up some insulation and some camp grade T&G pine and started finishing off the interior
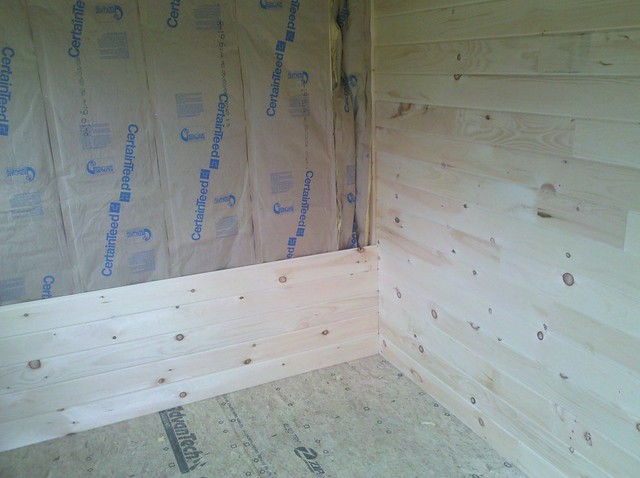
I hate insulation

I love pine though, it goes up fast and looks beautiful
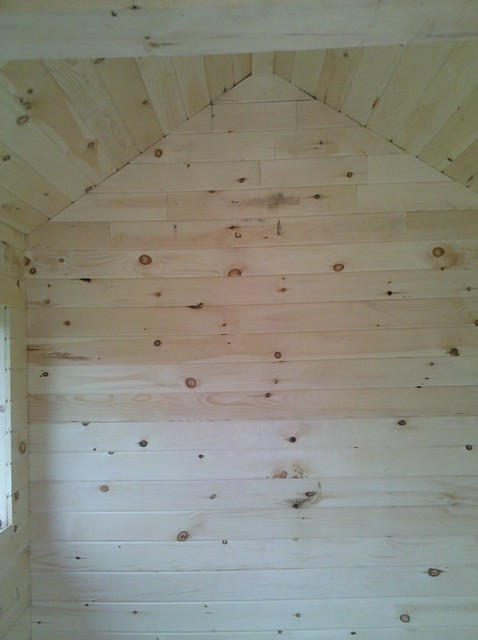
we had put in a single collar tie so I wrapped that in pine as well
I decided to go with a laminate floor and laid down a roll of underlayment

it goes down fast, just need to make sure you have the proper spacing gap along the walls for expansion
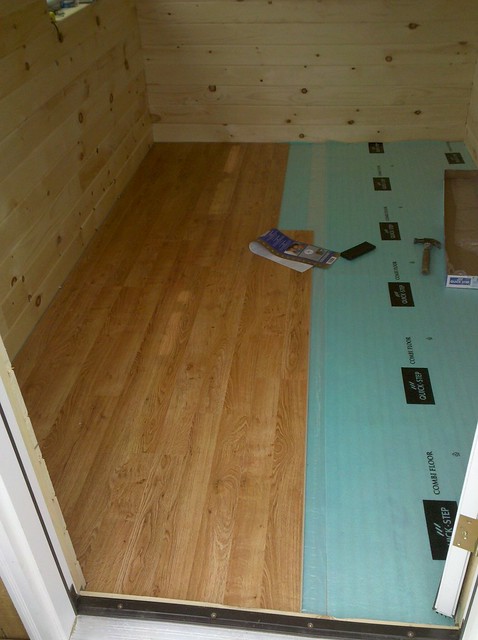
all complete
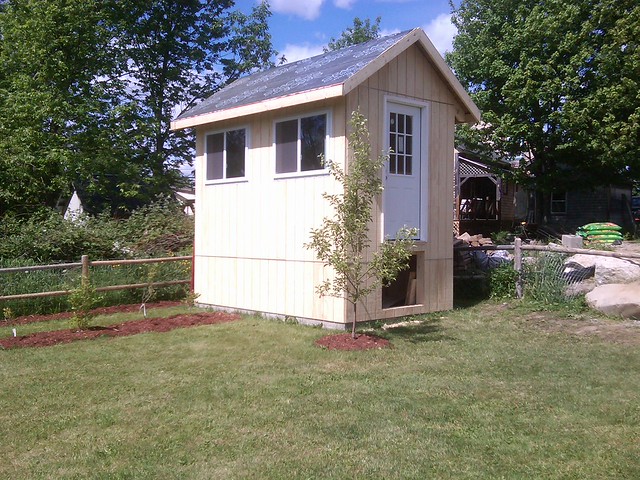
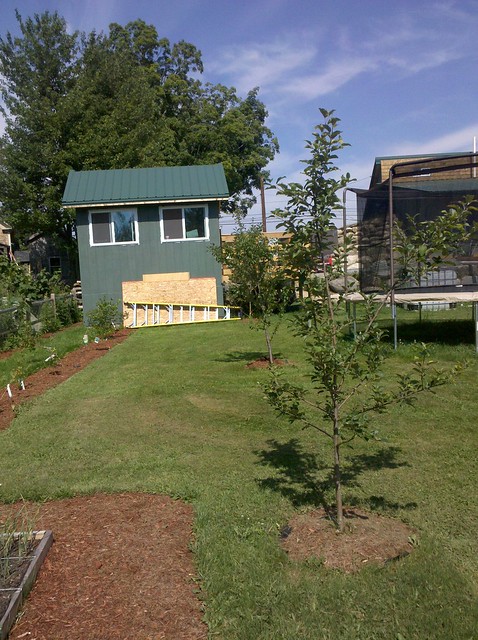
we started painting the outside to match our house

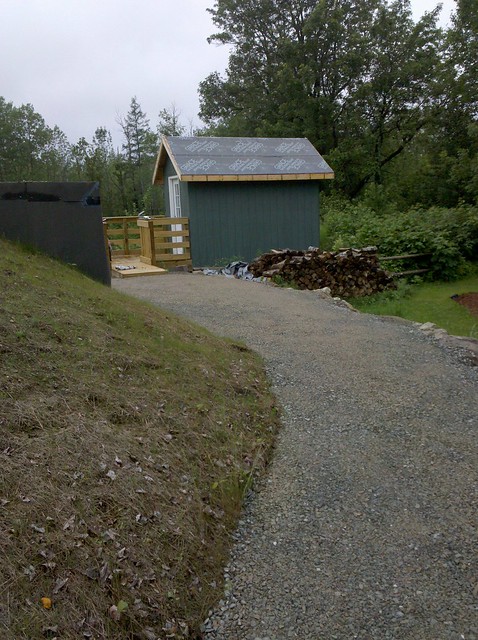
I hauled in some crushed stones and compacted it to give my father a better walkway
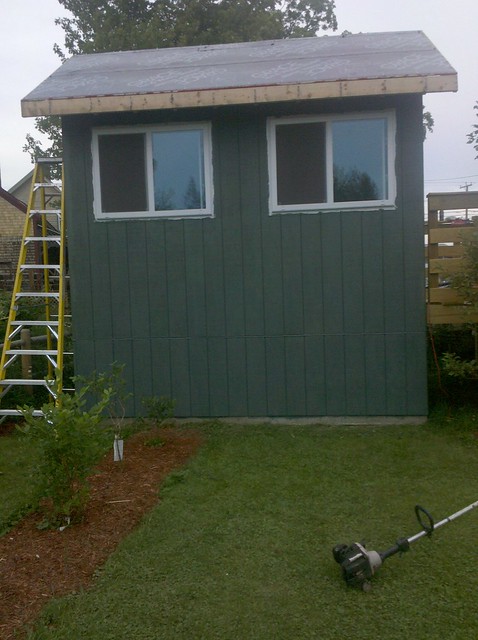
painting is complete
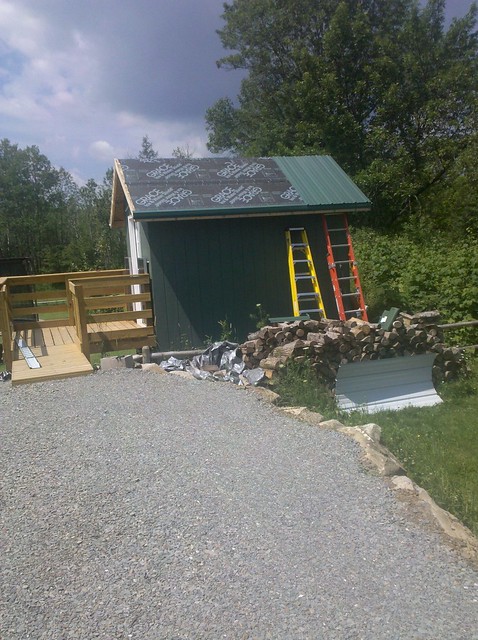
a couple of days later I had the metal delivered for the roof

and started screwing it down
Since the shed sits off the side and we really can’t see it from the house I installed door jamb armor on my fathers door for extra security. The world we live in is getting crazier and crazier. It mounts over the existing jamb and makes it nearly impossible to kick in.
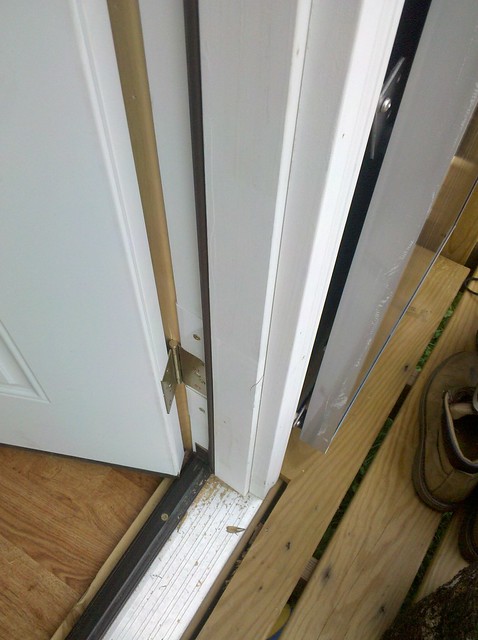
the strike plate has various knock outs for different deadbolt set ups
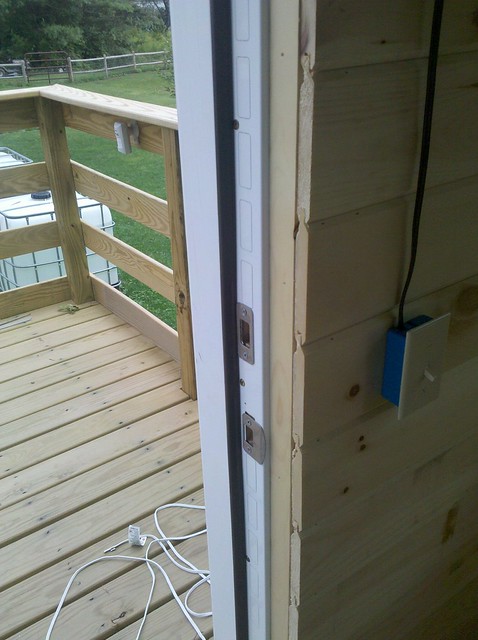
plates go behind the knob and deadbolt to strengthen them

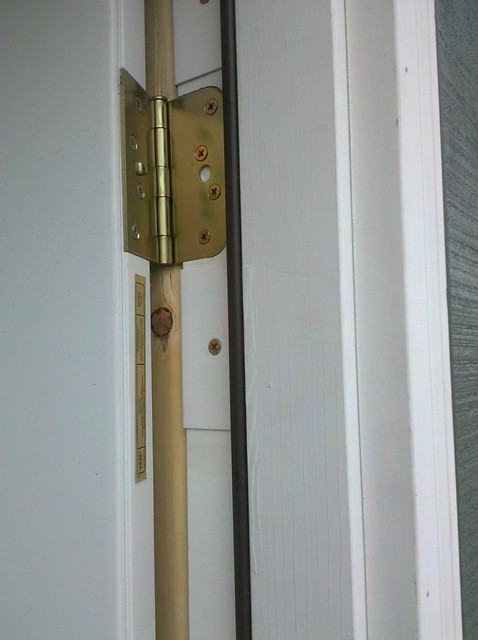
the hinge plates are wrapped as well
almost done, we just needed to figure out a heat source for winter time
we ended up going with a propane monitor, it uses no electricity
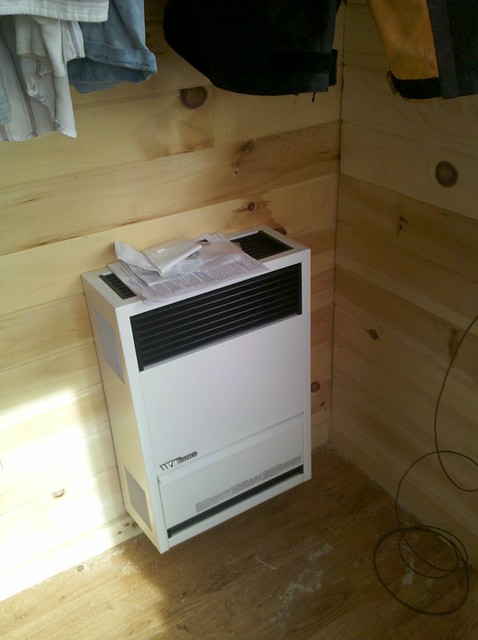
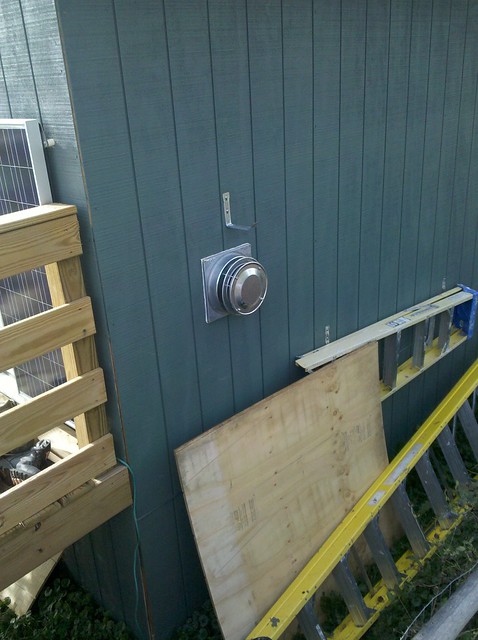
and it vents directly out the wall
the only other thing we have done to it is installed soffit and metal trim on the fascia board
Join the discussion in the forums


Hello there,
Wanting to build something similar in my yard, wondering what the total cost of building the room for your father was?
Thanks!
Hey Dan, I’ll have to double check my records, I believe it was just under 5000, that included the solar panels, propane heater, etc that we had installed