
Alternative building methods are a great way for the DIY’er out there to live in a low cost and energy efficient home. No matter what construction method you decide to use; such as strawbale, cob, earthbag, or papercrete; one of the most critical components is a strong foundation.
There are almost as many foundation options available as there are construction methods, but the simple stone foundation can be one of the most cost effective, as well as beautiful. Utilizing local stone allows a home to blend in with it’s natural environment and can help save a significant amount of money on material costs.
Alex from This Cob House attended Aprovecho’s Sustainable Shelter Workshop Series several years ago with instructor Alan Ash. A master stone mason with over 30 years experience; Alan demonstrated the process of constructing a small stone foundation to the class. Alex did a great job of documenting the process and was kind enough to share the basic steps below.
1Clear and Level Your Site
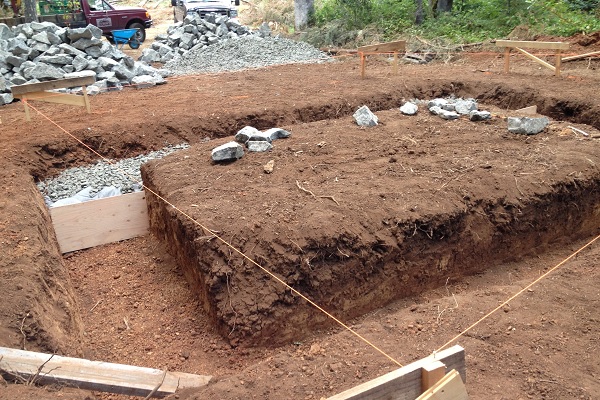
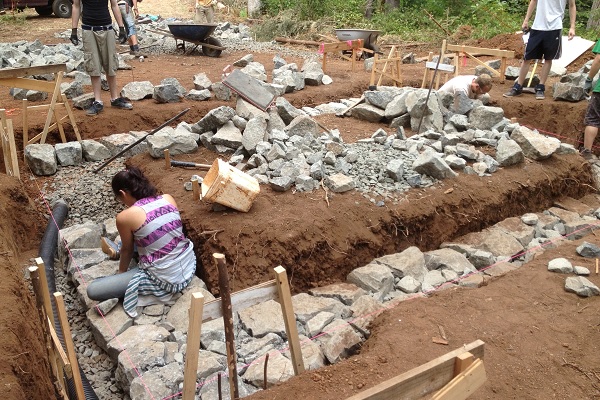
2Install Gravel And Drainage
3Set Your Cornerstone
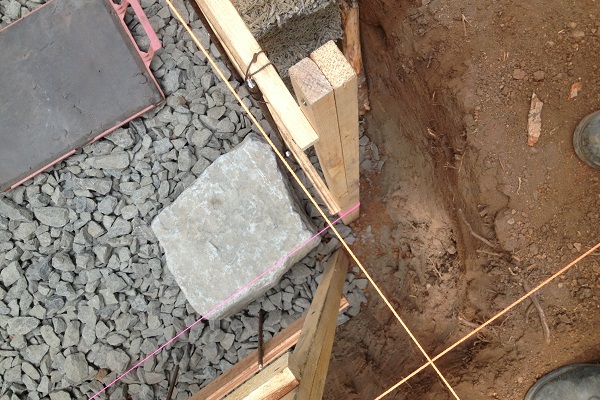
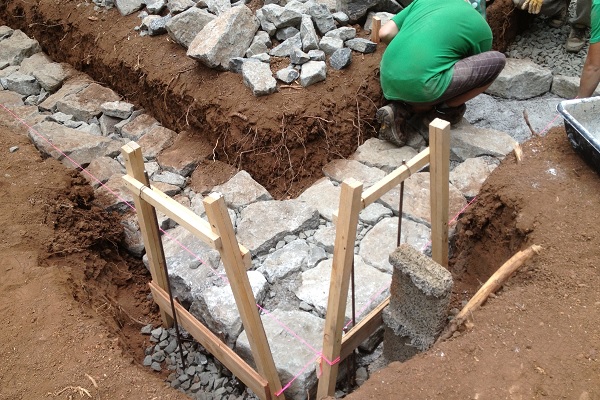
4Use A Masons Line And Lay Out Your Outer Edge
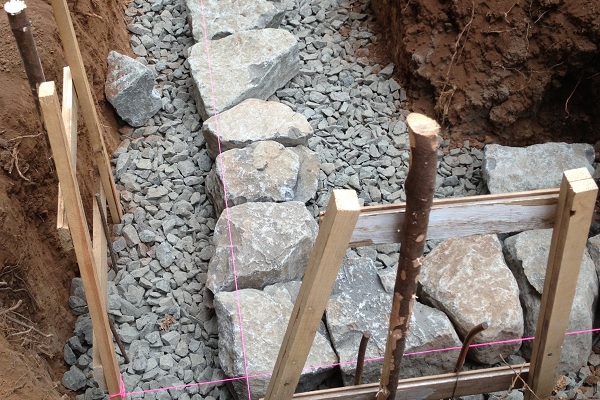
5Set Inner Stones, Use Smaller Ones For The Middle
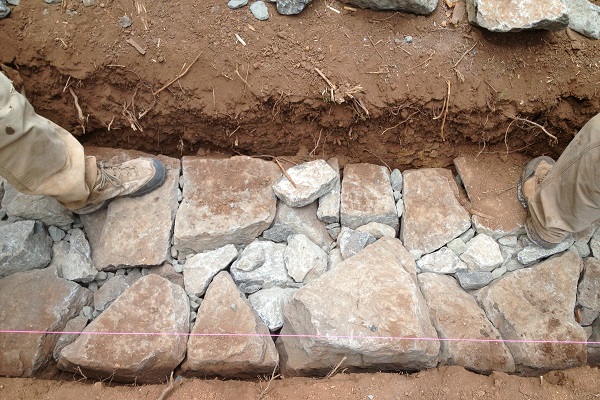
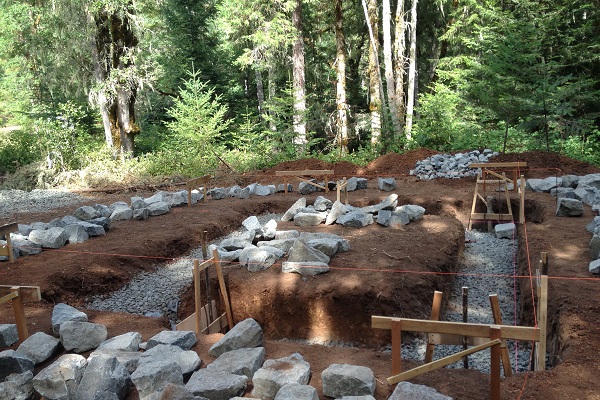
6Continue Working Around Perimeter
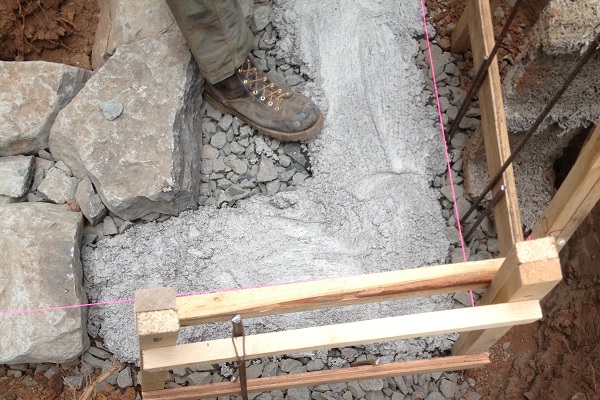
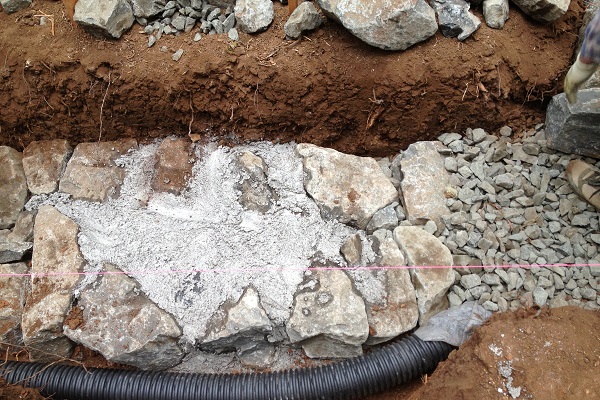
7Remove Corner Stone And Lay A Bed Of Mortar
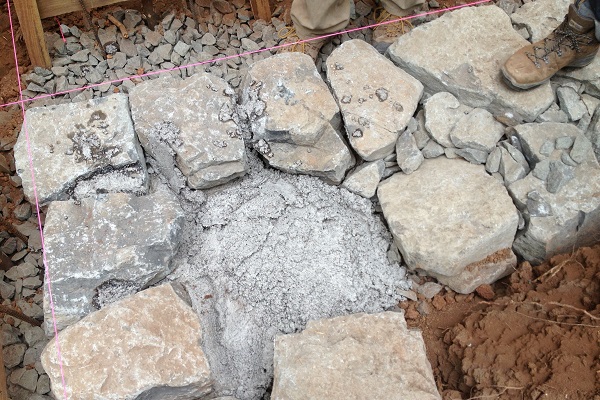
8Set Your Stones In The Mortar
9Continue Down The Length Of The Wall
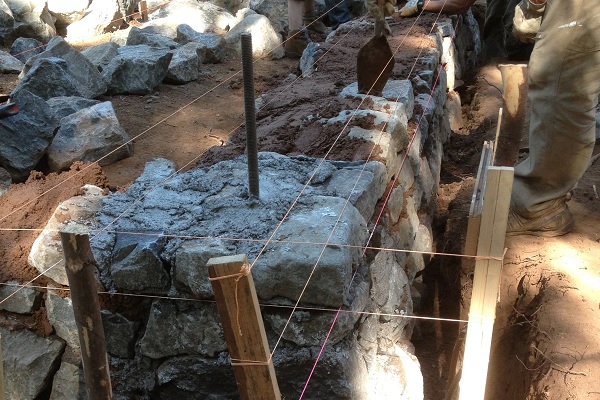
10Replace Filler Stones And Add Mortar
11Repeat The Steps To Add More Layers
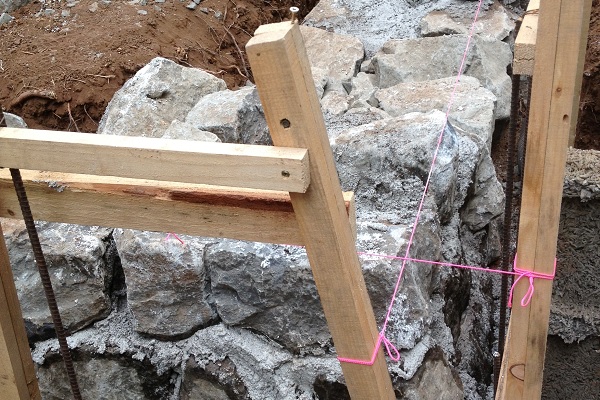
12Level Off The Corner

13Set Corner Pin
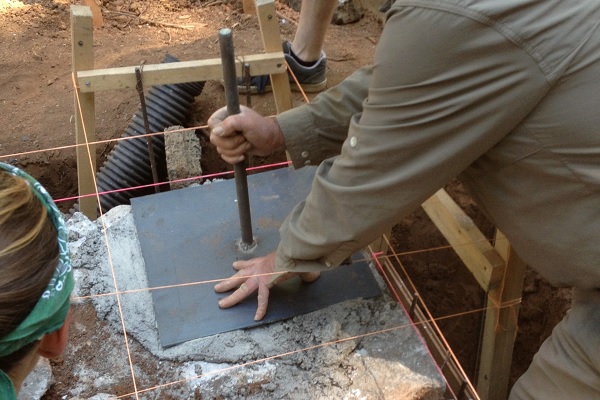
14Add Another Layer Of Stone
15Install Cap Stone

16Repeat The Process On The Rest Of The Walls

You can see a more detailed description of build on Alex’s website below. Good luck with your construction project!


