
 Register
 Log In
 Home
Home

27 Aug ’14
 Offline

So he will remove the soil (doesn't understand the idea that it has organics and will produce gasses and settle, despite his "25 years in the industry)
He will fix the backfill - Not allowed according to the civil engineer who said that, "you can either dig to depth or dig to rock and leave the rock exposed."
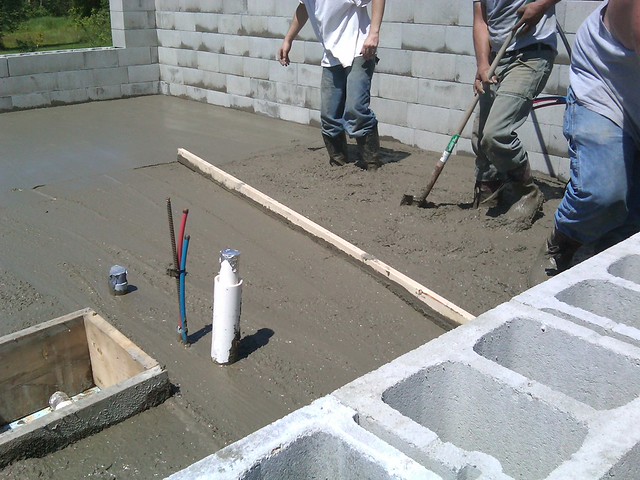
He will dig the missing beam, hopefully he puts it in the right place because it's under a load-bearing wall.
He just hasn't done the angle bar for the re-bar yet
He will fix how square the form is and re-level a spot that I called him out on.
My diplomacy sucks but I'm getting better.
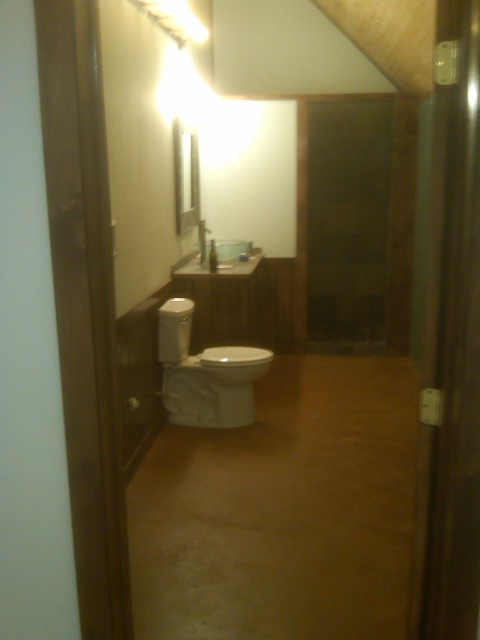
What was the idea with the used water heater?
27 Aug ’14
Offline

I will be doing the rough in plumbing tonight and have a few questions:
Can I use a 90 degree fitting to go from a sloped pipe to a vertical pipe? I would think that there would be enough slop for me to get away with it but haven't tried it before. I've sloped the incoming pipe 3/8" per foot to be safe so just wanted to double check.
I've also heard no hard 90 elbows, does this mean that I need a "long sweep"?
Finally, for the shower and toilet, do I have the base of the gasket at floor level? I copied this from another board for the toilet flange:
"It is really simple I have rough-in tons of houses.The rough before finish wall should be around 12 1/2 to 13 in of non finish wall.The 4 inch pipe should be 4 inch above concrete grade.Just do this after poor > cut the flange flush to the slab and glue the flange in pipe.This will make it very easy joust mark the center of the wall on both side of 4 in pipe then make certain that the holes for closet bolts are in line with center marks.To easy like butter"
I've still got plenty of 6" thin wall that I can use for sleeving so I will probably use that as well. Same for the shower. As the shower will be custom I'm not too worried about getting it in an "exact" spot.
15 Feb ’12
Offline

just a regular pvc 90 will be fine.
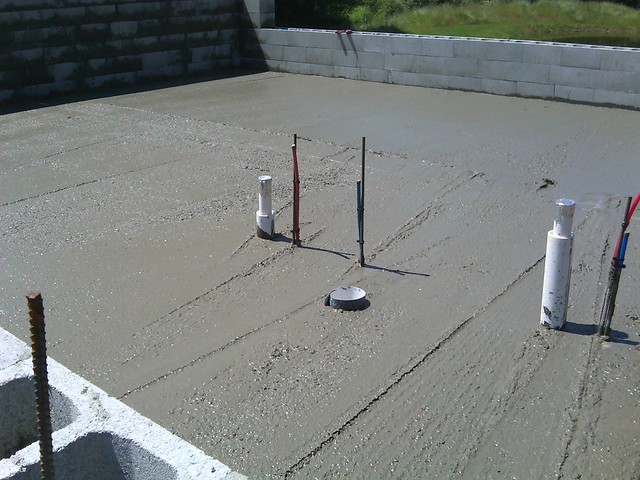
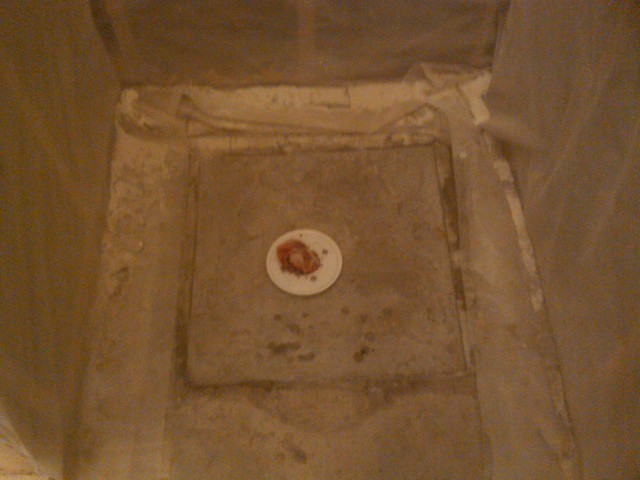
For the toilet we laid out some string lines to figure where the outside walls are and used this red plastic cap for the toilet drain, it's desined to keep cement out when pouring
put the insulation and rebar around it
before we poured I took some coil stock and made a form around it
for our shower I just boxed out the drain
box in place as we poured
toilet after pour
After setting up I just pulled the coil stock out and the wooden form
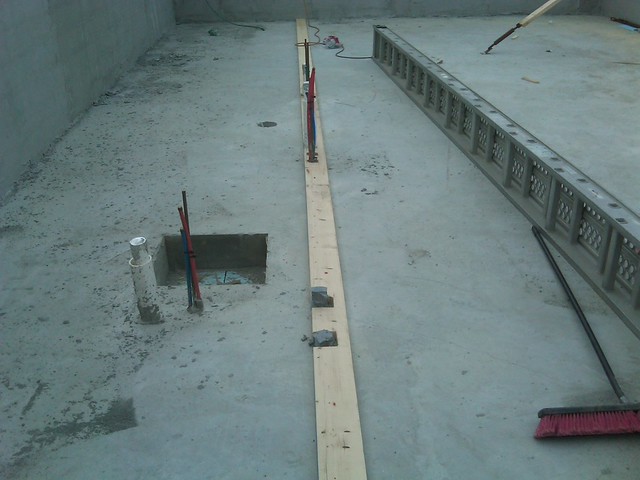
for the shower we then installed the drain to floor height and filled the space with mortar
and used mortar to slope the shower pan to it
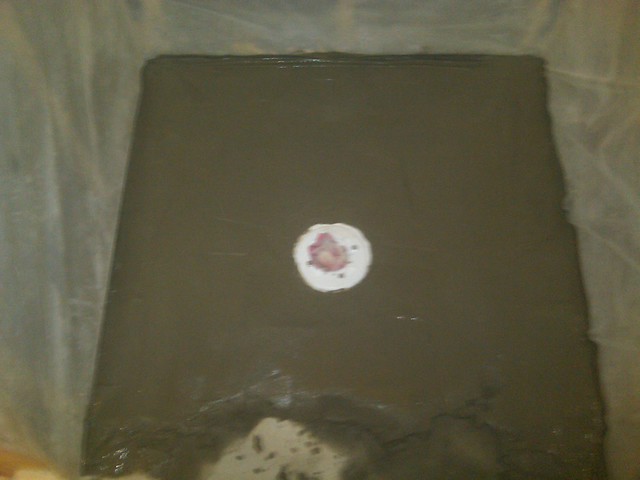
for the toilet we just used a razor and cut off the red plastic top to expose the drain and fit the pipe and flange to floor height, make sure to double check your measurements, I had a bear of a time finding a toilet that would fit, we measured for wall distance for drywall only and did not take into account wainscoting and baseboard
27 Aug ’14
Offline
Awesome! Thank you so much KVR. This is exactly what I needed.
Going with a 12" rough in so that worst case, I can use a toilet built for a 11" rough in.
Couldn't find a red cap like you listed so I'll use 6" PVC as a sleeve, run it up, and duct tape it so that we don't get any concrete in. Same deal with the shower drain, the wet vent for the sink, and etc.
The concrete guy made none of the changes so I'm going to have to let him go. Hoping to recoup some of the $1800 but at least I have the form wood (used old form wood, not level, not square, but I can fix that), and the rebar. He drilled the slab for the 12" pins so at least that will save me about 2 hours? Never had to fire anyone before.
15 Feb ’12
Offline
Oh yeah the water heater, I was thinking rocket stove.
15 Feb ’12
Offline
Man that sucks on the concrete guy
27 Aug ’14
Offline
So I called up the concrete guy yesterday and asked him to come out this morning, even had a script ready, but no show. Hopefully it was just the rain.
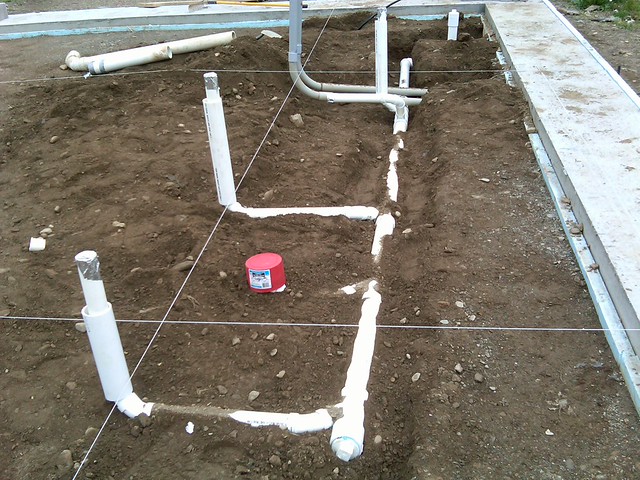
Got the bulk of the rough in yesterday (the tough part at least). For those who are intimidated by this part. You probably should be, but it's not insurmountable, just nerve-racking. I built a lot of PVC potato cannons as a kid (compressed air and combustible fuel as well) so I've had a lot of PVC experience, just not with the slopes.
Sadly what's shown below took me about 6 hours. Working by moonlight is also not recommended.
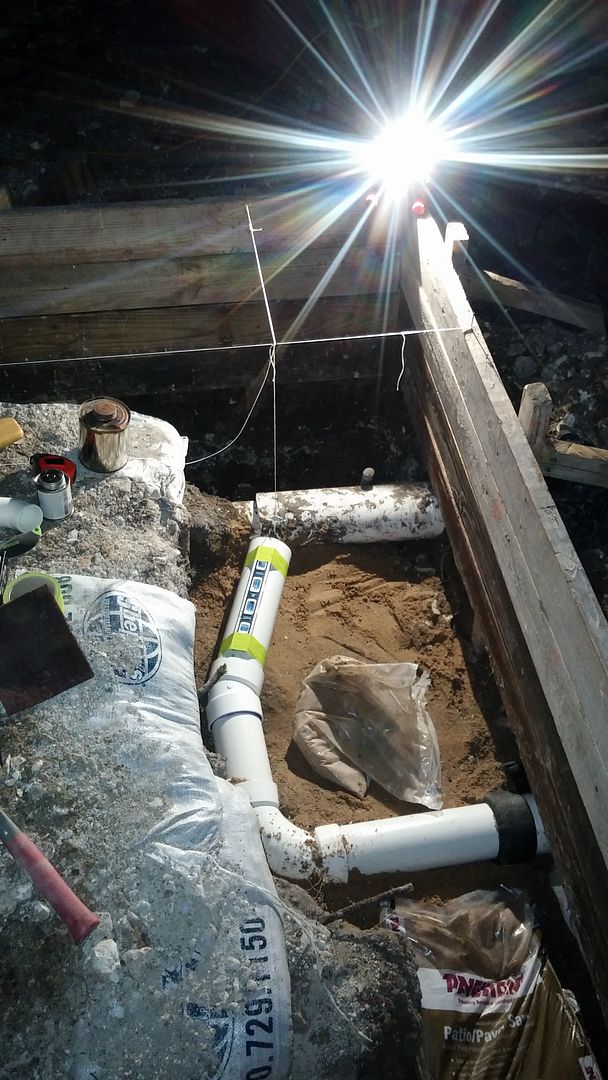
You can see my method: tape level to the part to be attached, prep it with sand, use a home-made plumb bob (aka: rock on a string), and measure and re-measure and re-measure and ....

Better angle

It was 2AM so I was having a little fun - Hey look, Casper the friendly ghost!
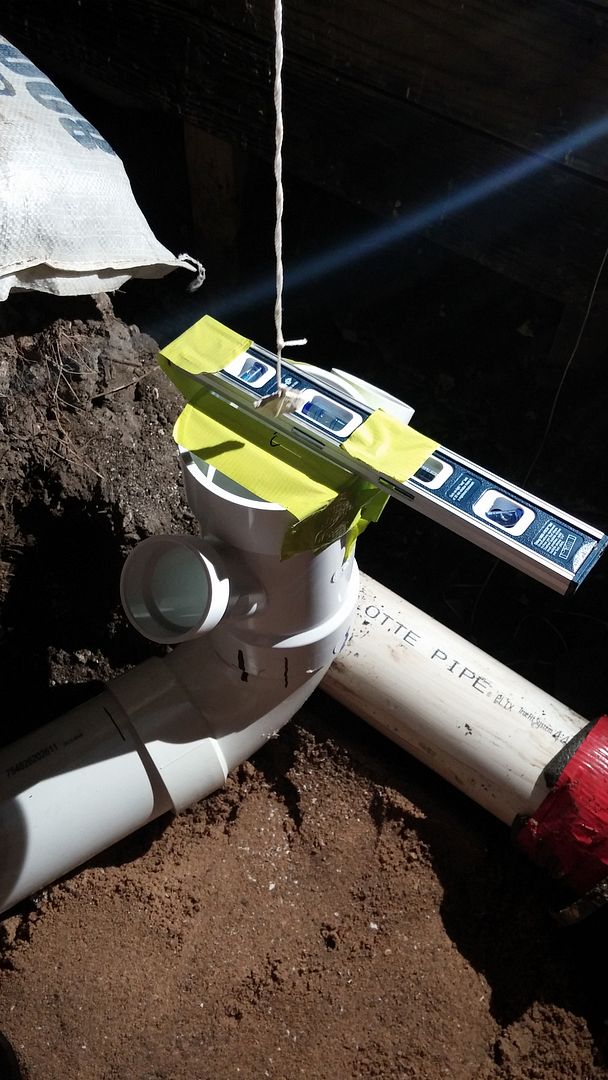
More of my "precision"

And capped for the rains:


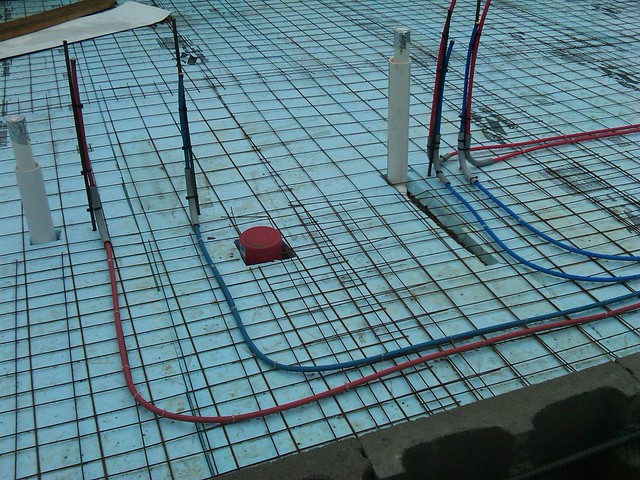
6 Oct ’15
Offline
Great commitment and head way!
K: I saw you ran your supply lines above the mesh...any issues when mesh was pulled up into the concrete? Would you put supply lines under mesh if you had to do it again?


Most Users Ever Online: 698
Currently Online:
21 Guest(s)
Currently Browsing this Page:
1 Guest(s)
Top Posters:
easytapper: 2149
DangerDuke: 2030
groinkick: 1667
PorkChopsMmm: 1515
Gravel Road: 1455
Newest Members:
lorrihausmann8
deweyvoyles1
lonniekqh5
isabellrubio59
joette850
Forum Stats:
Groups: 1
Forums: 12
Topics: 11479
Posts: 58674
Member Stats:
Guest Posters: 2
Members: 3590
Moderators: 0
Admins: 1
Administrators: K

