
 Register
 Log In
 Home
Home
15 Feb ’12
 Offline


lol, that's what I thinking last night when I hit it again, figured I would walk around in a hockey helmet

6 Oct ’15
Offline
...goalie mask with a skull painted on it!
15 Feb ’12
Offline
newsettler has that on his welding helmet, my nephew is enthralled with it every time he walks into the shop
15 Feb ’12
Offline

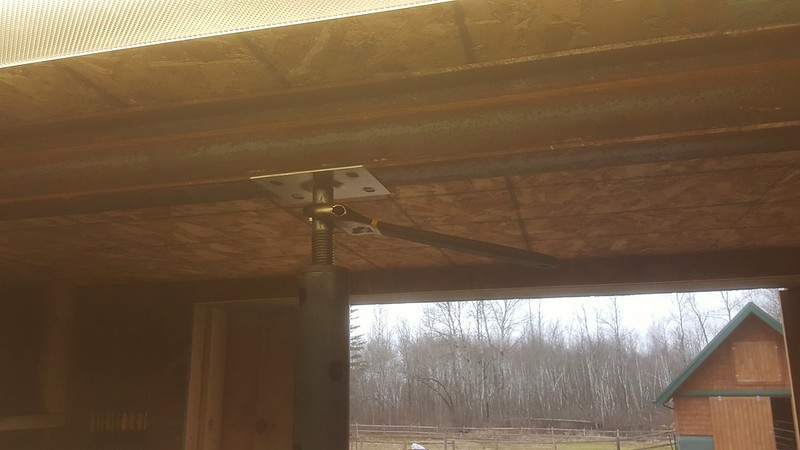
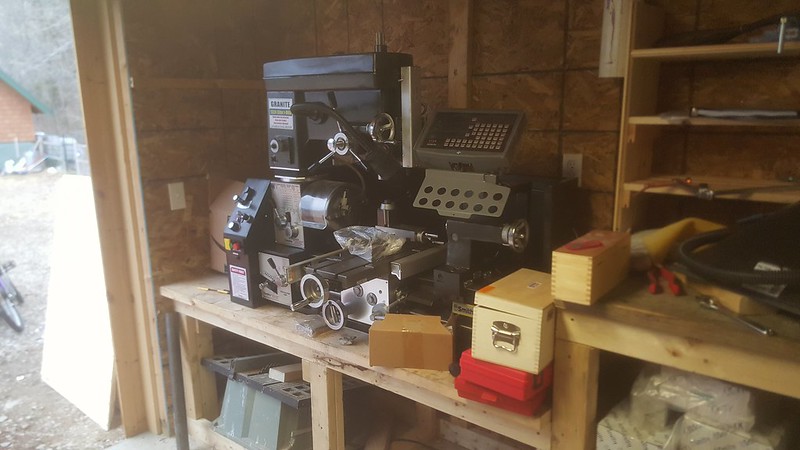
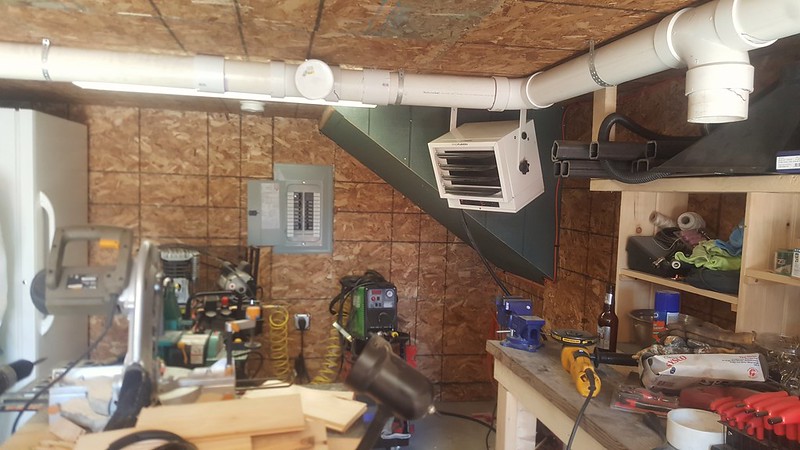
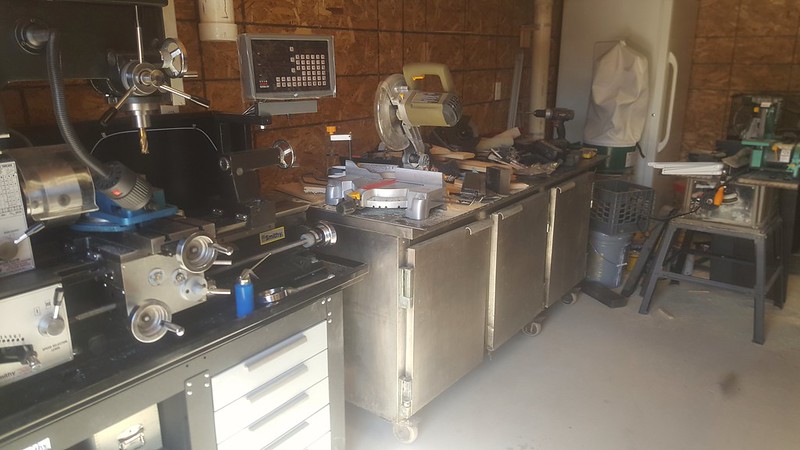
so we were trying to figure out where we are going to put a new piece of equipment, my milling machine, my first thought was to use the welding table
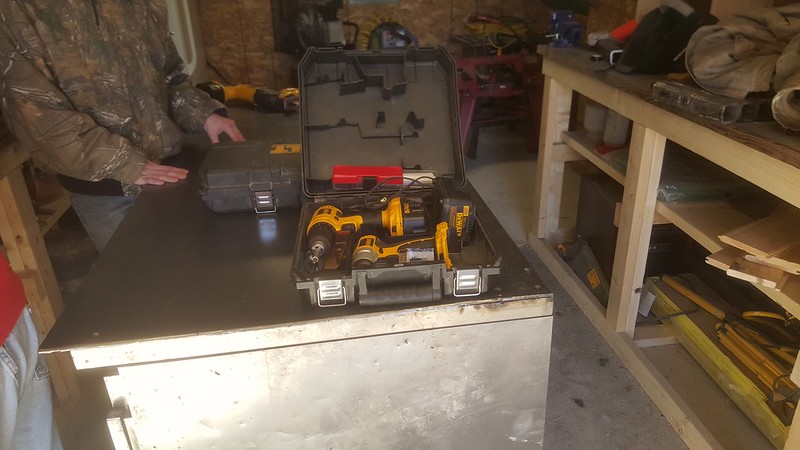
but since I keep hitting my head, we decided to fix that and move the down pipe to horizontal
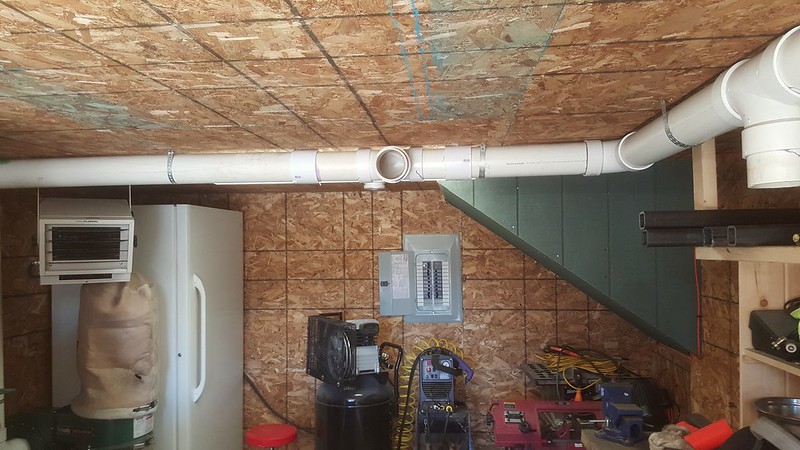
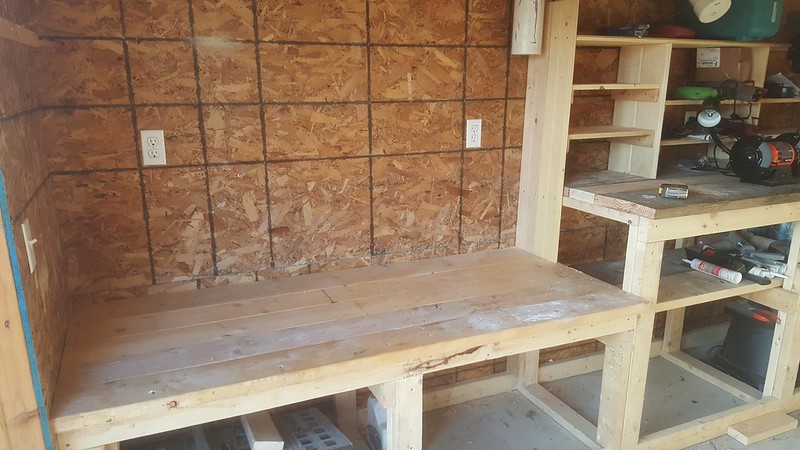
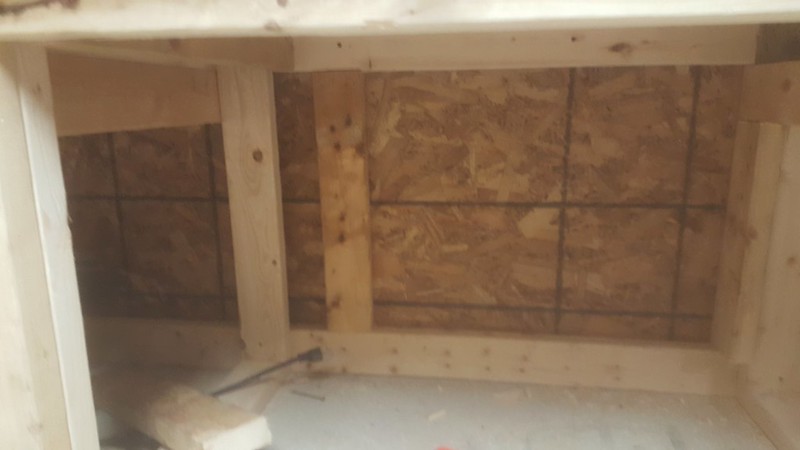
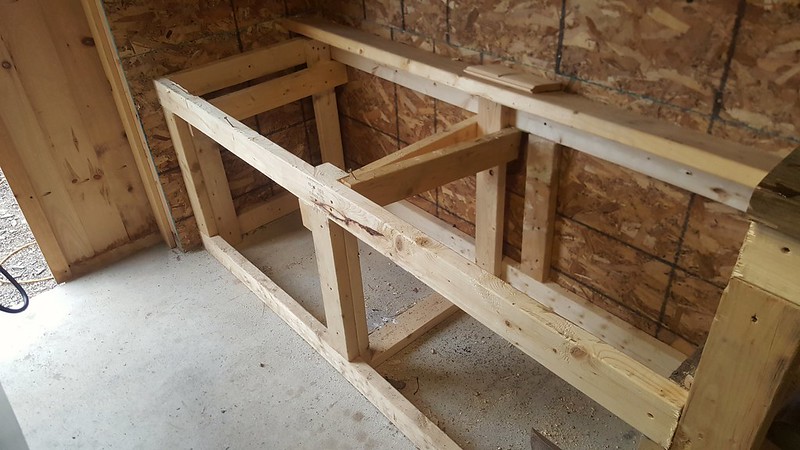
but after much discussion with several people we decided to put it in the original planned spot, now it is time to cut down the work bench, we took down the dividers and the top boards
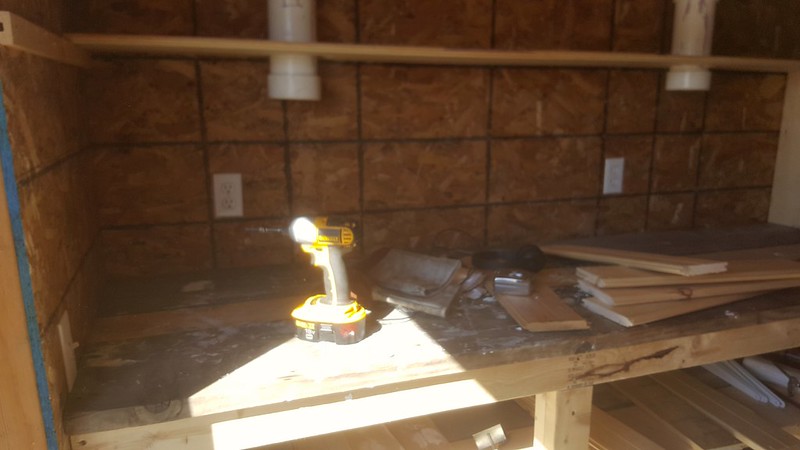
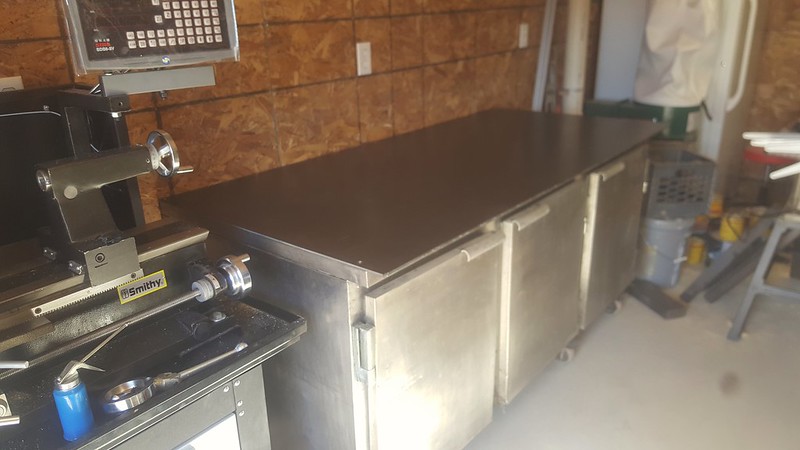
and cut the top at 6 feet
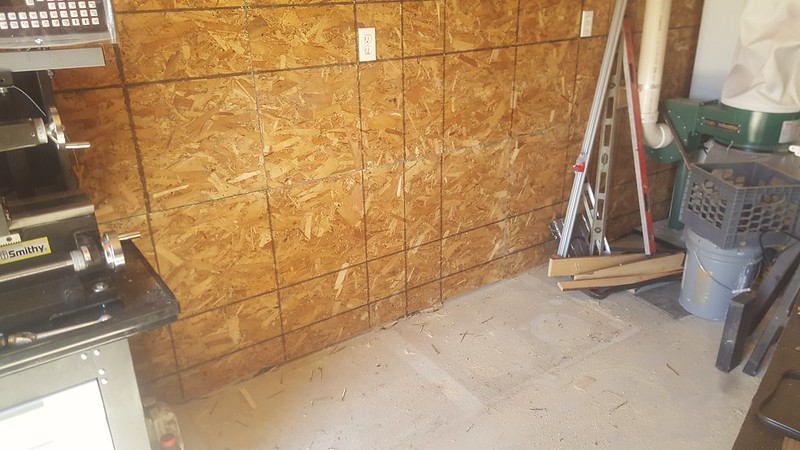
we removed the boards
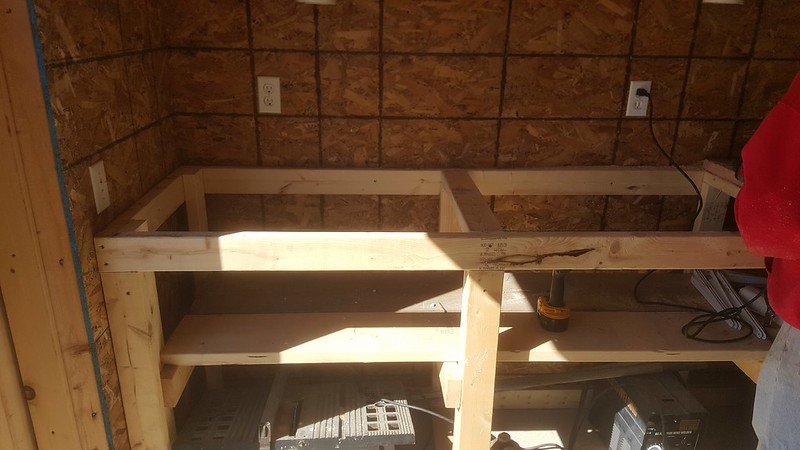
and cut out the face plate
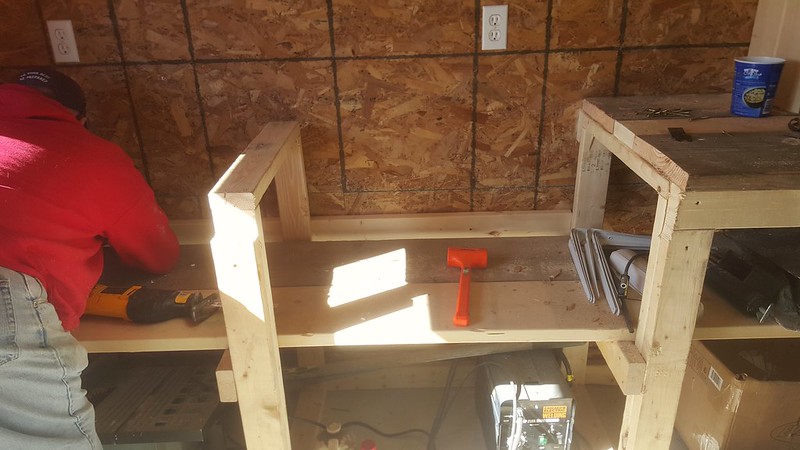
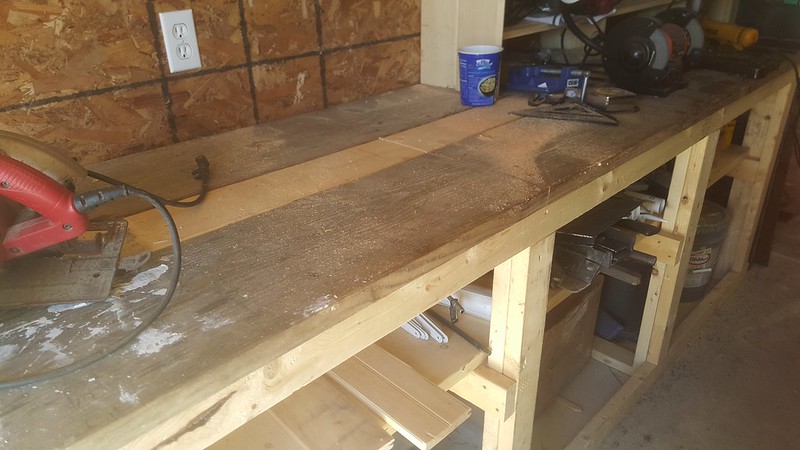
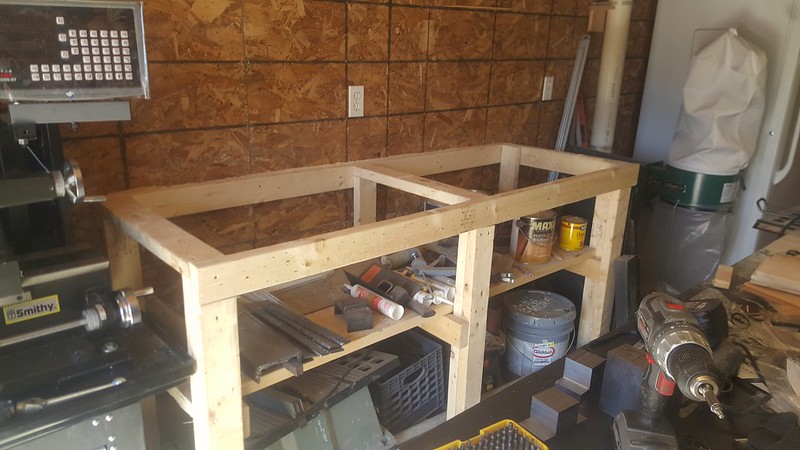
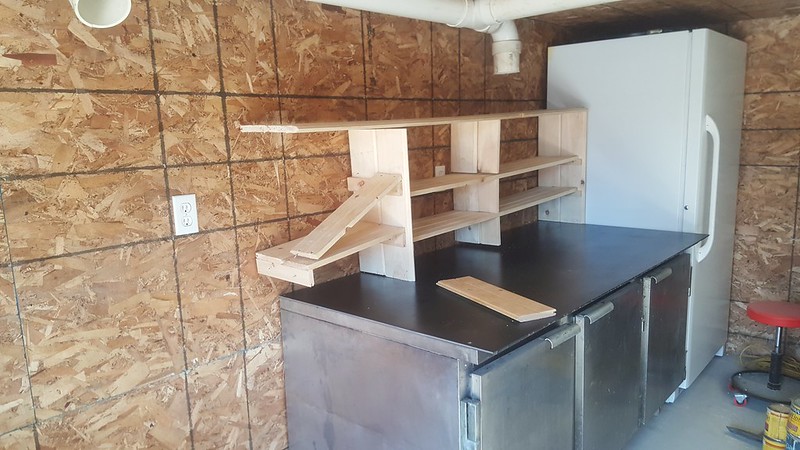
we cut to height all the supports
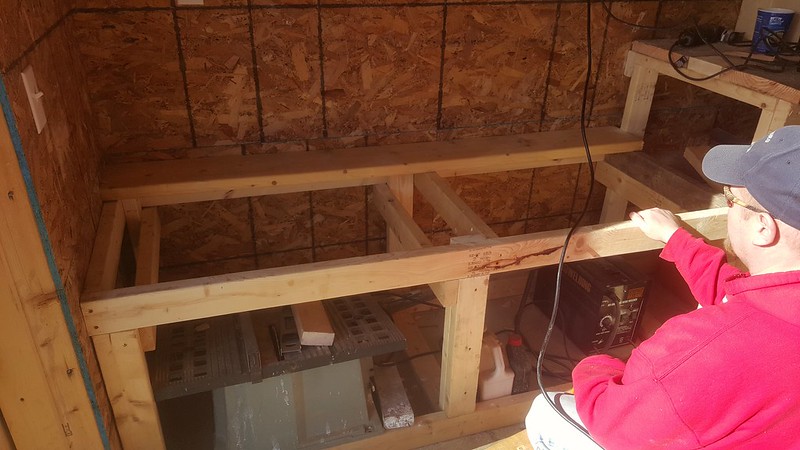
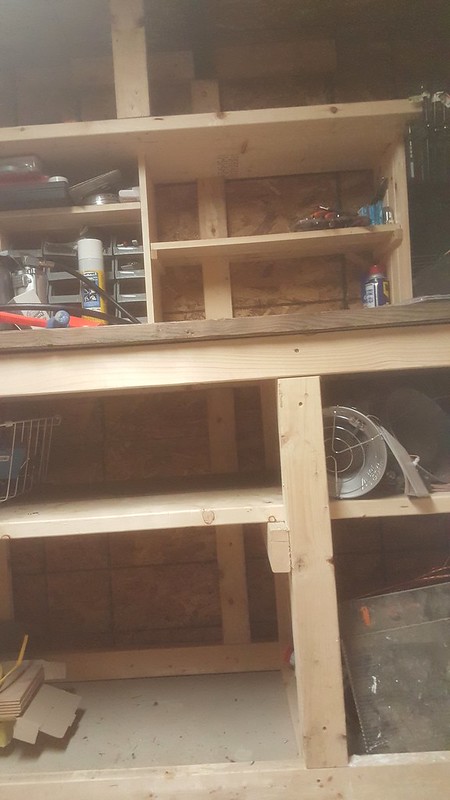
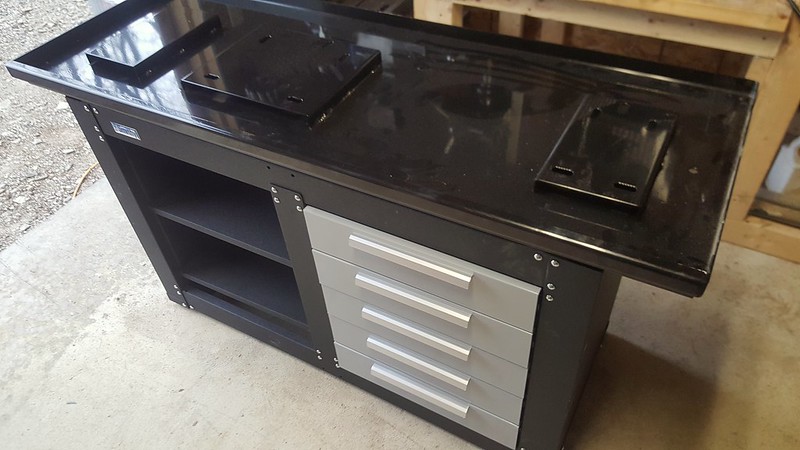
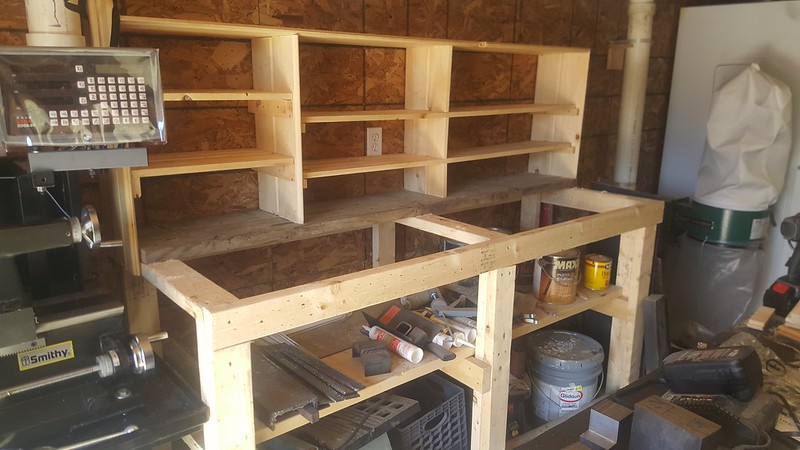
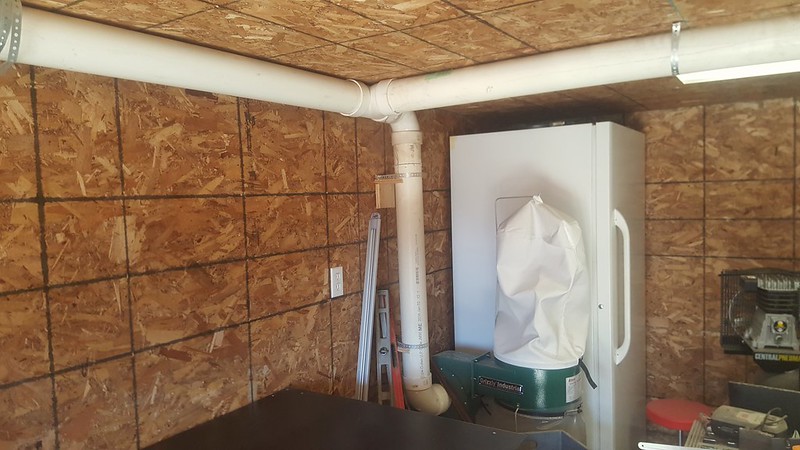
and used a mix of 2x6's and 8's to make a new bench top and cut back the dust collector system, we also added a side support to the shelving that was staying.
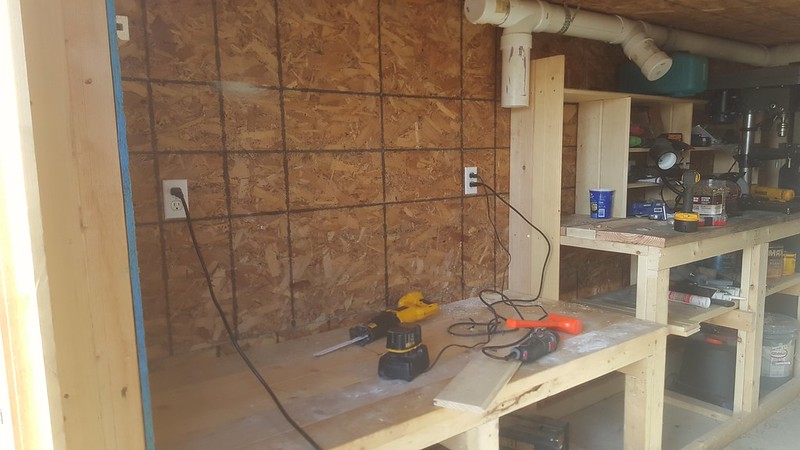
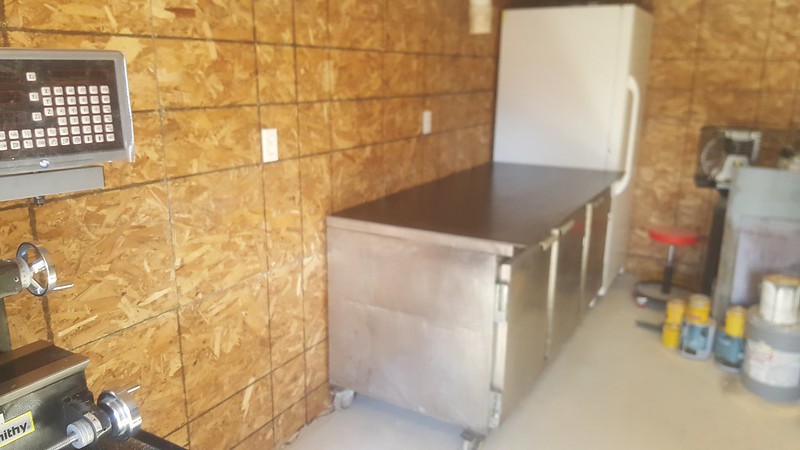
we threw in some shelving and we are ready to go
at this point Phil came down and asked what's going on, I told him I was getting a milling machine and was redoing the bench to accommodate it.
So we talked about the machine and I was talking about the different models and functions and I mentioned how I would really like the elite, but it needs 220 and our panel is pretty much tapped out, I could run a cord to the welder outlet but I really don't want to do that.
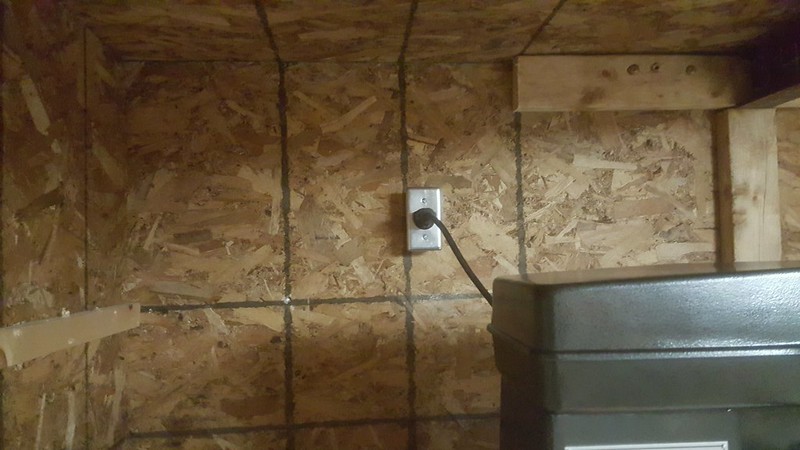
He replied Kyle, you already have a spare 220, your generator hook up which you are not using, we can just put a exterior box and conduit and run it outside the wall.
I really wished he hadn't told me that.
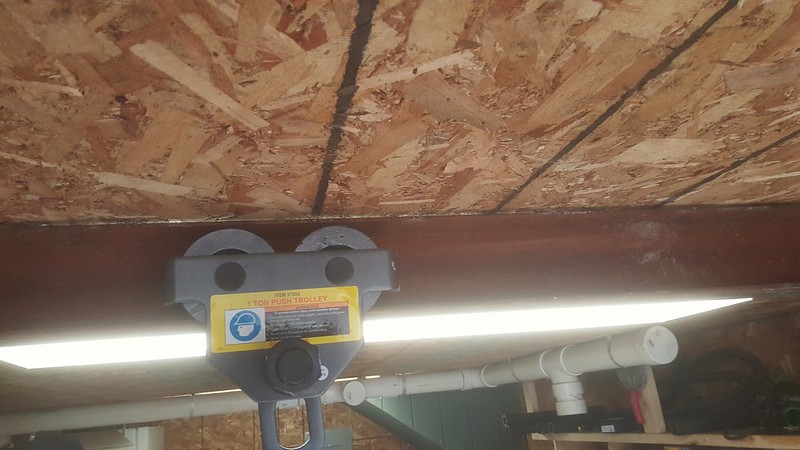
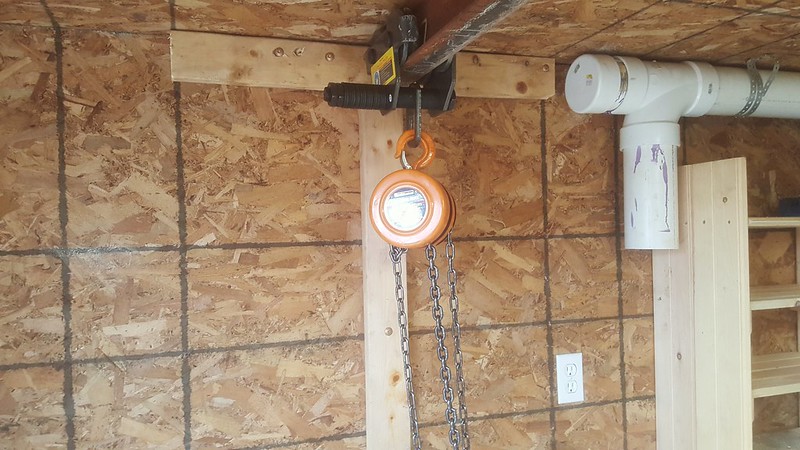
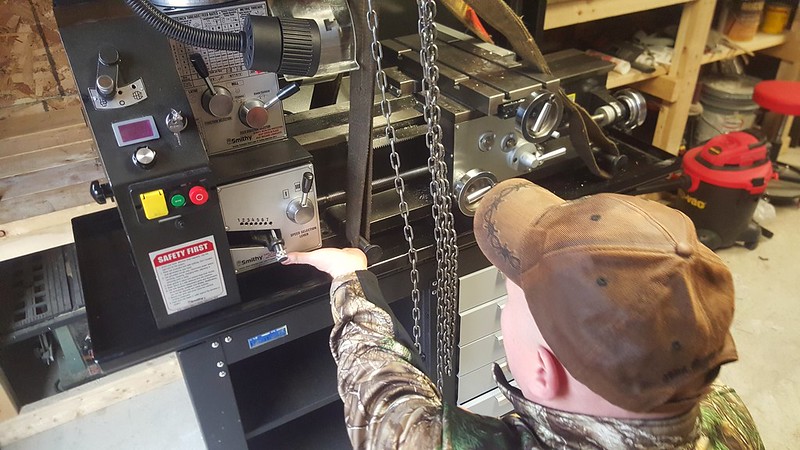
Either way, we needed to move 800 pounds vertically so I picked up a trolley and chain hoist at harbor freight
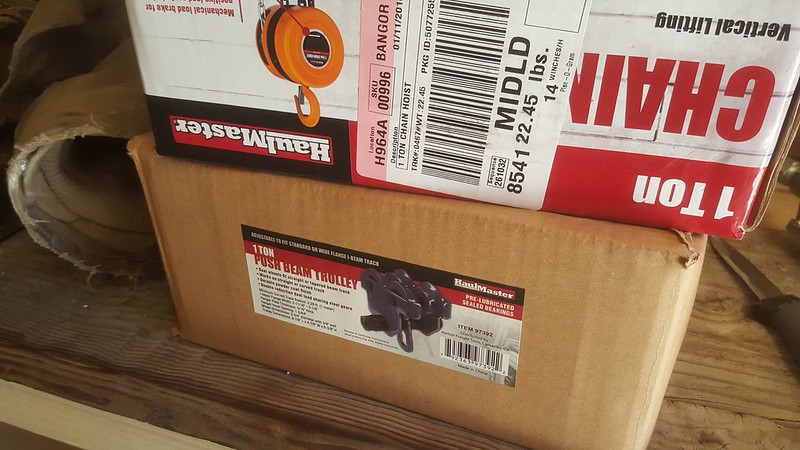
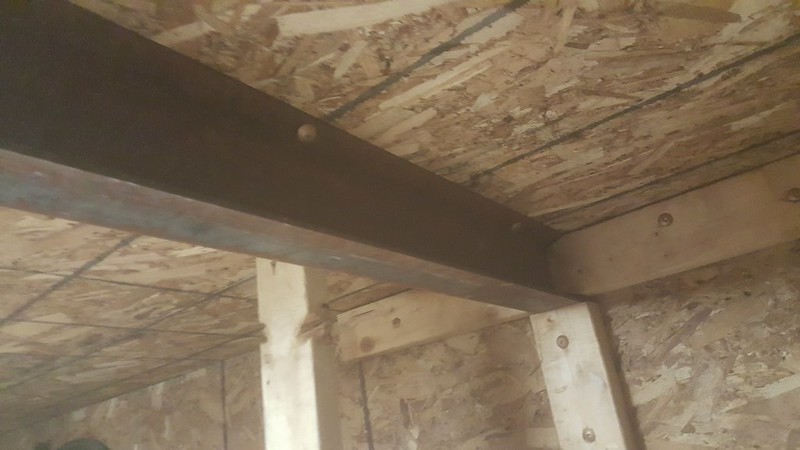
I picked up a 4 inch I beam to run across the ceiling
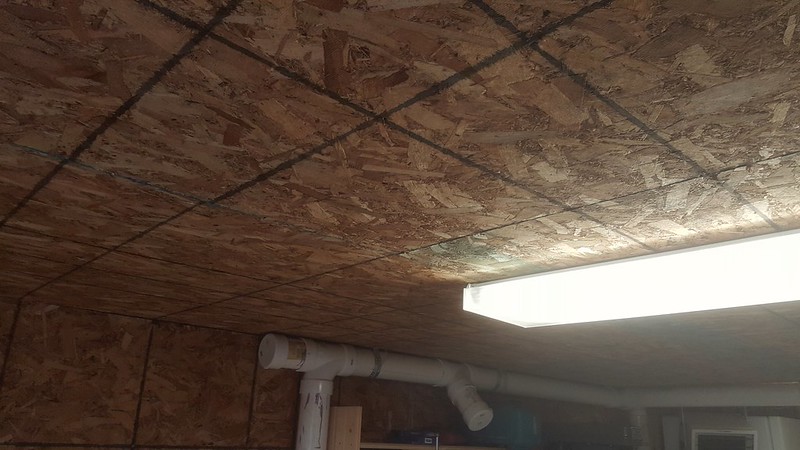
so we measured and leveled a 2x4 above the work bench

and screwed down a stub piece on top of the shelves on the other side
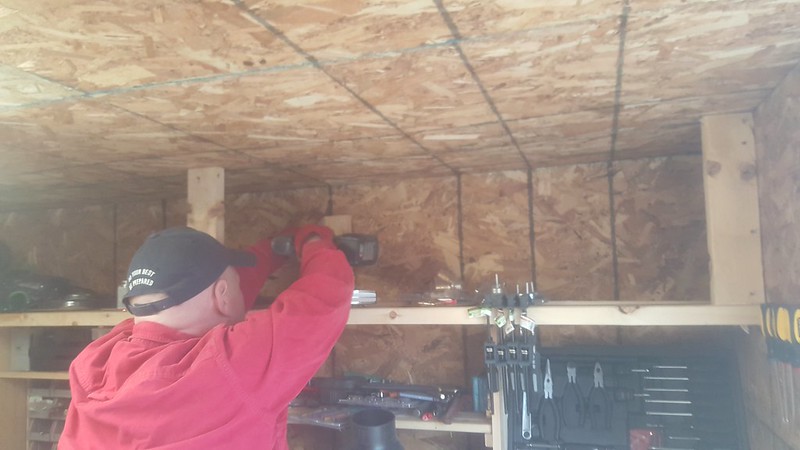
we positioned the i beam on top spanning the two
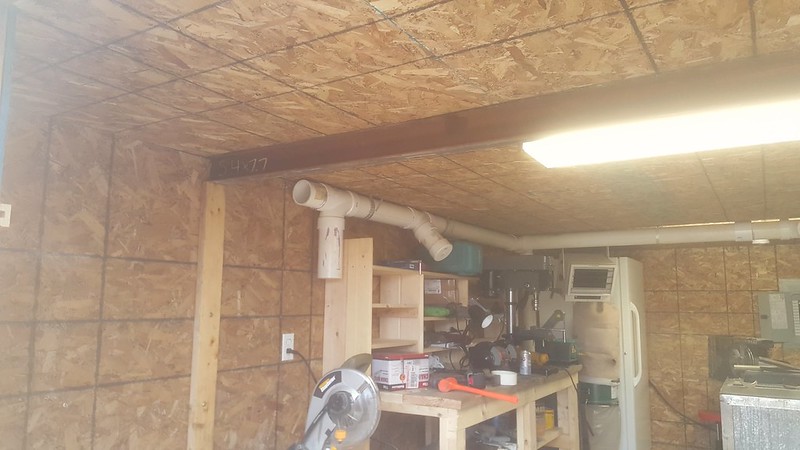
we tested the trolley and noticed a 1/8th gap with a lot of fluctuation in the i beam
so we grabbed a lolly column and jacked up the middle of the beam
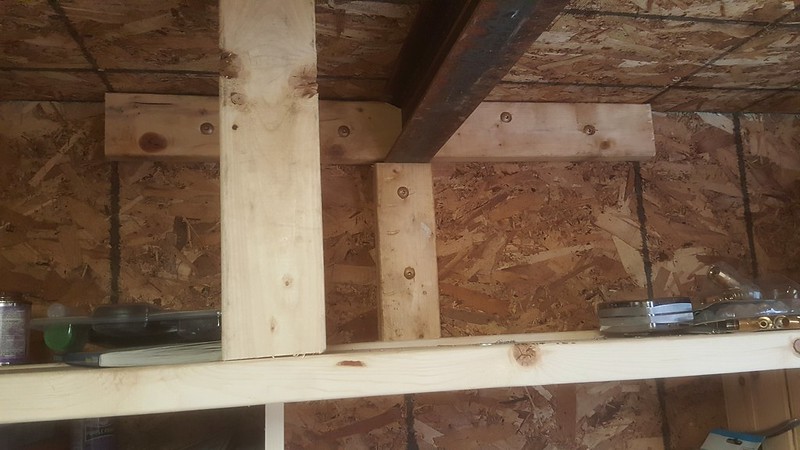
we drilled and screwed with 5/8ths torque deck screws every foot on each side
I cut some stub pieces

and trimmed the corners of the end so it would go flush with the beam
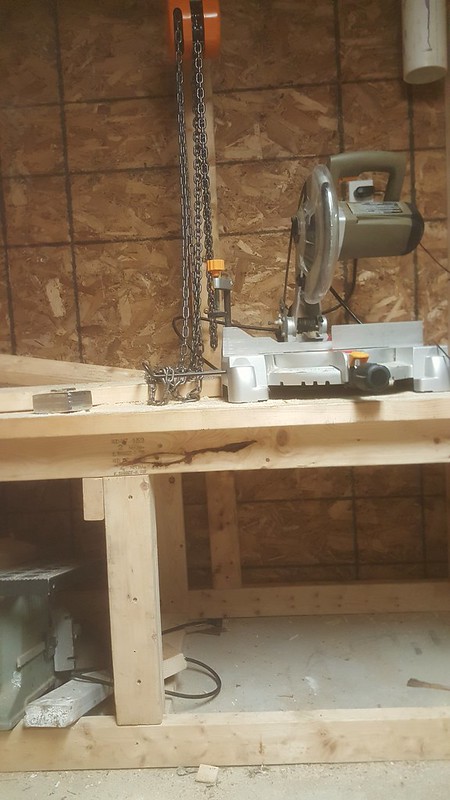
we tested the chain hoist
and added some blocking so the weight went straight to the slab
newsettler and I decided to test with the tractor
I think we are good, we actually decided to lift the front and he sat on the cross beam for the bucket and I stood on the bucket with no fluctuation
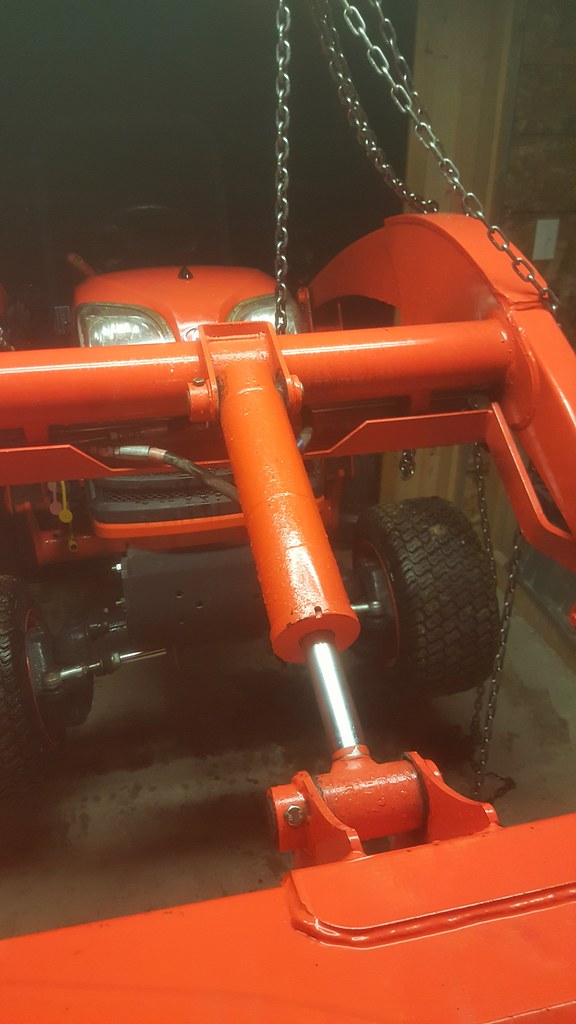
when it arrived the little kubota handled over 900 pounds like a champ, I was concerned because we still don't have bushings on the carry all frame, we threw my brother in the front to just make sure it didn't bounce too much
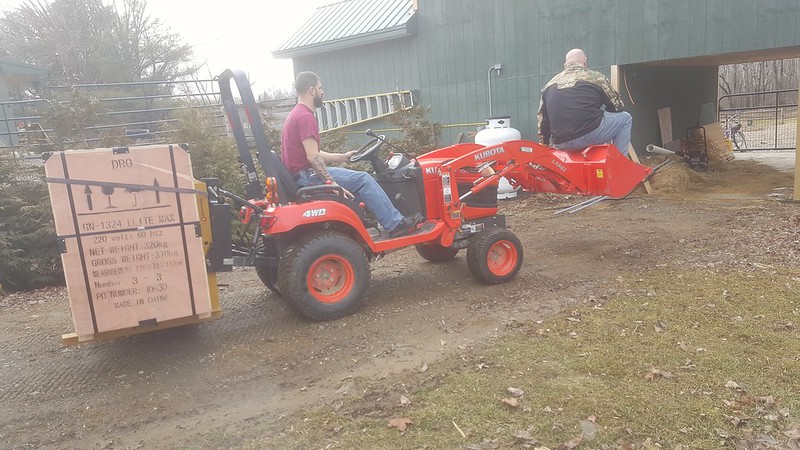
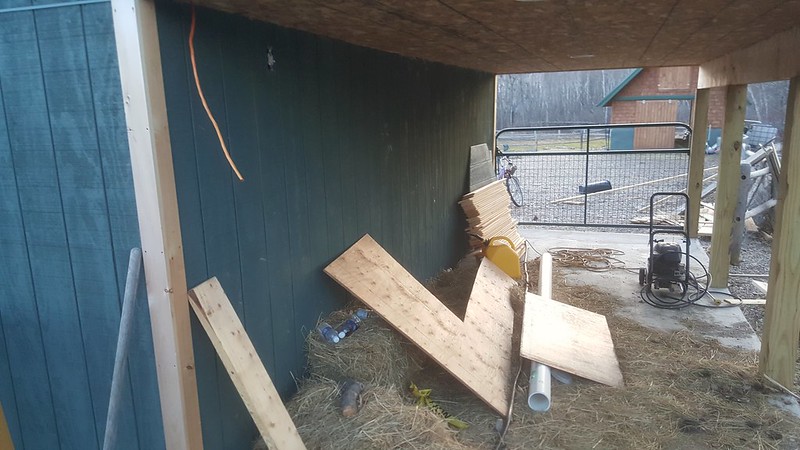
we backed up the tractor so the carry all blades were level with the slab
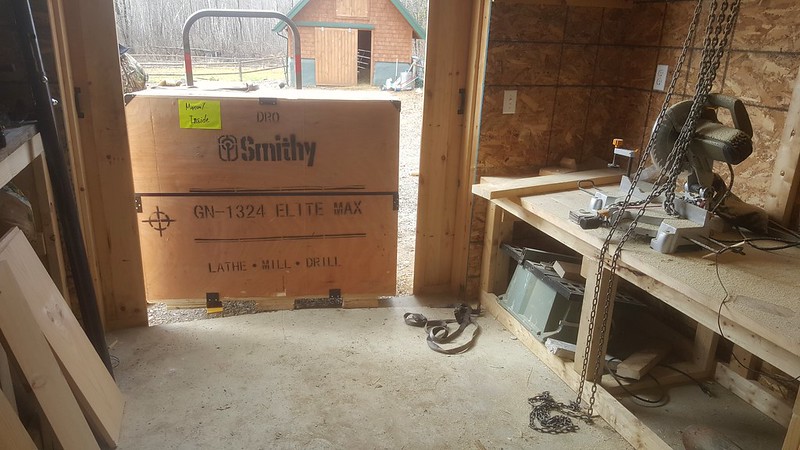
and muscled it in
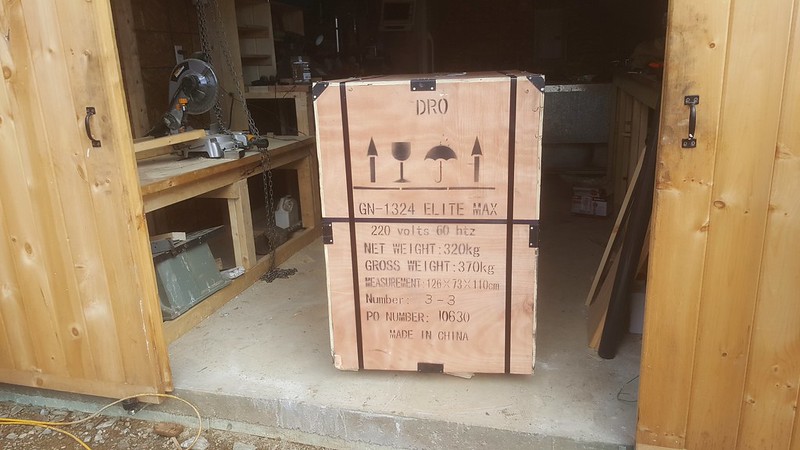
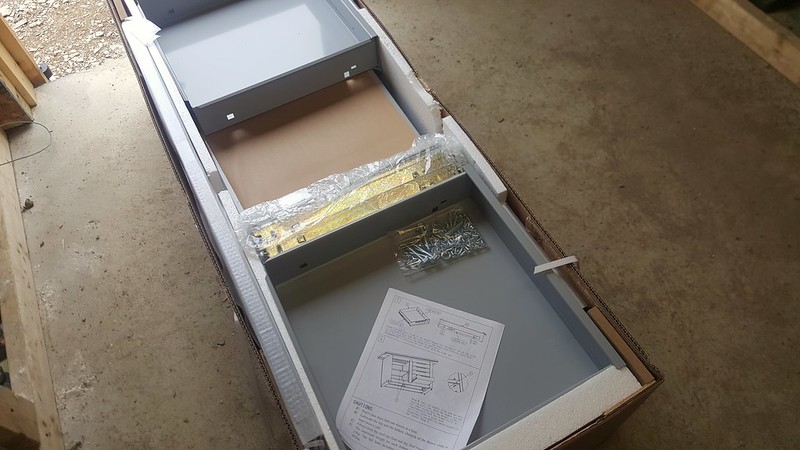
we removed the packing crate
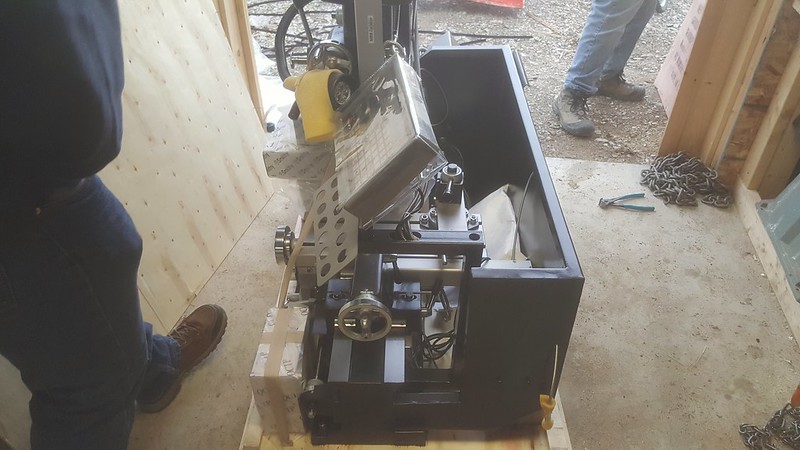
wish I had more pics or video of the process but we had all hands on deck, there was a few bumps but the i beam worked perfectly
so we ran some wire in the conduit
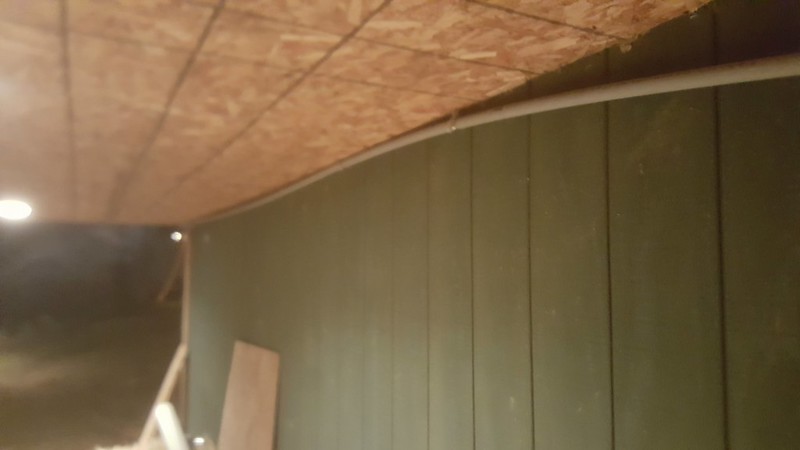
and ran a lb into the wall
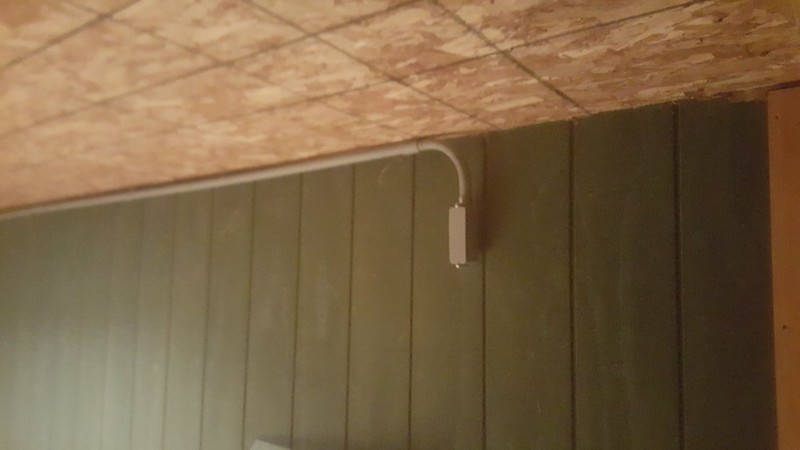
and surface mounted a box
this is how the dro came

so I grabbed some flathead screws and fixed it
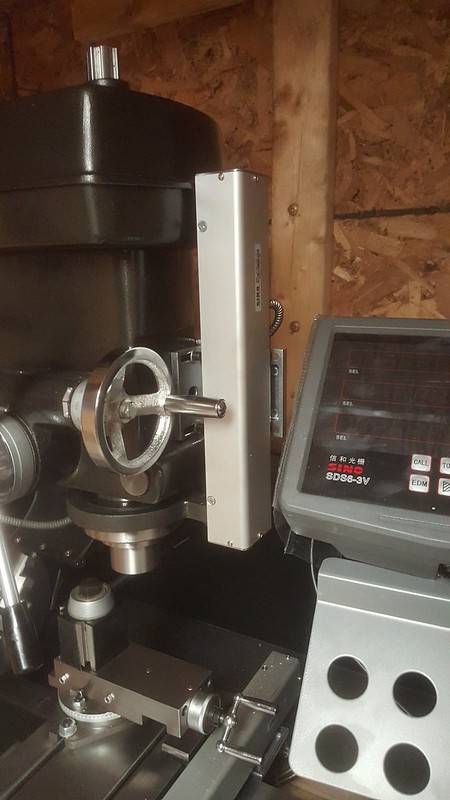
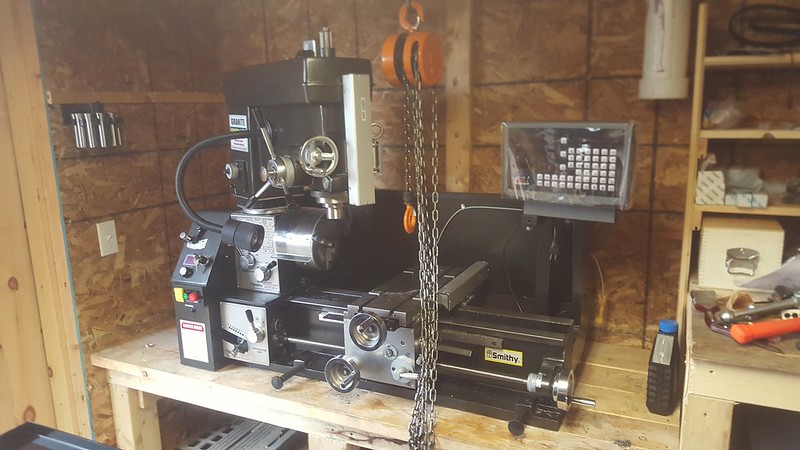
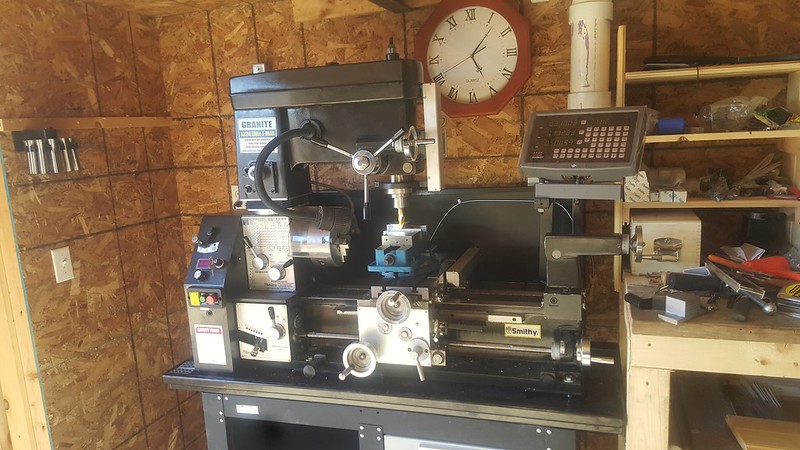
tested the dro
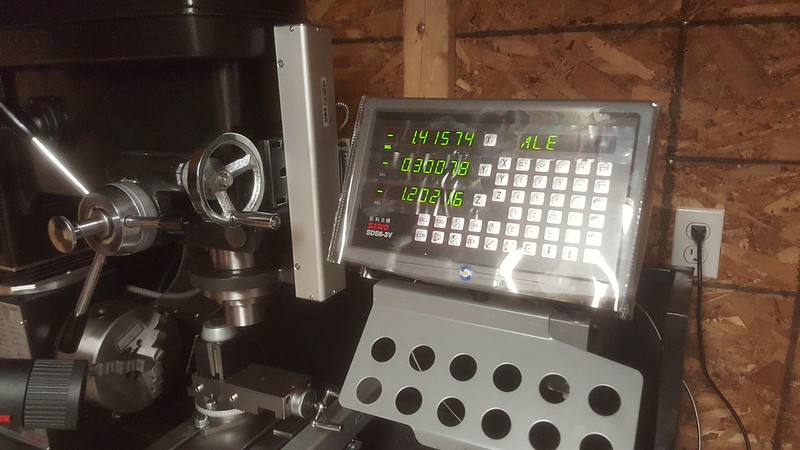
now it is time to fabricate some stuff
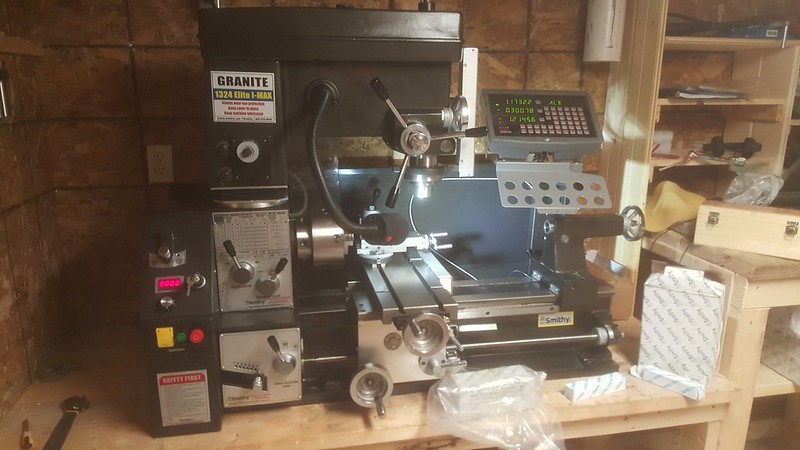
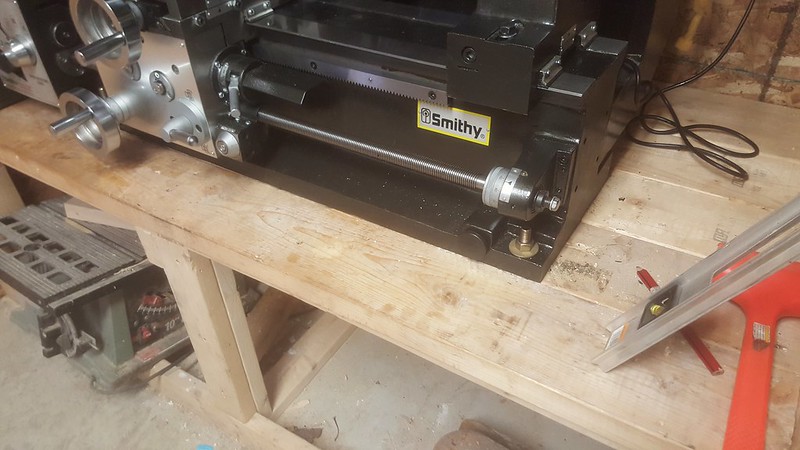
for extra stability we bolted down the machine through the holes that were used for shipping today
newsettler and I spent the next couple hours cleaning it, oiling and greasing the gears. We then had to do a run in on it at 1000 rpm for 15 minutes.
we are ready to start making stuff
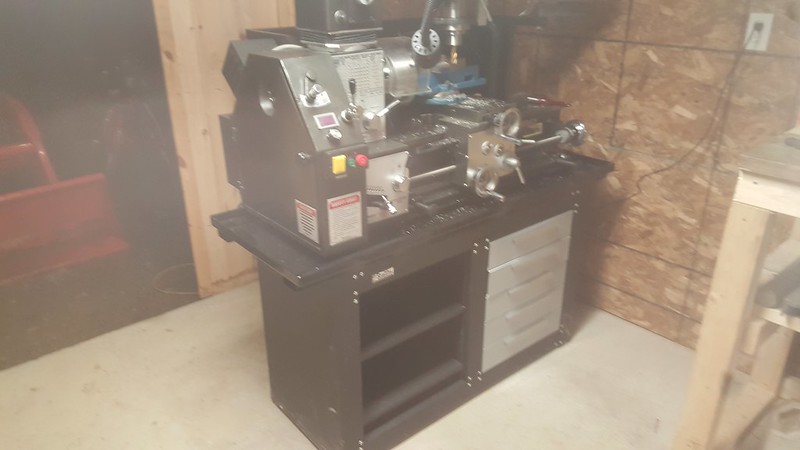
After messing with it for a couple weeks I decided to order the factory stand for it.

well this was fun
after a couple hours and much cursing it was done
So now we had to move this sucker again
I figured the safest and smartest thing to do was to pick it up, slide it over to the stand, remove the wood stand, bolt down the machine and lift it all as one unit back in place.
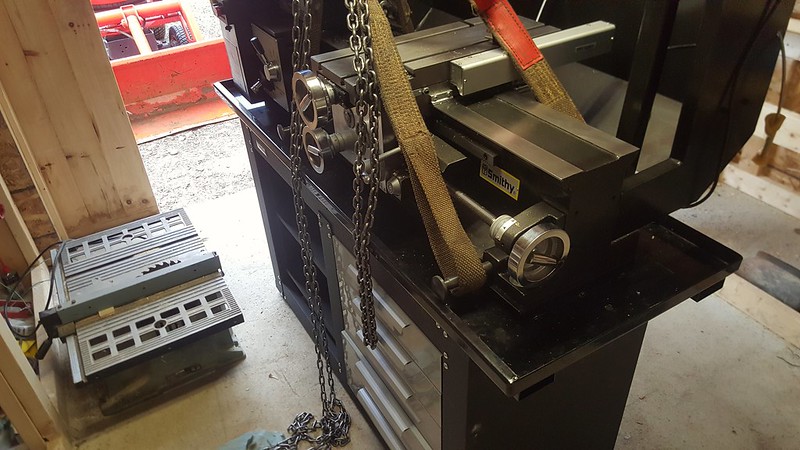
Lining up the holes was kind of a pain.
We got it done though and ripped out the wooden stand.
Moving it back was a little scary because we had taken out the wall support under the I beam, but we had tested it by lifting it just an inch in place and there was no deflection anywhere so we figured we were safe.
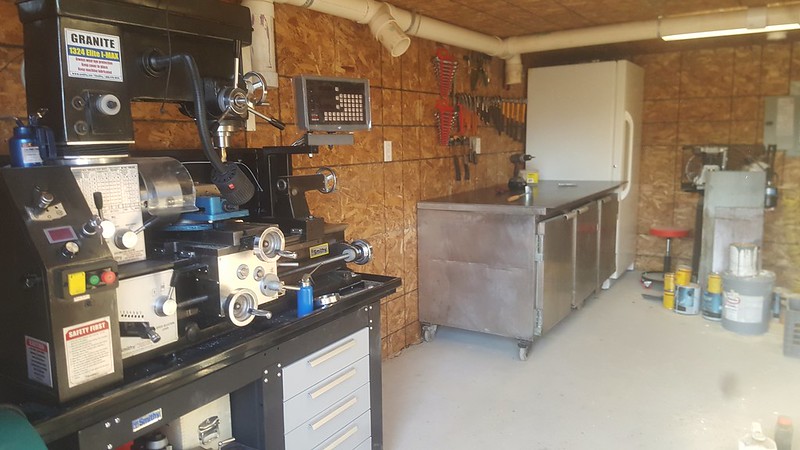
We leveled the stand up and did some test cuts and it is much better and more stable than before, I can now walk around it for ease of access and cleaning.
But a couple of days later I moved it back where I originally had it, my ocd was driving me nuts with it sticking out like that
15 Feb ’12
Offline
I decided to break up this thread, the machining aspect has been taking over the last dozen pages so I broke it off to it's own separate thread
15 Feb ’12
Offline
My ocd was kicking in again and I did not like the layout with the table in the middle, so I decided to fix that

I moved the heater back to the right. the position it was in was not very comfortable
I started ripping out the workbench
Much better
I tested the layout on the wall with the welding table
and cleaned it off
I didn't like the space between the table and the freezer, so the vacuum needs to go
much better
I tried reusing the shelves
but everything was all screwed up and I didn't feel like messing with it anymore, I had picked up some magnetic strips at harbor freight
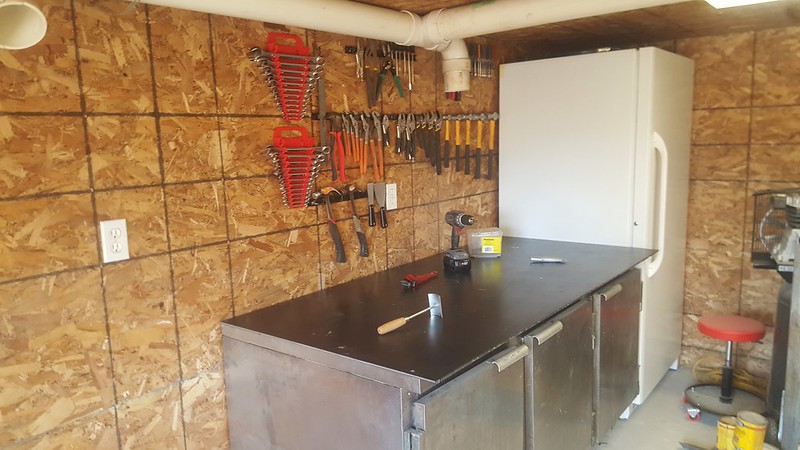
much happier with it, now to clean and organize the rest
15 Feb ’12
Offline
Sending the granite back, the two new individual machines should be here wed or thurs, now we got to crate this thing back up. I am going to keep the stand though, it is pretty awesome and I think I am going to use it as a welding table.


Most Users Ever Online: 698
Currently Online:
22 Guest(s)
Currently Browsing this Page:
1 Guest(s)
Top Posters:
easytapper: 2149
DangerDuke: 2030
groinkick: 1667
PorkChopsMmm: 1515
Gravel Road: 1455
Newest Members:
bevbrewster025
matt42v054668817
chantalszk
josephinegreenle
Stabrovscort
Forum Stats:
Groups: 1
Forums: 12
Topics: 11478
Posts: 58673
Member Stats:
Guest Posters: 2
Members: 3541
Moderators: 0
Admins: 1
Administrators: K

