Our Earth Sheltered Home | Page 3 | Construction and DIY projects | Forums

A A A
Avatar
Search

— Forum Scope —


— Match —


— Forum Options —


Minimum search word length is 3 characters - maximum search word length is 84 characters

Lost password?
sp_Feed F-Construction-and-DIY
Our Earth Sheltered Home
Avatar
K
Admin
Forum Posts: 31782
Member Since:
15 Feb ’12
sp_UserOfflineSmall Offline
17
8 May ’12 - 4:23 pm
sp_Permalink sp_Print

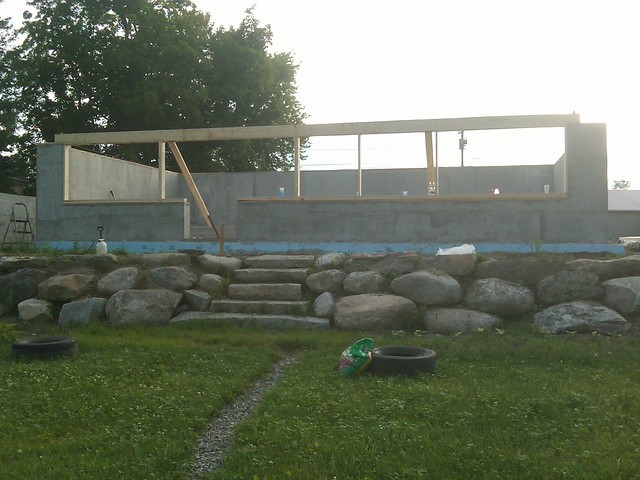
End of the day and the windows are all framed out
3742595664_4e5958c193_z.jpg

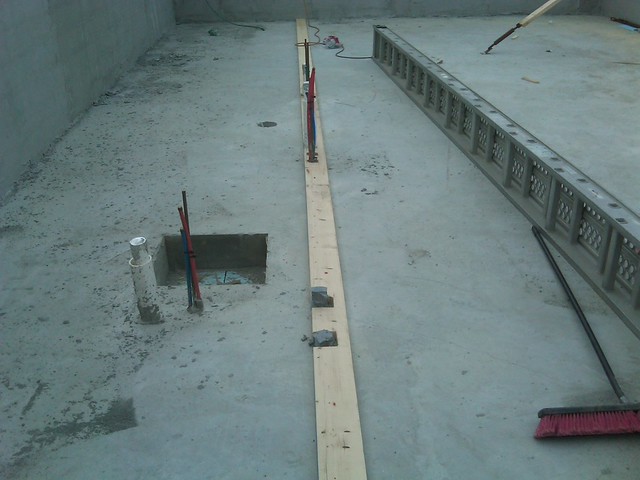
We started out the next morning laying out the base plates for the back wall, cutting around the water supplies and waste pipes
3744586788_8cfc00a5f9_z.jpg

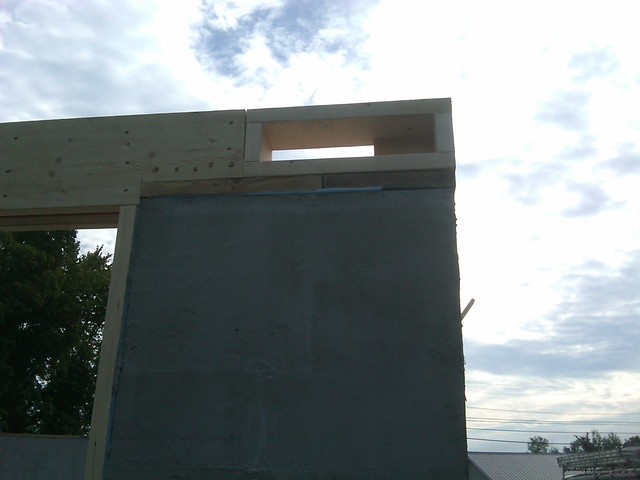
we then boxed out around the ends of the window headers
3743795335_74b5104f57_z.jpg

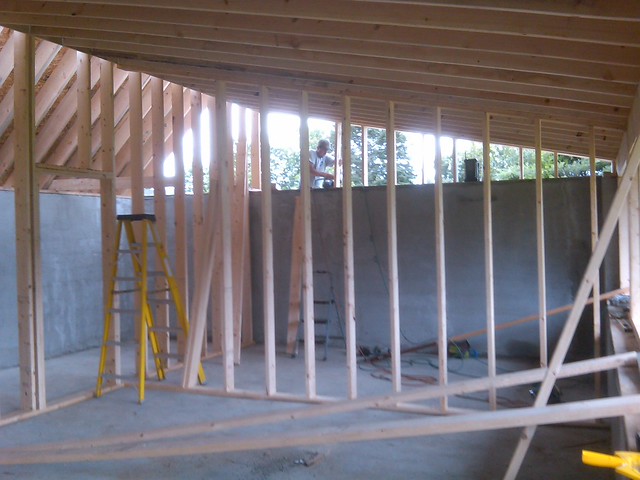
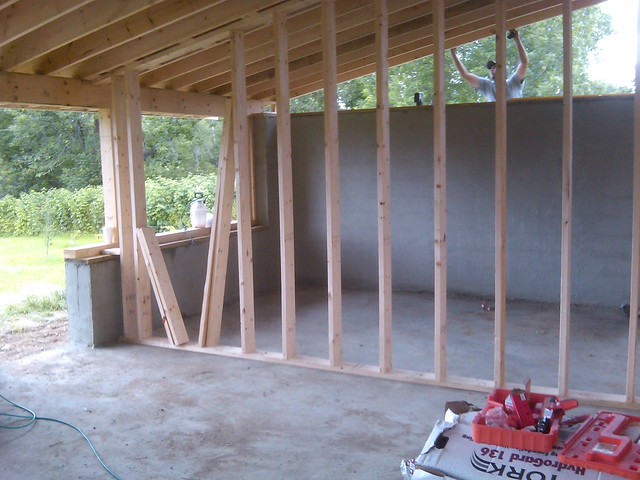
Because of all the rough in openings and doorways, we decided to frame the back wall piece by piece, we started with a stud on each end
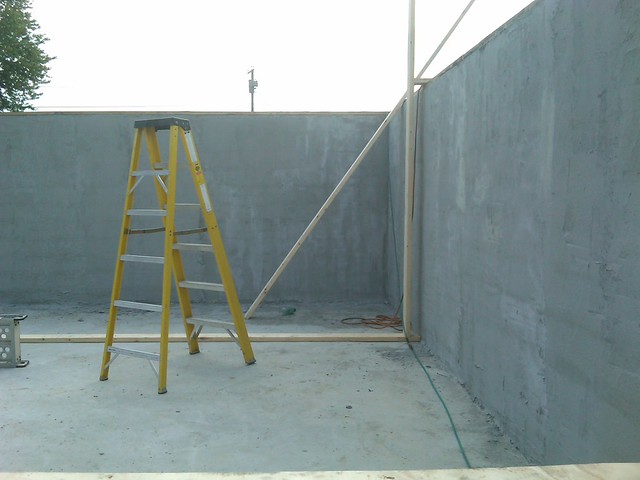
3744599766_0a831817f9_z.jpg

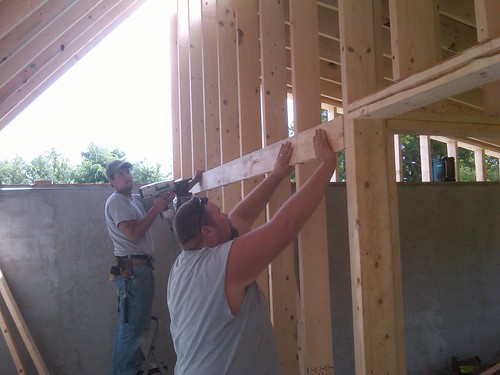
We then set a plate at our height for the front portion of the roof.
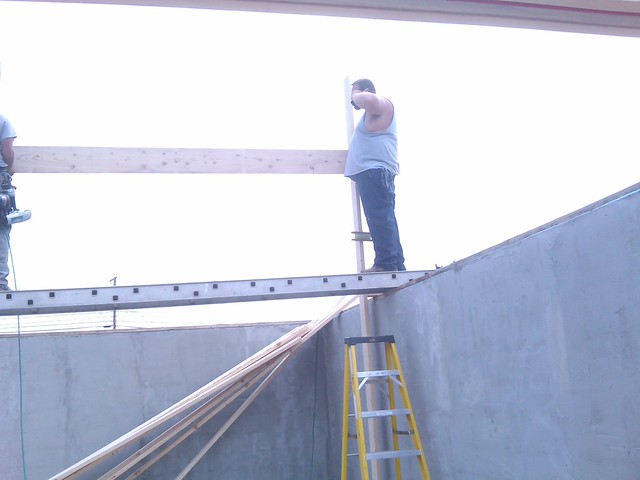
3743818849_06df893814_z.jpg

We then started filling in with the studs
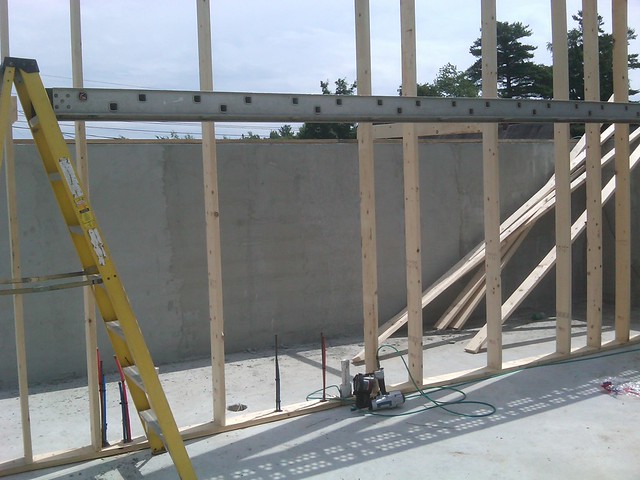
3744618220_83abcec9dd_z.jpg

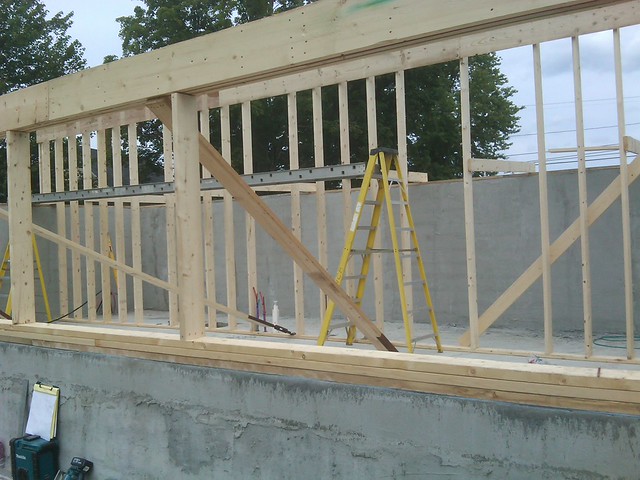
We installed some cross braces to the back wall.
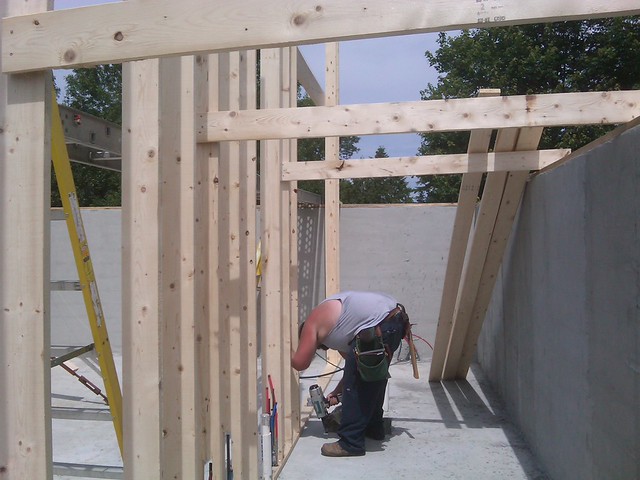
3743822961_eb99128d5a_z.jpg

Back wall all framed up

3744618862_e469d39f6a_z.jpg

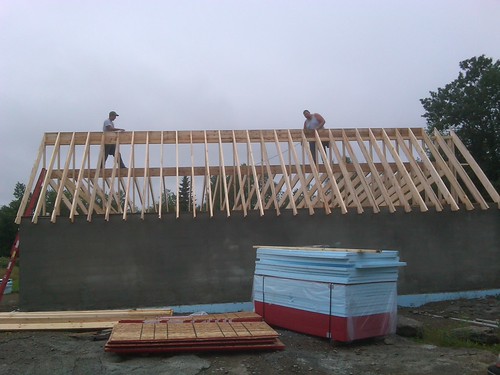
We used 2x10x20 for the rafters 16 on center.
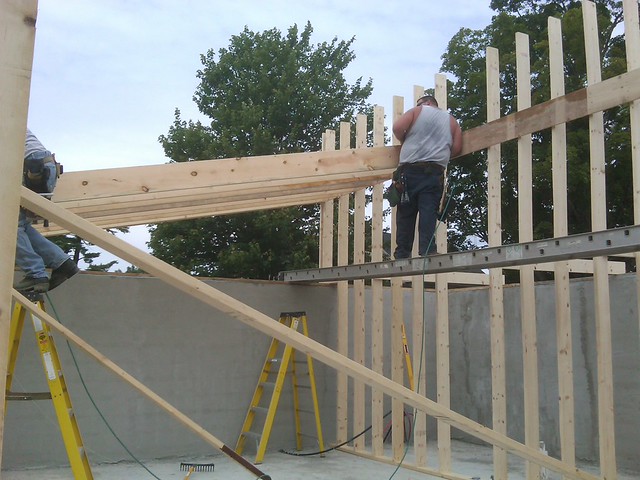
3744619206_ef466fb119_z.jpg

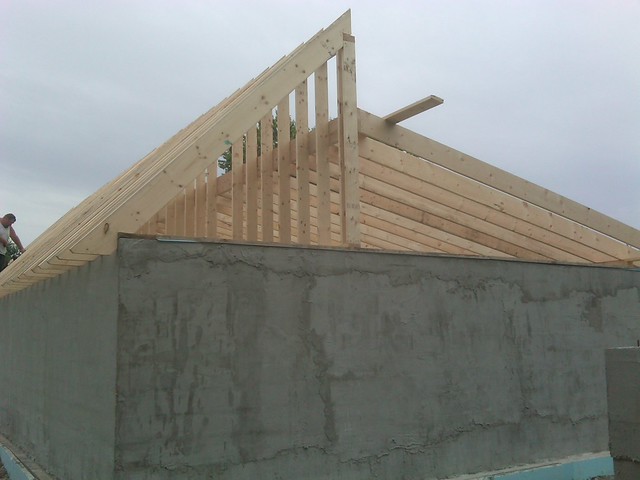
All the rafters up and ready. We braced the front wall before we started the back.
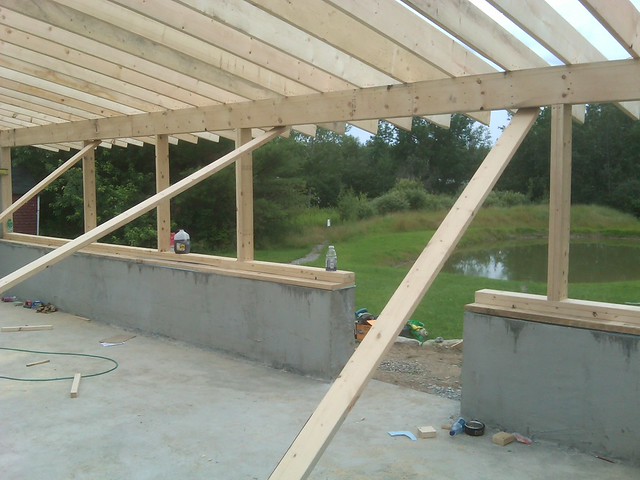
3743824121_2d9edb6cd5_z.jpg

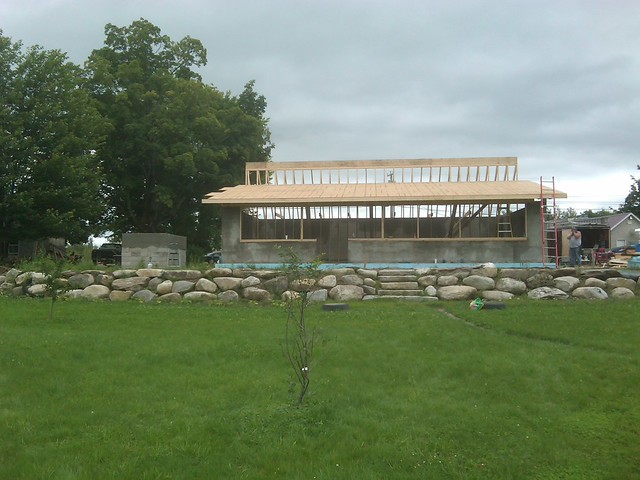
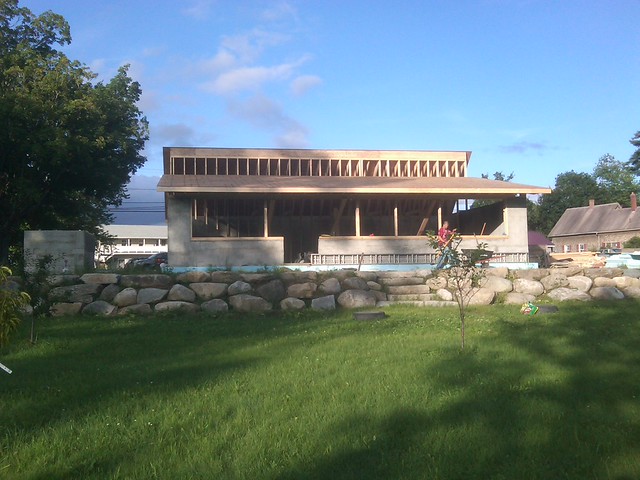
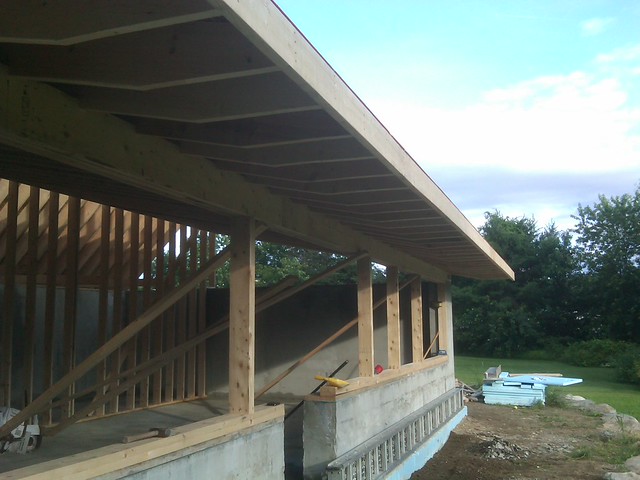
We liked the large overhang on the front and decided to keep it instead of trimming it back
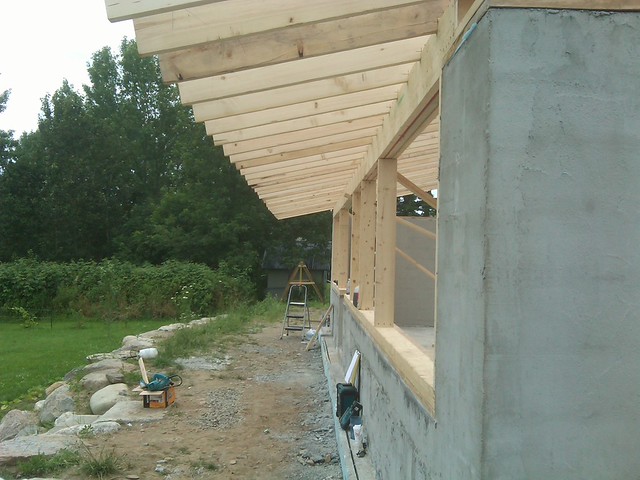
3744619952_235b5dfe60_z.jpg

Avatar
K
Admin
Forum Posts: 31782
Member Since:
15 Feb ’12
sp_UserOfflineSmall Offline
18
8 May ’12 - 4:38 pm
sp_Permalink sp_Print

Before we started on the back rafters we nailed down the top plate on the wall.
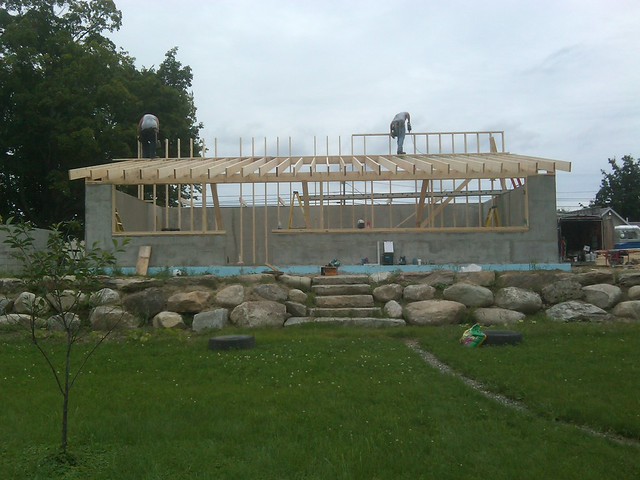
3743824801_f723bd3522_z.jpg

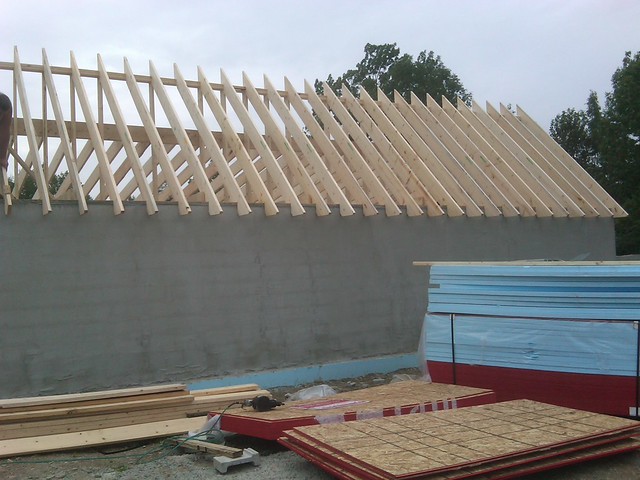
We then put up the back rafters in a short time
3743825487_73a5ed4af7_z.jpg

3744707610_1d14207eba_z.jpg

3744620810_870b06df37_z.jpg

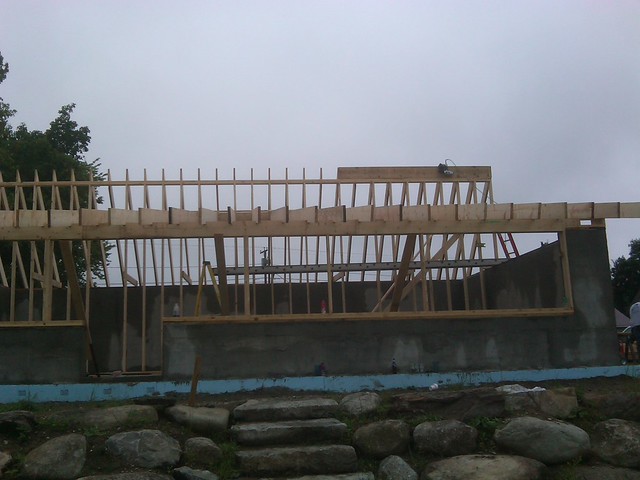
We then tied the top of the rafters together with a face plate
3745421161_b35424494b_z.jpg

All finished

3746237014_d28c985309.jpg

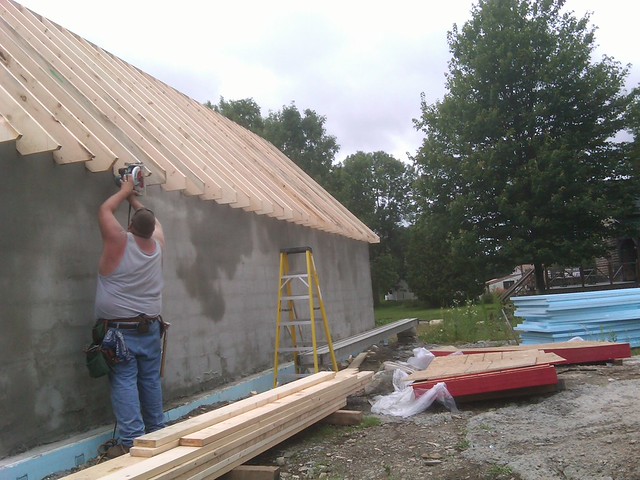
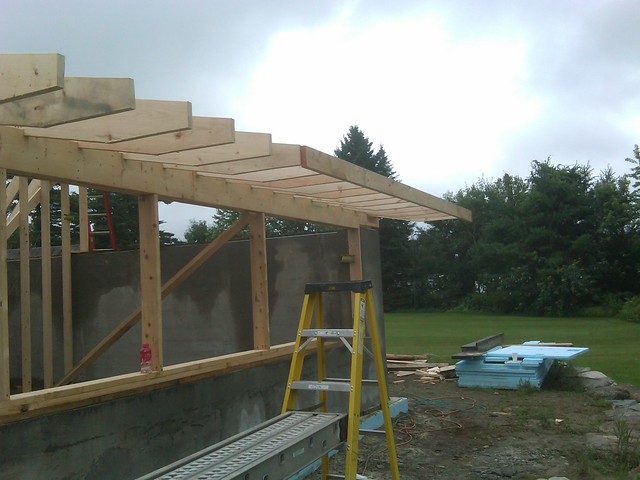
We then cut the tail ends of the rafters flush with each other and nailed on a fascia board
3745581845_410a30ef86_z.jpg

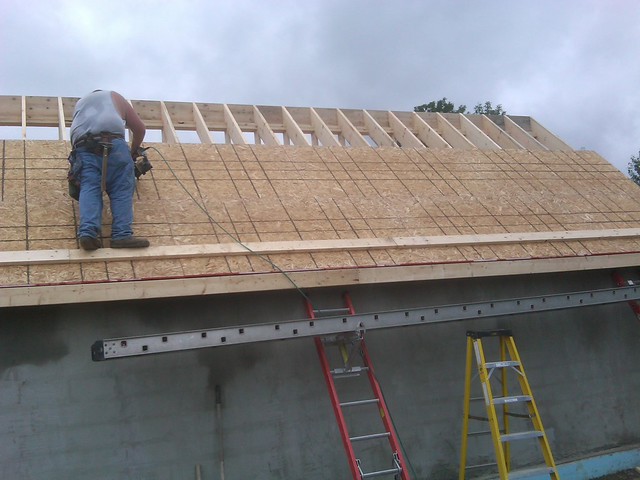
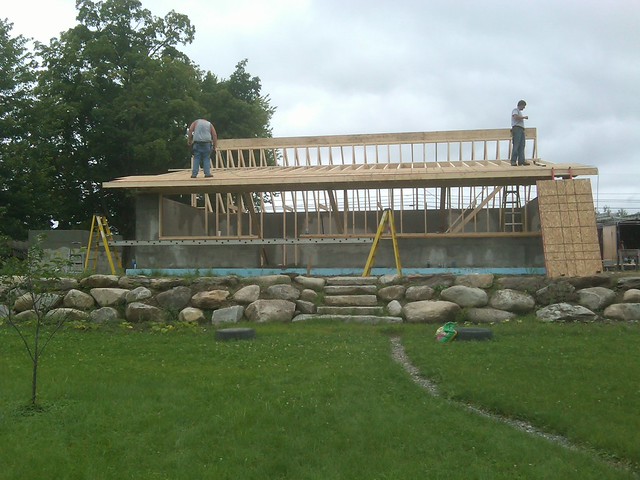
When that was done we proceeded to lay the roof deck.
3745769633_f33ac19b5c_z.jpg

Avatar
K
Admin
Forum Posts: 31782
Member Since:
15 Feb ’12
sp_UserOfflineSmall Offline
19
8 May ’12 - 5:08 pm
sp_Permalink sp_Print

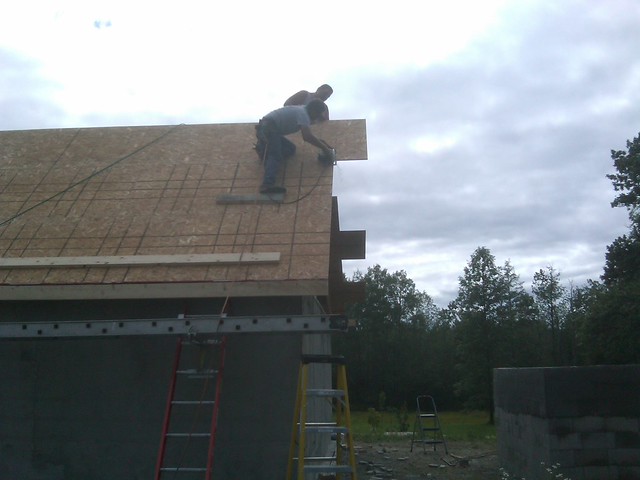
all sheathed

7160480892_44568d03ce_z.jpg

we moved onto the back and trimmed the rafter tails

3746120011_aae773549d_z.jpg

and nailed down a fascia board and started throwing up the sheathing

7160481930_aee038e036_z.jpg

and proceeded to cut off the overhang

3746473989_1e0a4e42e2_z.jpg

it was starting to take shape

7160483558_3206970eb0_z.jpg

3747744546_9e9822f124_z.jpg

Avatar
K
Admin
Forum Posts: 31782
Member Since:
15 Feb ’12
sp_UserOfflineSmall Offline
20
16 May ’12 - 9:11 am
sp_Permalink sp_Print

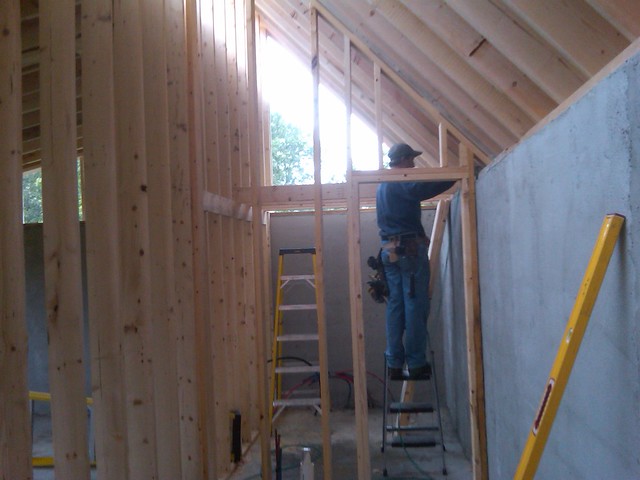
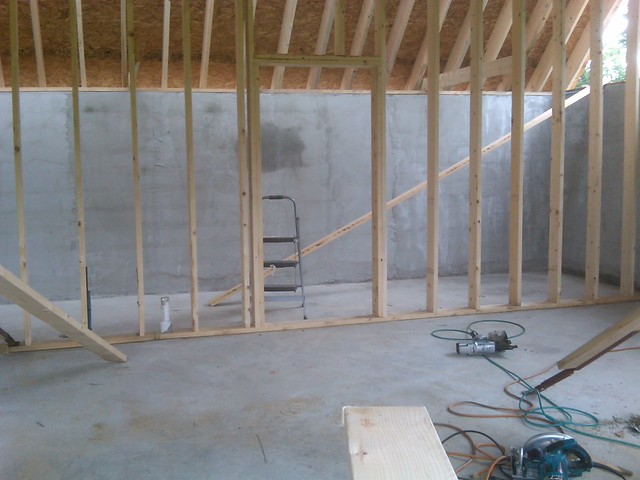
We then started framing out the doorways to the bathroom and pantry
3749373216_82b4237280_z.jpg

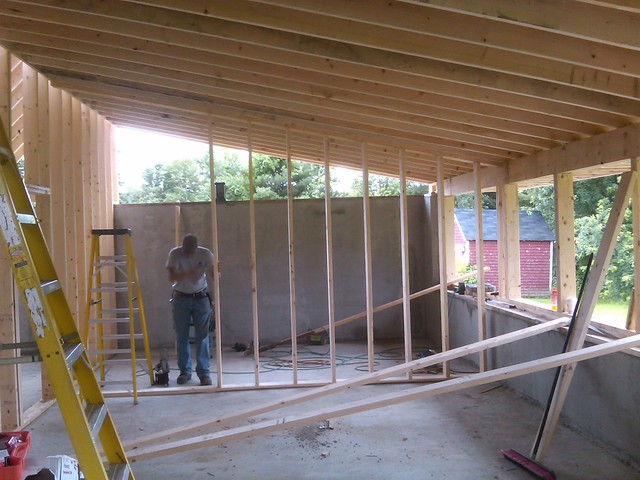
and started framing out the partition walls for the bedrooms
3748760877_c129bdea70_z.jpg

Putting in the gable ends

3748842479_29d4e140c7_z.jpg

3749274711_7680676233_z.jpg

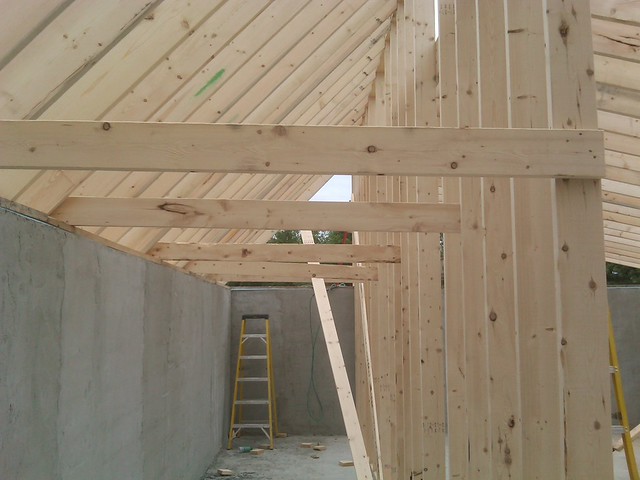
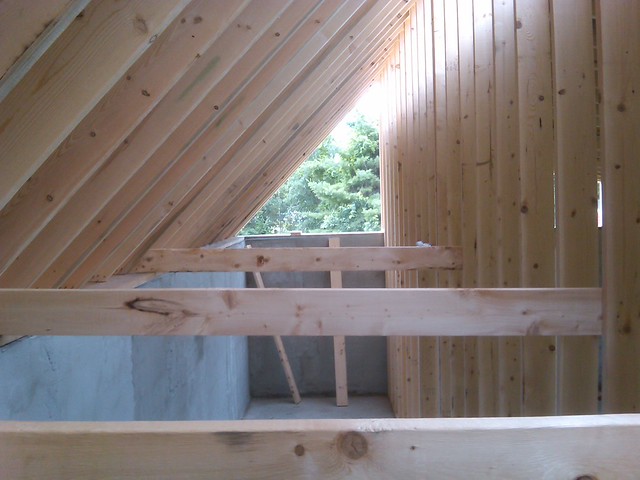
My wife and I were looking at the collar ties and thought we could build a storage loft in each bedroom, so thats what we did
3750091258_155d9610ac_z.jpg

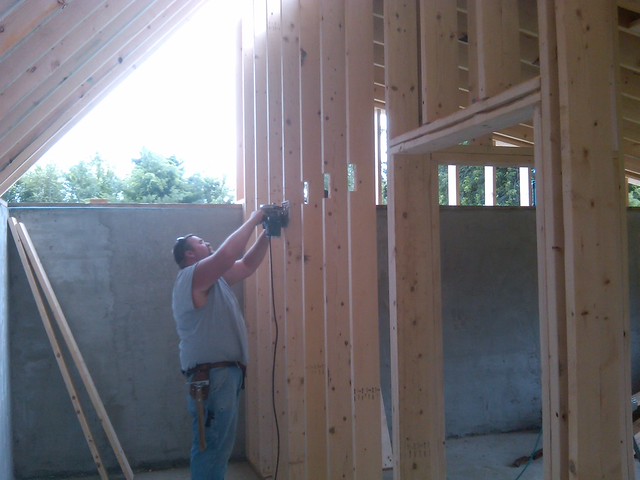
we started first by notching out the studs
3751161598_31677f42e6_z.jpg

and nailed in a plate

3749421439_c133529dd2.jpg

and ran joists across to the outside wall
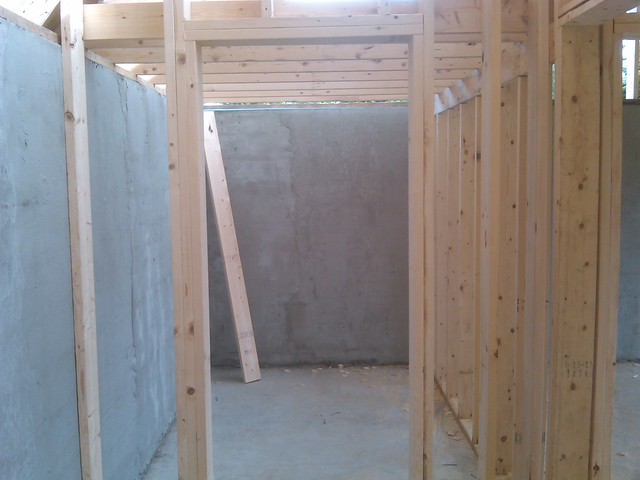
3750525200_079af524f8_z.jpg

and did the same on the other side

3751540531_a687d49d4c_z.jpg

we framed out a walk in closet and utility room
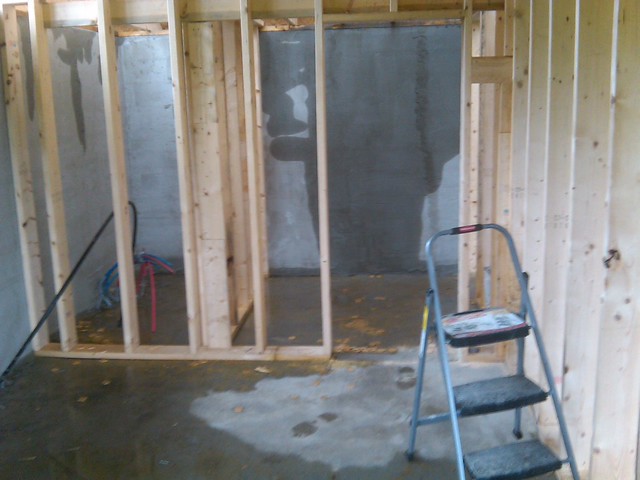
3753300273_dc2e226cbf_z.jpg

we were originally going to have a doorway from our closet right into the bedroom, but we quickly nixed that idea and framed it back in
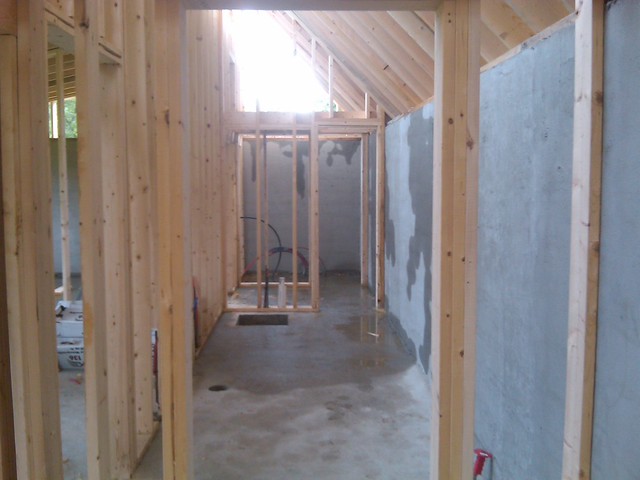
3752589815_509b06dfeb_z.jpg

Avatar
K
Admin
Forum Posts: 31782
Member Since:
15 Feb ’12
sp_UserOfflineSmall Offline
21
16 May ’12 - 9:28 am
sp_Permalink sp_Print

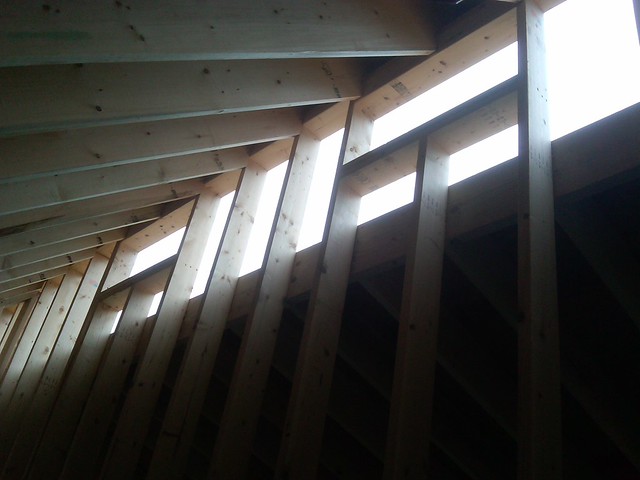
We framed out the windows on the top face of the roof
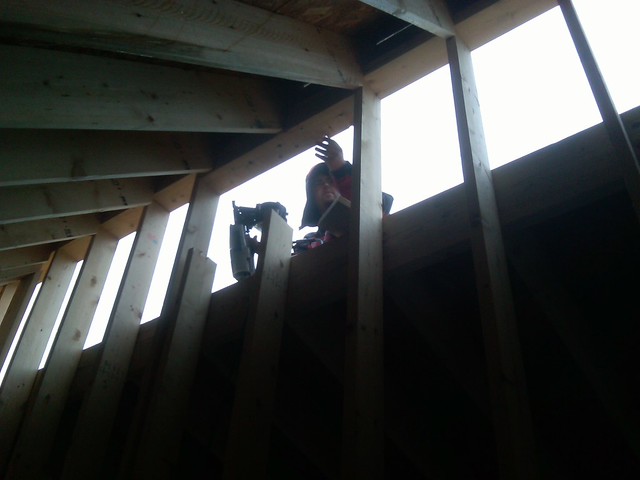
3752544546_0fdec87afe_z.jpg

3752594335_a867477562_z.jpg

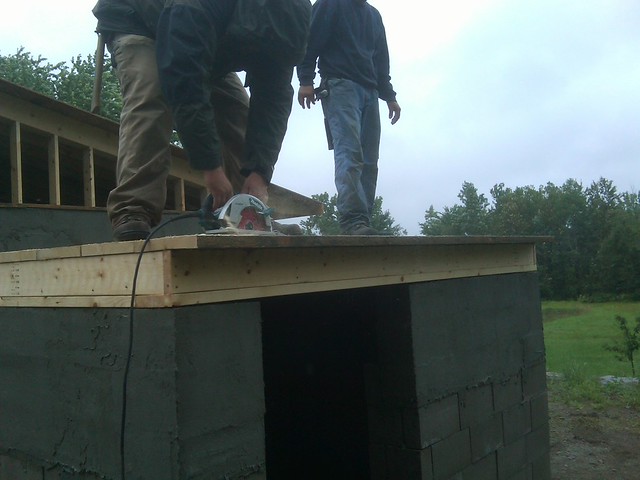
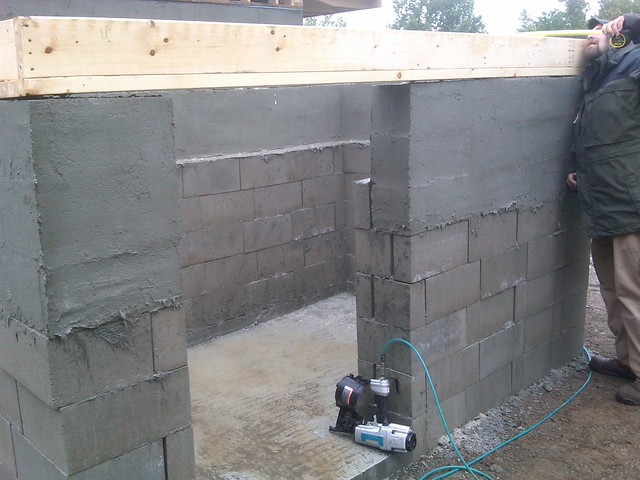
and used the wood we had used for the footing forms to form up the roof on the shed
3753270890_48e4e2fb36_z.jpg

and trimmed off the excess

3752550103_ecccc44a63_z.jpg

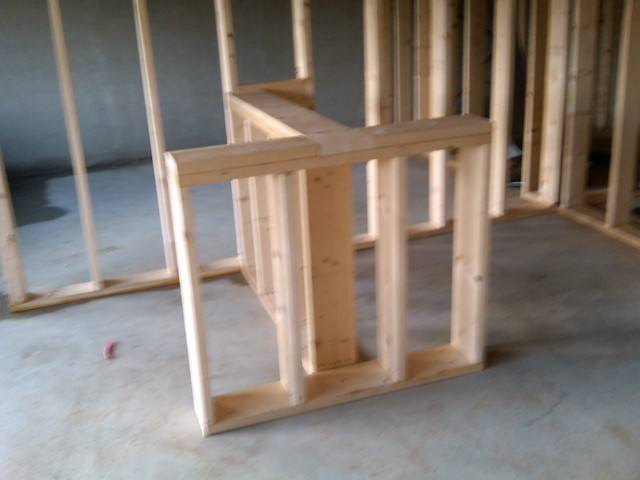
before calling it a night we framed out our island bar
3763381377_cf23407e0a_z.jpg

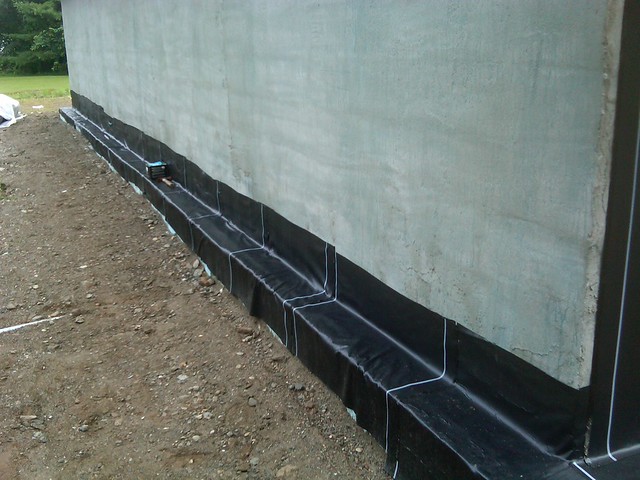
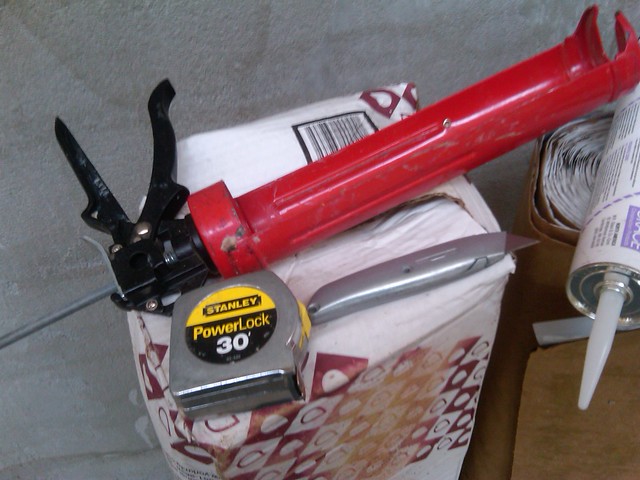
over the weekend, I started waterproofing the outside walls, we used a product called foundation guard
3758357430_595ef37a06_z.jpg

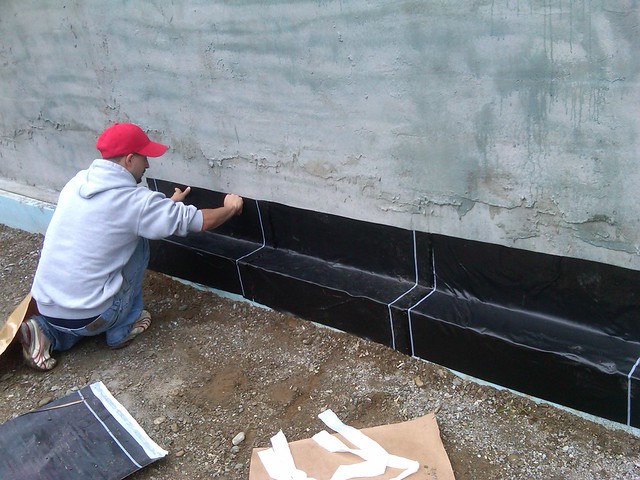
we started by cutting 2 foot strips and wrapping the footers first
3758081427_106c02afc8_z.jpg

3758683867_5854f7121b_z.jpg

and then ran sheets from the top of the walls down to the footing. We nailed the tops into the studs with roofing nails to keep it from sliding
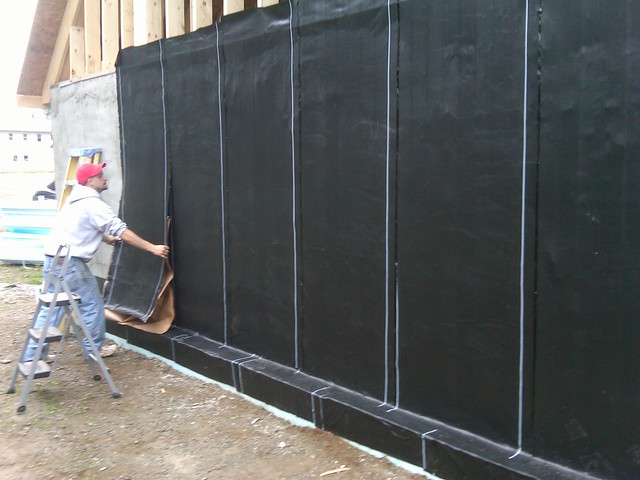
3758197695_ce4f627fd3_z.jpg

all finished

3764179374_ff3bc3b506_z.jpg

we wrapped the small shed with ice and water shield
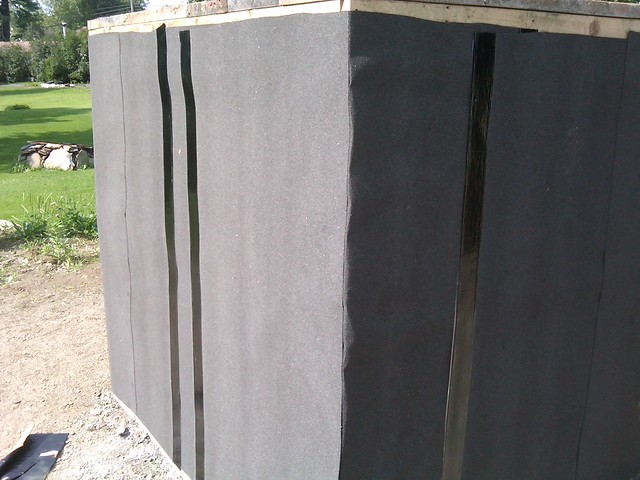
3764179666_f64fa70edd_z.jpg

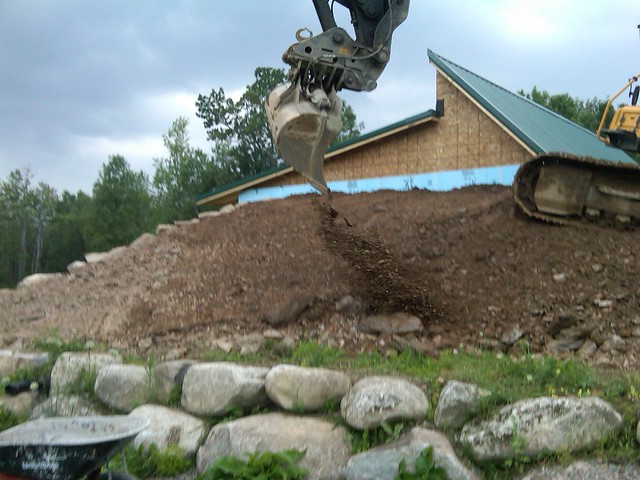
and they dropped off the excavator to start burying the house
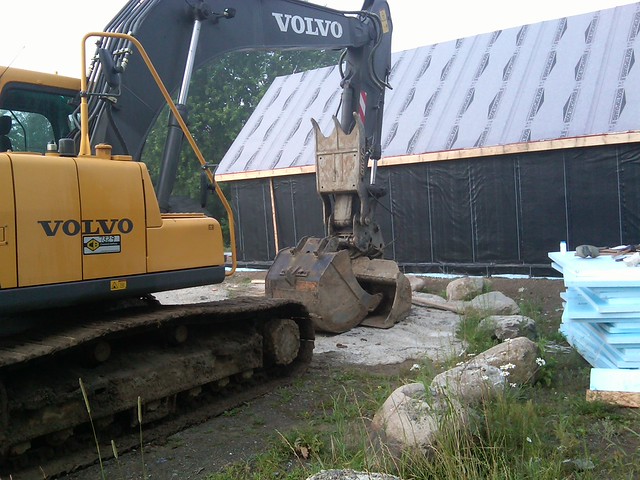
3765528270_8744df10c6_z.jpg

we had to cover up the gable ends with osb
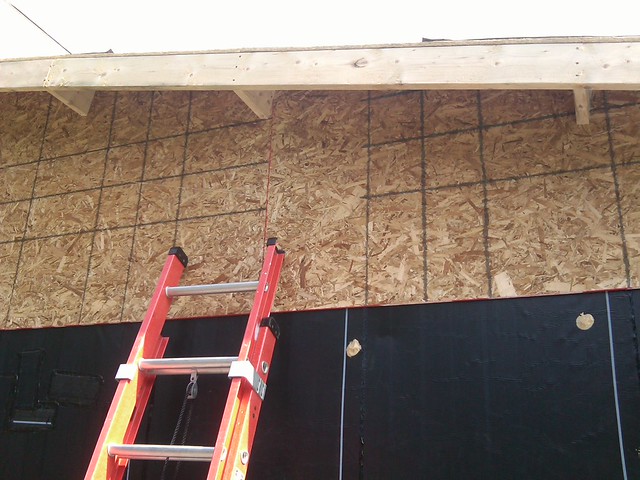
3764180110_0a4ba72659_z.jpg

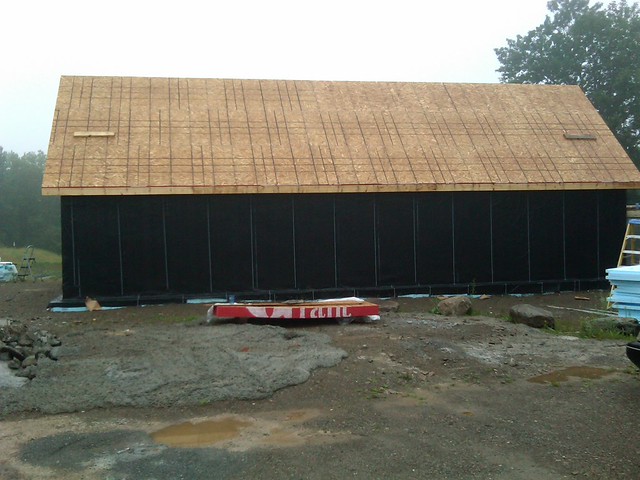
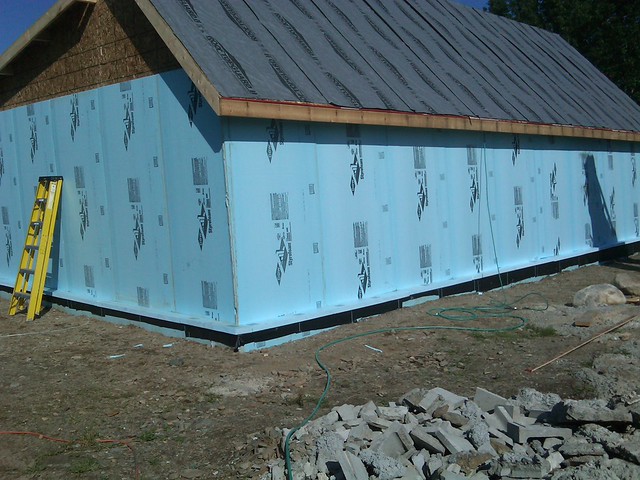
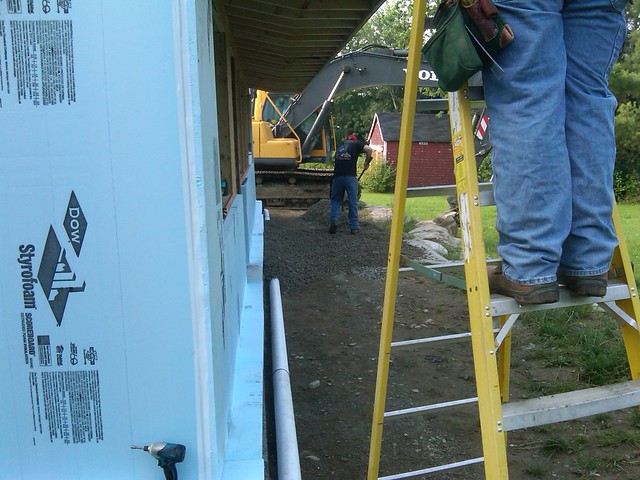
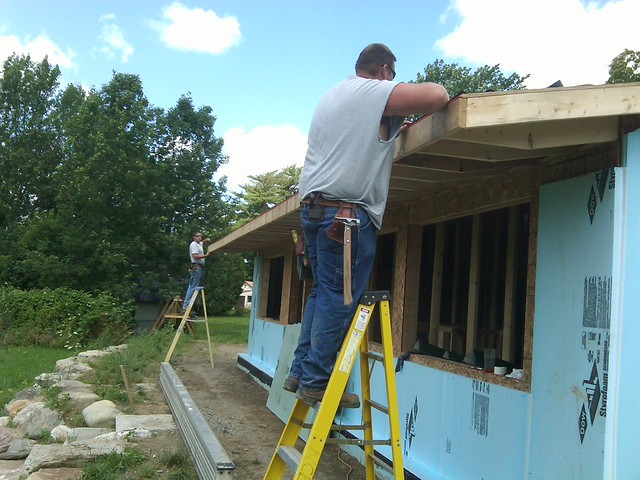
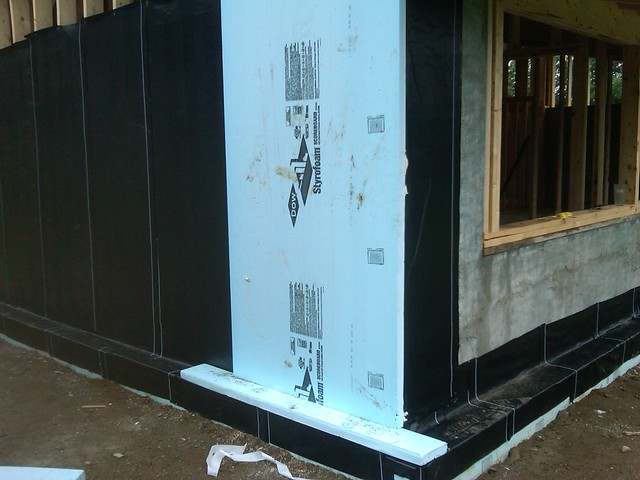
and started wrapping the whole house with 2 inch blue board
3764181234_9707e3cf09_z.jpg

3765710614_df8c2ba6e6_z.jpg

and taped all the joints

3766139606_7d292e34ff_z.jpg

Avatar
K
Admin
Forum Posts: 31782
Member Since:
15 Feb ’12
sp_UserOfflineSmall Offline
22
16 May ’12 - 9:51 am
sp_Permalink sp_Print

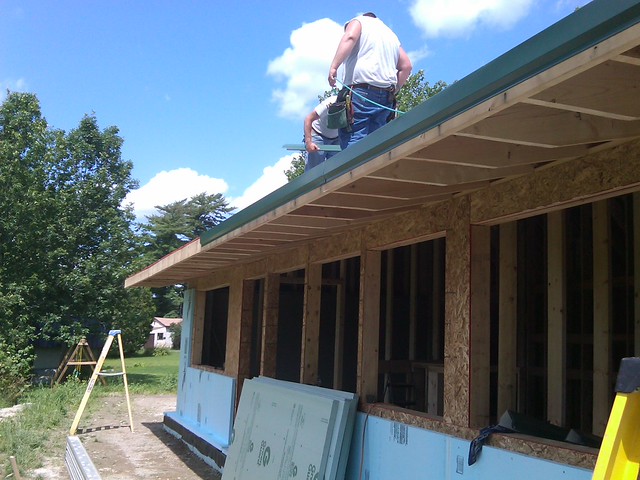
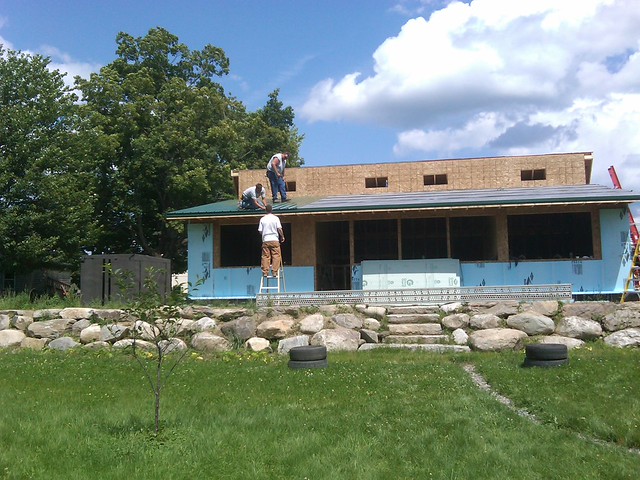
the metal was delivered for the roof so we started by putting up the drip edge

3766366090_09693e4589_z.jpg

3766376794_bde877ebbd_z.jpg

and started installing the metal roofing the next day

3766505594_51362e99fd_z.jpg

Avatar
K
Admin
Forum Posts: 31782
Member Since:
15 Feb ’12
sp_UserOfflineSmall Offline
23
16 May ’12 - 10:17 am
sp_Permalink sp_Print

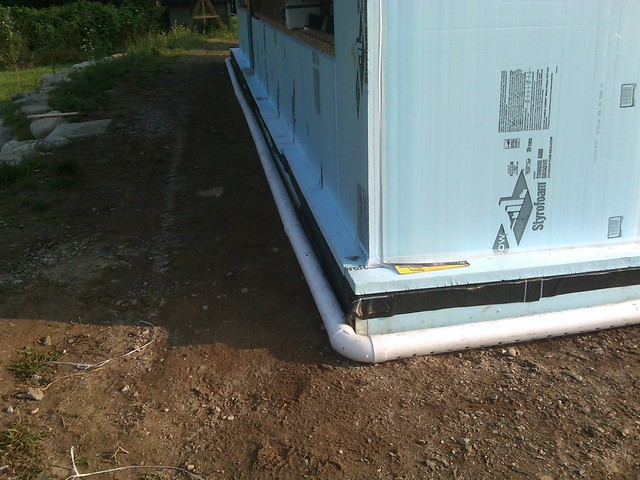
the next day we started installing a french drain around the footer
7209490400_cafa67c273_z.jpg

and covered it with crushed stone

7209490752_5b03272887_z.jpg

7209491004_8331b2984e_z.jpg

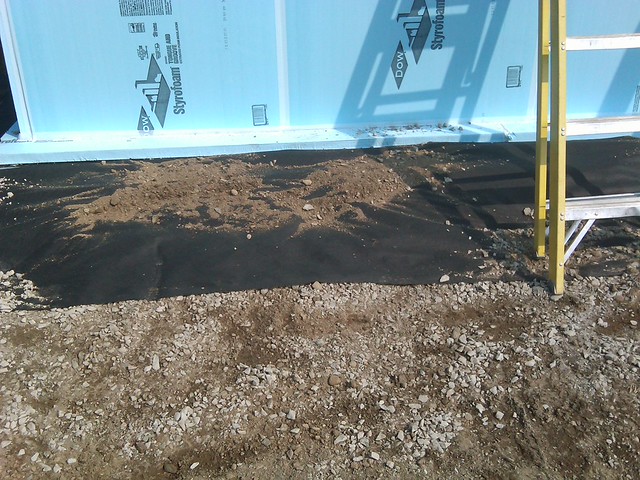
we covered that with a filtration mat
3771383563_3a9e7336da_z.jpg

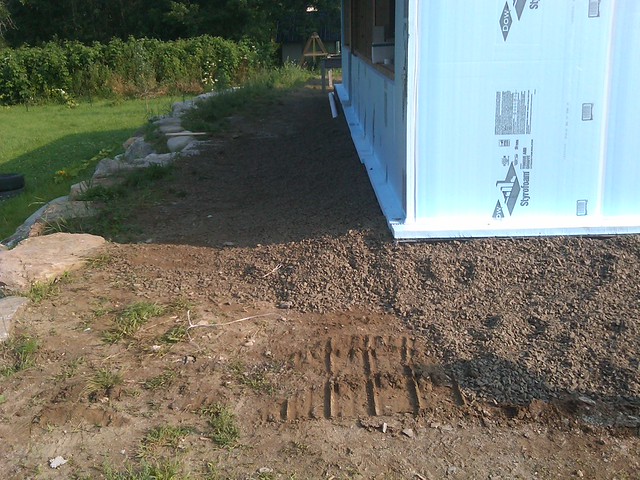
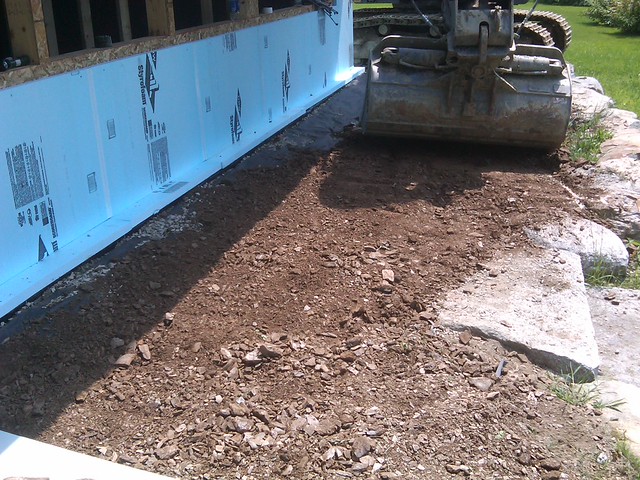
and then started back filling that with shale
7209490172_9f697f7c33_z.jpg

We laid down insulation to protect the front footing from frost heaving
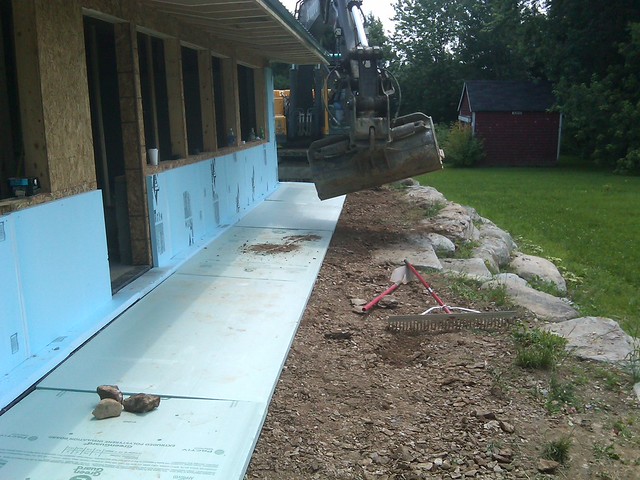
3772189430_12d033859d_z.jpg

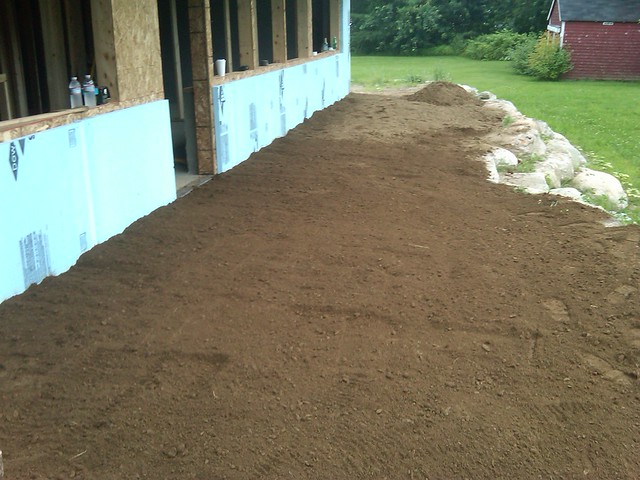
And covered it with loam.

3772186498_ebeff9e469_z.jpg

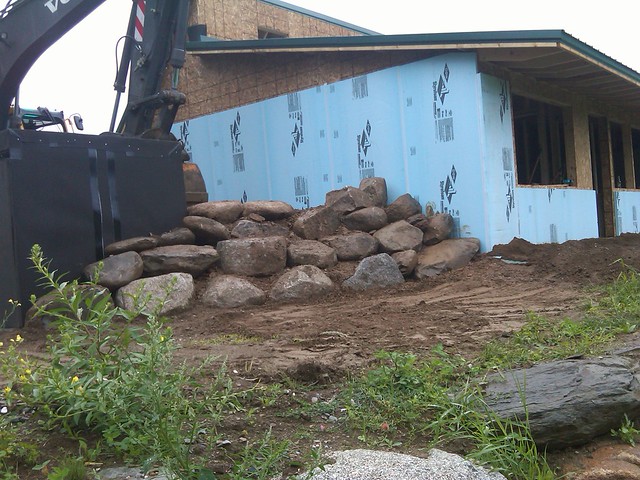
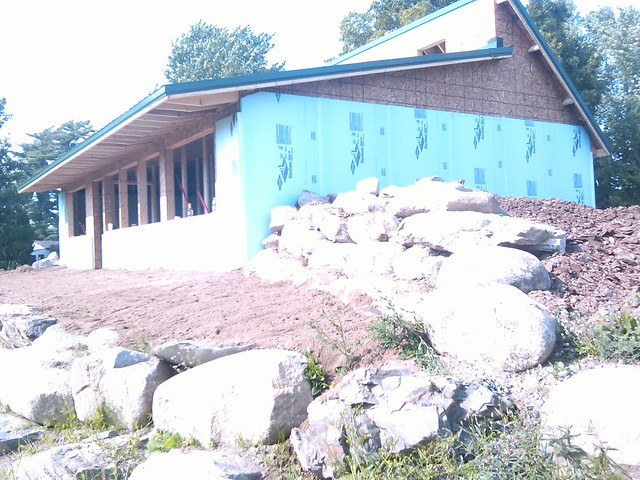
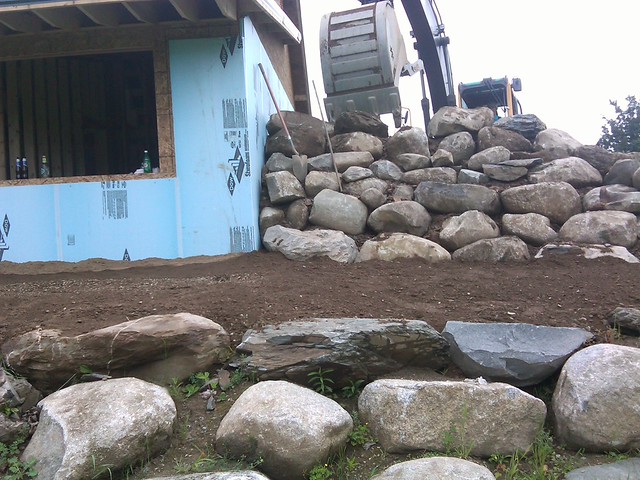
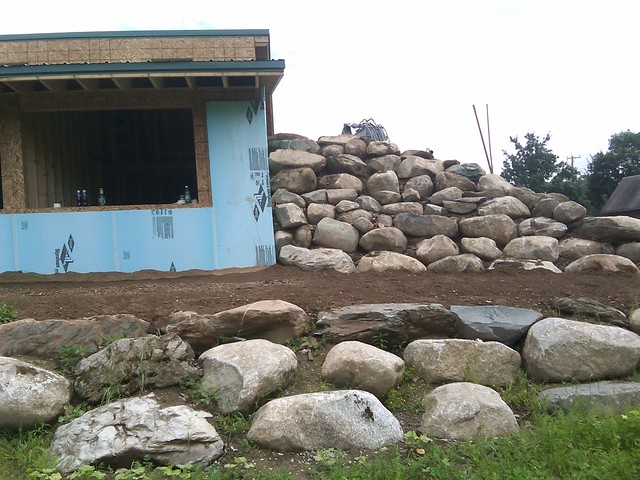
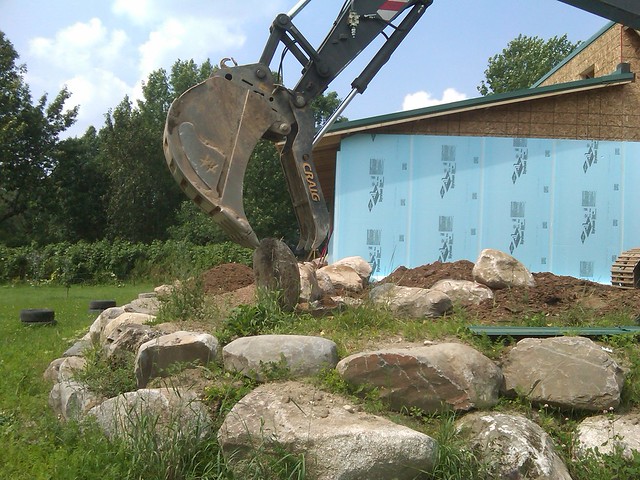
We started laying out the boulders to build the retaining walls
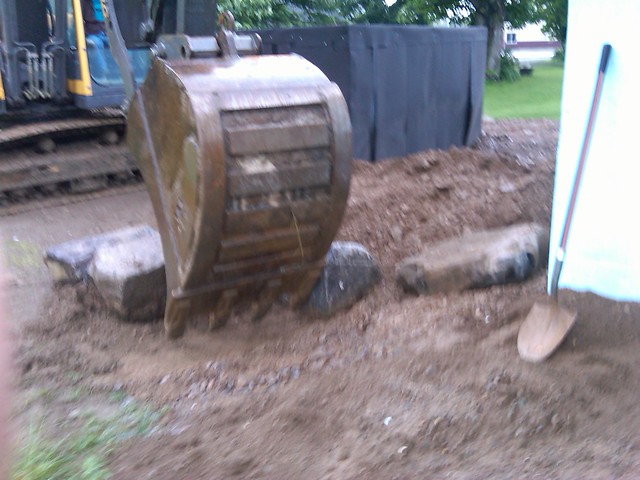
3772108002_3f694d4b75_z.jpg

3771325075_46b24216b6_z.jpg

Had to position some of the rocks with a little help
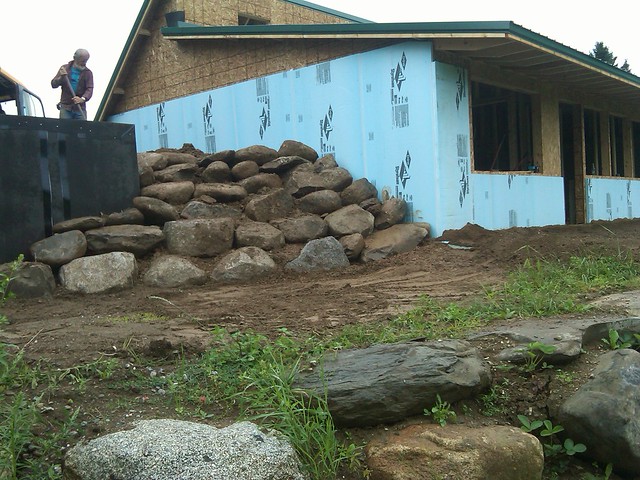
3772203724_ac3bccf06a_z.jpg

3771429001_e561c494c0_z.jpg

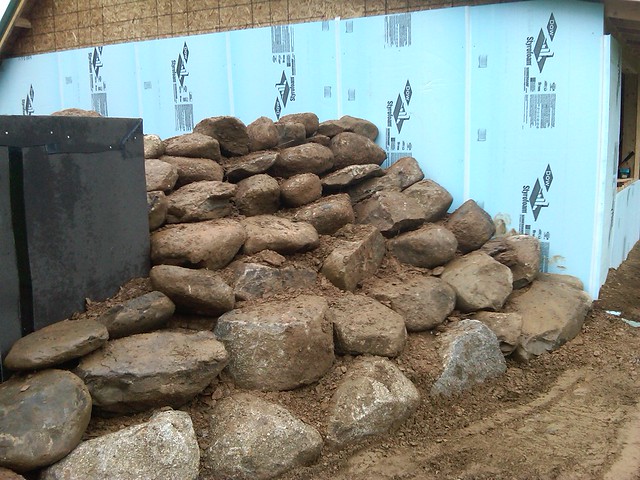
and back filled with shale as we worked our way up
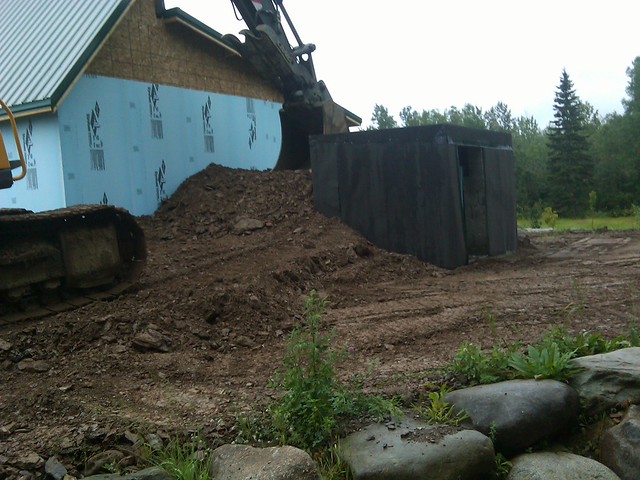
3771384529_16282298a4_z.jpg

3771602351_bec04f4bf8_z.jpg

the next day we started working on the other side
3772186198_80642f0912_z.jpg

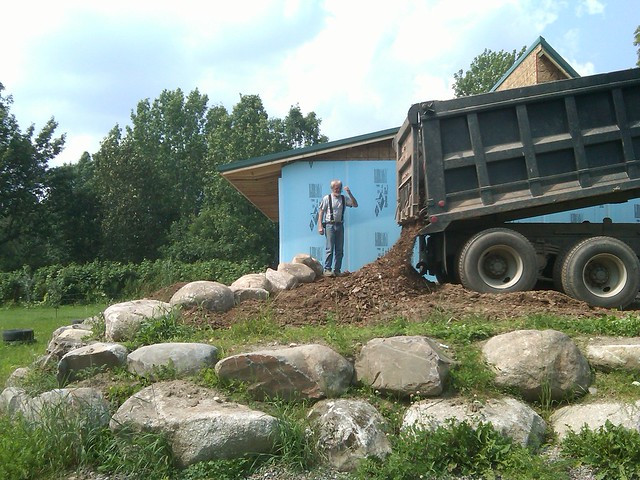
and back filled as we worked our way up
3772183702_f9ef5c4d5b_z.jpg

3772181516_afb6a250b3_z.jpg

3772586434_927de7c25d_z.jpg

3771886397_573d11bd7a_z.jpg

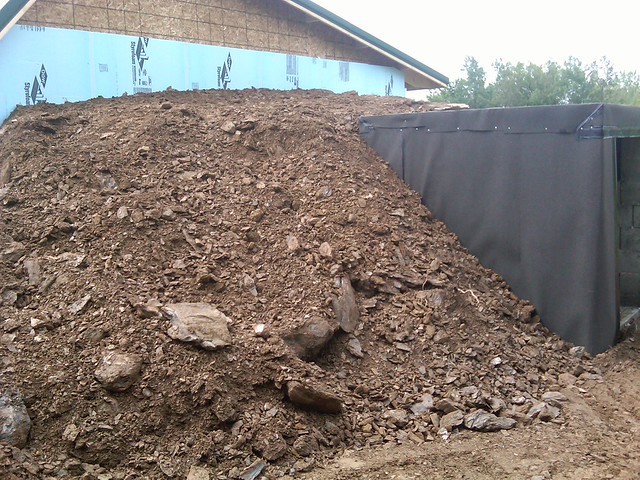
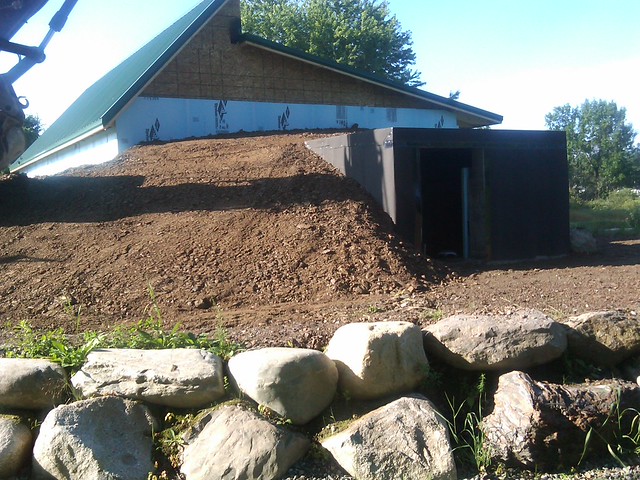
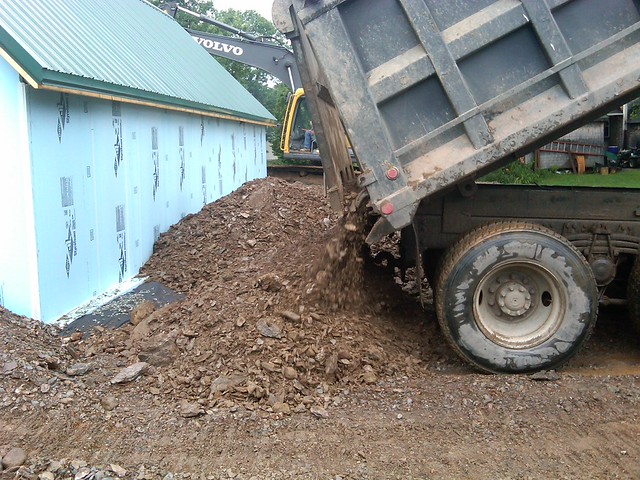
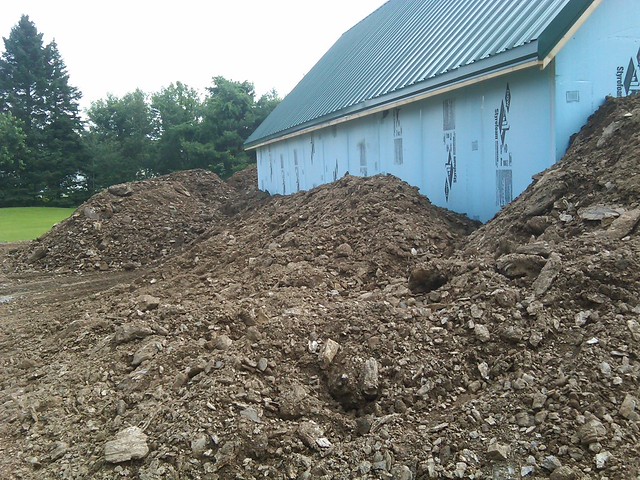
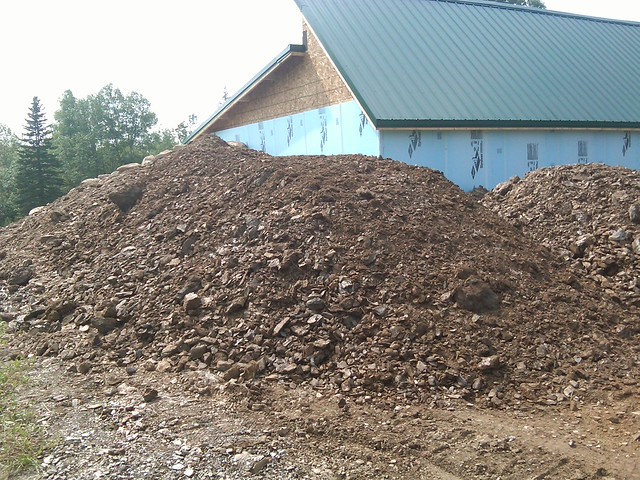
they finished that side up and then just started dropping loads to fill the back
3772191302_aedb0ab485_z.jpg

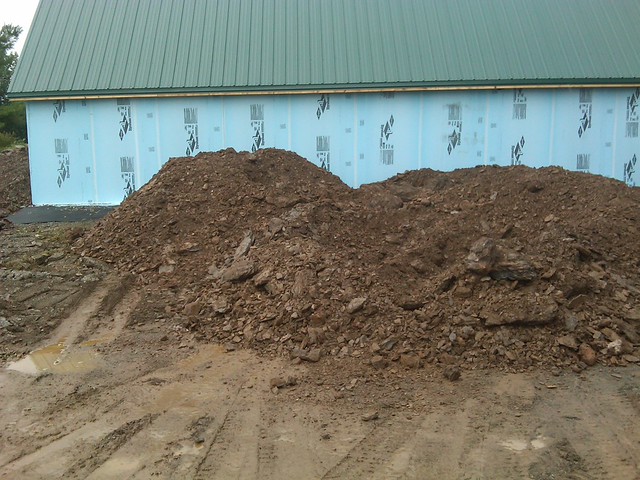
the guys kept on working on the roofing around the trucks
3771384855_ee1151b706_z.jpg

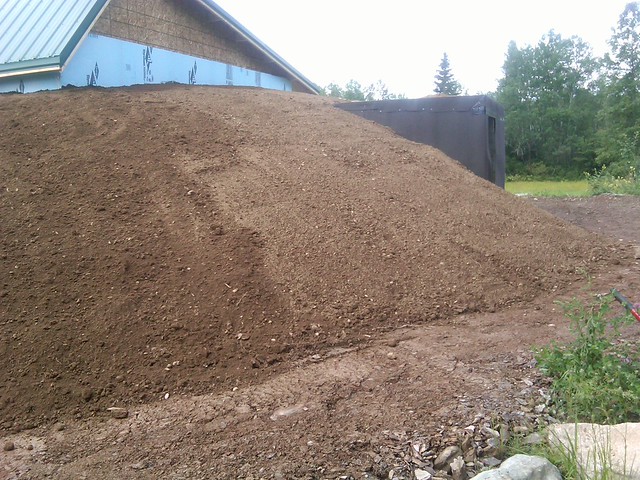
We used shale to back fill because it stands up on it's own and won't need a lot of compacting and will drain well
3772992570_07e8683a88_z.jpg

3772993126_c68391192c_z.jpg

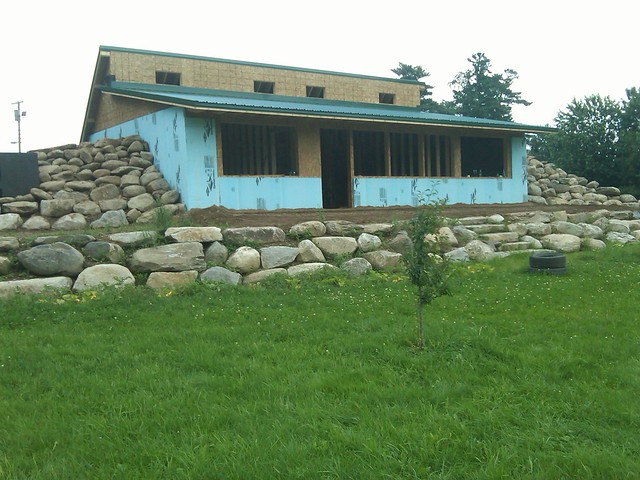
retaining walls all finished

3773123400_69129eb66e_z.jpg

Avatar
K
Admin
Forum Posts: 31782
Member Since:
15 Feb ’12
sp_UserOfflineSmall Offline
24
16 May ’12 - 10:26 am
sp_Permalink sp_Print

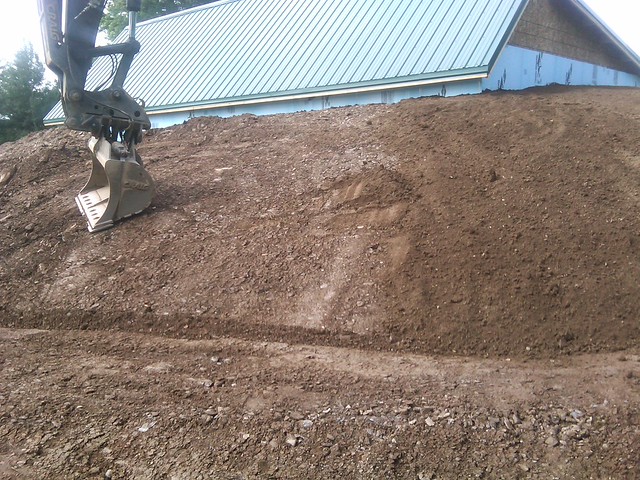
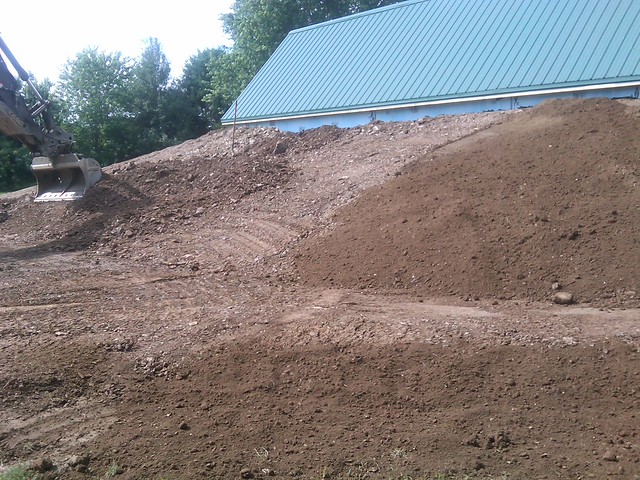
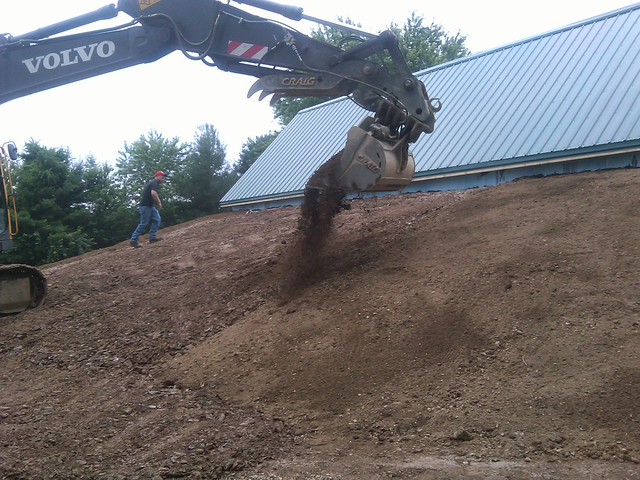
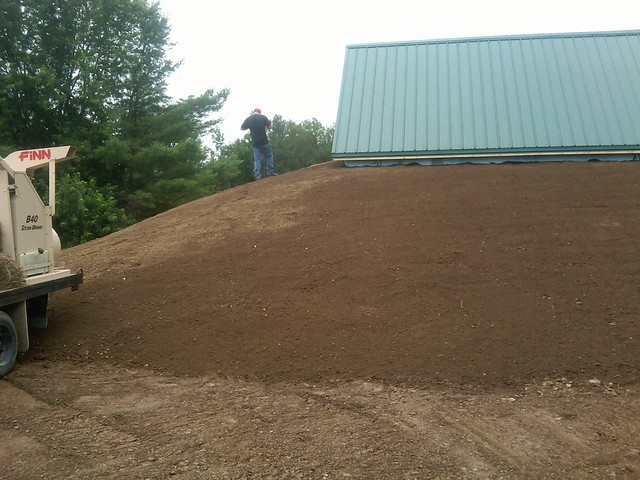
the third day we started spreading loam over the back filled shale

3773154026_515d83ccb6_z.jpg

3775010100_920e18b733_z.jpg

it was amazing what the operator could with a bucket

3774321093_e420e322b0_z.jpg

3775153708_a16f46acfa_z.jpg

3774409211_ce65387990_z.jpg

3774620927_888ecdbbf5_z.jpg

3774725313_1d074e3baf_z.jpg

we then proceeded to spread grass seed

3774903195_2ffc3f06c4_z.jpg

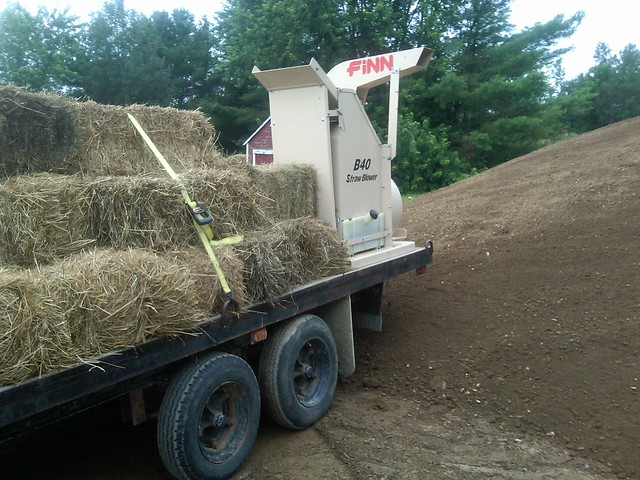
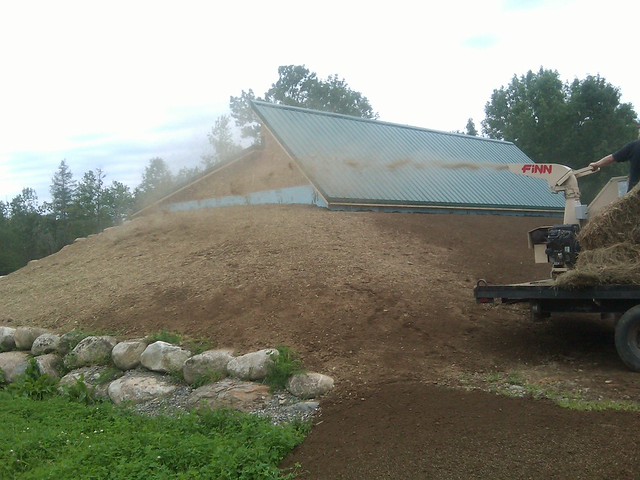
and started up the blower to spread straw over the fresh seed

3774892855_096c40bdaa_z.jpg

3774961521_45747a0760_z.jpg

3775893756_e694ffe228_z.jpg

3775090463_59850c1468_z.jpg

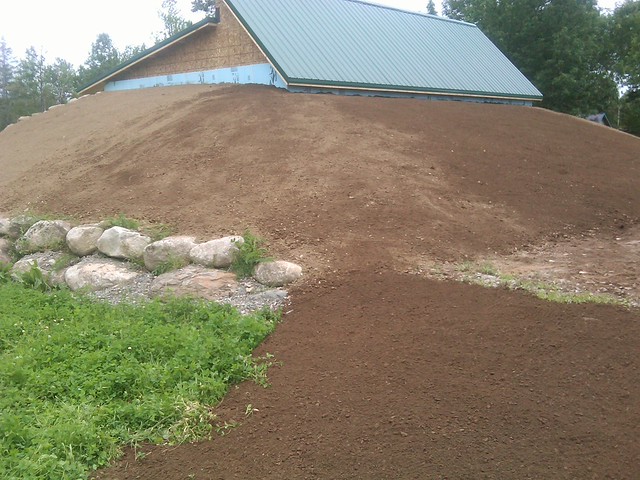
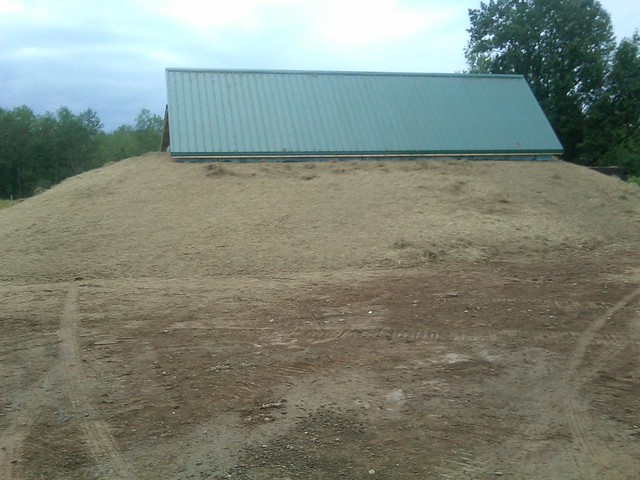
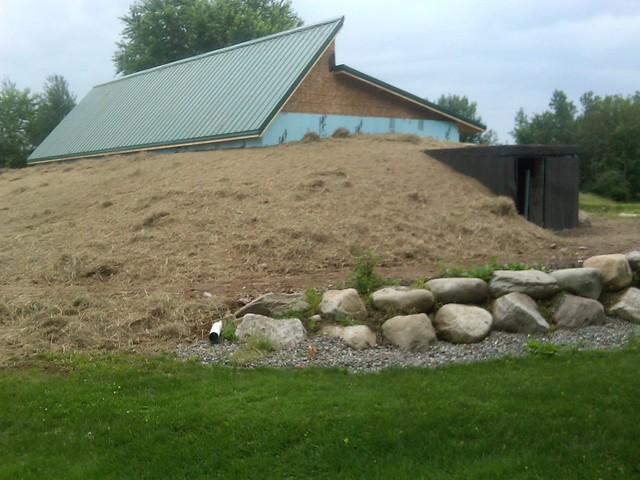
back filling and seeding all done

3775090933_76bfafeb96_z.jpg

Forum Timezone: America/New_York

Most Users Ever Online: 698

Currently Online:
139 Guest(s)

Currently Browsing this Page:
11 Guest(s)

Top Posters:

easytapper: 2149

DangerDuke: 2030

groinkick: 1667

PorkChopsMmm: 1515

Gravel Road: 1455

Newest Members:

Forum Stats:

Groups: 1

Forums: 12

Topics: 11482

Posts: 58640


Member Stats:

Guest Posters: 2

Members: 19842

Moderators: 0

Admins: 1

Administrators: K