
 Register
 Log In
 Home
Home
15 Feb ’12
 Offline


yeah, I am going to do several different mock ups and methods, hoping to take a welding class after the machining class is done and then move onto welding them up, but it sounds the school will be offering a machining class 2, so I will have several more months of that before I move onto welding
15 Feb ’12
Offline
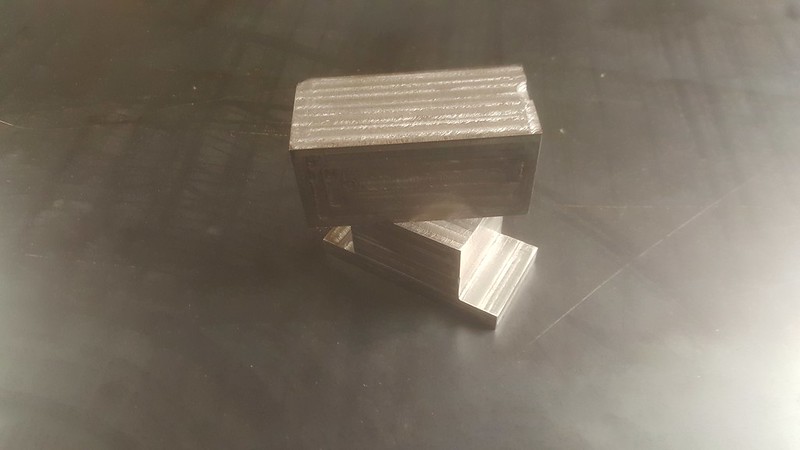
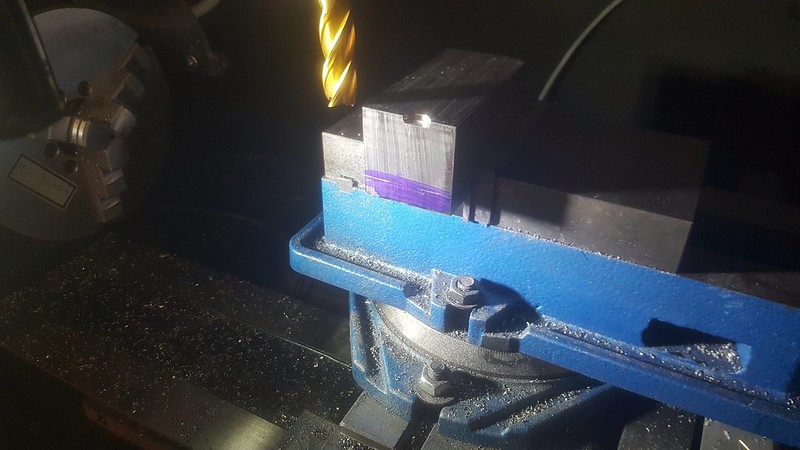
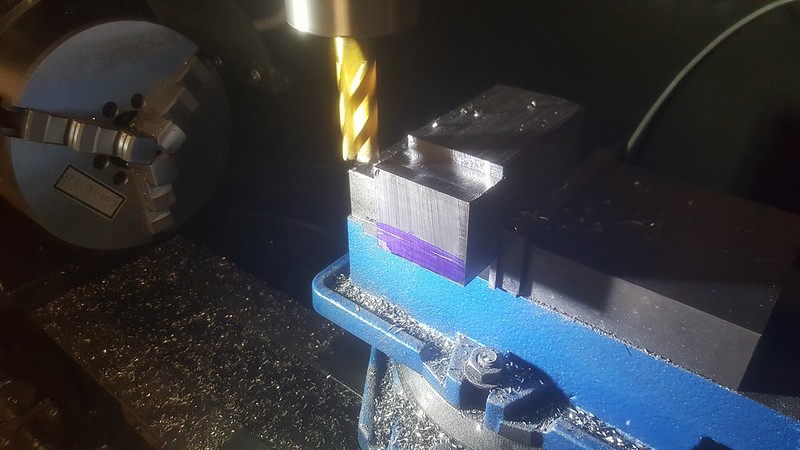
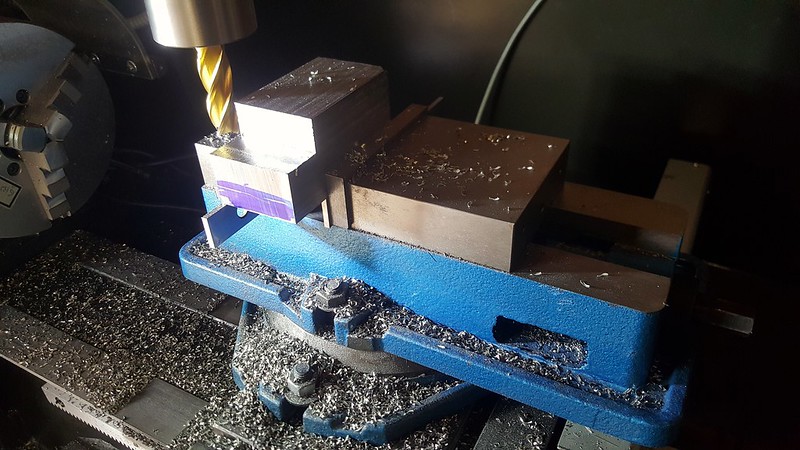
getting much more comfortable with the mill, I decided to start milling out the second die last night and use the piece that originally cause me such a huge headache. I was able to square it in about 30 minutes, much faster than the last piece
started milling out the side tabs
think I am going to get a fly cutter set so I get it done in one pass
15 Feb ’12
Offline

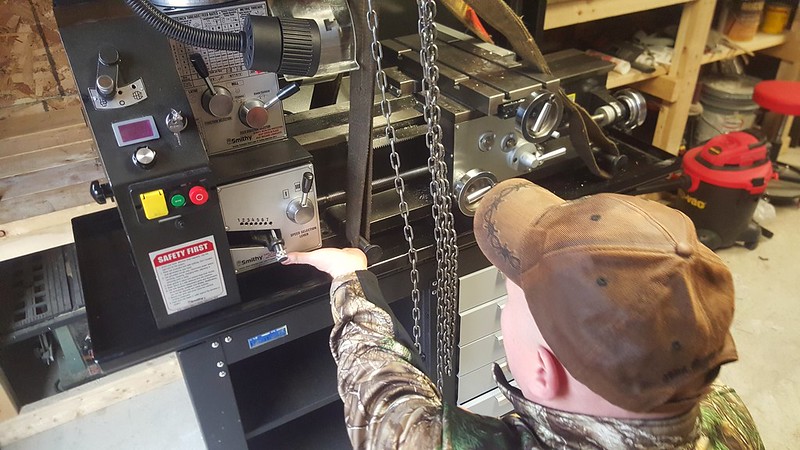
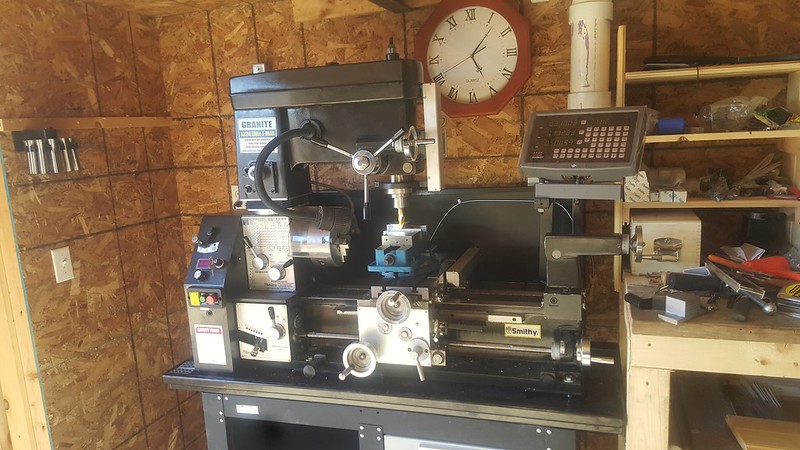
I was debating the other night about sending the mill back, Smithy has a 90 day return policy and there were a few issues that I have been running into that were starting to get a little frustrating.
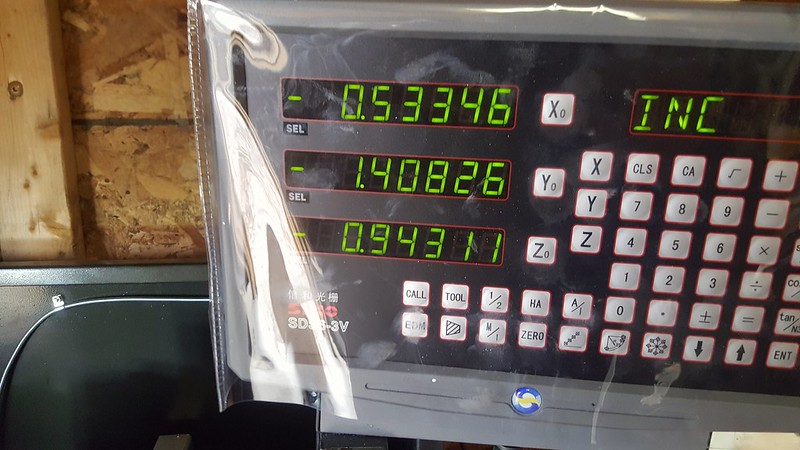
One is if the vice and material is centered on the table.
Now to lock down the x axis for a smooth finish you need to use the little allen set screw in the table
but if I move the mill head back just an inch to make a cut
the dro covers the set screw so you can't lock the table
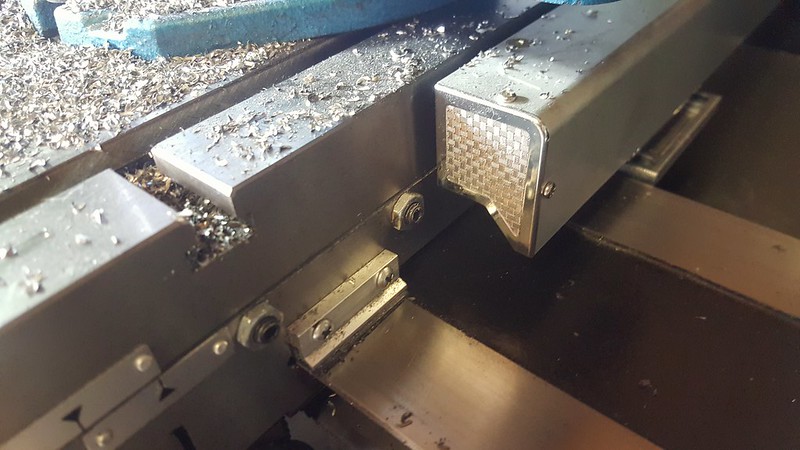
another issue was the lock for the Y is all the way on the backside of the machine which is kind of a pain to get to with the machine sitting against the wall
the biggest issue though is when you try and lock down the quill on the z
once you tighten it down it throws it off by 2 thousandths
So my thought was to get two separate machines, Smithy has a lathe and a milling machine and with the stands it would have been about 200 dollars less.
So I called Smithy, they were great about it and said they would schedule a pick up of the machine and send out the other two the next day, they did recommend talking to the tech support though and see if they could help me with the issues.
So I got on the phone with Dave and he walked me through a few things and made some suggestions, I told him I would try them and get back to them the next day and let them know what my decision was.
So I messed around with it and did some searching on different forums and youtube and came across a couple ideas.
This guy has the same machine and did a full cnc conversion, he uses bushings on his scales though which gives enough space to access the lockdowns.
You can see them here when he tests out his motors
love the setup he has
and another mod
As far as the back, the simplest thing is to get it away from the wall, which would be beneficial for several other reasons.
The quill lockdown really can't be addressed until I end up doing a cnc conversion, which I would like to do later this year.
The cons of getting 2 separate machines is that I really don't have the room without loosing more workbench, I really don't have the room or the power to run another separate 220 line in panel, between the welder, the heater and this machine I really am using a lot of juice from the 100 amps, now they don't run all at the same time and I could just use the same plug for 2 of the machines but again that is really not ideal.
Another issue is the 2 separate machines would not have dro and they are not cnc ready.
So I called Smithy up the next day and told them I would keep the 3 in 1, besides, I really like this machine.
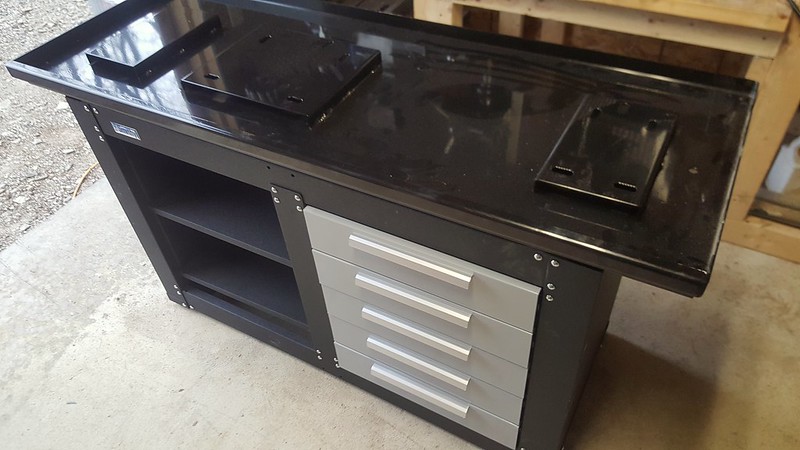
So we picked up the stand that I had ordered that was sitting at the shipping office waiting to be returned.

well this was fun
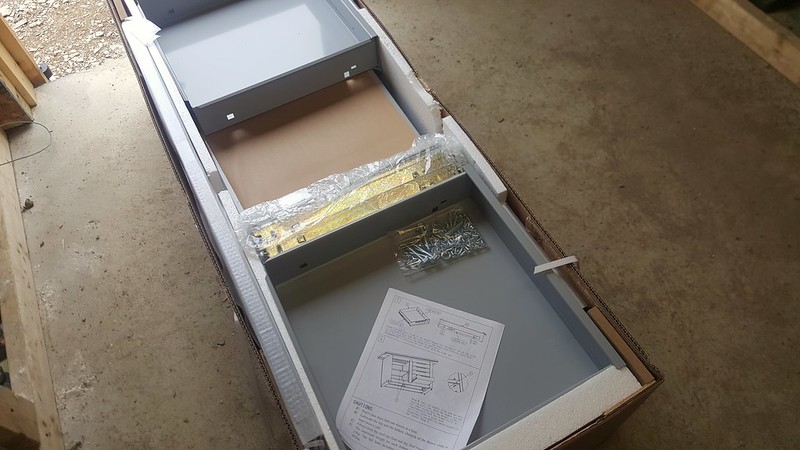
after a couple hours and much cursing it was done
So now we had to move this sucker again
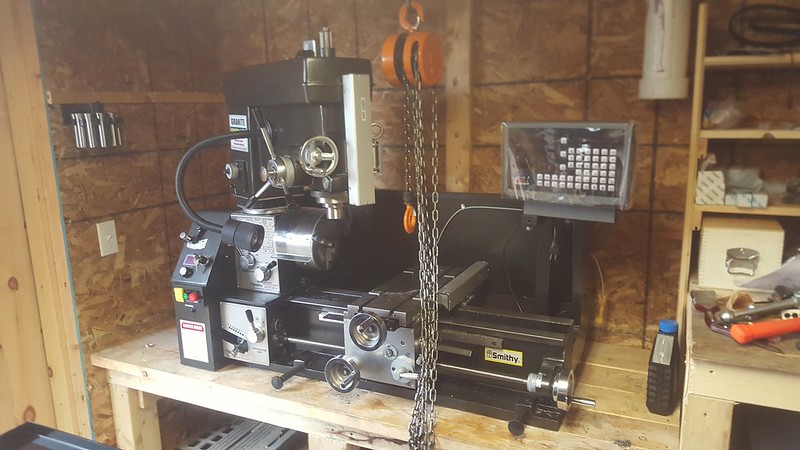
I figured the safest and smartest thing to do was to pick it up, slide it over to the stand, remove the wood stand, bolt down the machine and lift it all as one unit back in place.
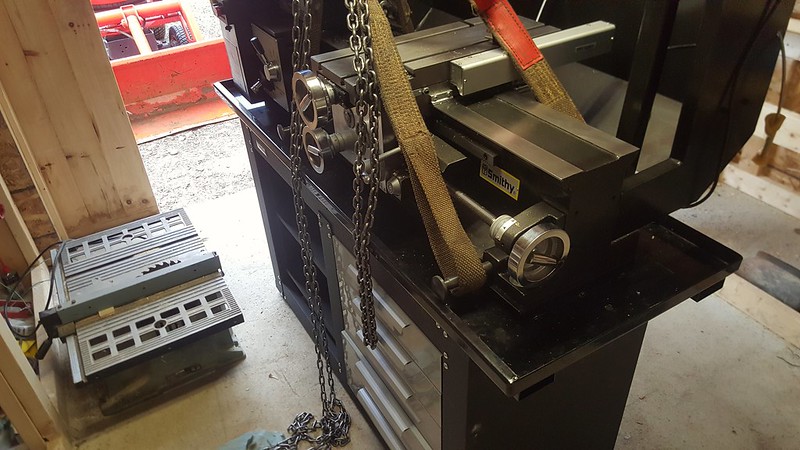
Lining up the holes was kind of a pain.
We got it done though and ripped out the wooden stand.
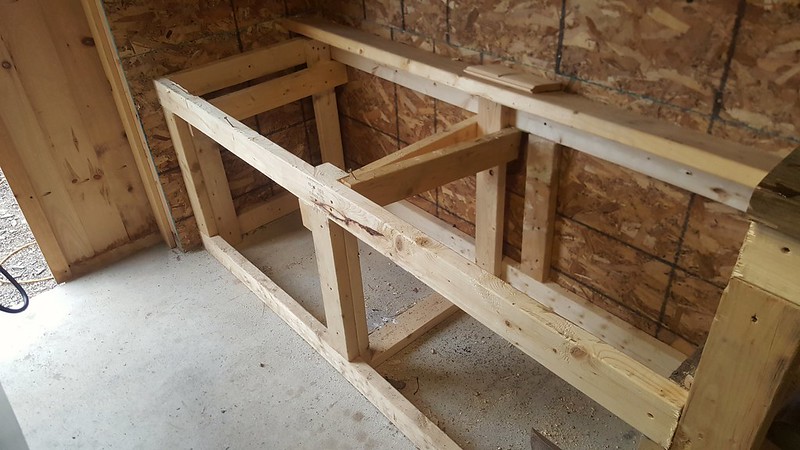
Moving it back was a little scary because we had taken out the wall support under the I beam, but we had tested it by lifting it just an inch in place and there was no deflection anywhere so we figured we were safe.
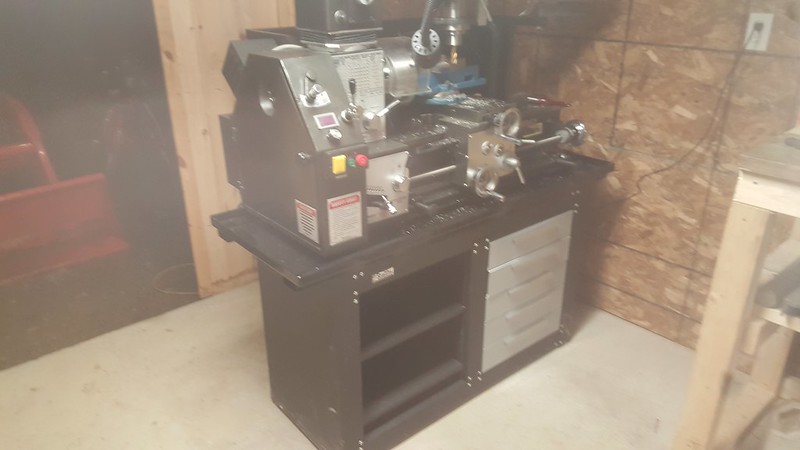
We leveled the stand up and did some test cuts and it is much better and more stable than before, I can now walk around it for ease of access and cleaning. Now onto the next project.
The following users say thank you to K for this useful post:
Hessian
27 Aug ’14
Offline
Only downside I would see to the X-axis DRO standoffs is if they got in the way of your live center. Can't tell how wide your table is though and that would only be during any lathe operations.
15 Feb ’12
Offline
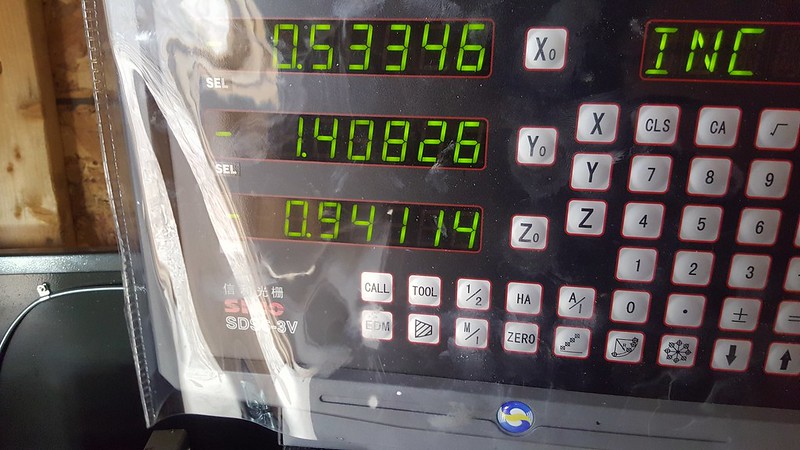
Good point on that, the table is 6-3/4" x 17-3/4", I will have to test it
15 Feb ’12
Offline
Well I moved it back where I originally had it, my ocd was driving me nuts with it sticking out like that
I have been puttering with getting the other die done, feeling much better with the machine and comfortable with it
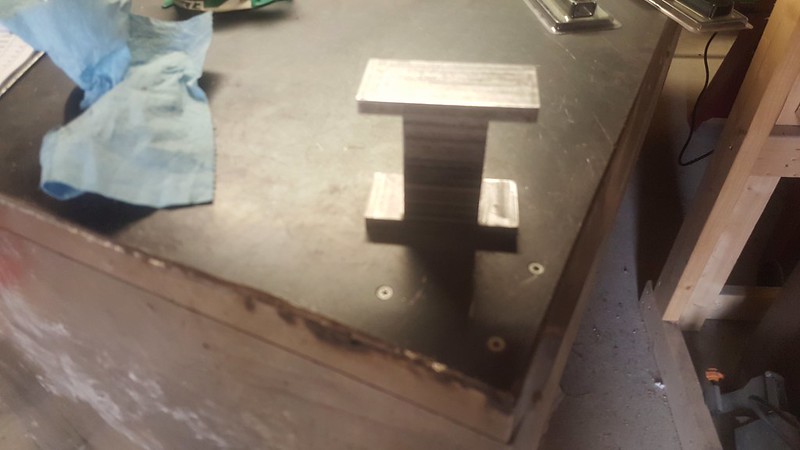
need to take down the one about another 15 thousandths for them to be perfectly matched
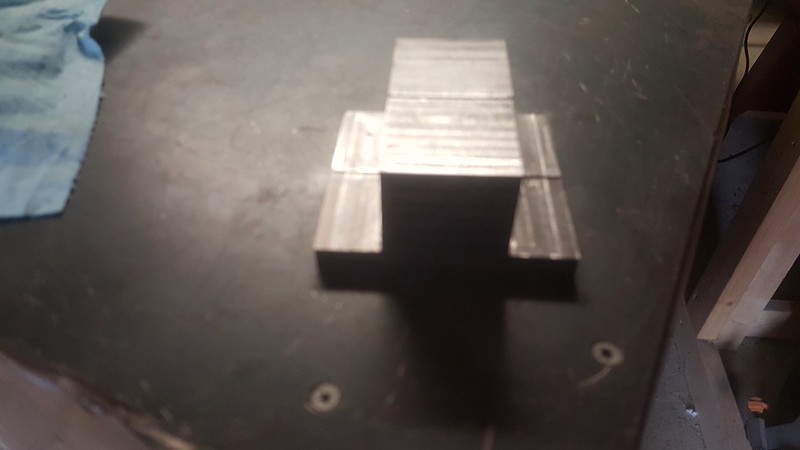
after doing this I figured out a much quicker way of milling these, going to make them at the same time out of a 2x2x4 inch piece, I will leave .400 for the attachment tab and .600 for the press portion, they don't need to be so high profile. But I did have a great idea the other night when we were finishing our v blocks in class, a higher profile set would work great for squaring.
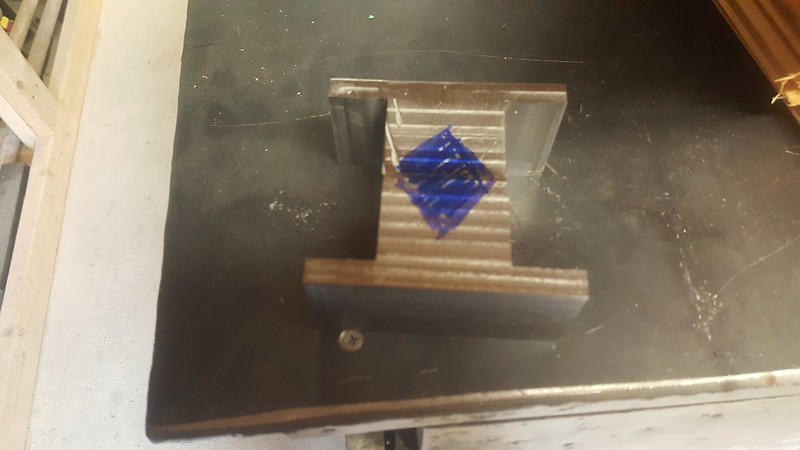
All I have to do is mill out the size and space that I want for squaring.
27 Aug ’14
Offline
If you make it as once piece and then chop it in half you could turn it on end and cut the channel through it with a shell mill. Final product before you separate the halves will be a standing H. Then shop and face.


Most Users Ever Online: 698
Currently Online:
19 Guest(s)
Currently Browsing this Page:
1 Guest(s)
Top Posters:
easytapper: 2149
DangerDuke: 2030
groinkick: 1667
PorkChopsMmm: 1515
Gravel Road: 1455
Newest Members:
issacsallee
lonchristiansen
quincymccall23
alberthakeighley
celsasamuels03
Forum Stats:
Groups: 1
Forums: 12
Topics: 11479
Posts: 58674
Member Stats:
Guest Posters: 2
Members: 3578
Moderators: 0
Admins: 1
Administrators: K

